How To Replace LG G6 Screen – Step-by-Step Guide
Duration: 45 min.
Steps: 25 Steps
In this guide, we’ll walk you through the steps to swap out the entire display for your LG G6. It’s time for a change if you’ve got a cracked glass, an unresponsive touchscreen, or a display that’s playing peek-a-boo with flickering or staying black. Once you get your new display, take a moment to inspect it for any mishaps—look for cracks, broken flex cables, or if it’s a little loose. Keep those protective films and seals on until you’re sure the new display is in tip-top shape. If you spot any issues, don’t hesitate to reach out to the seller and send it back if needed. Remember, if you need help, you can always schedule a repair!
Step 1
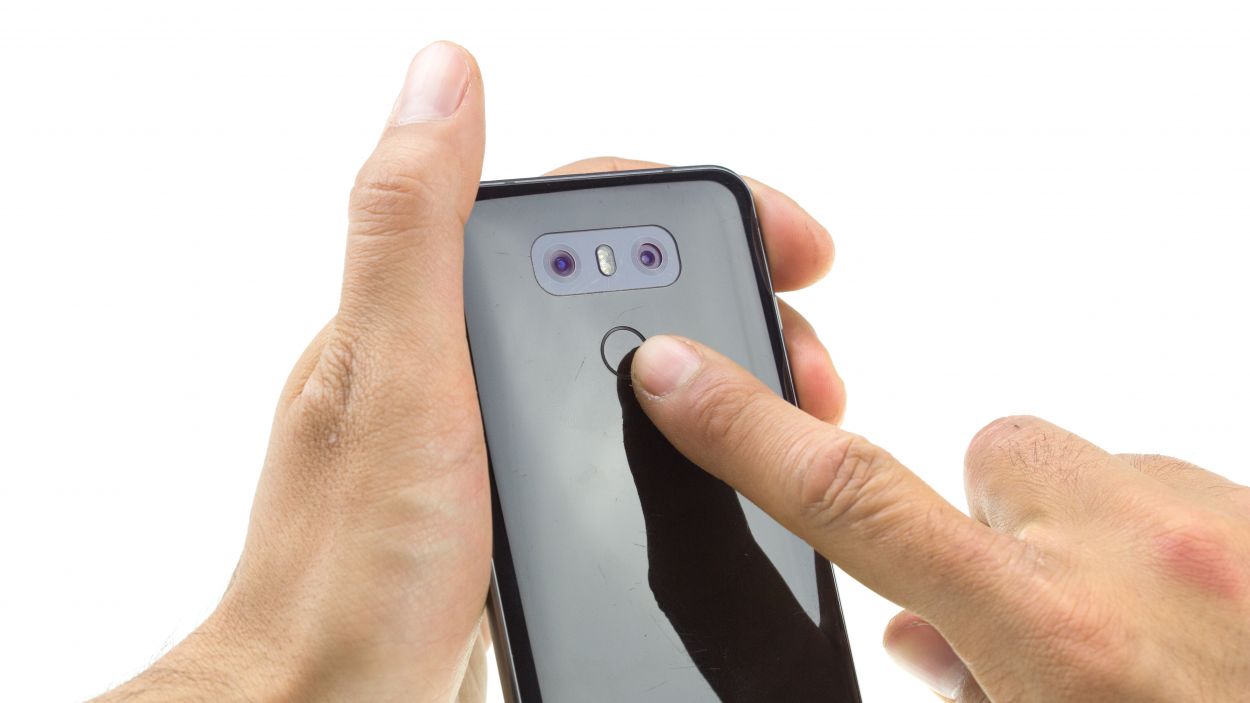
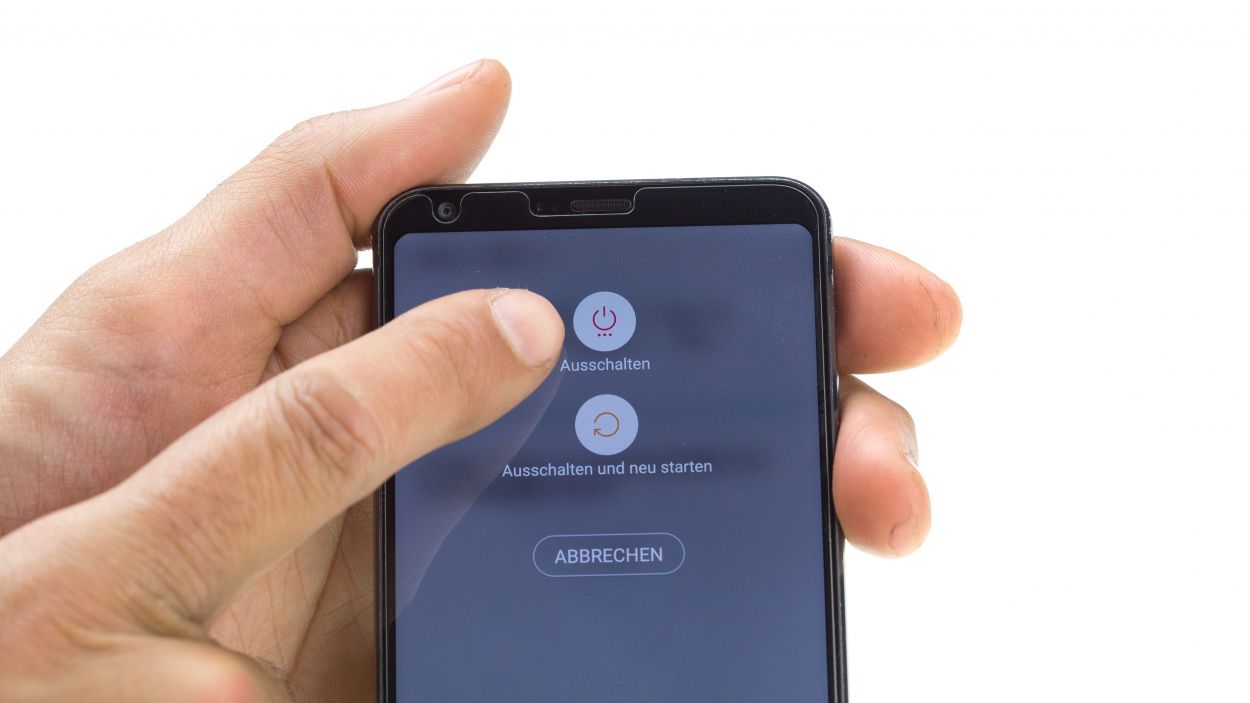
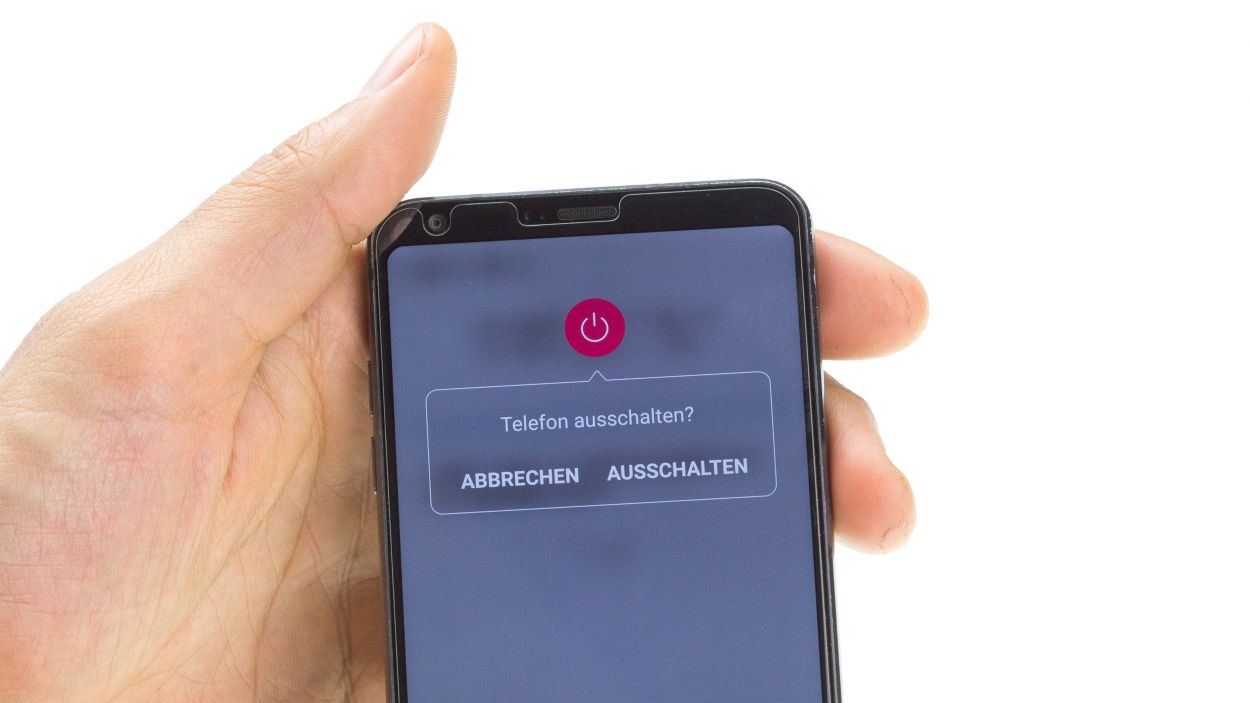
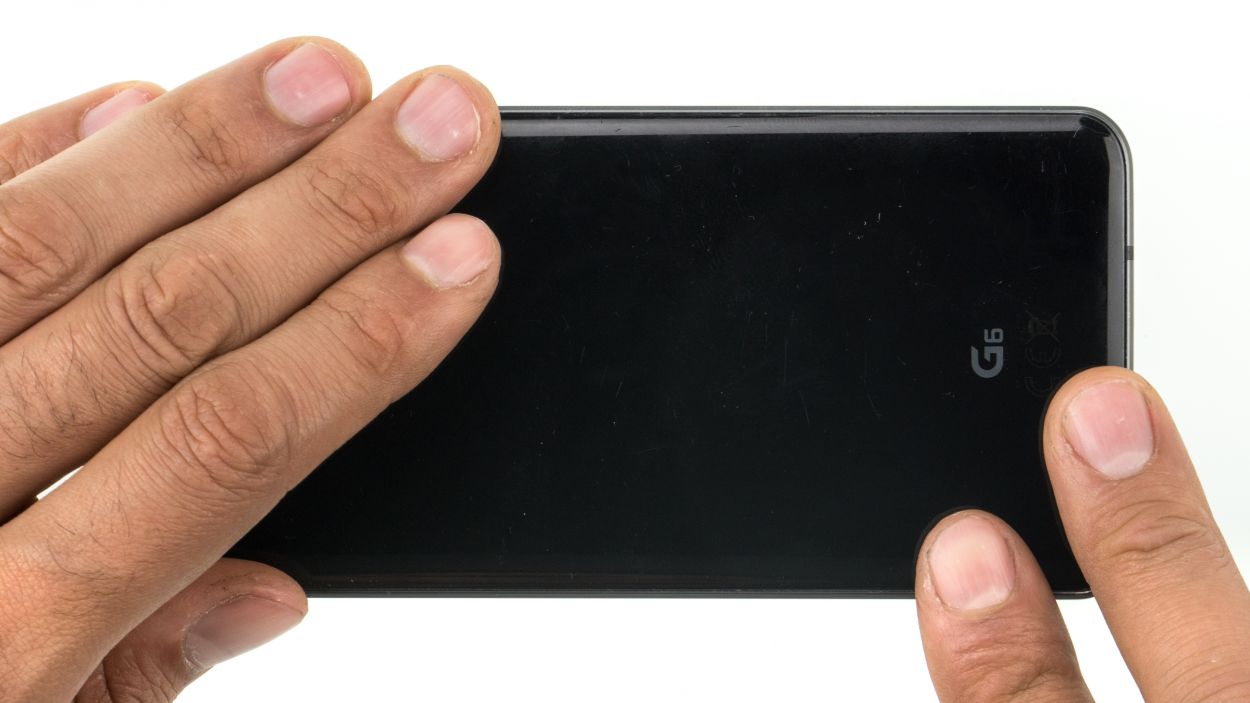
– Give your device a little break by pressing and holding the power button on the back until you see the ‘Power off’ option pop up.
– Go ahead and tap that option to confirm, then sit back and watch as the screen fades to black.
Step 2
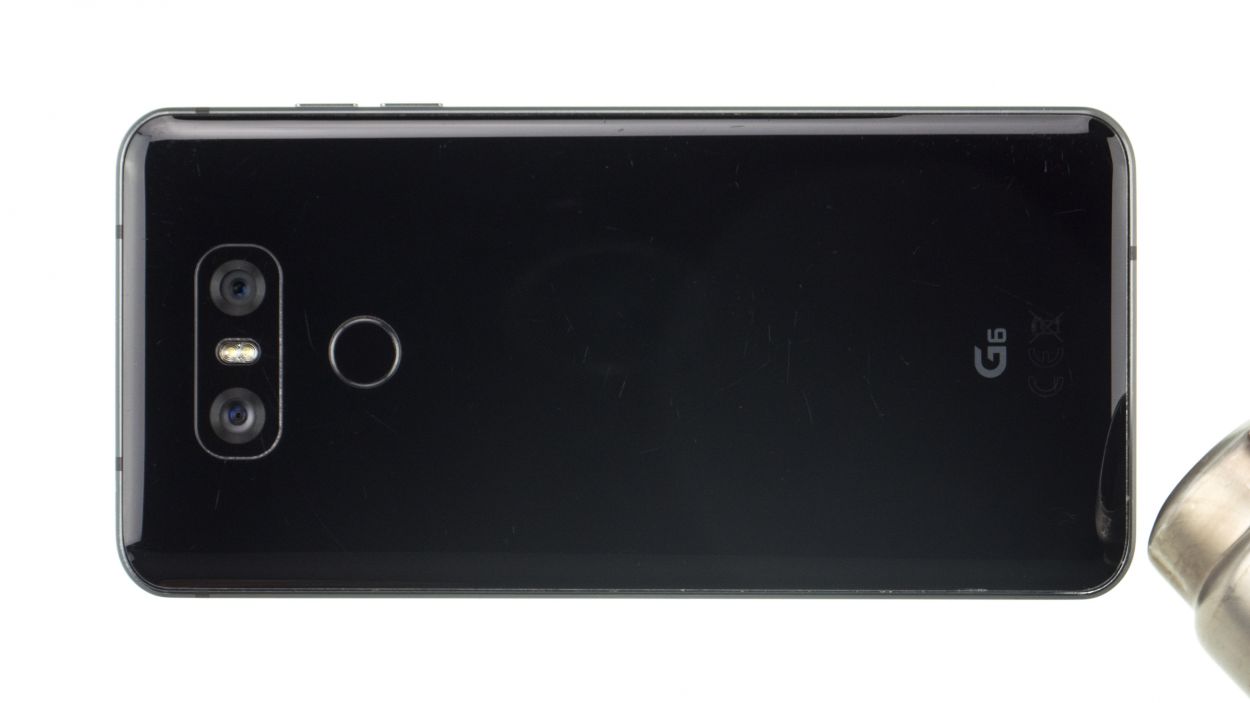
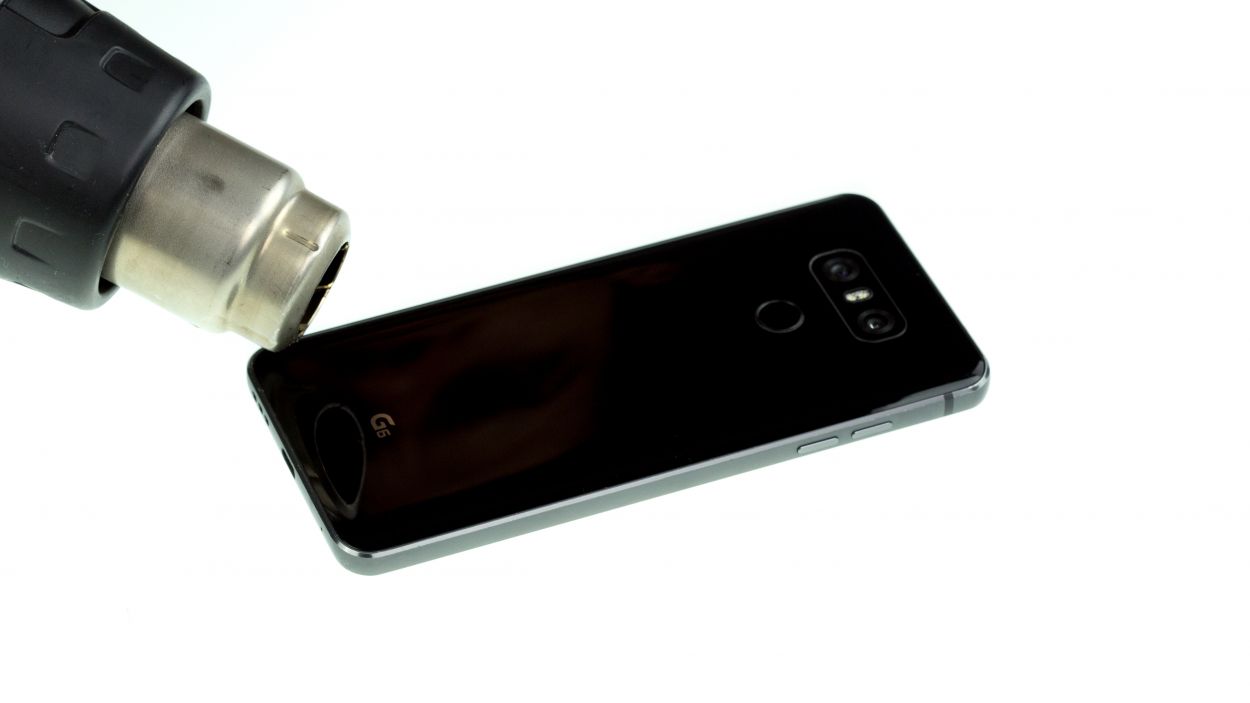
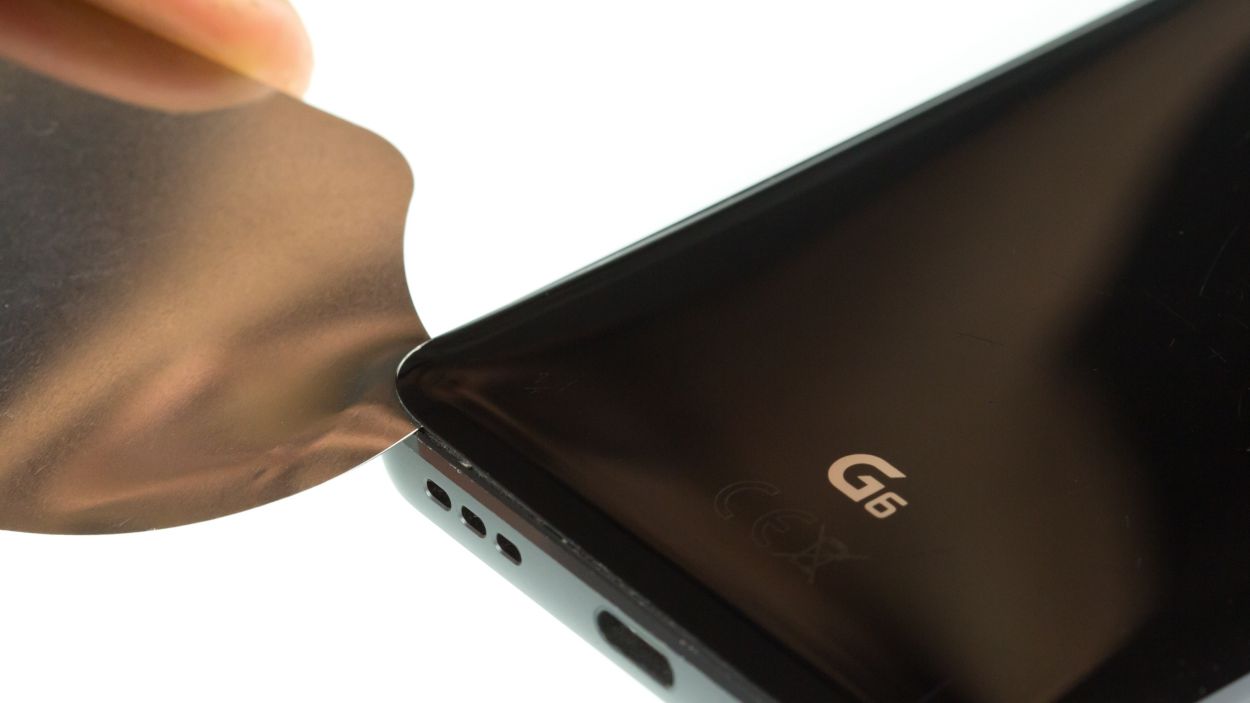
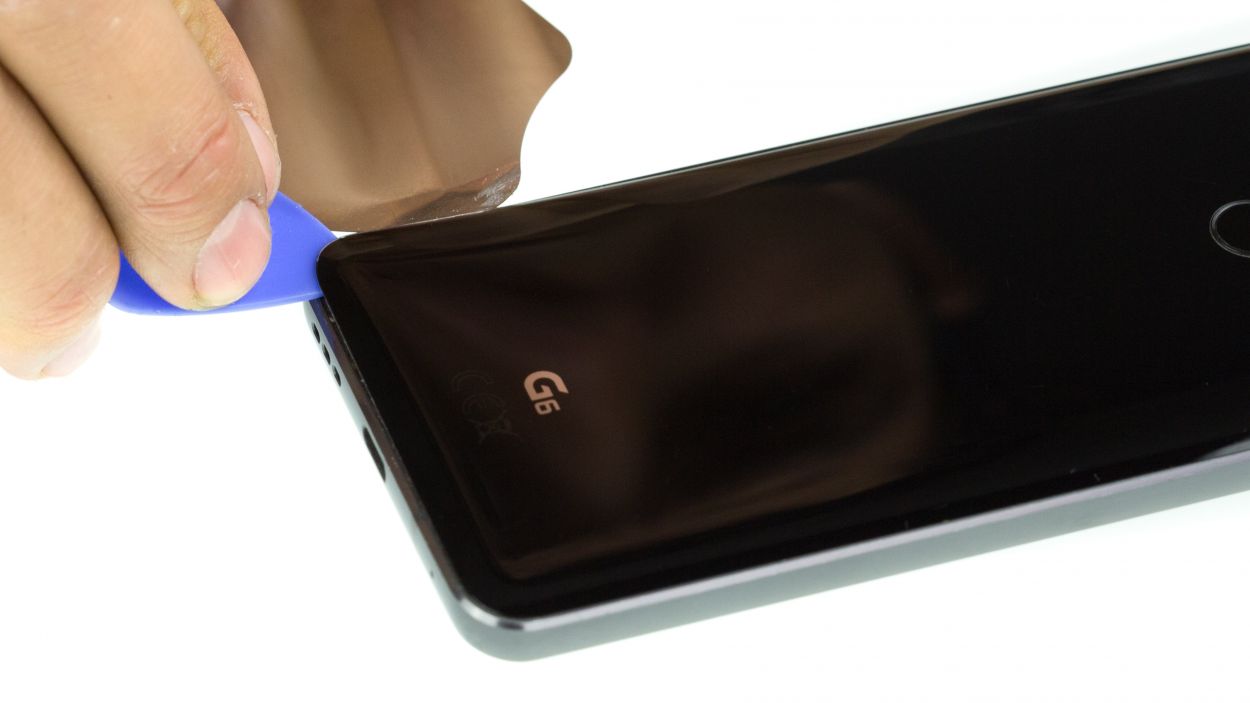
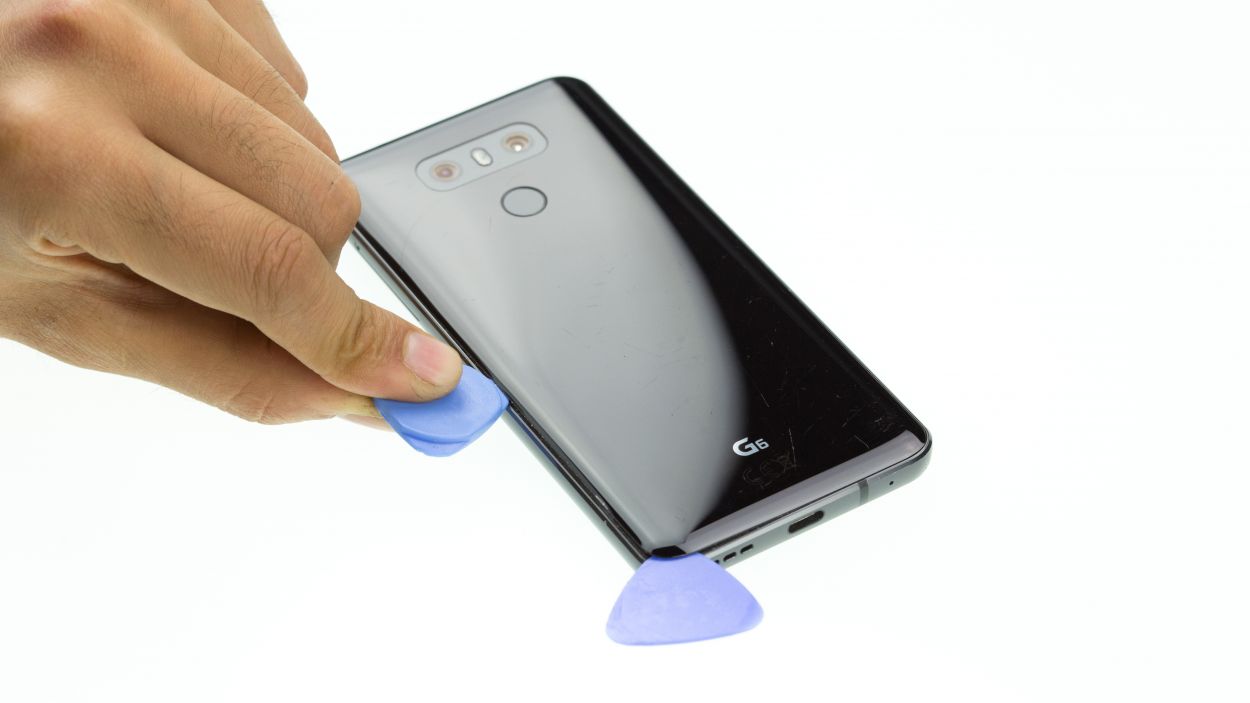

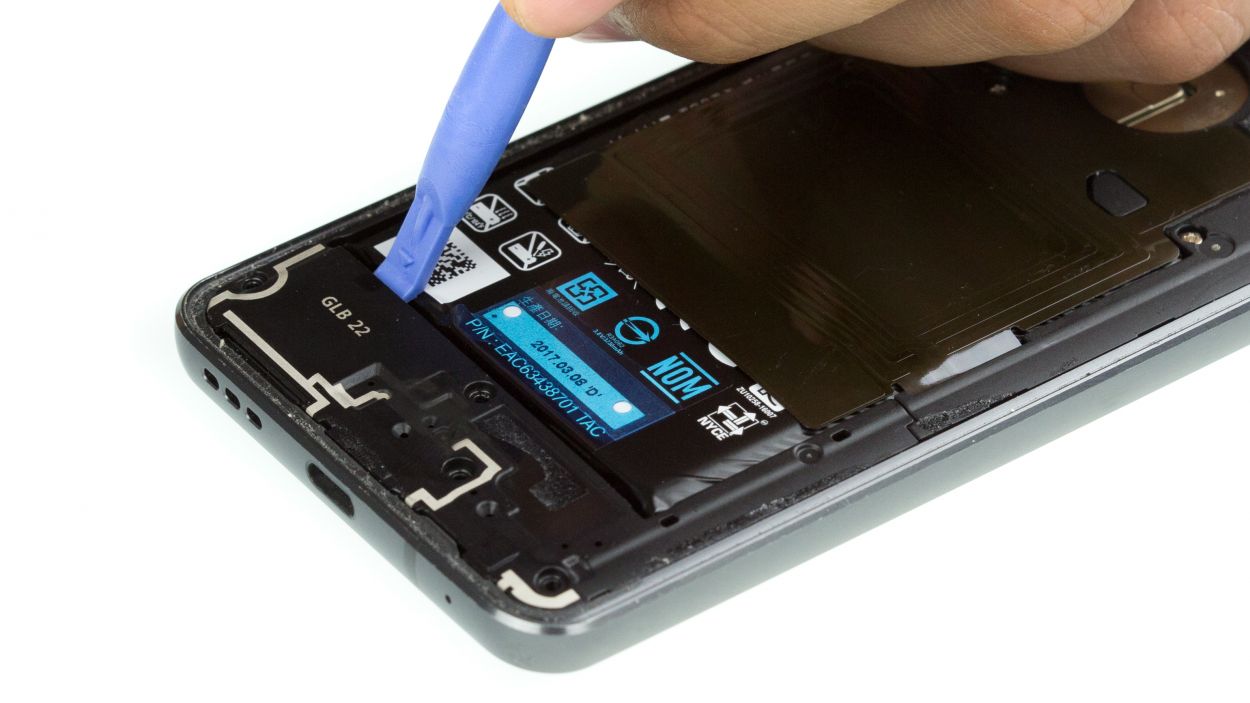
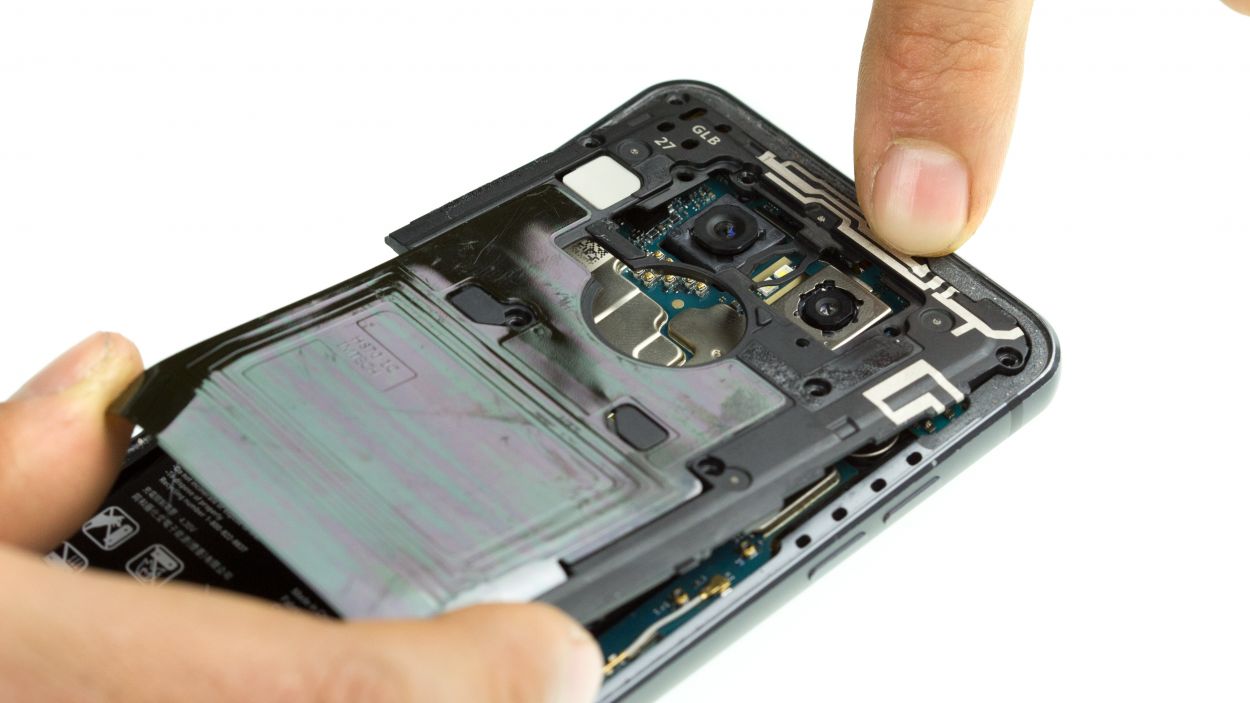
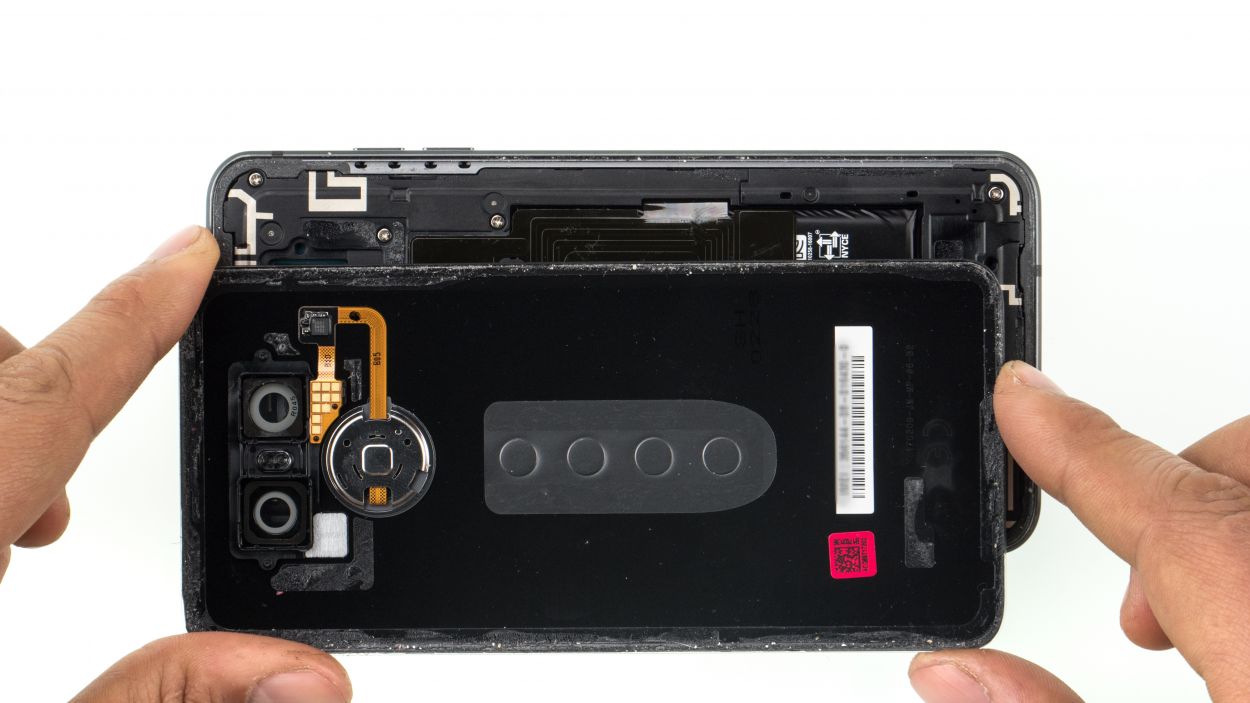
– Warm up that rear glass! It’s securely stuck all around the edges, hugging the home button and even over the USB port.
– Gently slide the iFlex between the rear glass and the frame, but keep it cozy and make sure not to go deeper than 5 mm.
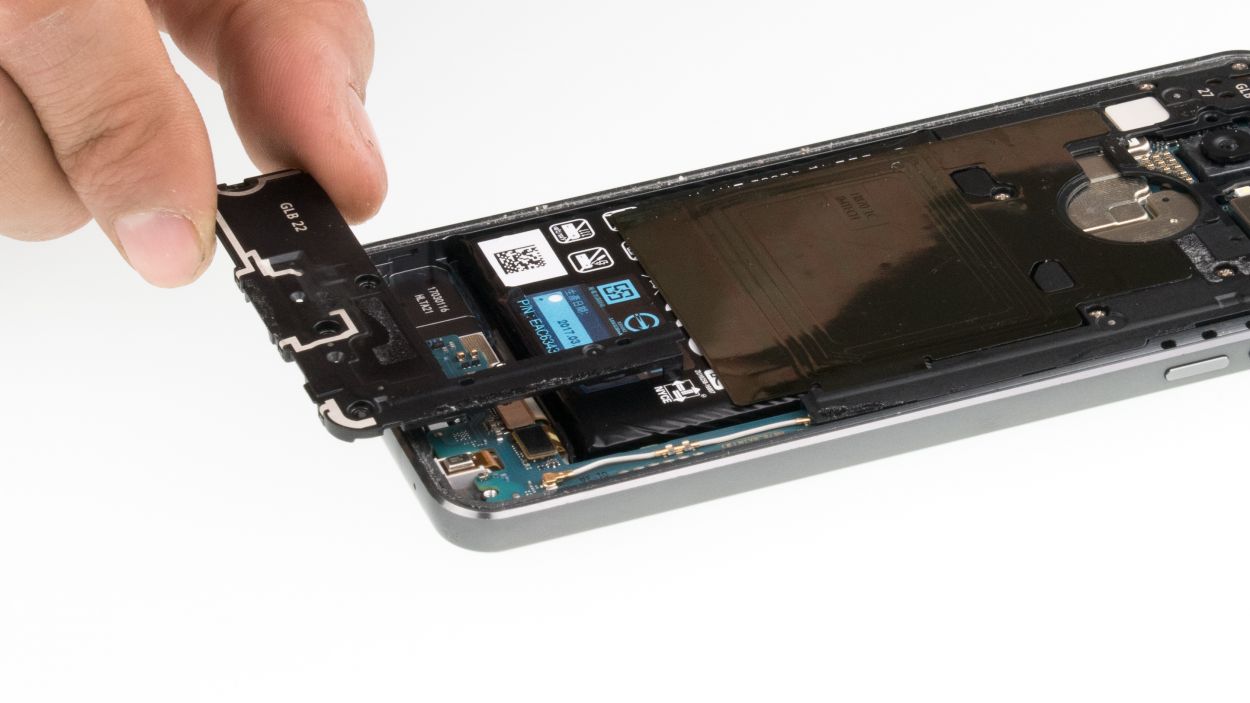
Hey there! Just a friendly reminder to handle that back cover with care—it’s a bit fragile! Instead of prying, gently slide your tool around the edges. If it’s being stubborn, don’t hesitate to warm it up a few times and give it another go. Patience is key here; taking your time will help you avoid any mishaps. Remember, if you need help, you can always schedule a repair!
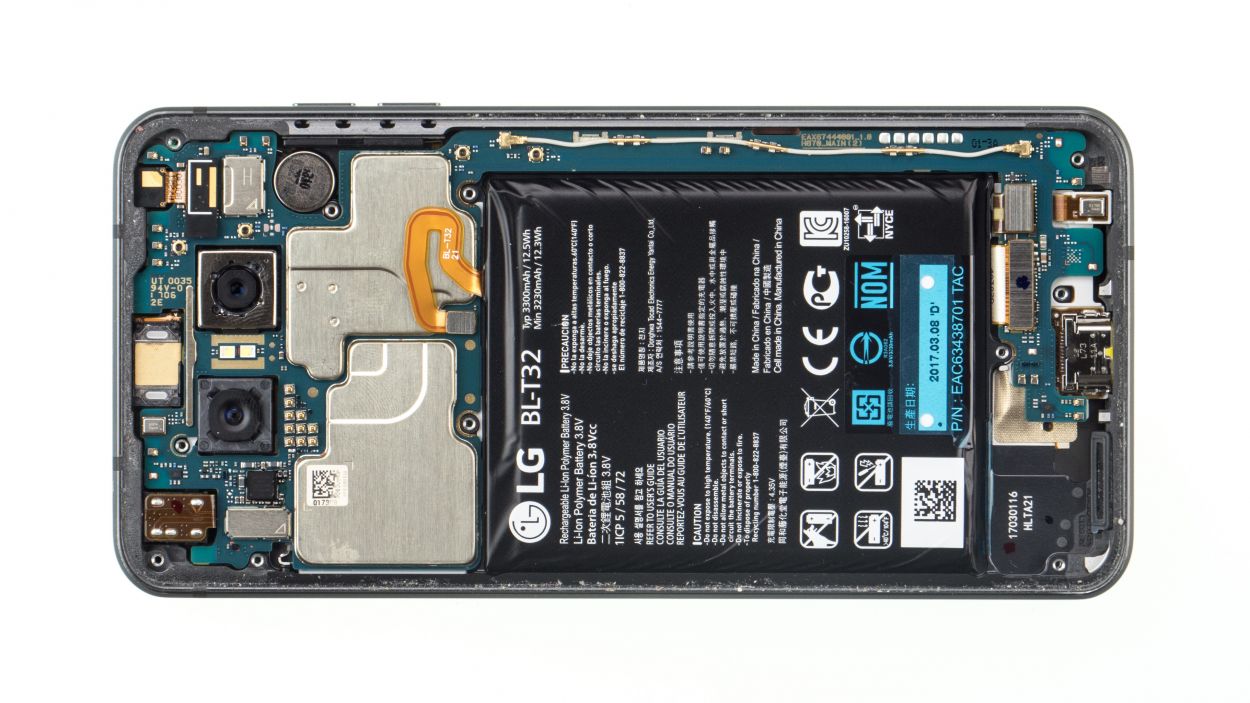
Step 3


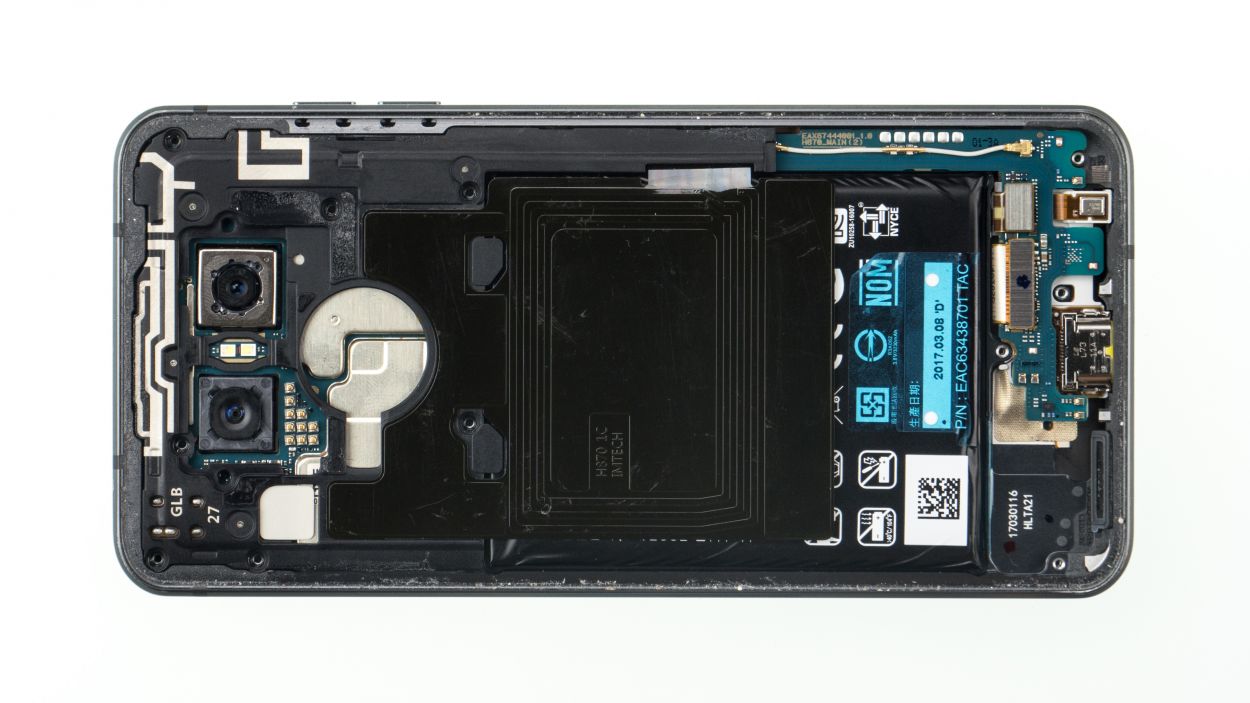
4 × 2.7 mm Phillips
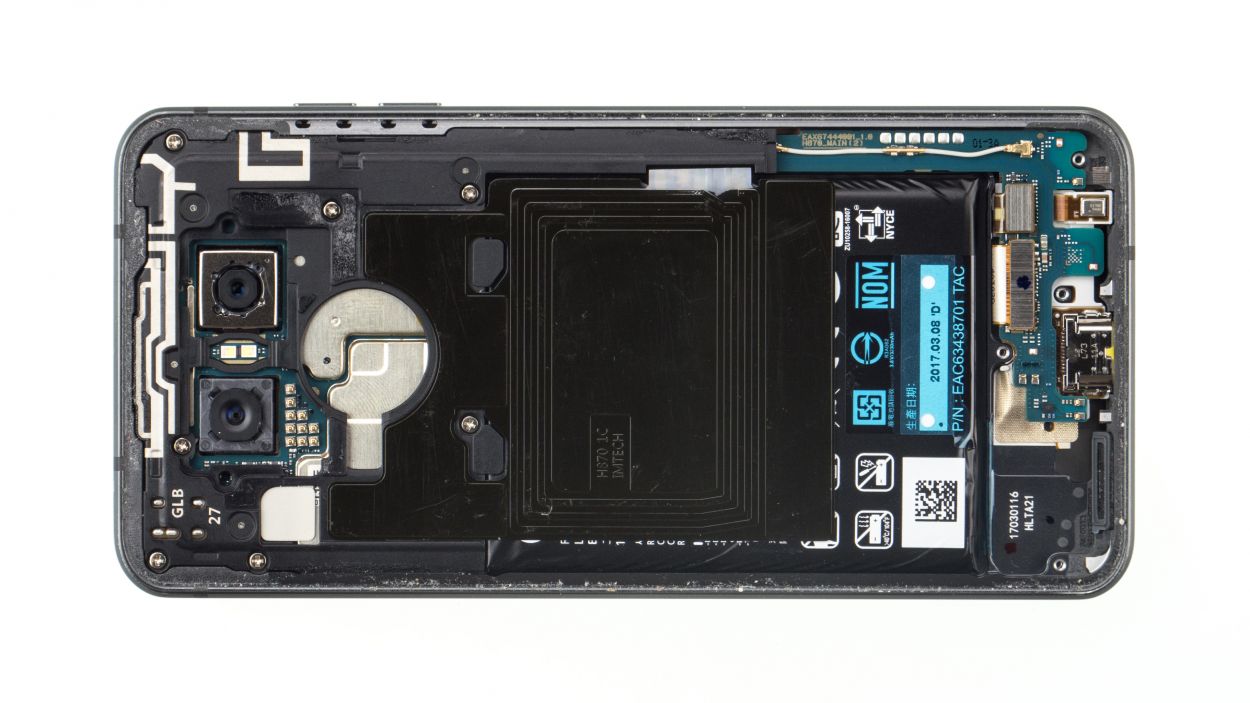
The LG G6 has only one screw length and only the midframe and speaker are screwed in.
– First, let’s tackle those equal-length Phillips screws holding the speaker in place. Unscrew them and keep them safe for later use!
– Next up, gently pry the speaker away from the battery’s side and lift it out of the device. You’re doing great!
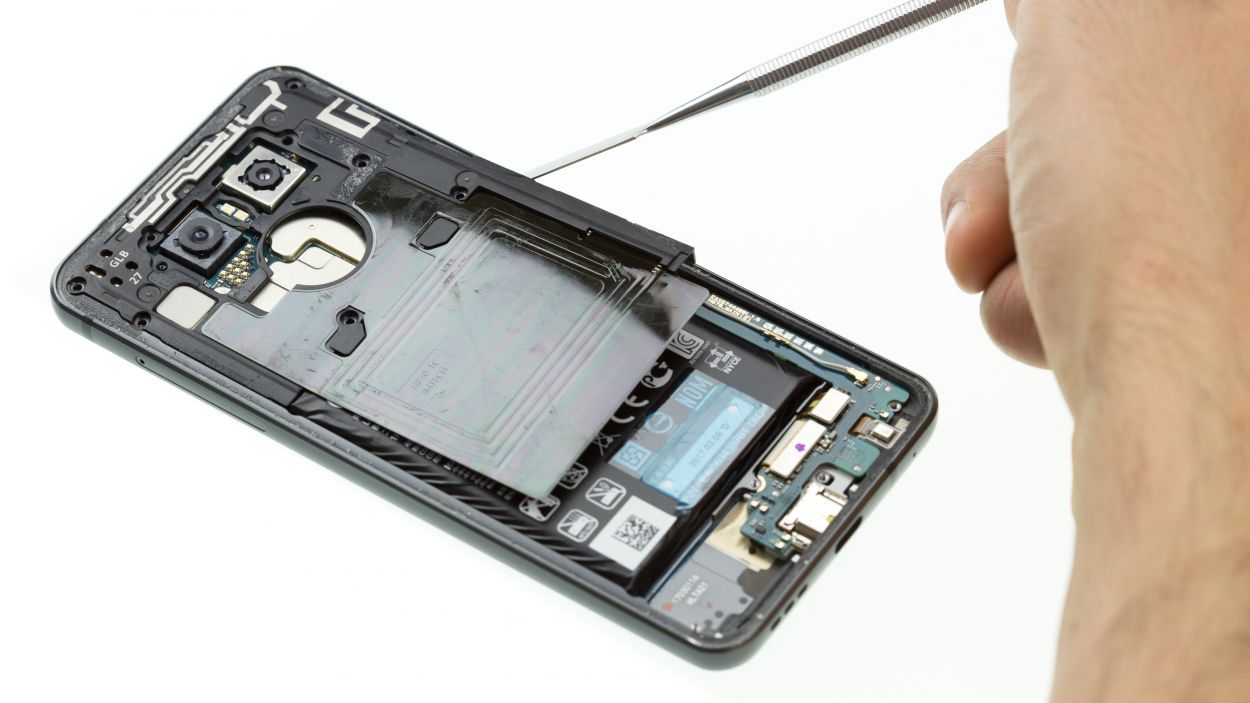
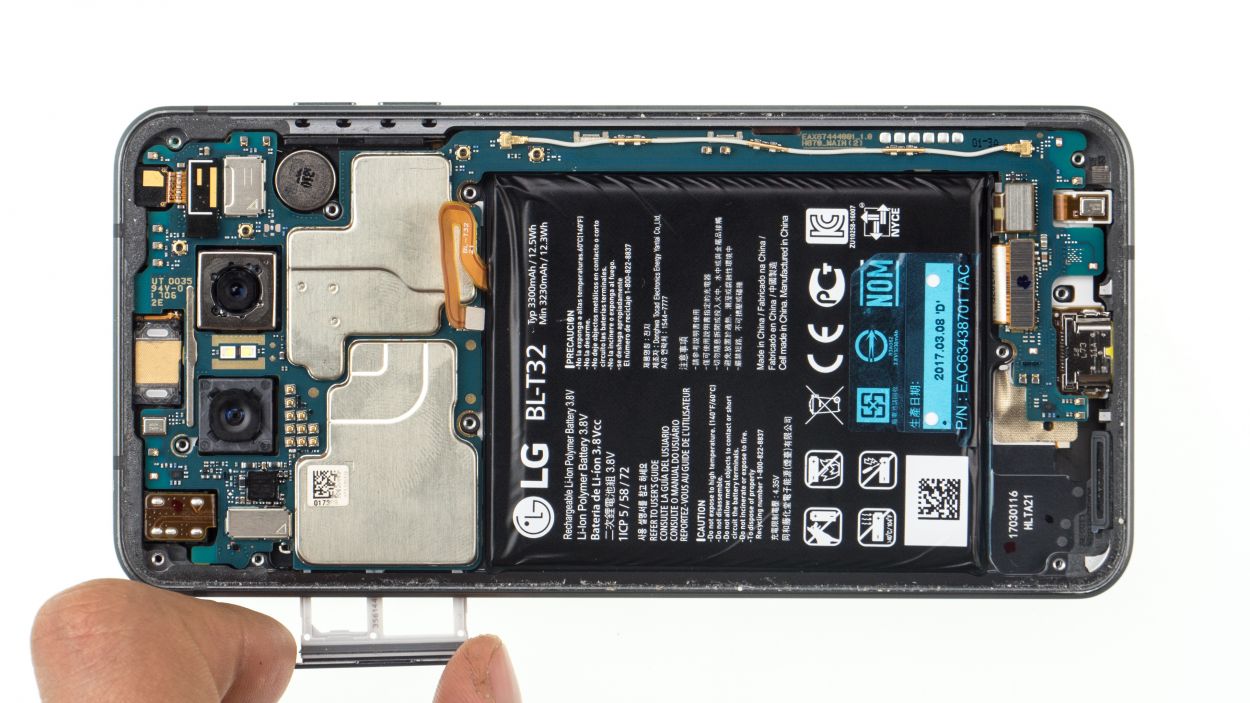
Step 6
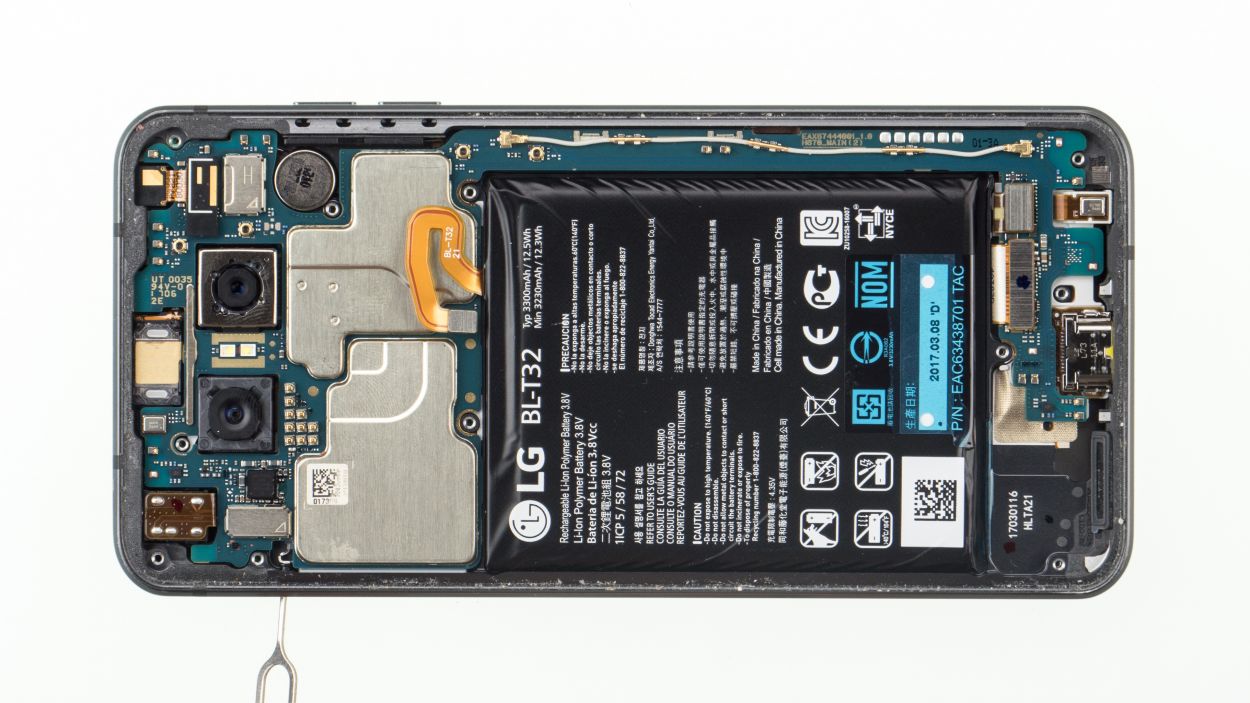
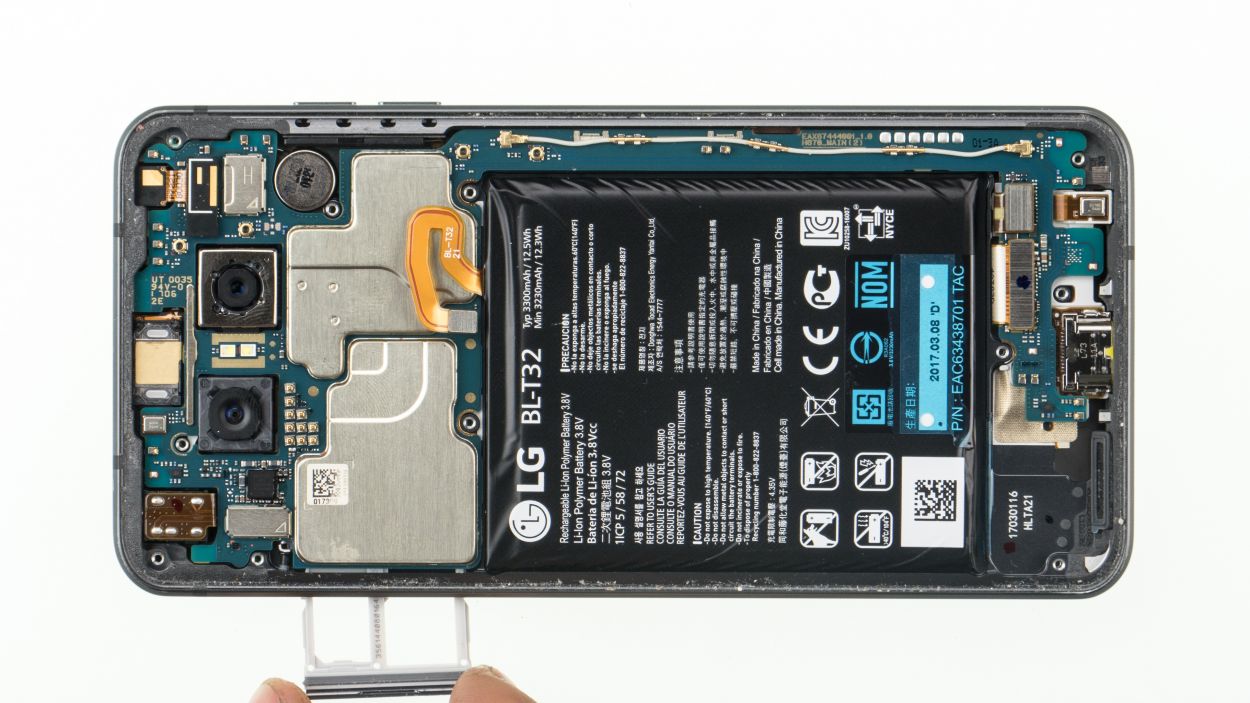
– Gently pop a SIM tool into the little hole on the SIM tray.
– Carefully pull the SIM slider out of your device.
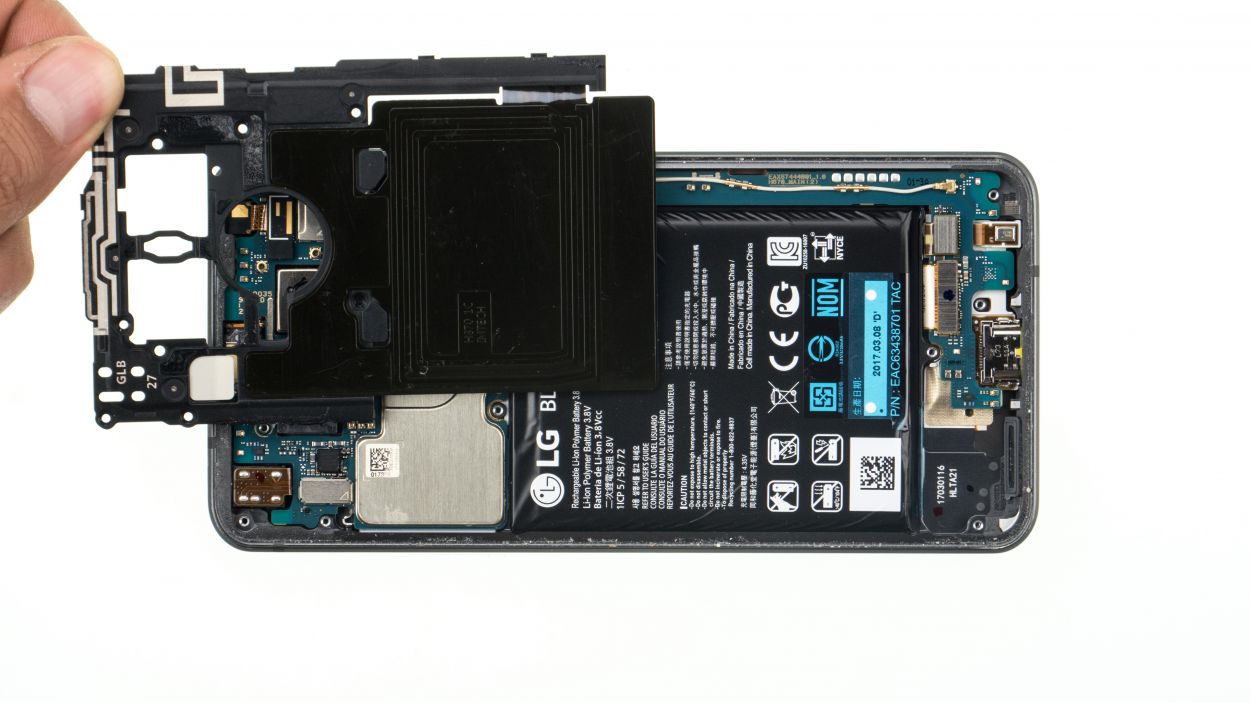
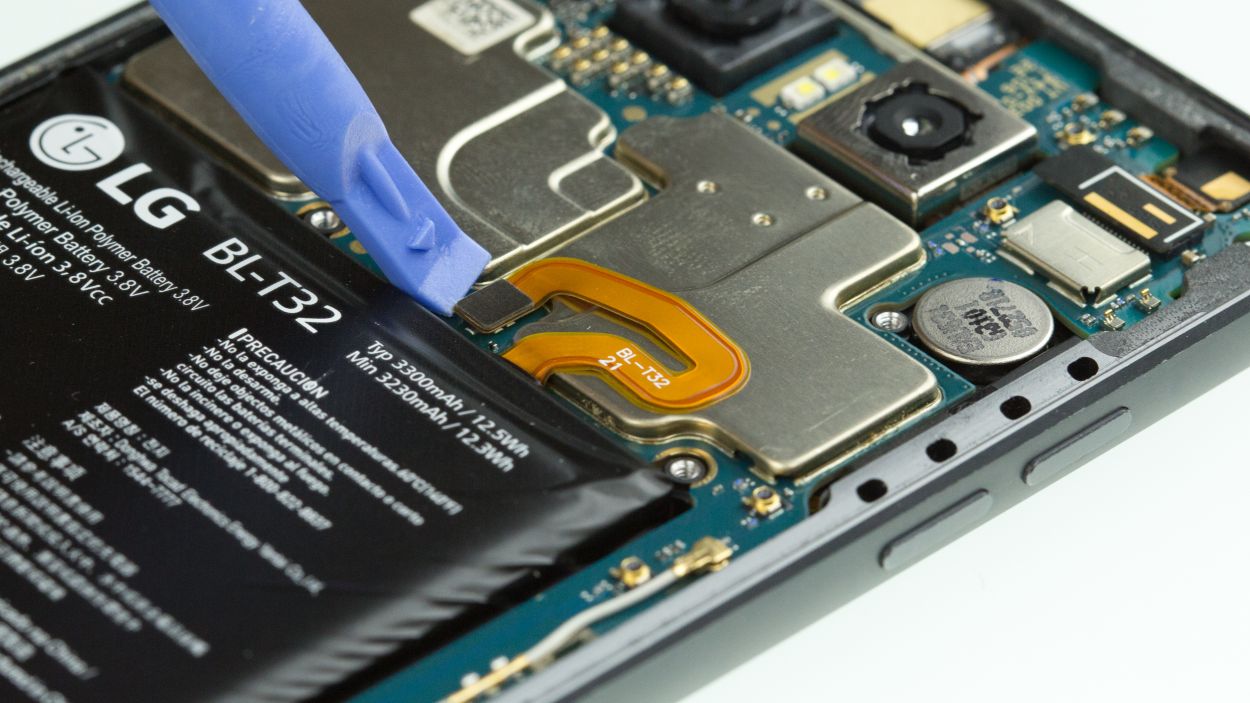
Step 7


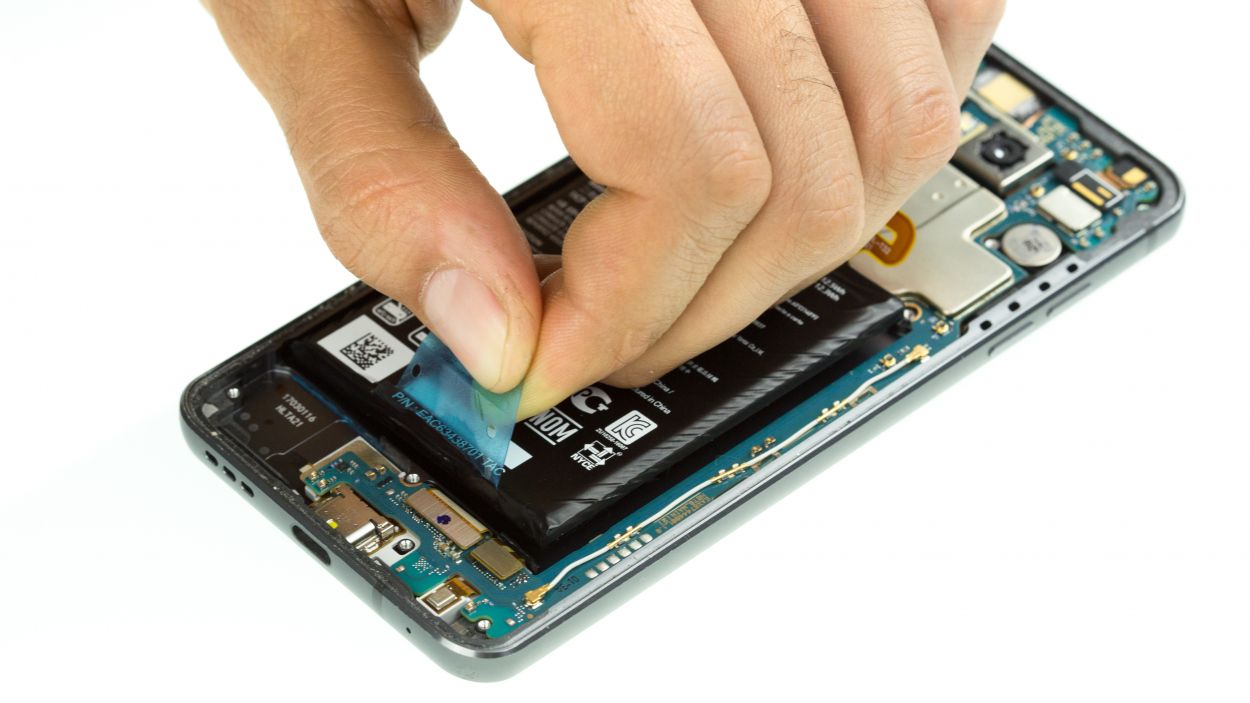

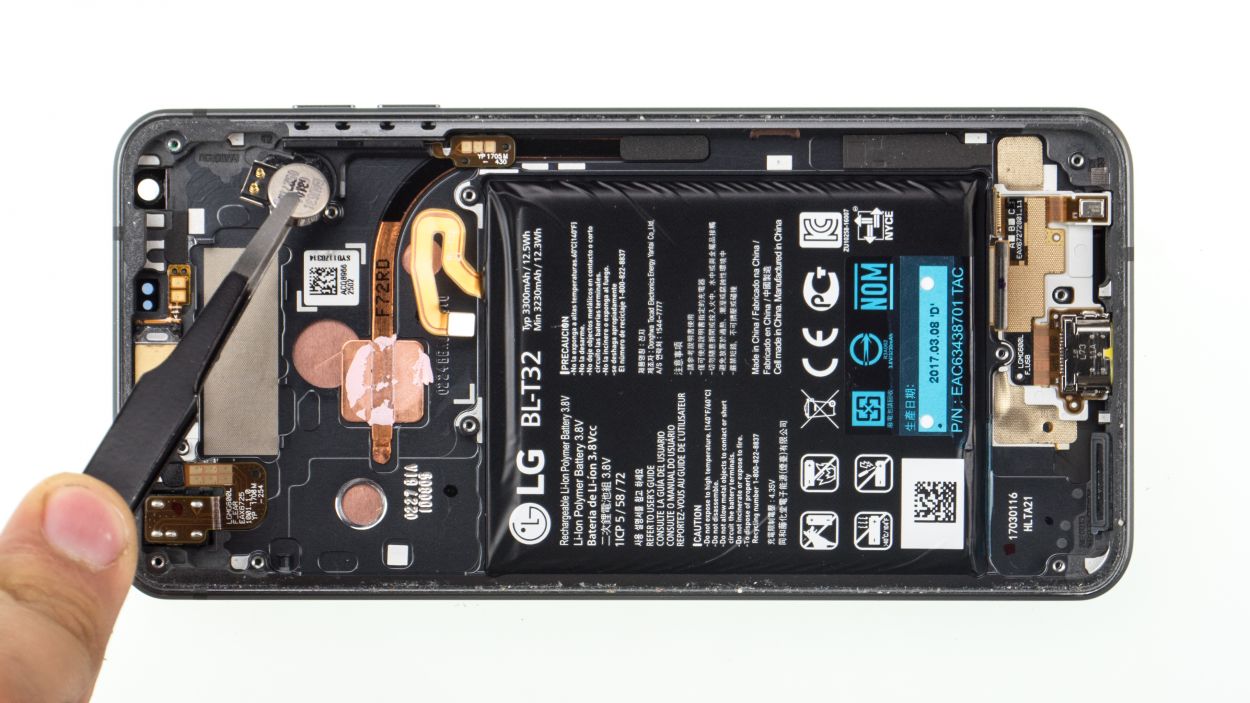
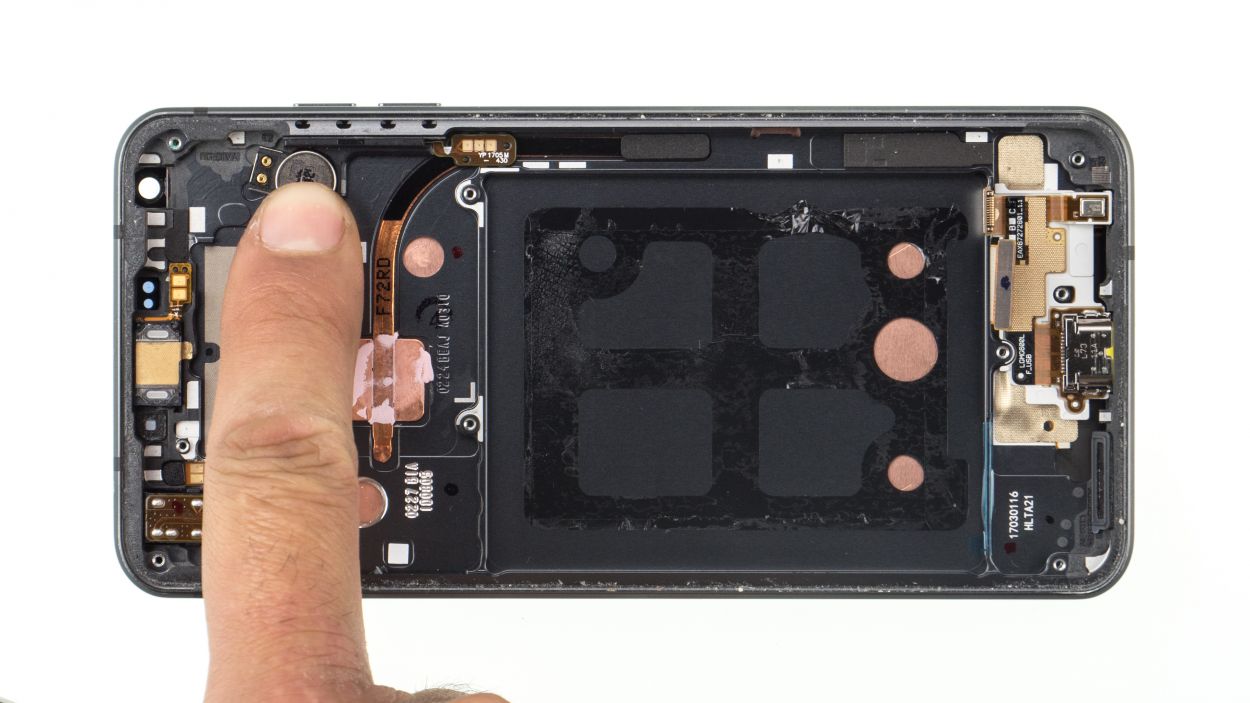
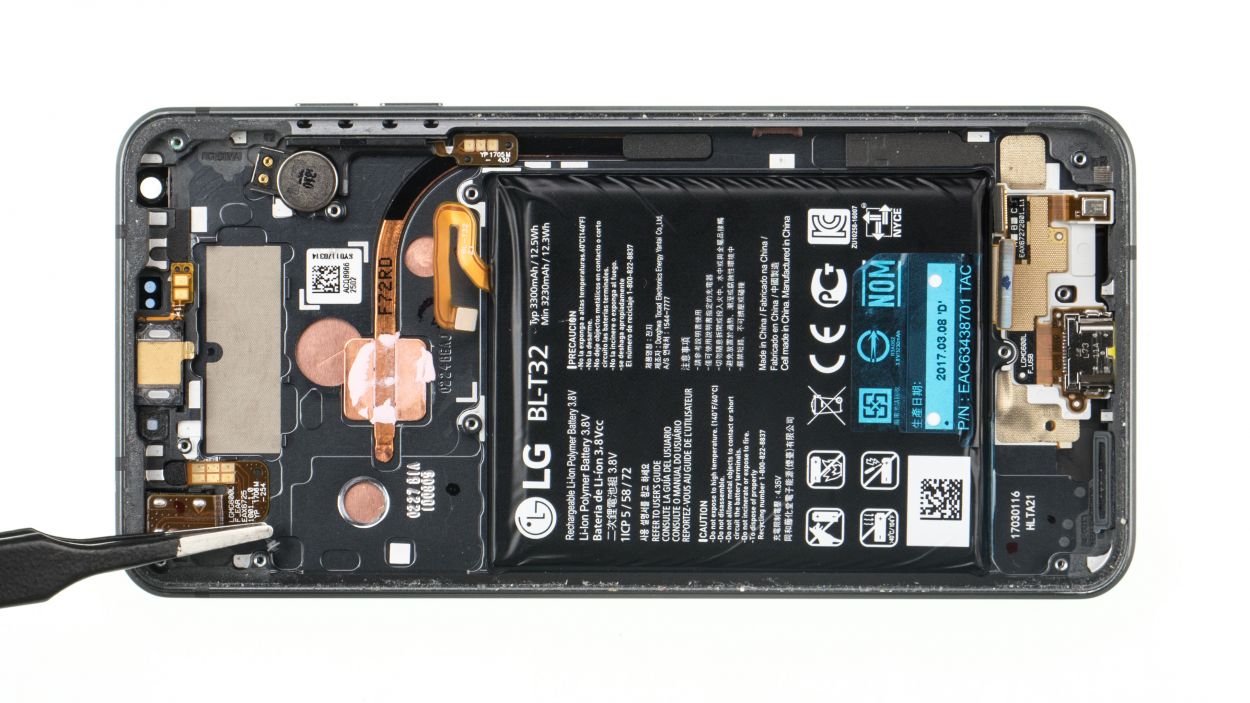
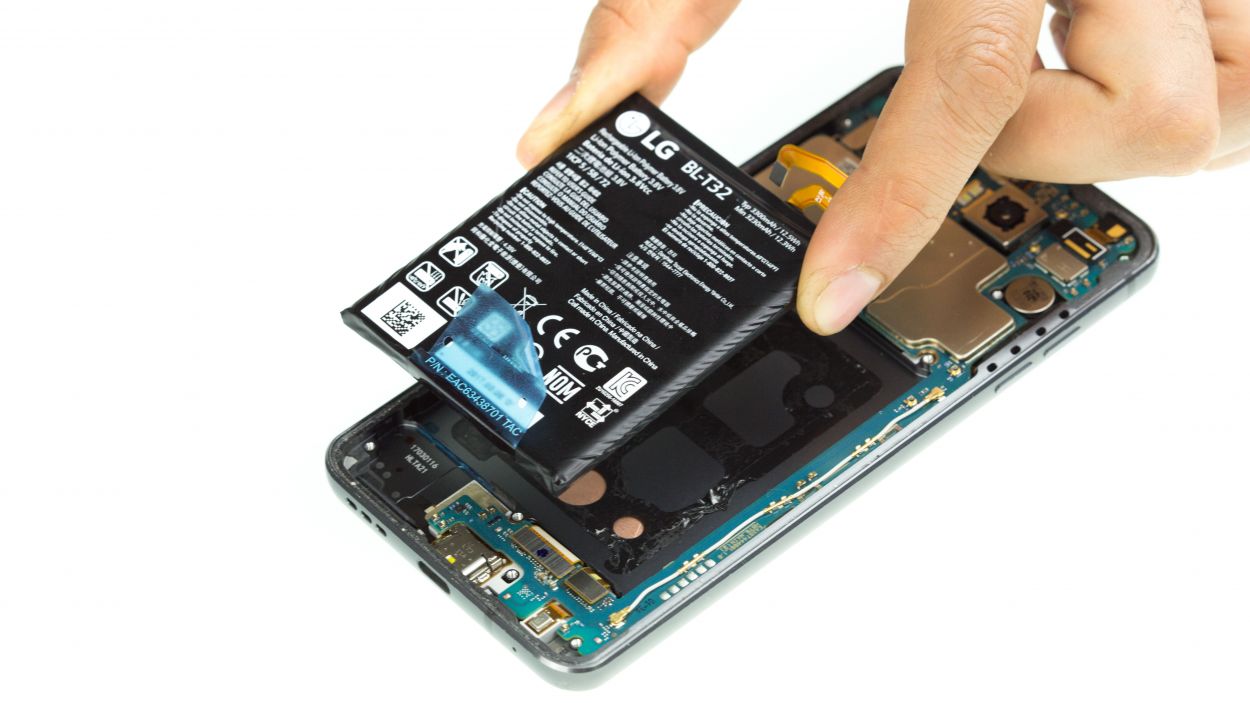
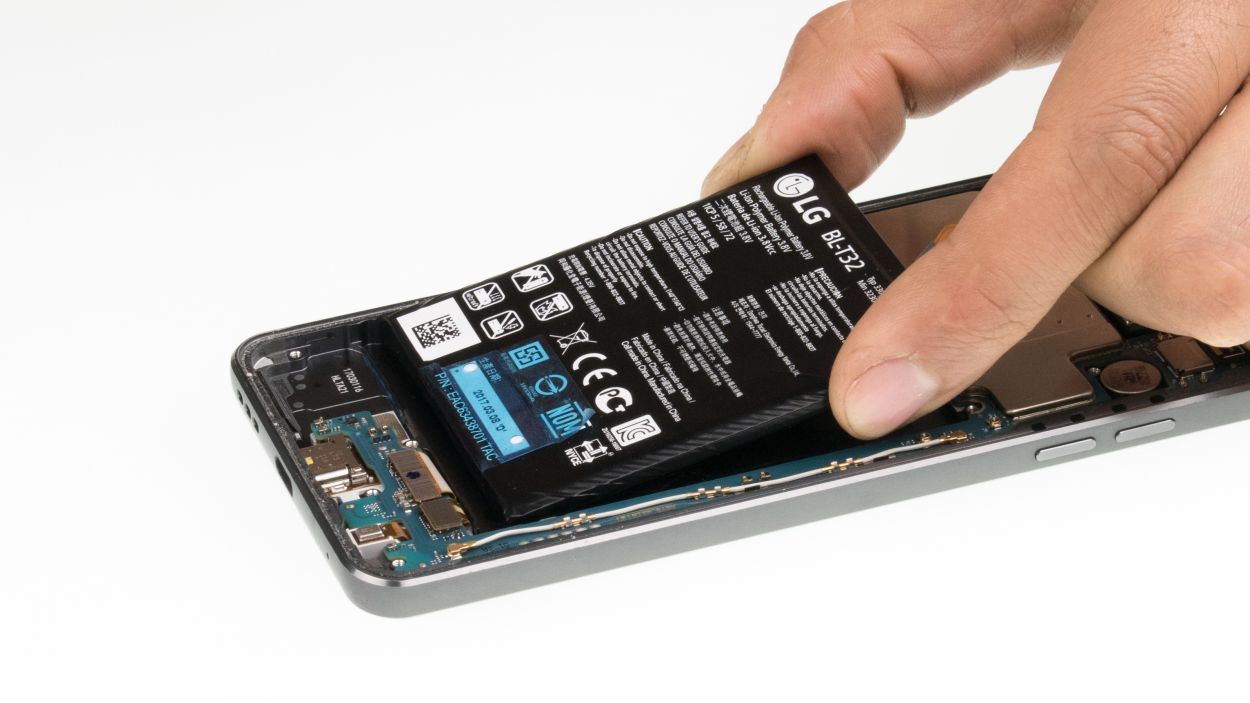
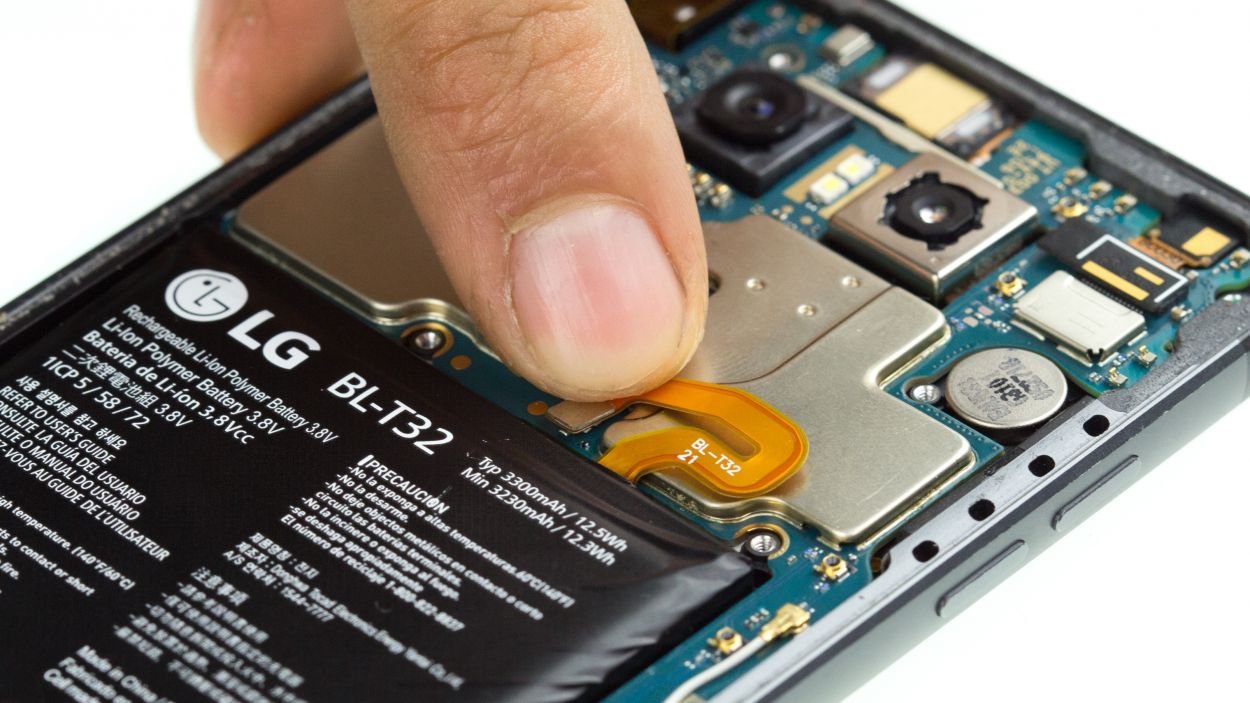
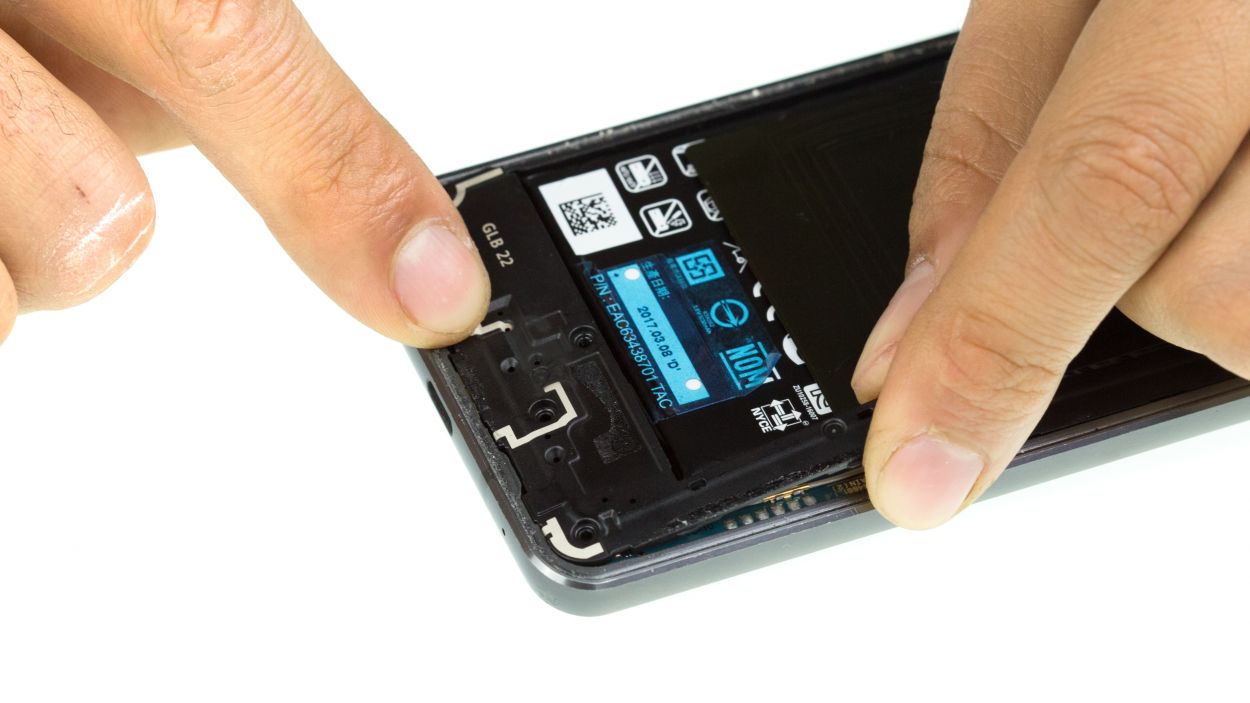
Hey there! When you’re taking out the battery, remember to keep it straight—no bending allowed! And let’s not give it a hot bath; instead, warm up the screen if you need to loosen that glue. Just a heads up, keep the display temperature below 60°C (140°F). You’ve got this!
The battery glue is not very strong.
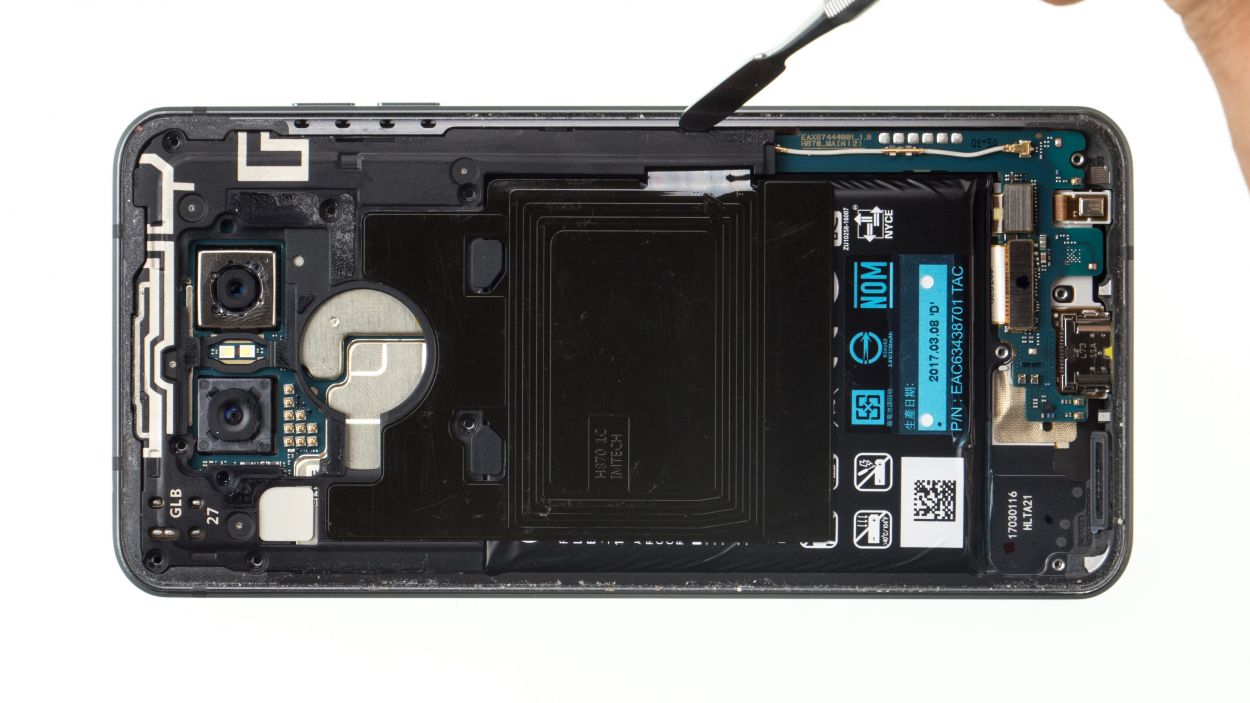
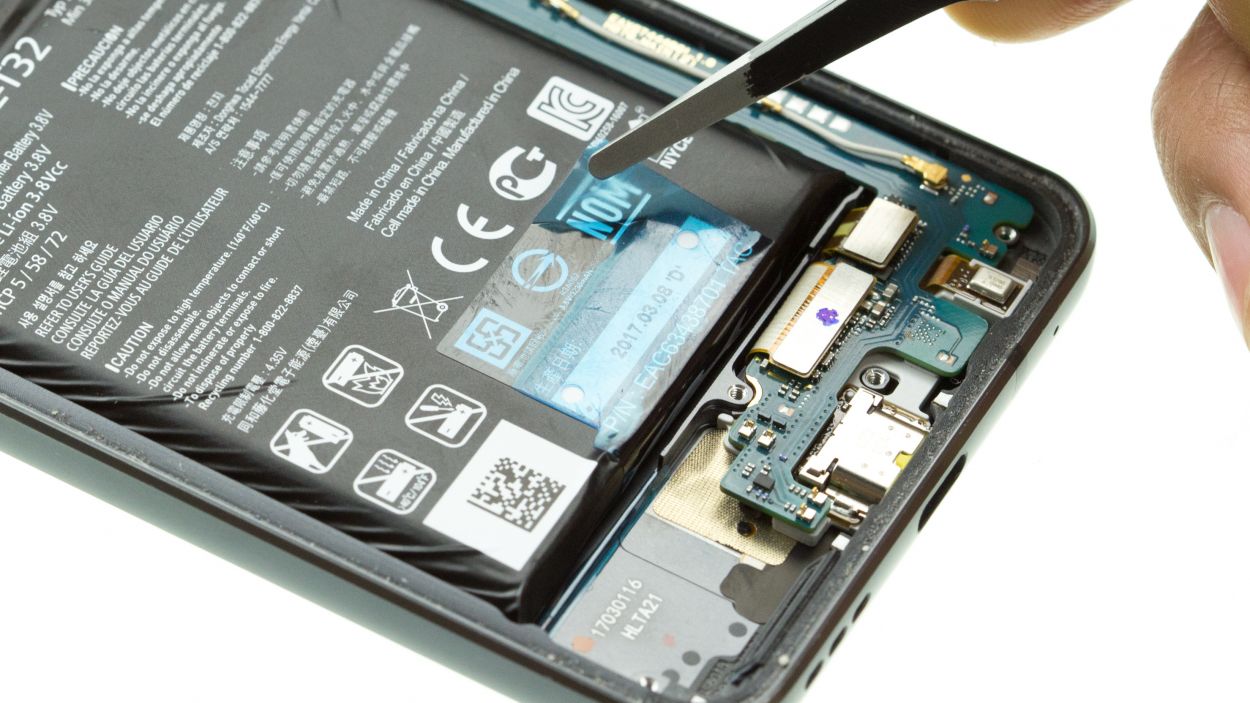
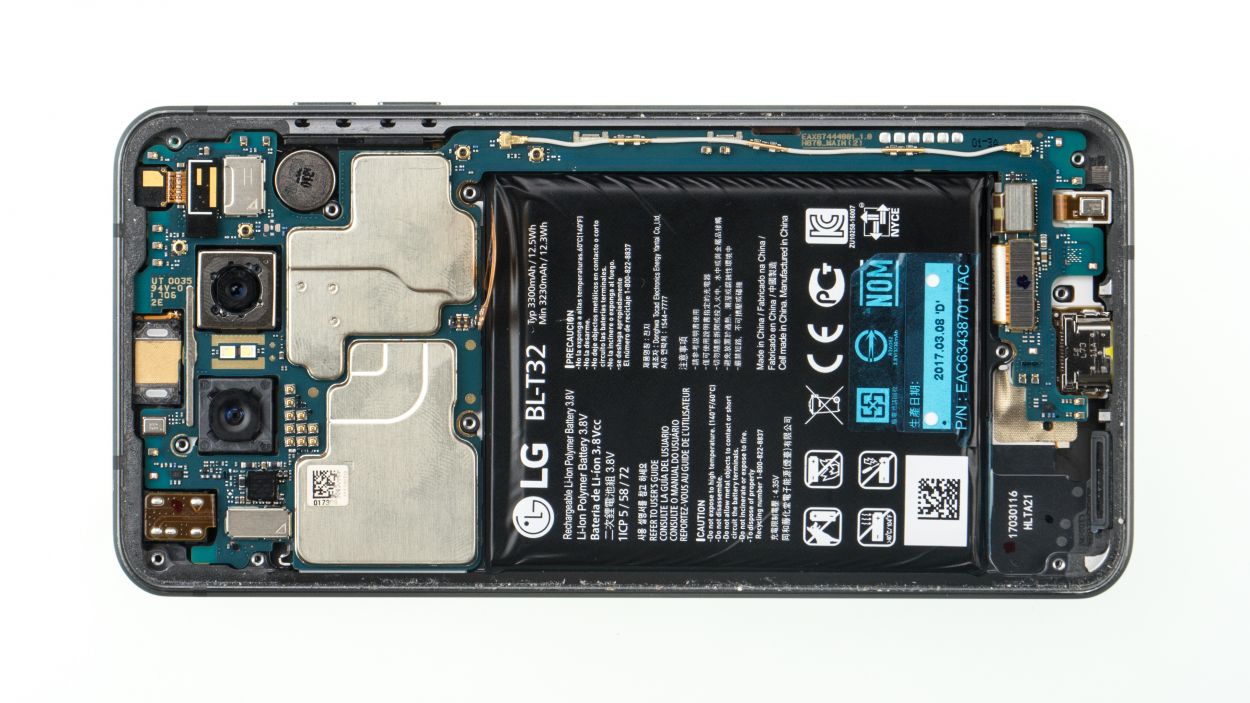
Step 8
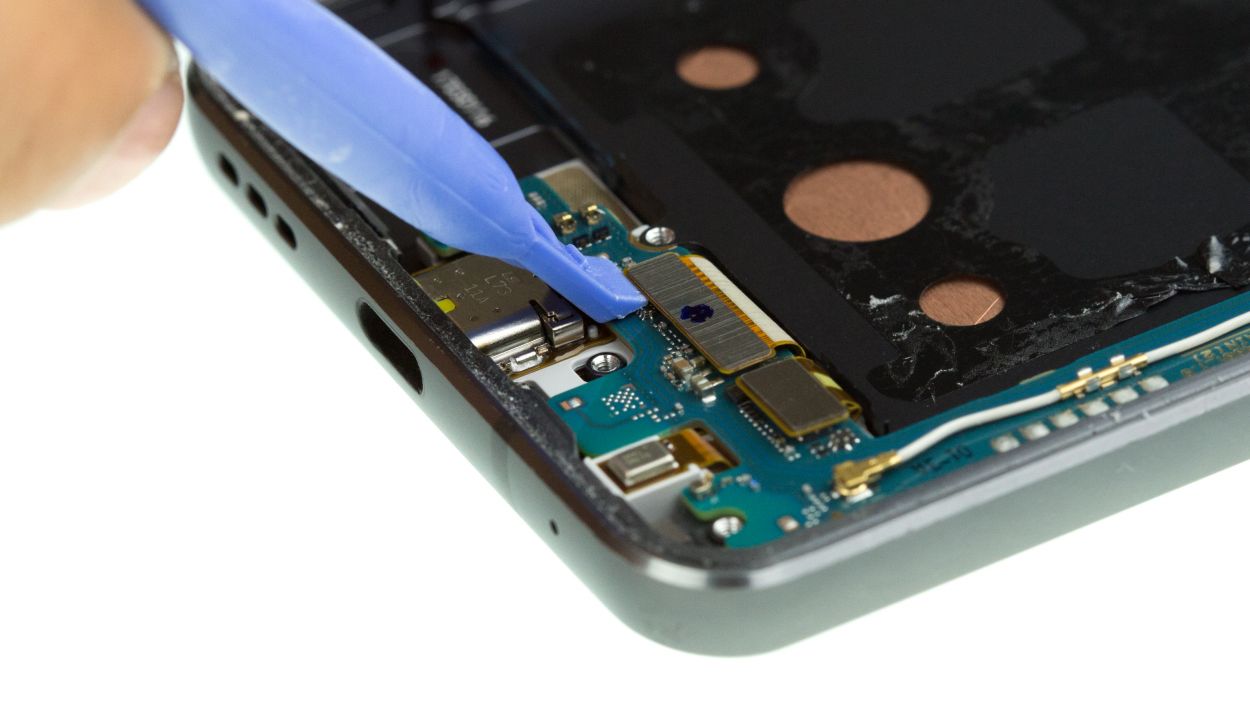
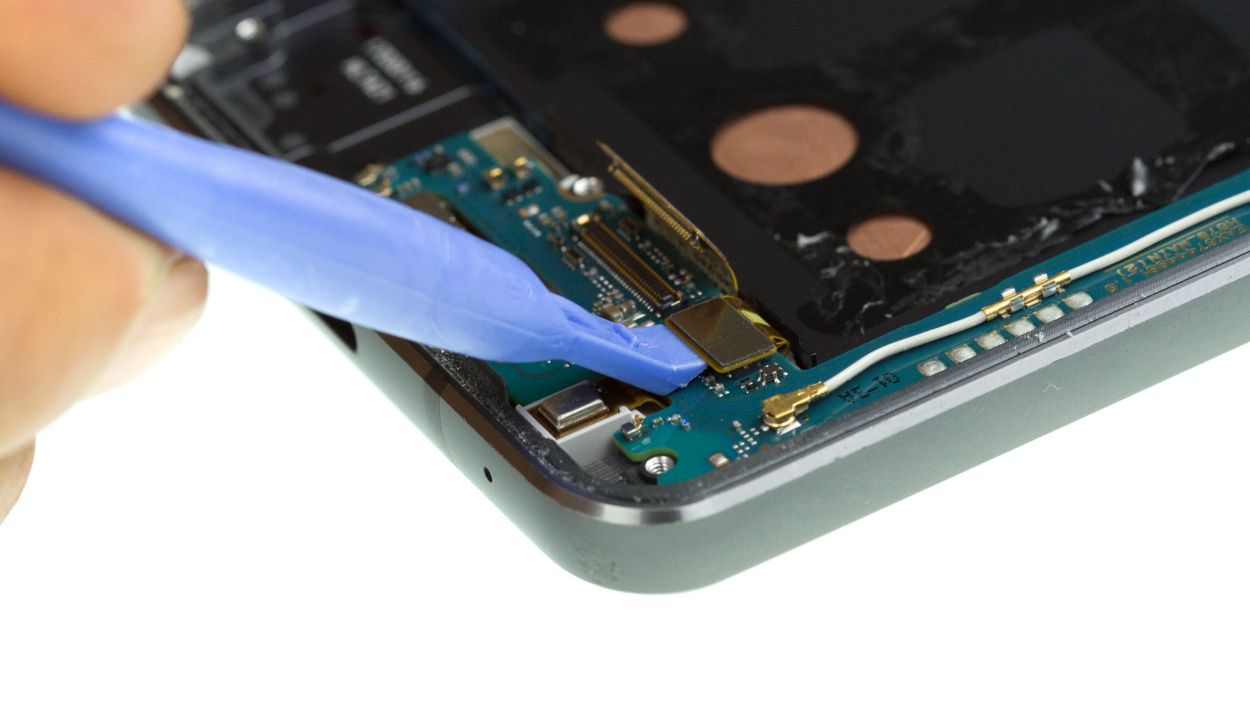
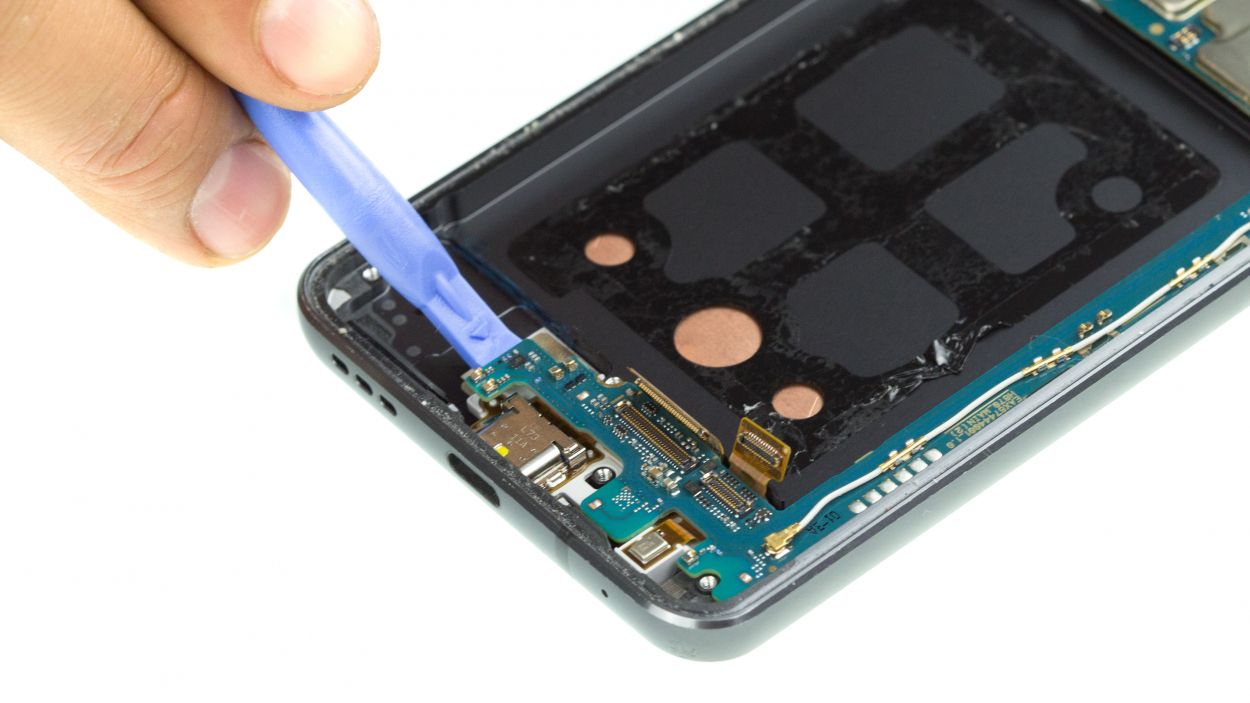
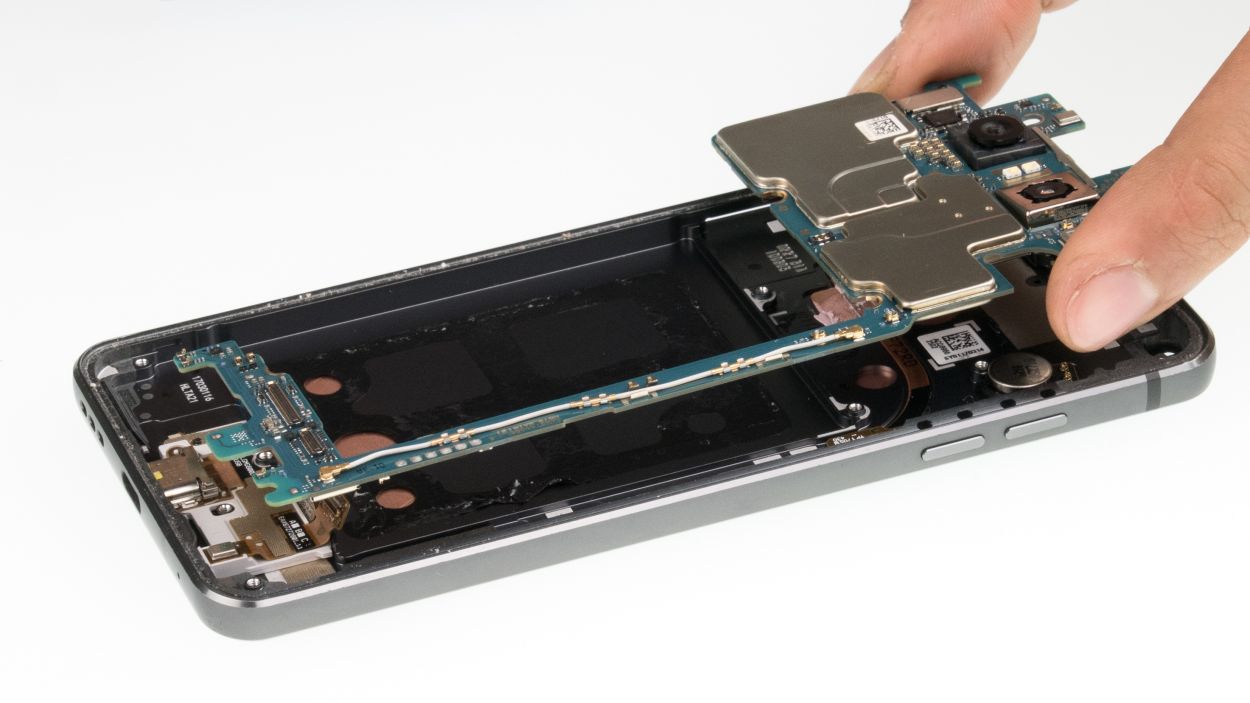
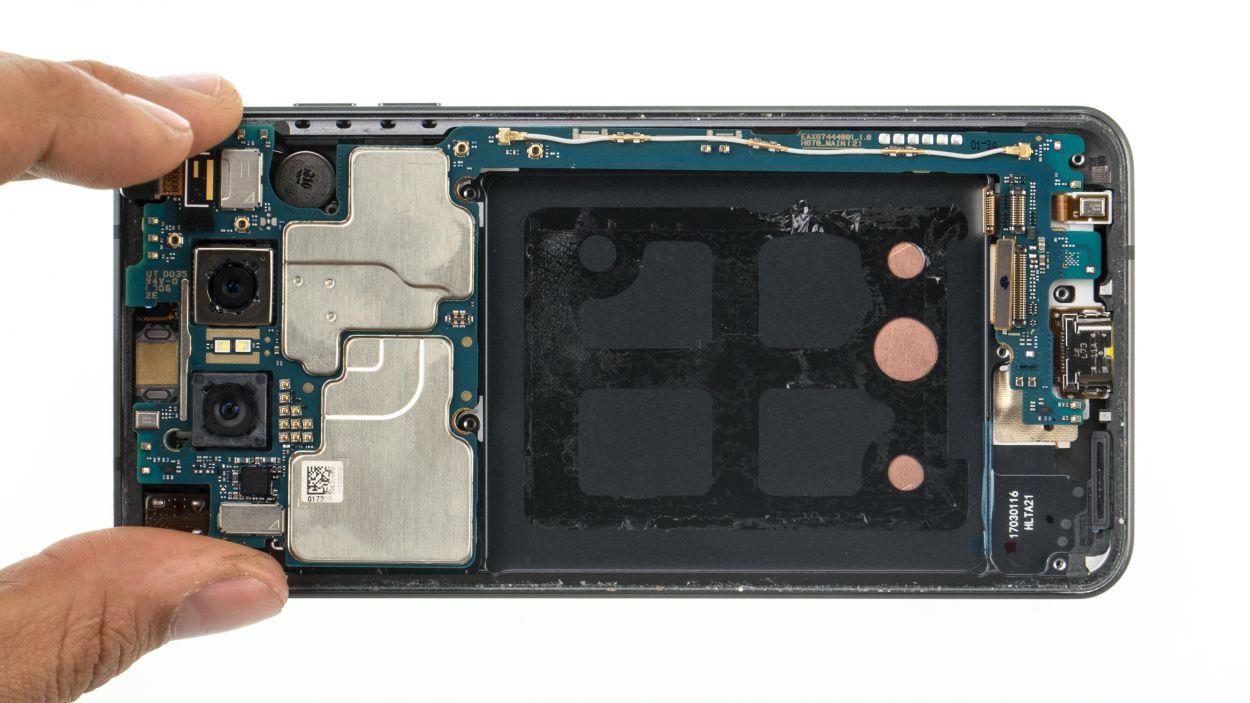
Handle the logic board with care—it’s a delicate little thing that doesn’t like to be bent!
– Gently detach the two connectors on the lower side of the logic board.
– Next up, carefully pry out the lower part of the logic board. And don’t forget to unclip it from the other spots where it’s snugly held in!
Step 9
No need to sweat it! The parts that come with your shiny new display are good to go as is—just leave the old ones where they are. You’re on the right track!
– Peel off all those pesky protective films from the sticky surfaces of your new part.
– Take a moment to compare your new part with the old display. Remember, some components like the USB port or earpiece might already be in place.
– If you notice any missing pieces, go ahead and install them as outlined in the upcoming steps.
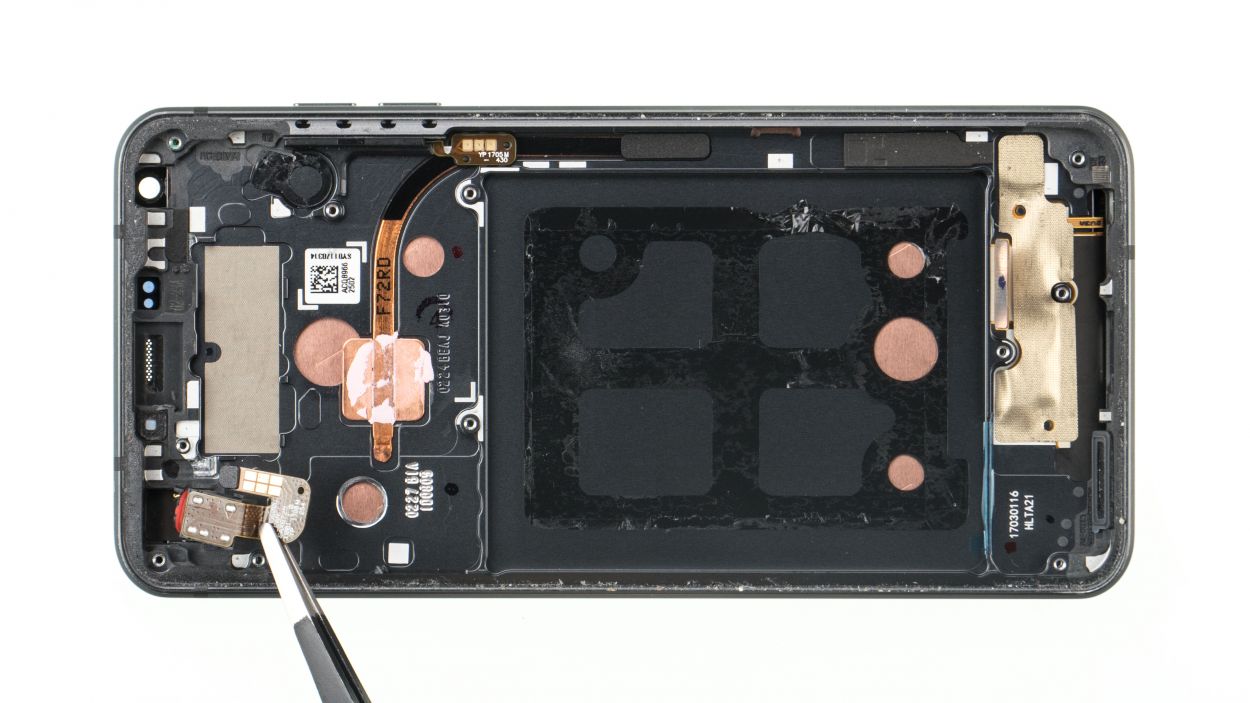
Step 10
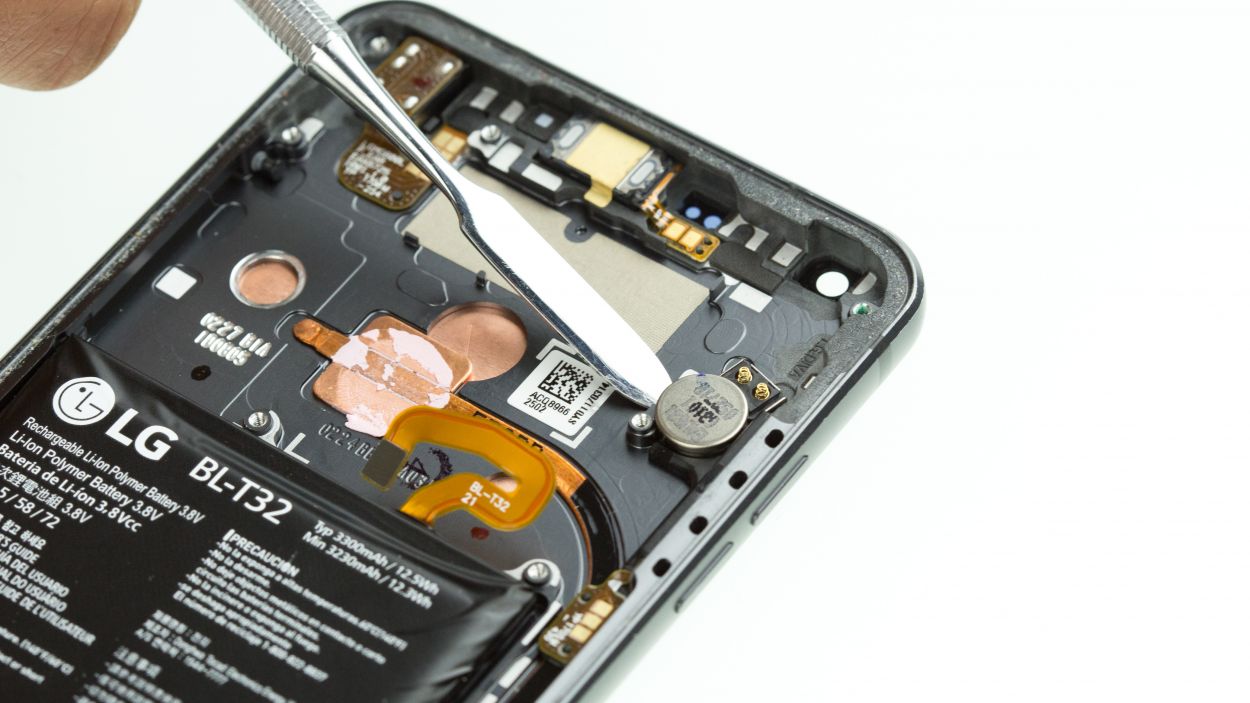
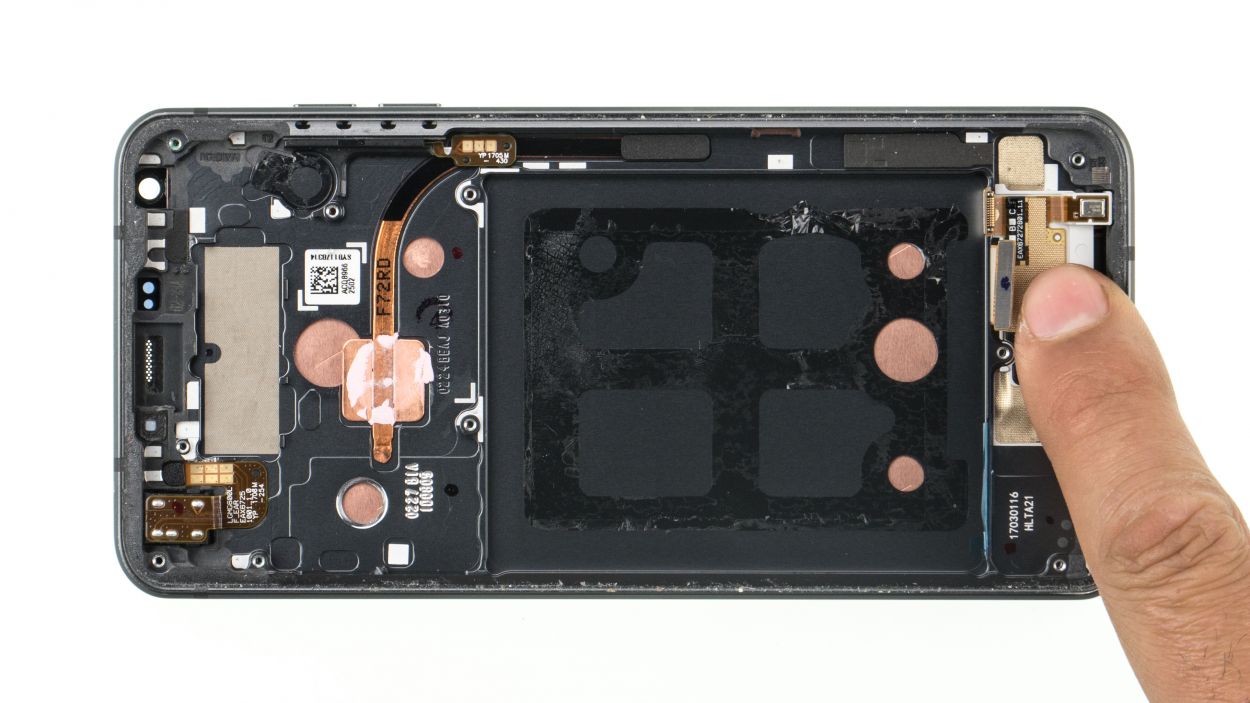
– 1. Gently coax the vibration motor out of the display unit. If it’s feeling a little stubborn, a little heat should do the trick!
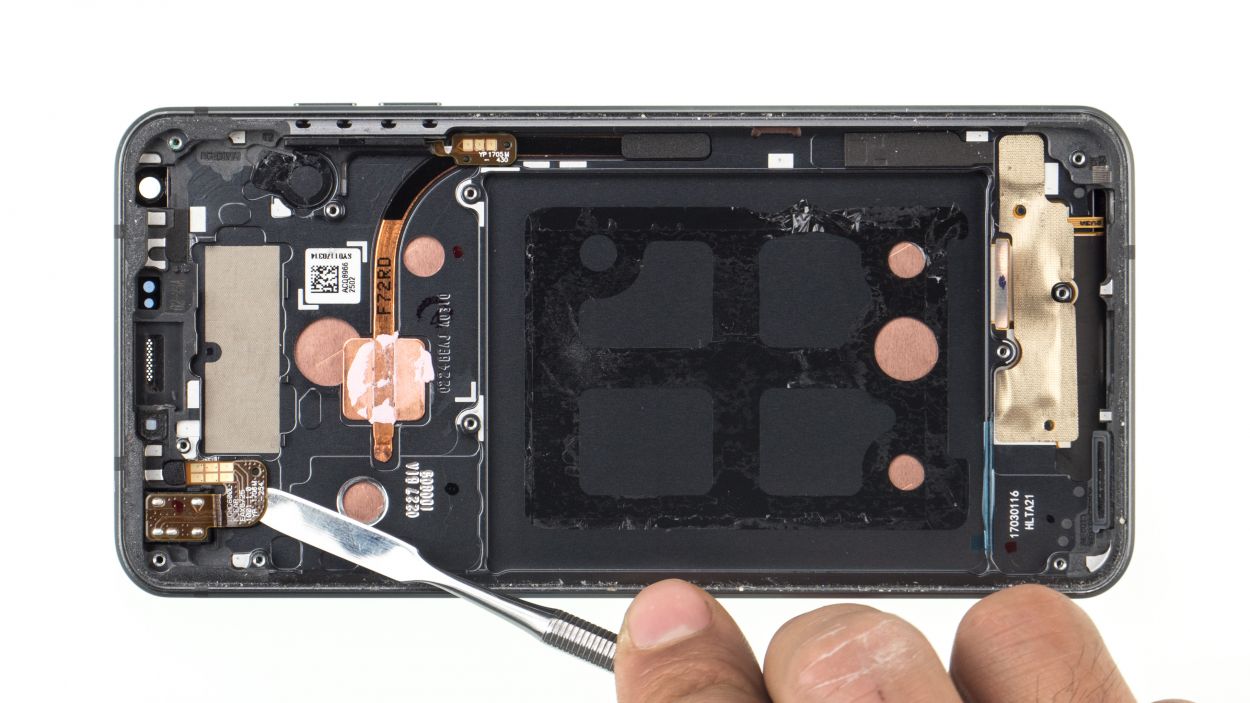
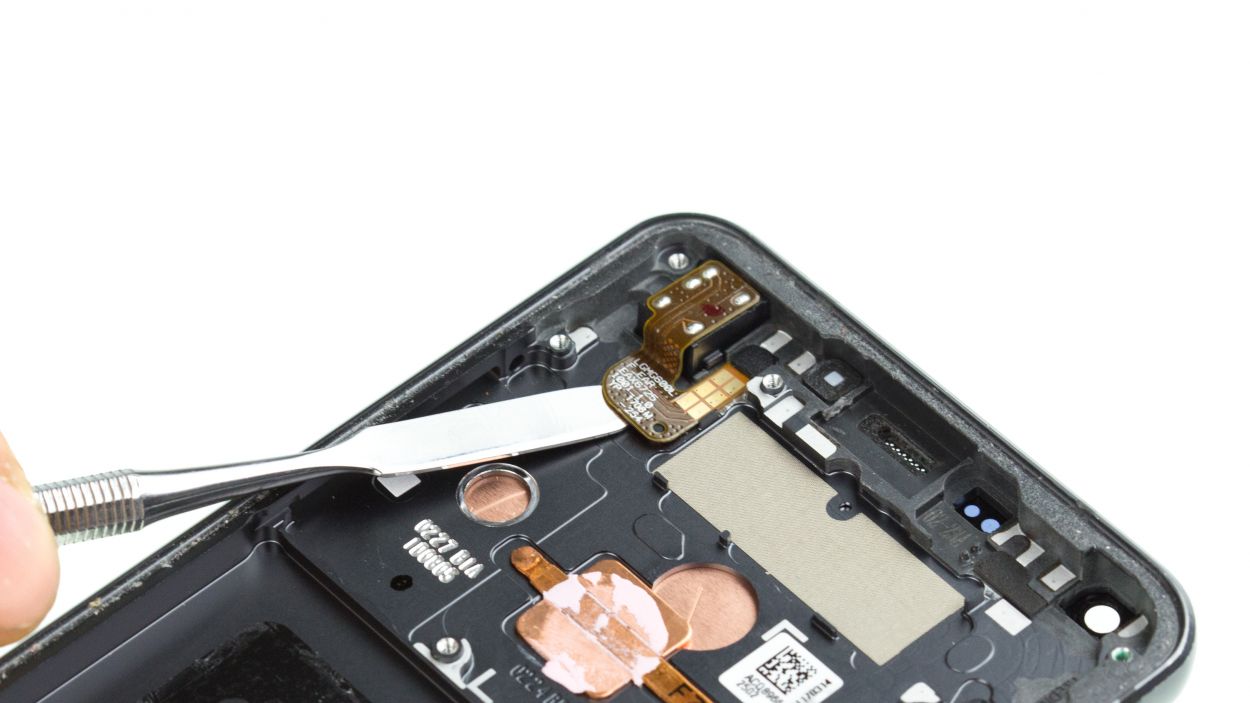
Step 11
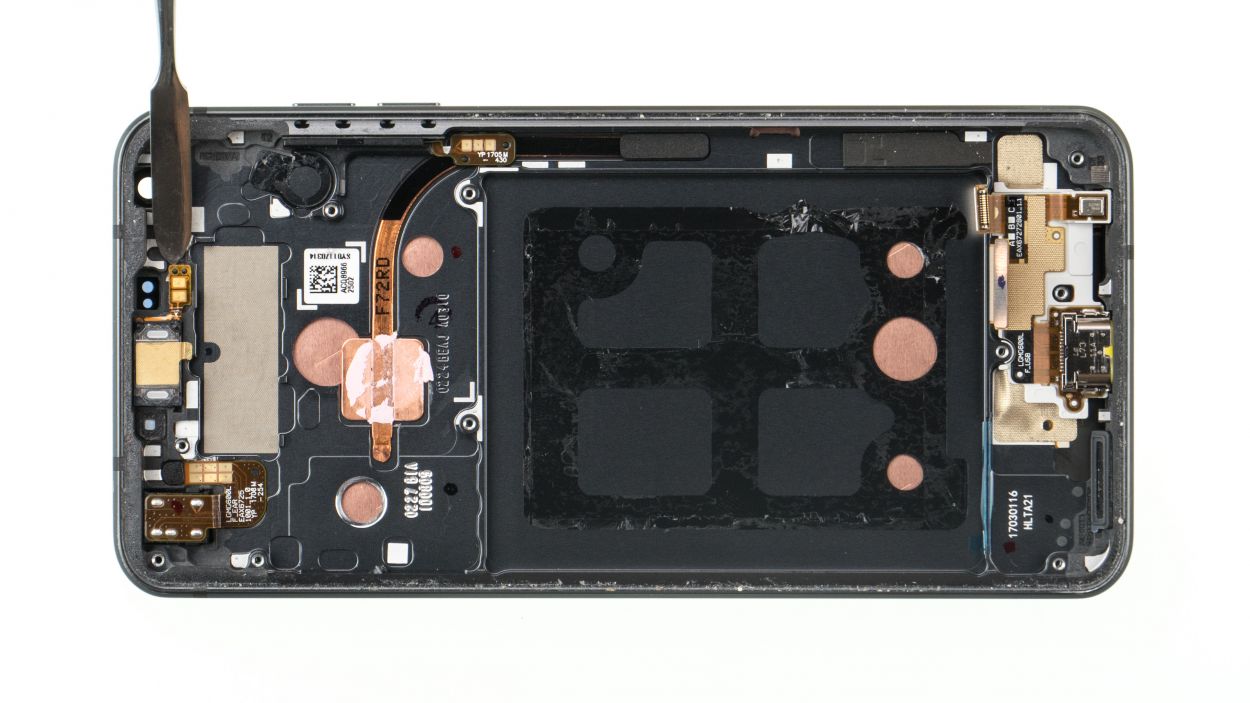
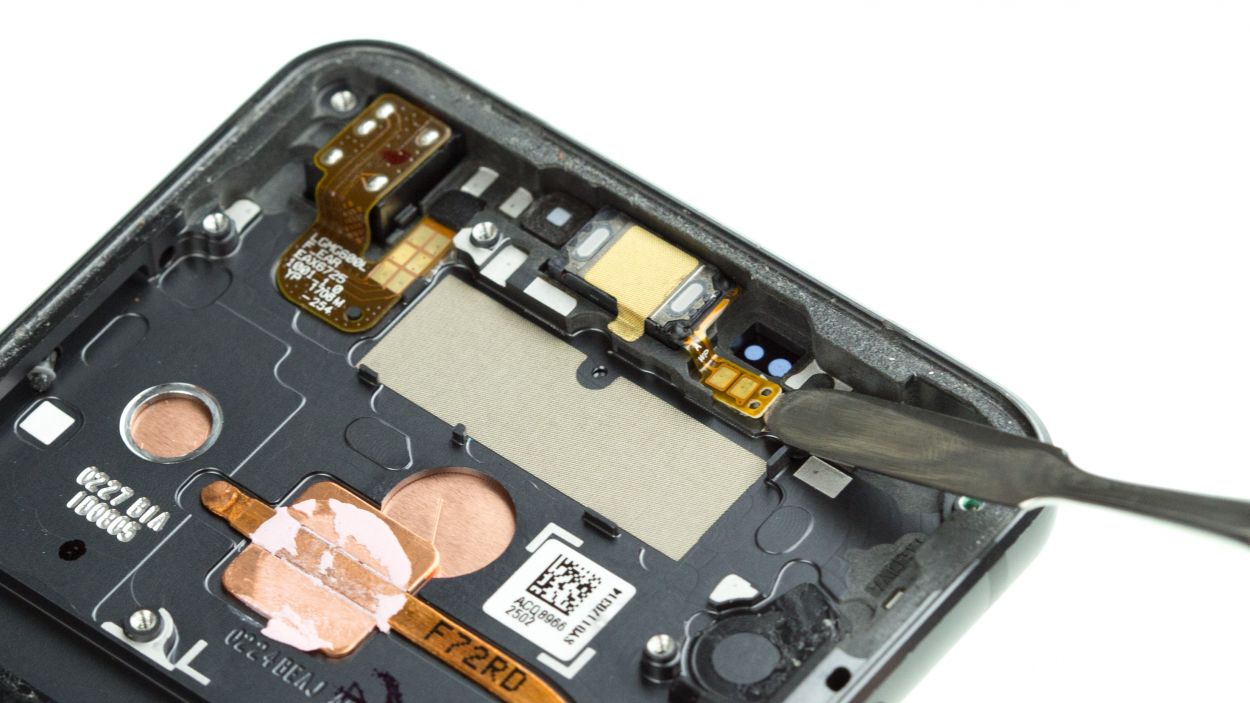
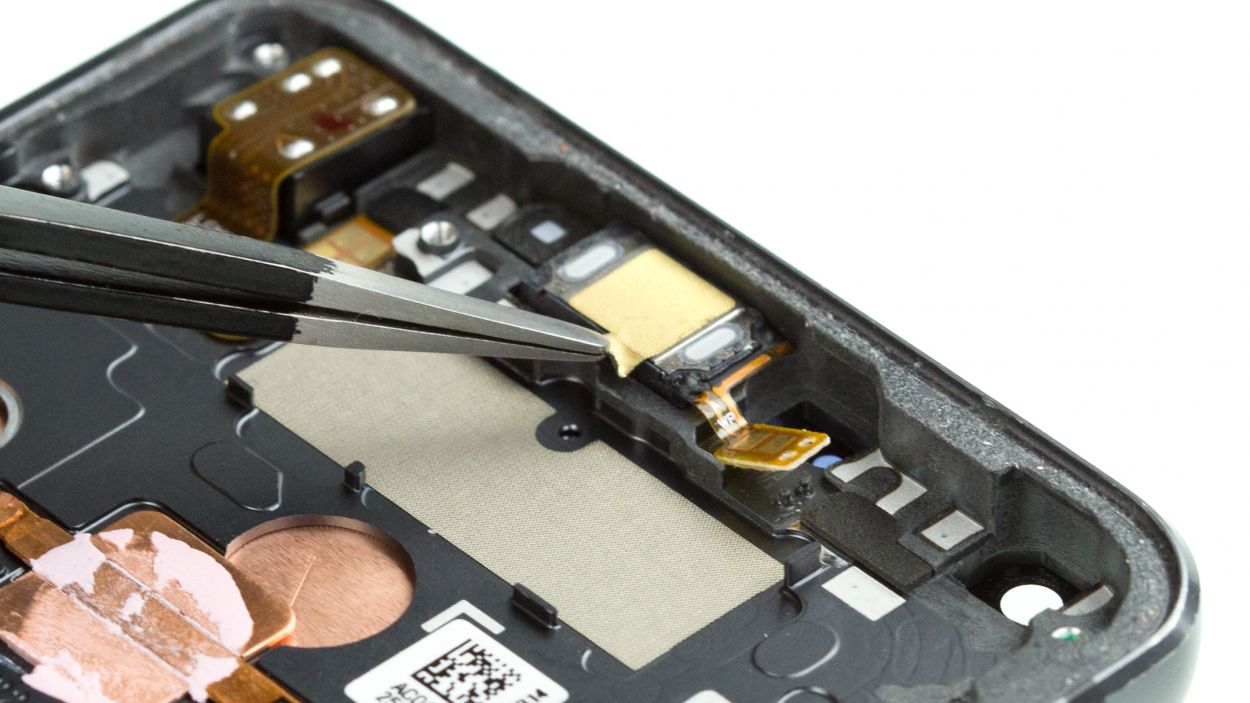
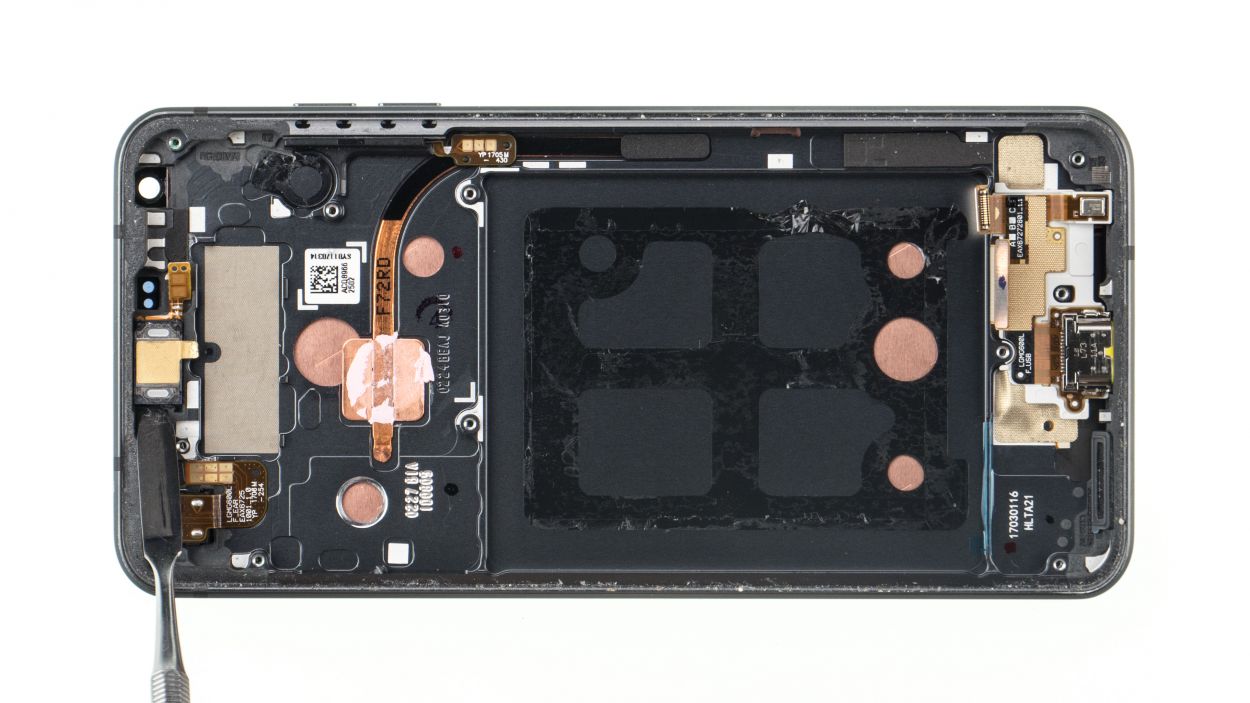
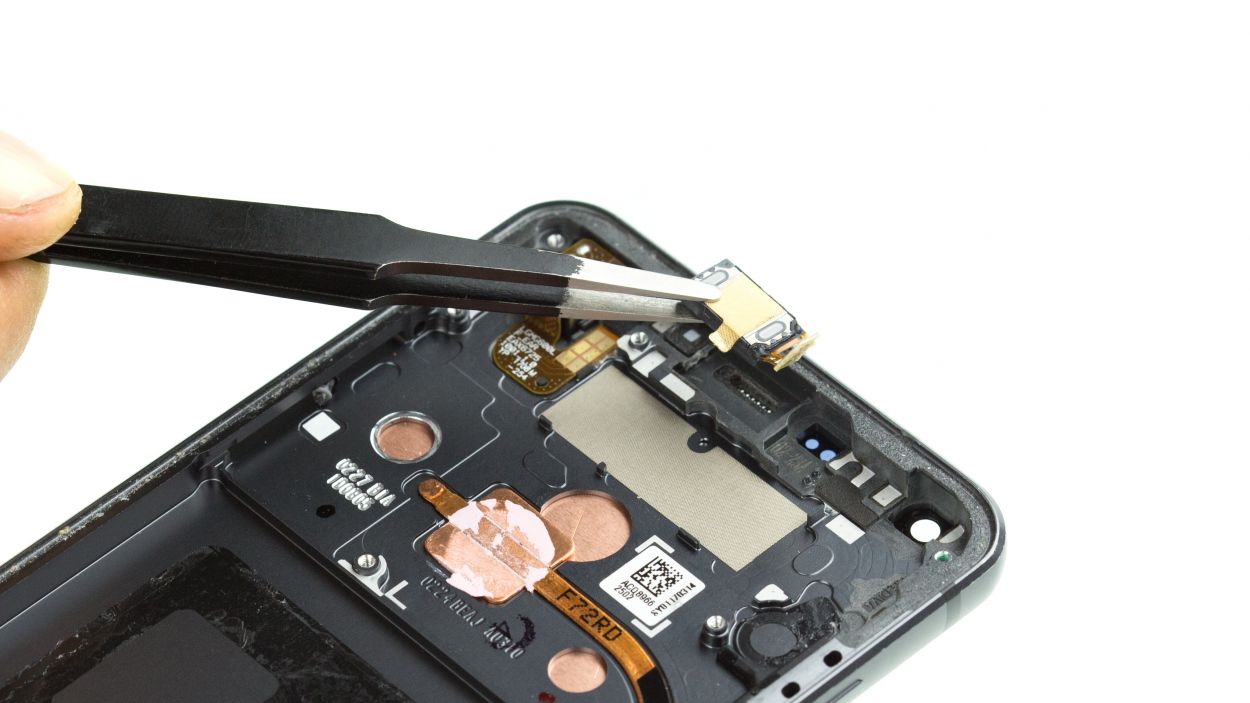
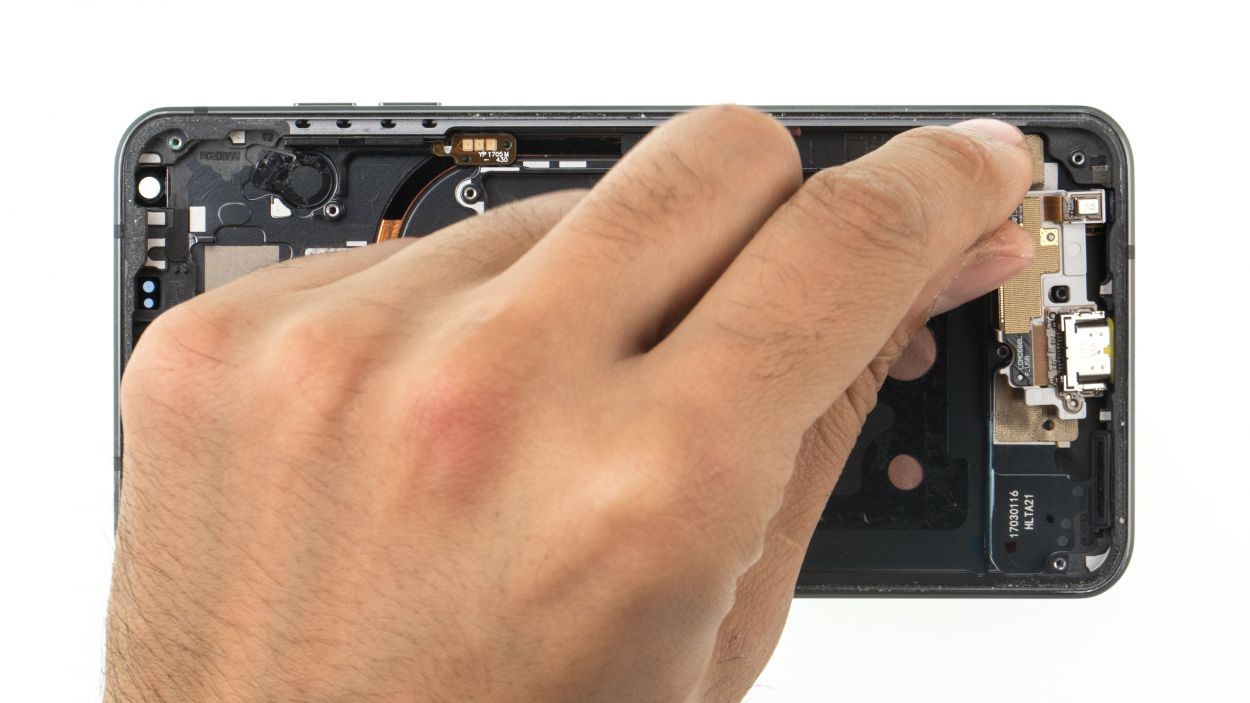
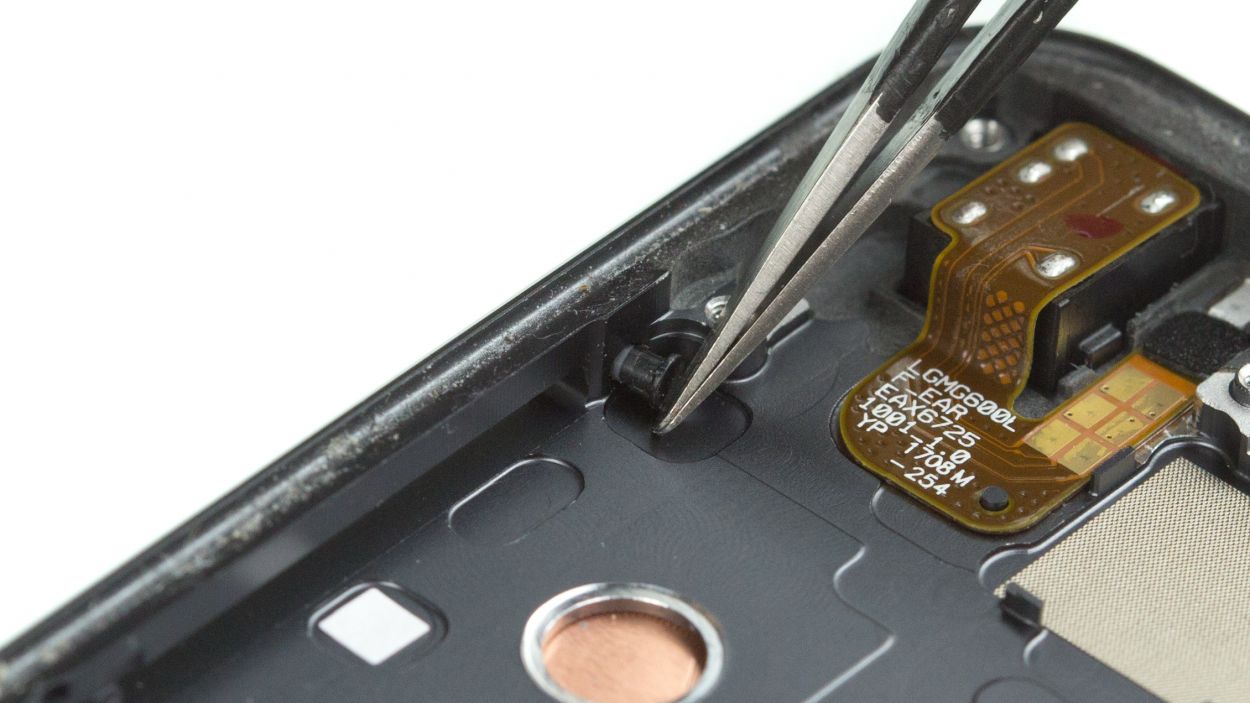
– First release the glued flex cable of the earpiece.
– Then unstick the tape over the earpiece.
– Then carefully pry the earpiece out of its holder and take it out of the device.
Step 12
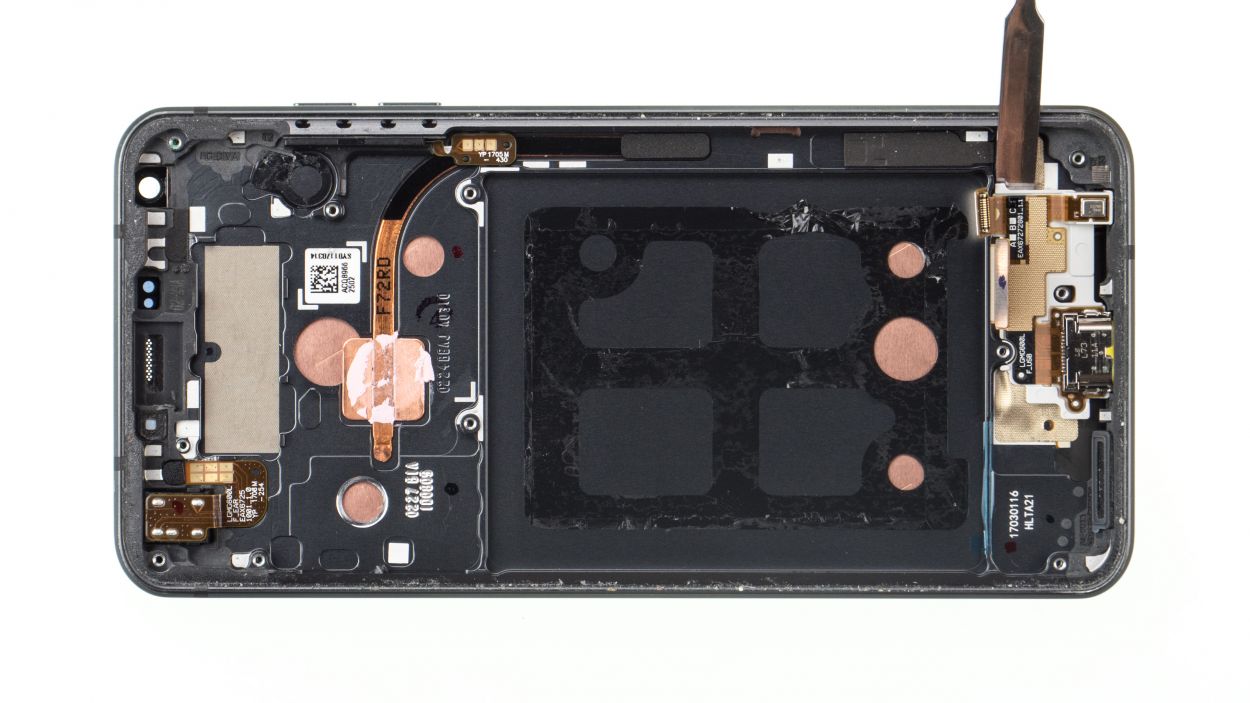
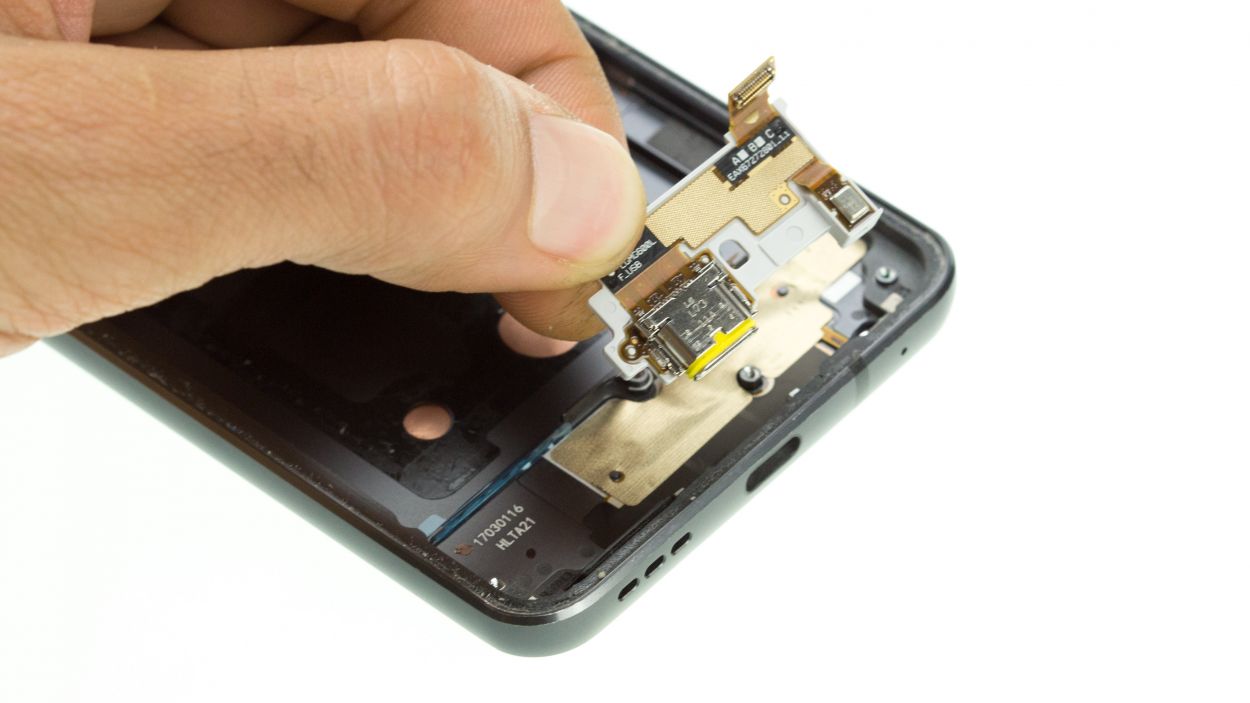
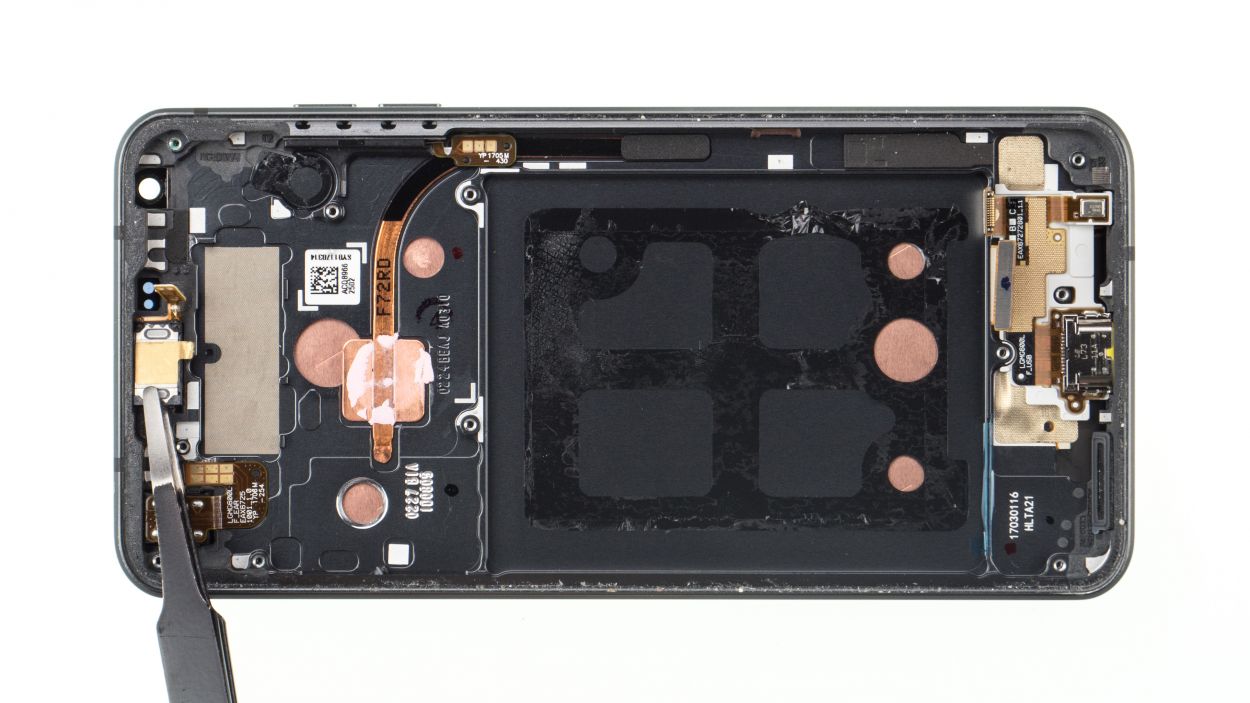
– Gently pop out the plastic board that’s giving the USB port a hard time.
– Carefully remove the part from the device.
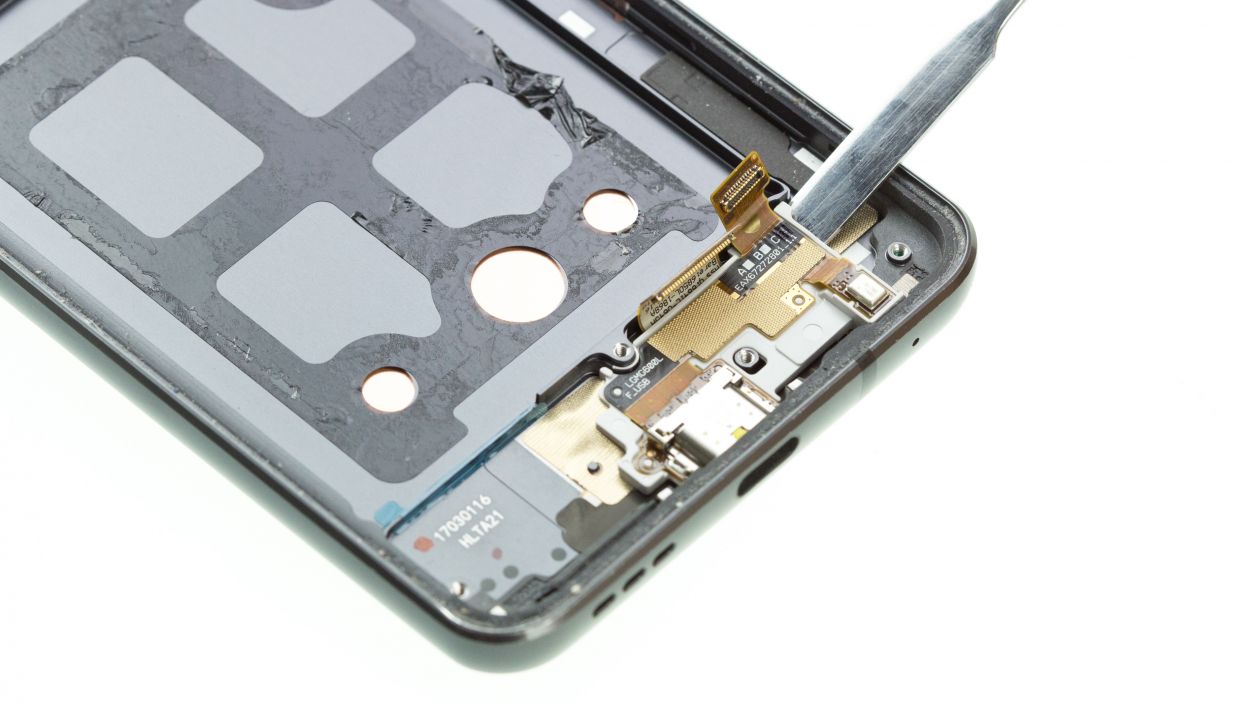
Step 13
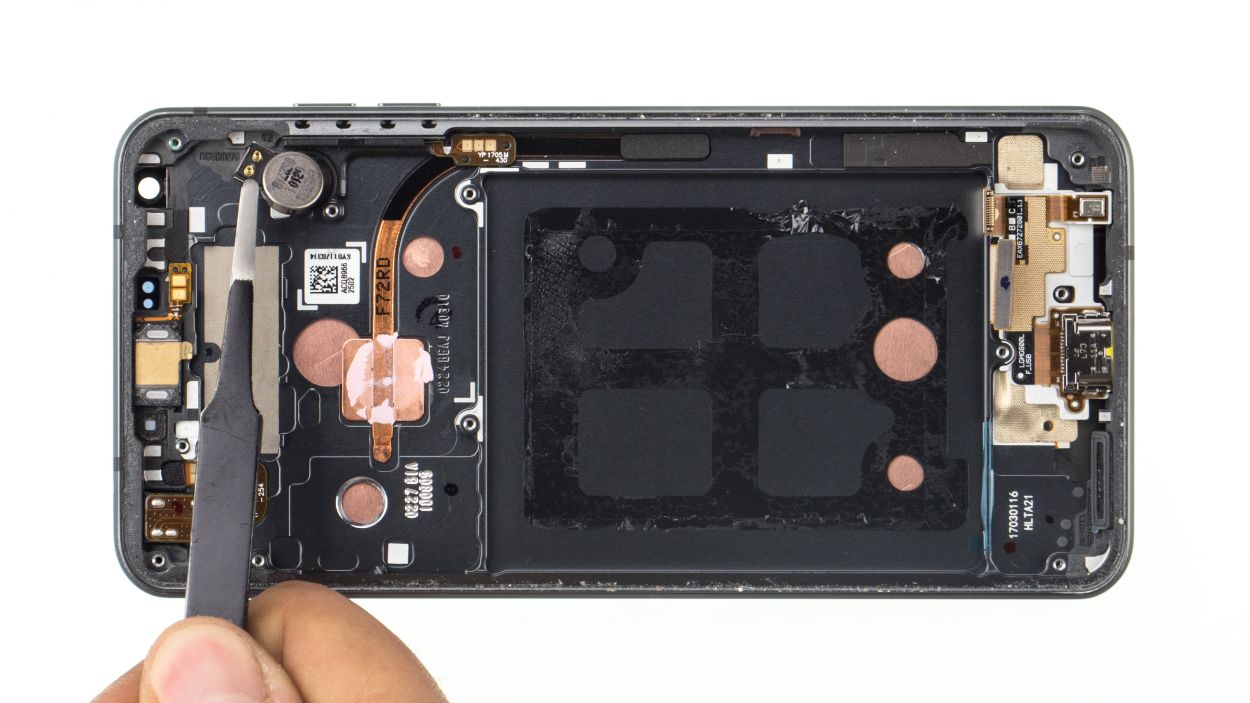
– First, let’s gently disconnect the flex cable from the audio port.
– Next, carefully pop out the audio port and remove it from your device.
Step 14
– Nestle the audio port back into its cozy holder and give it a gentle press until it sticks like a champ.
– Align the flex cable just right and press down firmly. That little hole should slide perfectly over the pin in your device!
Step 15
– Time to slide the USB port back in its rightful spot!
– Give it a push – you’ll hear a cheerful click when it’s right!
Step 16

– Put that earpiece right where it needs to be and give it a little push.
– Attach that tape again, you’ve nearly got it!
– Give the flex cable a little press. Those holes and pins are made for each other!
Step 17
– Pop that vibration motor right into the display unit and give it a little press to let it know it’s home sweet home!
Step 18

Hey there! Just a gentle reminder to keep the battery cable and those two connectors hanging loose at the bottom; they love to wander under the board, and we don’t want that. Keep everything nice and tidy!
– First, let’s make sure that the SIM tray pin is snugly in its spot. If it’s gone on a little adventure, just pop it back where it belongs.
– Now, gently place the logic board back into its cozy home inside the device.

Step 20
If you need to, go ahead and pop in those SD/SIM cards first!
– Slide the SIM tray back into the device.
Step 22
7 × 2.7 mm Phillips
– Slide the midframe back into your device and give it a little push. You got this!
– Secure it with those Phillips screws. They’re your trusty sidekicks!
Step 23


4 × 2.7 mm Phillips
– Gently nestle the speaker into its cozy spot in the device and give it a little press to make it feel at home.
– Tighten those Phillips screws like you mean it!
Step 24
Want to boost that glue’s grip? Give the rear glass a little warmth again to help it stick like a pro!
– Place the rear glass back on the device and press it on.
Step 25
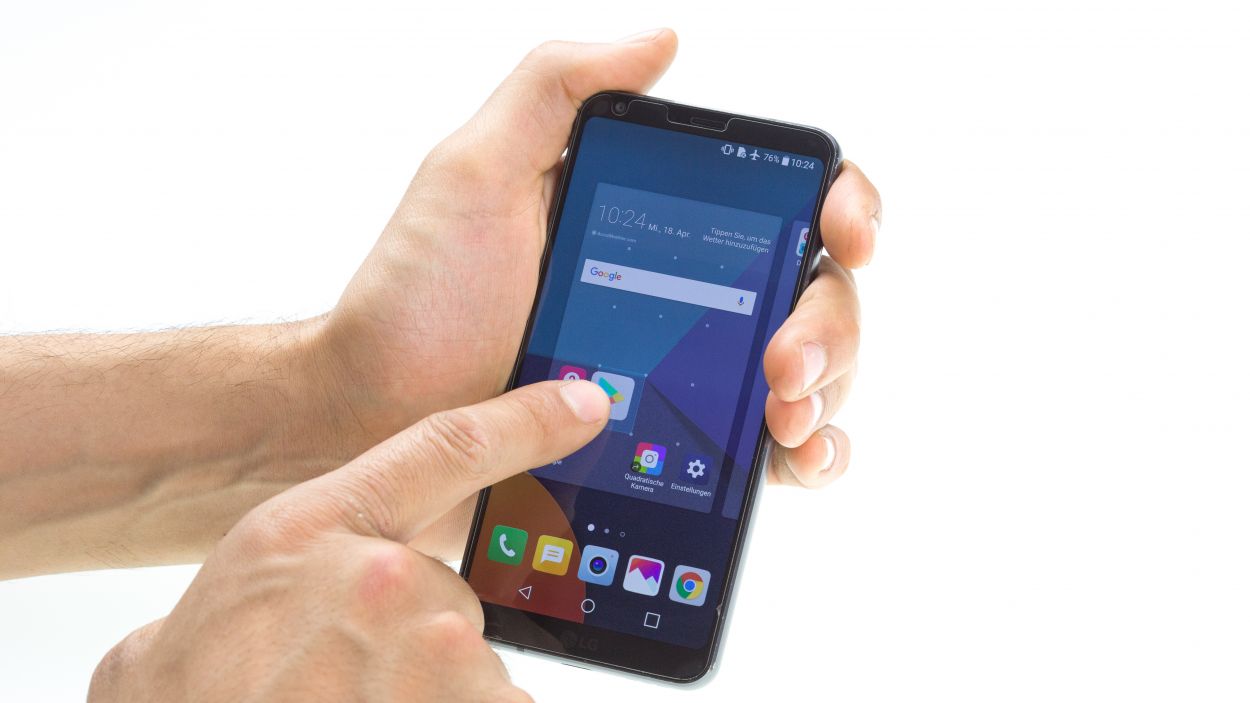
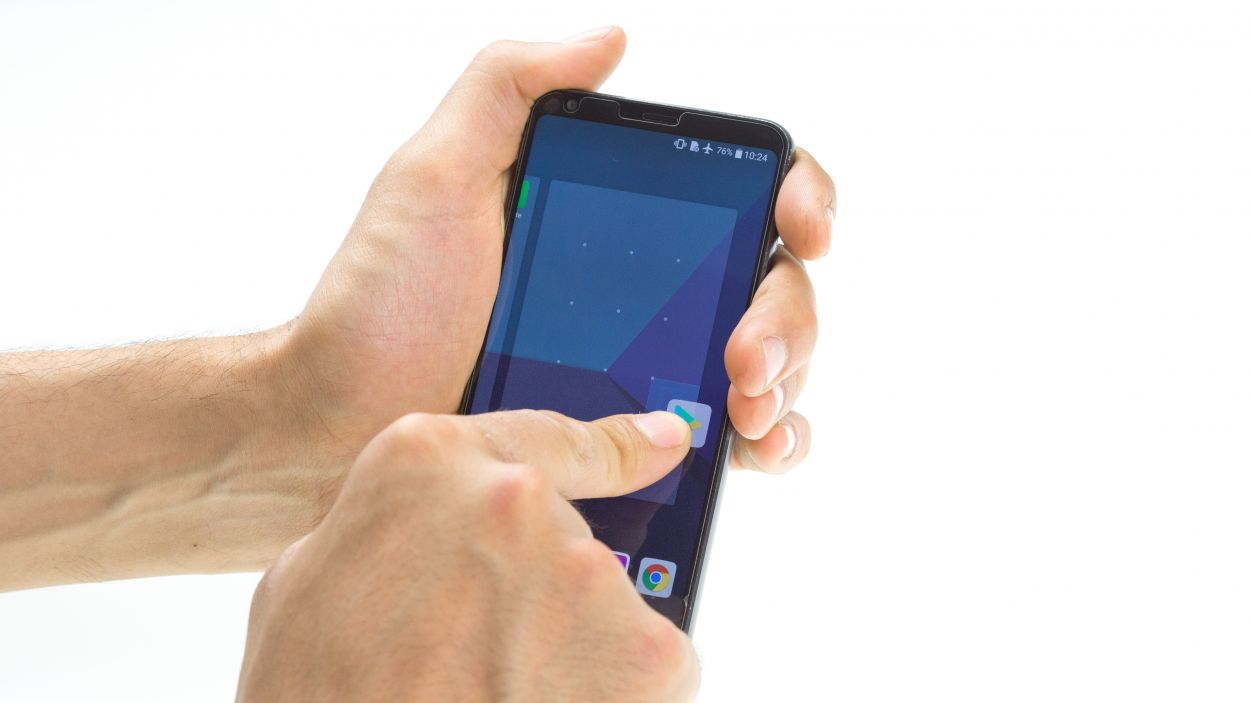
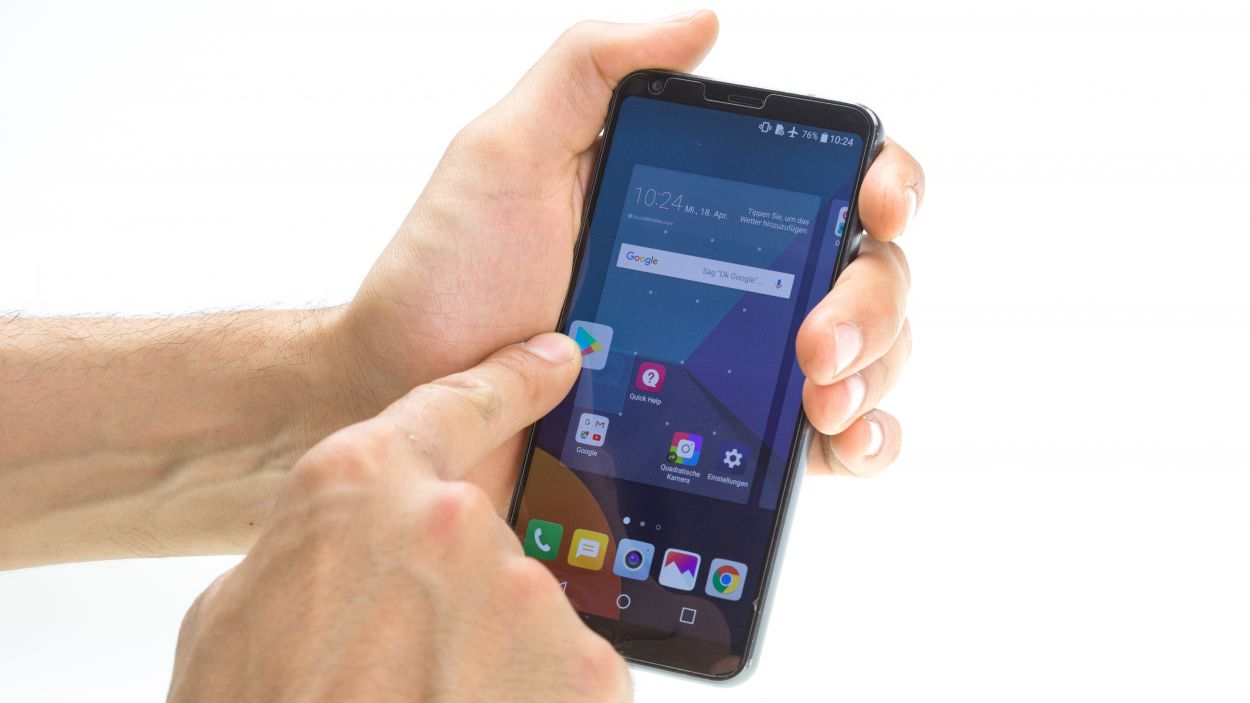
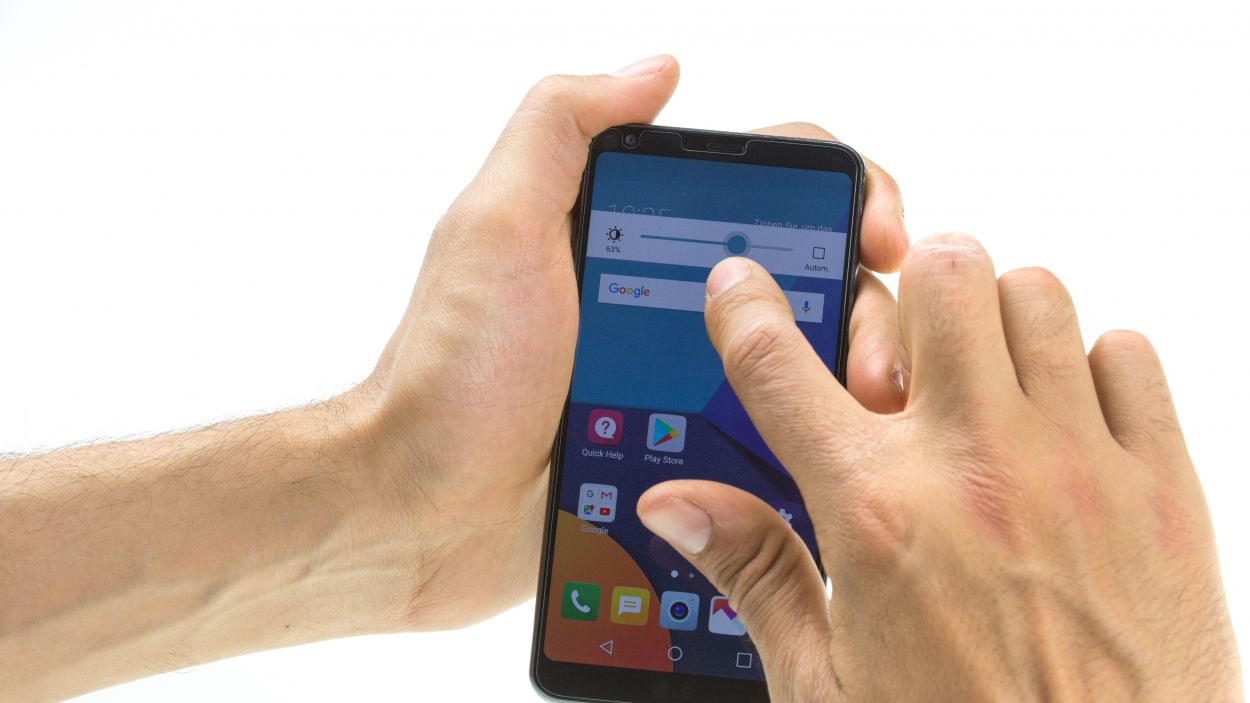
– First up, power on your device and get ready to have some fun! Take any app and glide it across the whole screen. Give it a spin around the edge, and then zigzag it like you’re drawing a funky pattern. Remember, the app is your dance partner, so let it follow your lead!
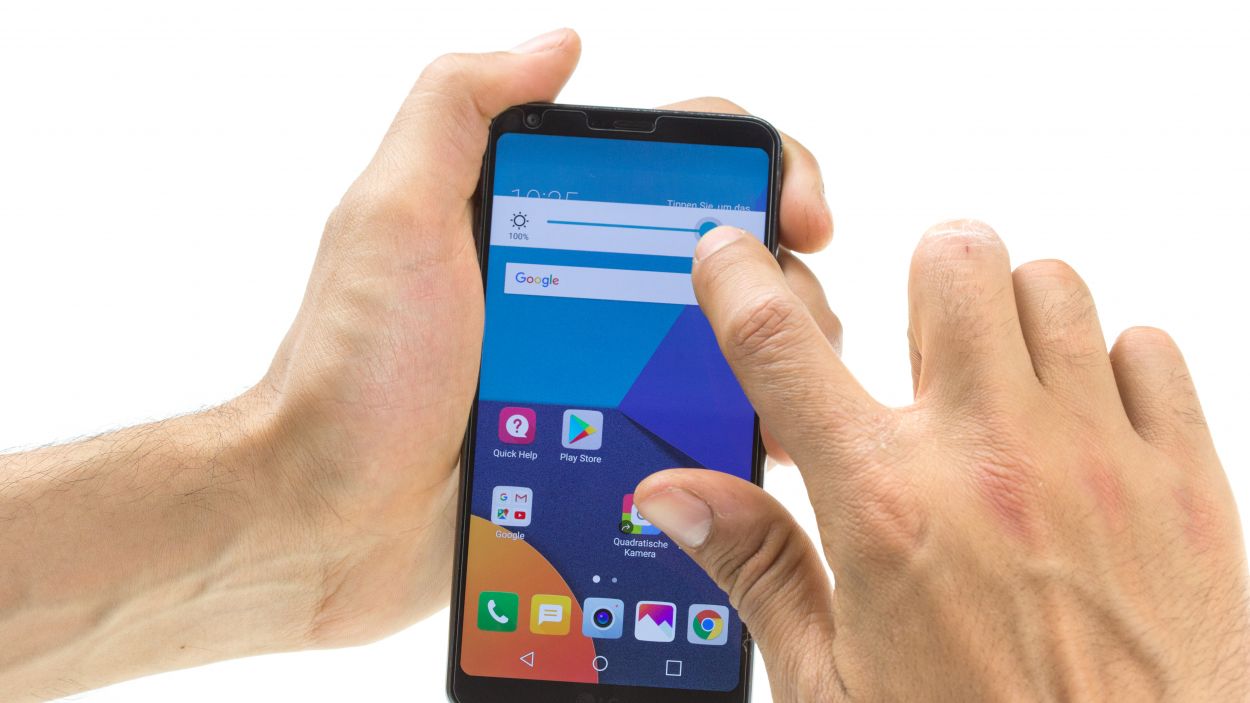
– Next, let’s play with the display brightness! Slide that brightness bar all the way down to dim, then crank it all the way up to bright. It’s like giving your screen a little sunbath!