
How to Replace LG G7 ThinQ Back Cover Tutorial
Duration: 15 min.
Steps: 4 Steps
The repair is a bit more difficult because the back cover of the LG G7 ThinQ is glued on strongly.Make
a backup before the repair, use a clean work surface and take your
time. If you are stuck at any point, simply contact our live chat or
write a comment at the end of the guide.
Step 1

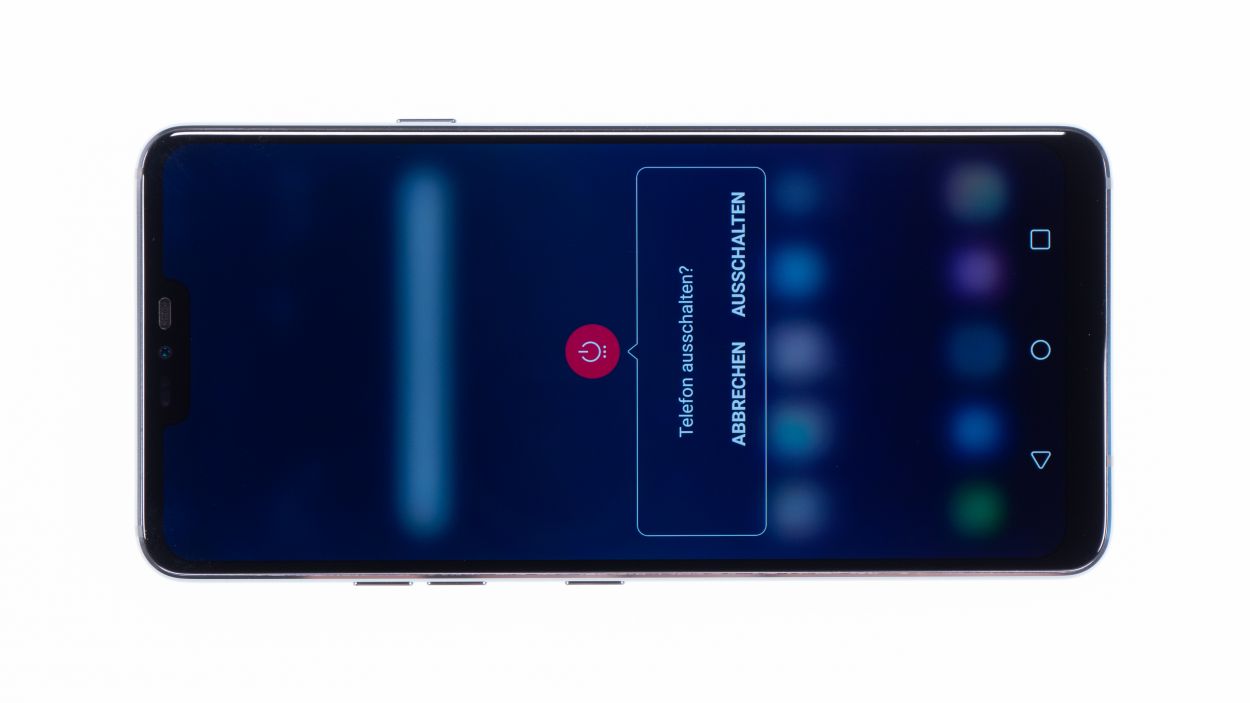
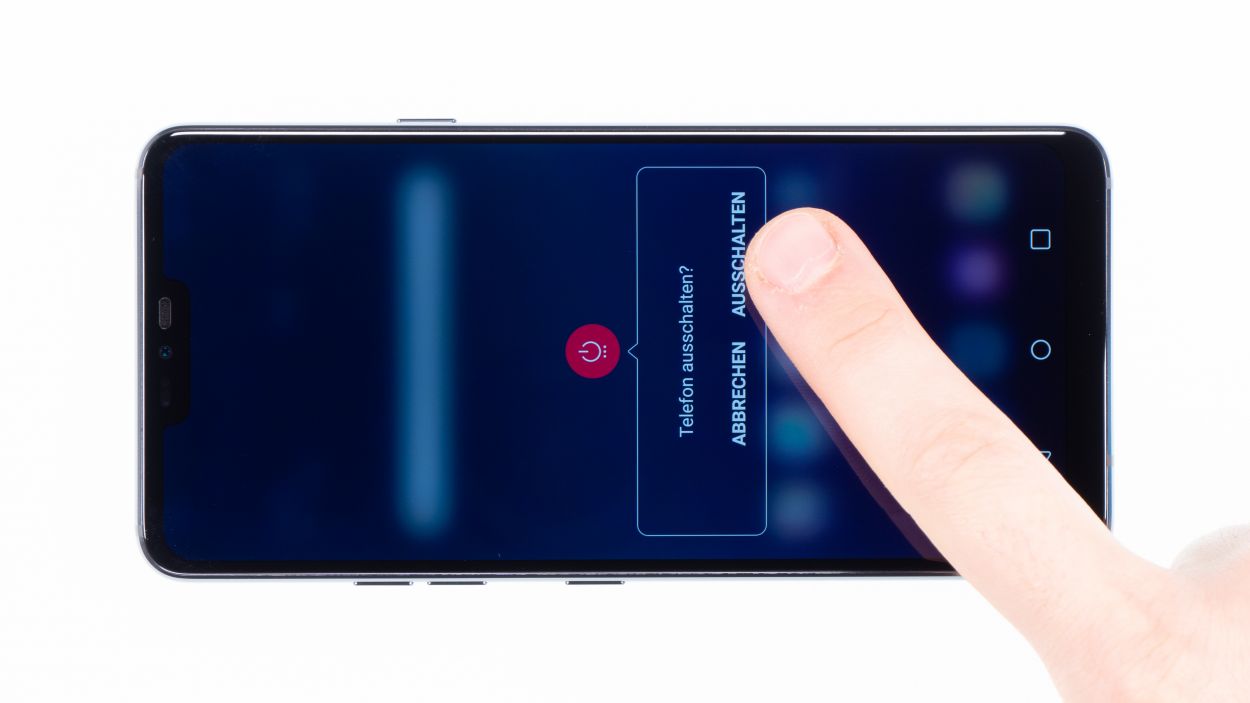
– Turn off your device by holding down the power button on the side until the “Power off” option appears.
– Tap to confirm and wait until the screen goes black.
Step 2
– Get ready to rock and roll! First, warm up your device with a hot air blast to get that glue nice and gooey. Aim for around 60 – 80°C – just warm enough that you can still handle your device without it feeling like a hot potato.
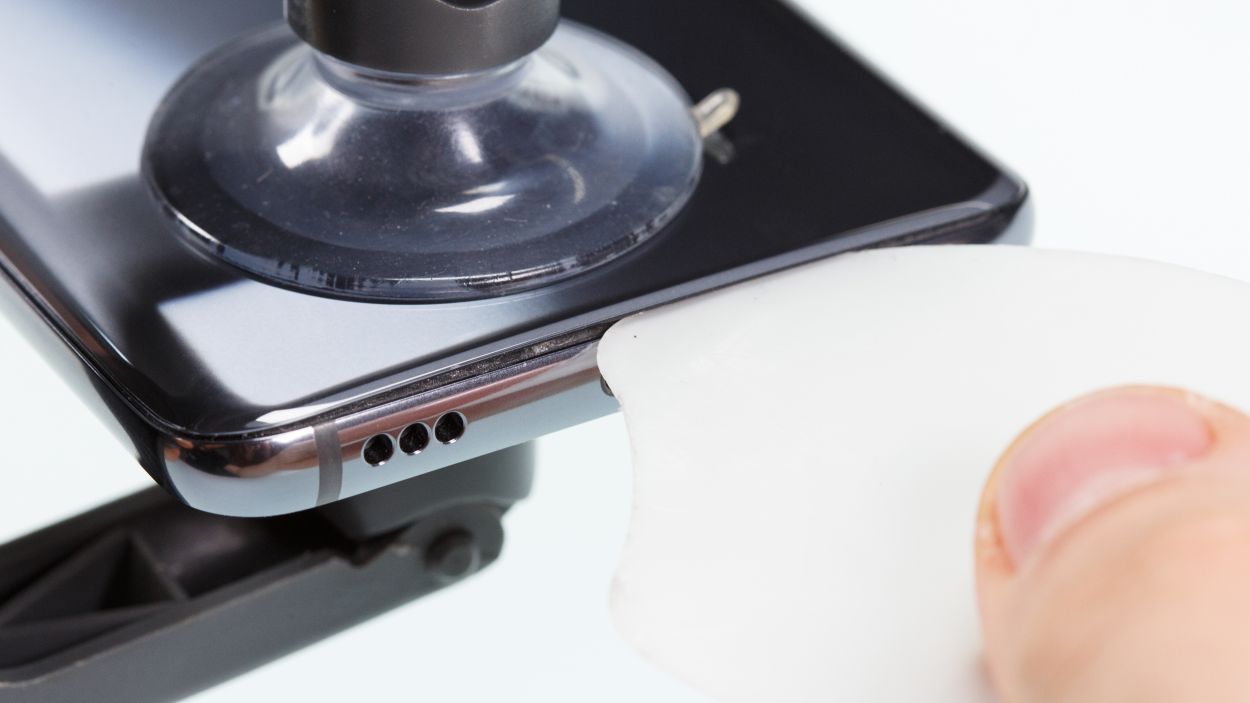
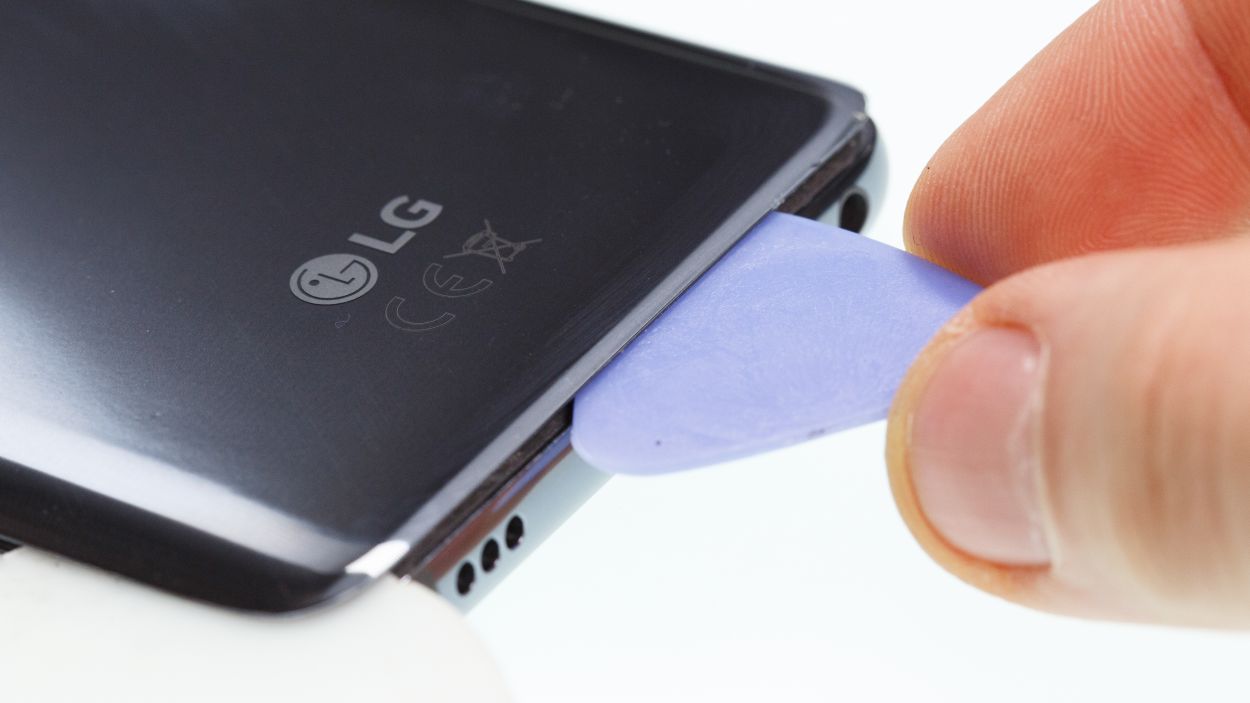
– Now, grab a flat, flexible buddy like the iPlastix or iFlex. They’ll help you pop open that back cover like a pro. Get yourself a few picks too, you’ll need them to unstick that pesky cover from all angles.
– Start by heating up the spot where you want to begin and slide your flat buddy between the back cover and the frame. It’s like a delicate dance, just be gentle and work your way around the phone.
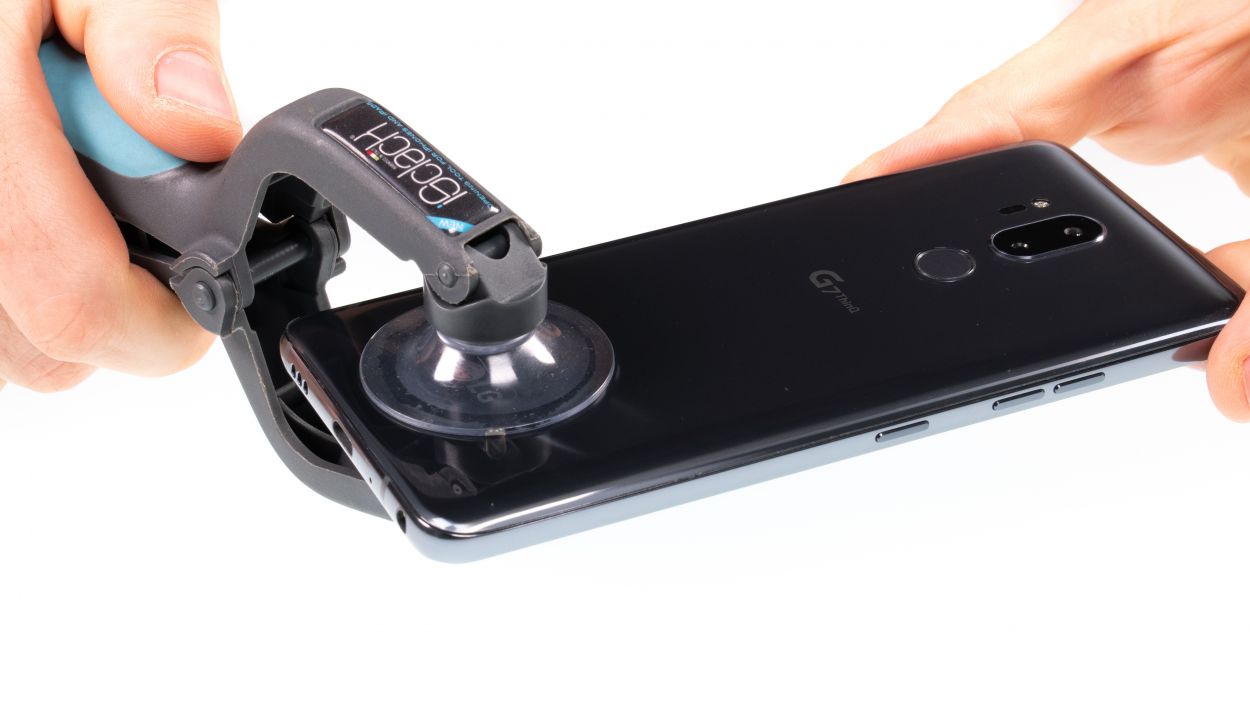
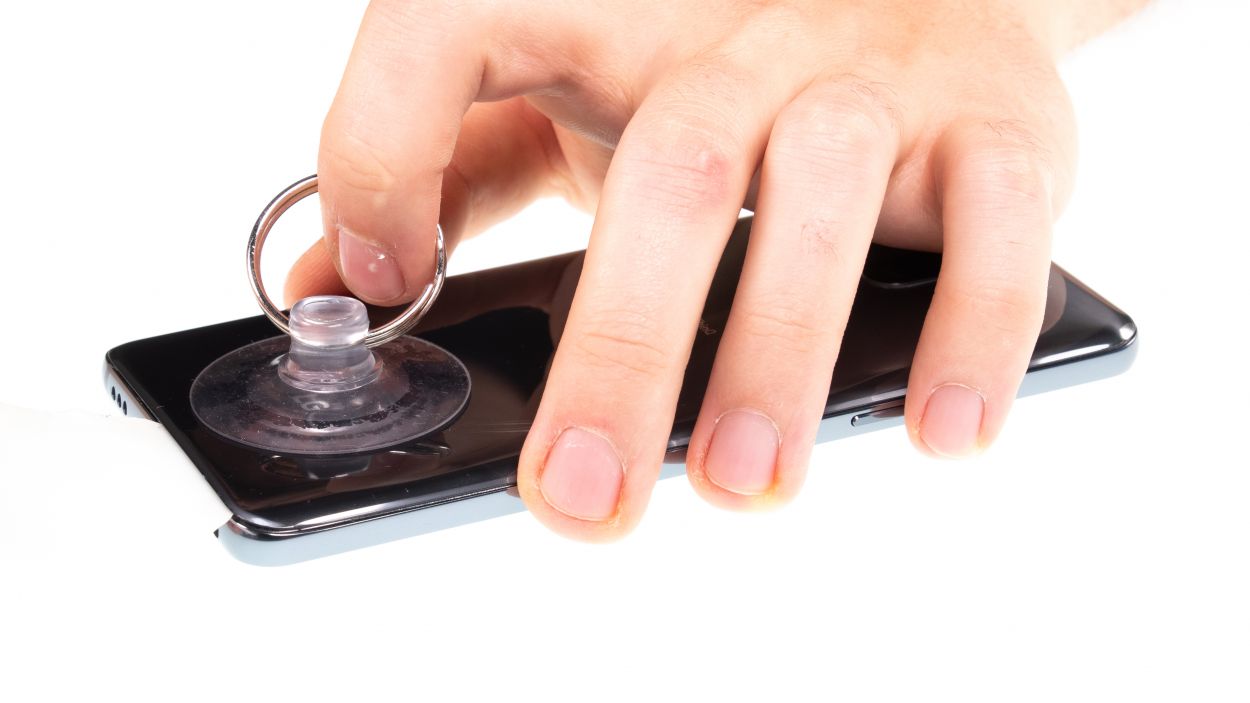
– If you’re feeling stuck, try a suction cup to lift the glass. It’ll give you just enough room to slide in your trusty flat tool.
– And here’s where the iSclack comes in handy! Just pop those suction cups on both the display and the backcover, then squeeze the tool like a pair of pliers. That back cover will lift off like a charm, leaving you with a nice, flat surface to work on.
Hey there! Just a friendly reminder to handle that back cover with care—it’s a bit fragile! If it’s giving you a hard time, feel free to warm it up a few times and give it another go. Remember, taking your time is key; it might take around half an hour, but being patient will help you avoid any mishaps. You’ve got this!
The iPlastix is crafted from plastic, so no worries about scratching your device! On the flip side, it’s a bit soft and can be a challenge to insert. The iFlex is your go-to for sliding smoothly into that gap between the glass and frame, thanks to its ultra-thin, sturdy metal design. Just be cautious, as it may scratch the device frame more easily.
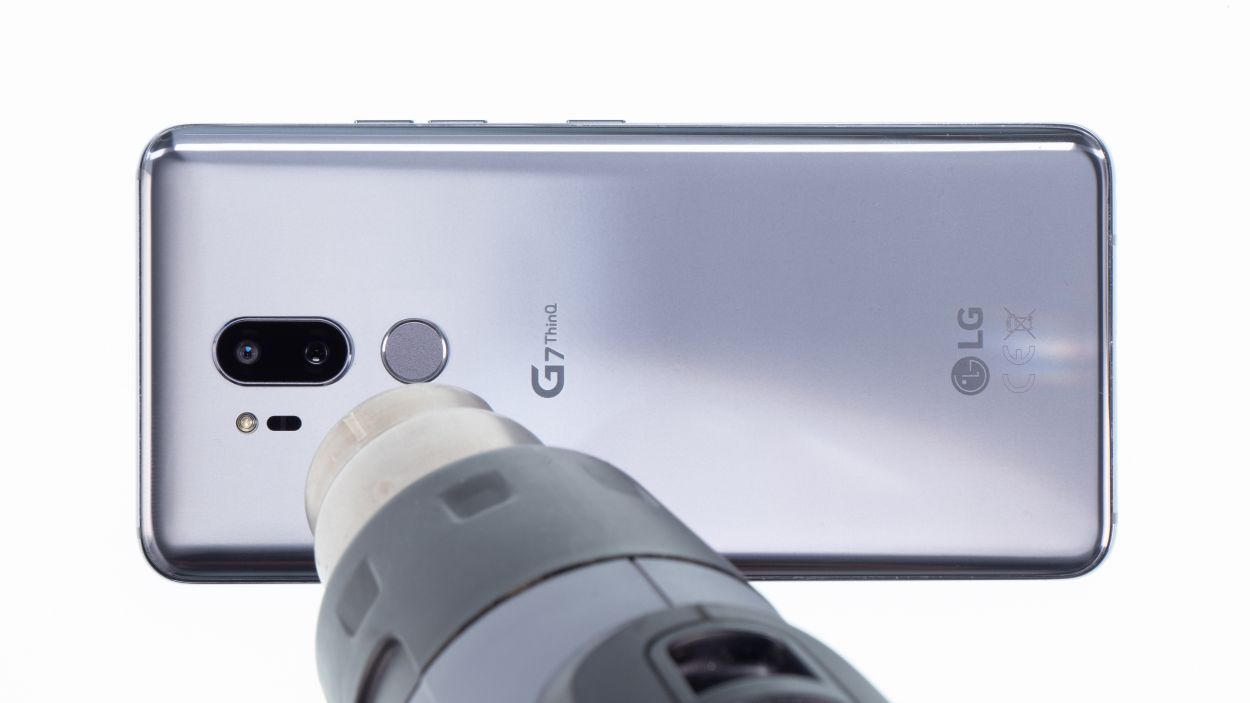
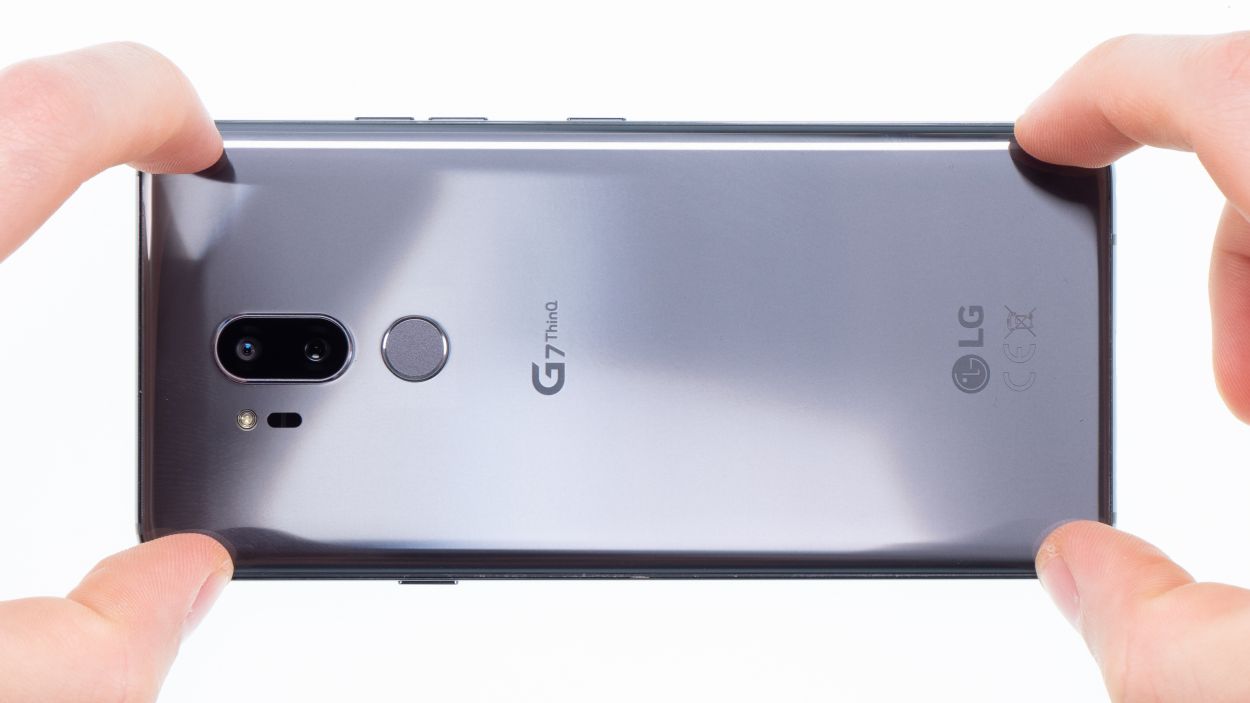
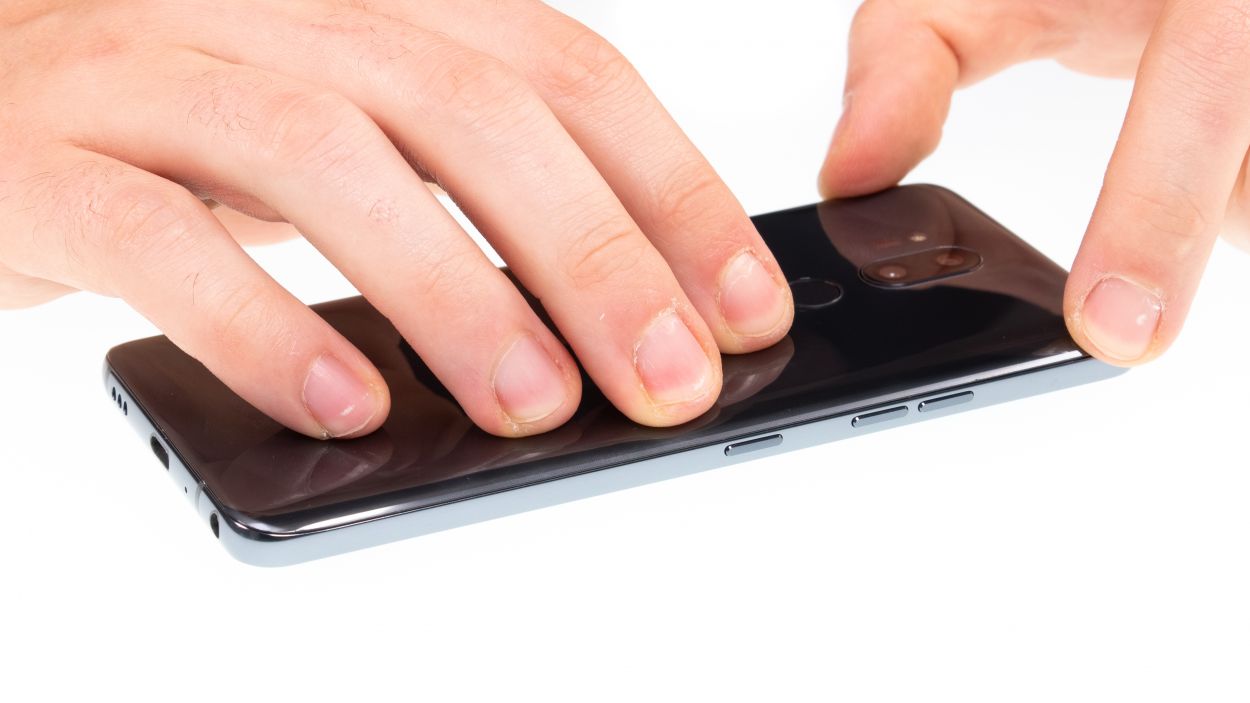
Step 3

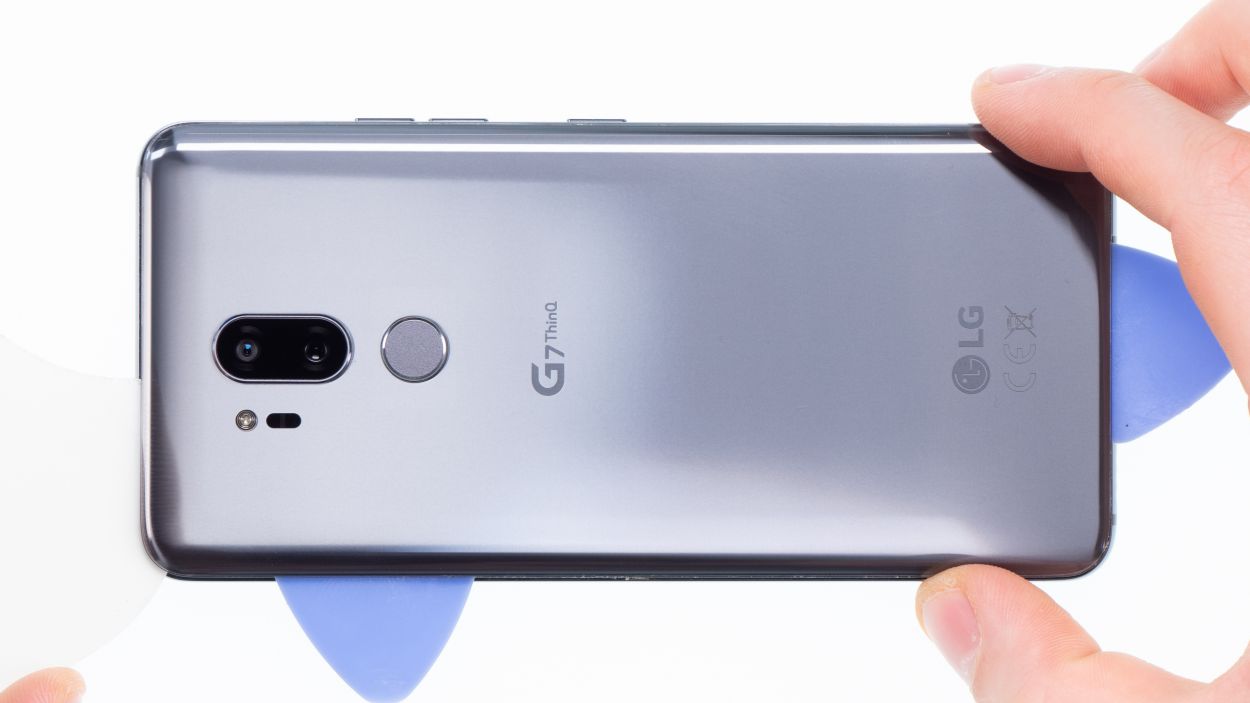
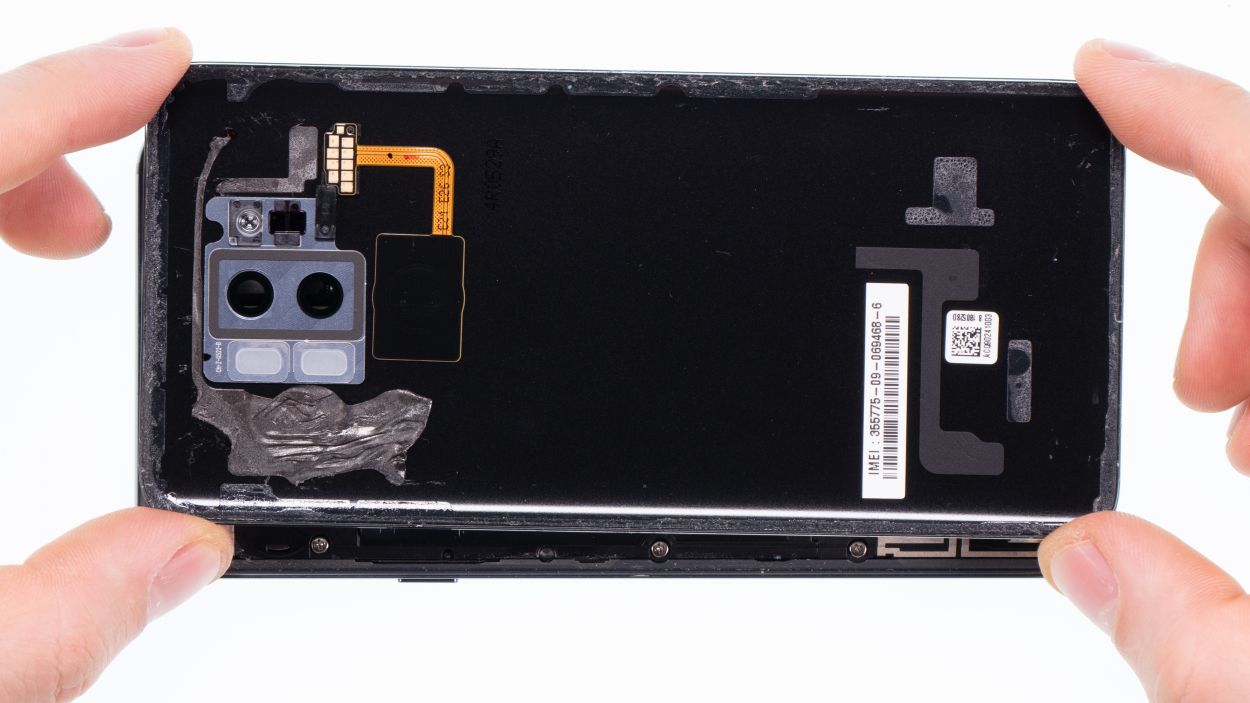
Fingerprint sensor
Camera housing
Hey there, tech-savvy friend! If your backcover already knows what’s up with fingerprint sensors and camera guides, go ahead and skip this step like a boss. And don’t forget to peel off those protective films protecting the back cover’s adhesive surfaces like a superhero.
– Heat the fingerprint sensor’s contact field and carefully remove it from the backcover with a steel spatula.
– Then heat the entire fingerprint sensor and press it out of the back cover from below.
– Also remove the entire camera cover from the back cover.
– Transfer all parts to your new backcover. If there are no adhesive surfaces, you will need to use new adhesive to properly attach the camera cover and fingerprint sensor.
Step 4
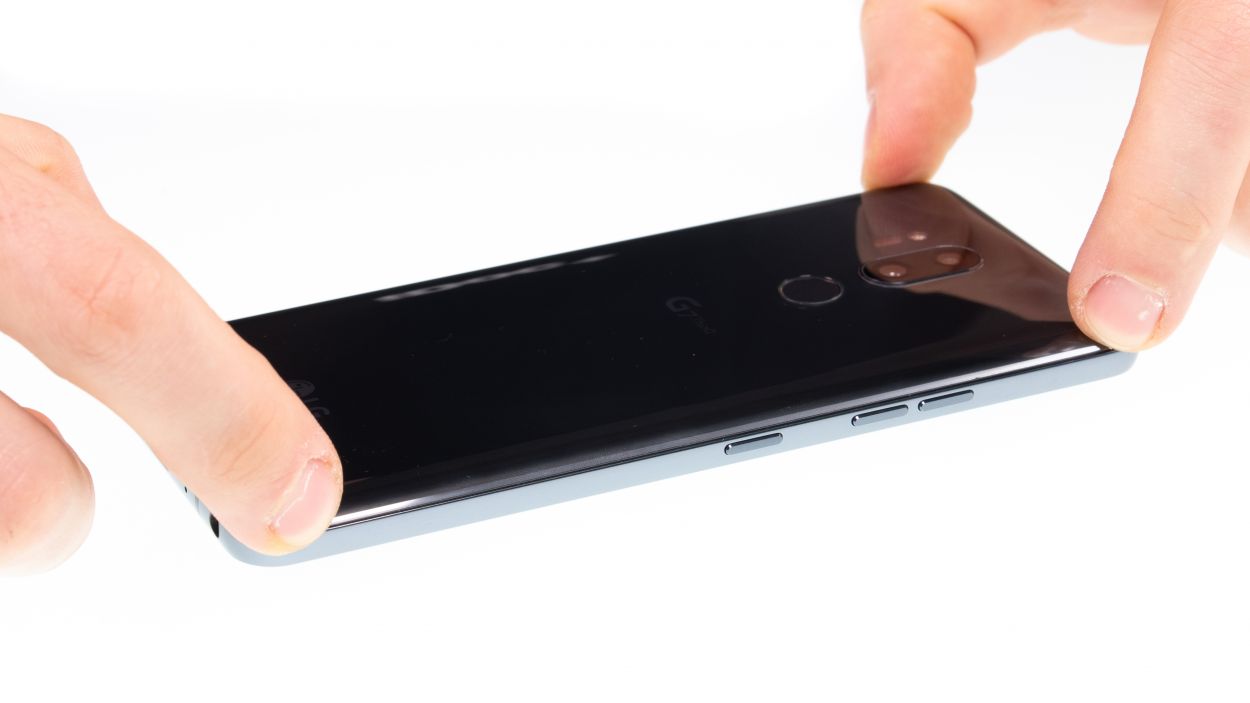
If the adhesive on the back cover is still intact, you can seal your device without using a new adhesive frame.
– Gently place the back cover back where it belongs, like a puzzle piece finding its home.
– Give that back cover a little love and press down all around so the glue can make a strong bond.