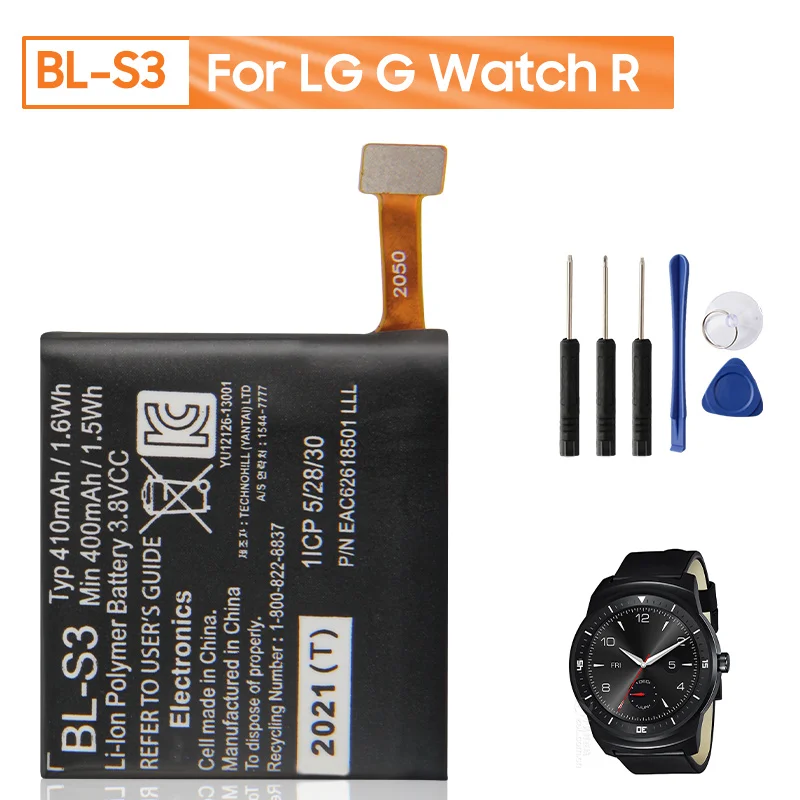
How to Replace LG Smartwatch Motherboard
Duration: 45 minutes
Steps: 7 Steps
Ready to give your LG G Watch a fresh start? In this guide, we’ll walk you through the steps to replace the motherboard. Don’t worry, we’ve got your back every step of the way. Let’s dive in and get your watch back to full functionality!
Step 1

Spring bars are the little heroes that keep the two halves of the wristband securely connected to the watch body. Each end of the spring bar has a shoulder to help with this.
Get ready to apply a bit of pressure with your fingers to make the next move happen. It might take a little muscle, but you’ve got this!
– First up, give that wristband a little slide down on the spring bar to reveal the shoulder of the spring bar. You’ve got this!
– Now, take your trusty tweezers and gently grasp that exposed shoulder. You’re on your way to the next step!
Tools Used

Step 2


Be careful with this step! Take your time to avoid the spring bar flying out of the wristband. If you’re feeling unsure, don’t hesitate to schedule a repair
– First, use your trusty tweezer to gently squeeze the spring bar, collapsing it just enough to slip out of its holding hole – easy peasy!
– Next, carefully pull the other end of the spring bar to release the wristband from the watch face. Take your time, you got this!
– Now, repeat steps 1 and 2 for the other wristband. You’re a pro at this already!
Step 3

– Grab your trusty T5 Torx screwdriver and unscrew those four shiny silver 2mm x 3mm T5 screws keeping the back cover in place. Easy peasy!
Tools Used

Step 4


– Wedge the opening pick between the rear case and the rest of your gadget to pop it open.
– Carefully pull the two halves apart. You got this!


Step 7


– You made it! To put everything back together, just follow these steps in reverse. Easy peasy!
– Need a little extra help? Don’t worry, we’ve got you covered. If you need help, you can always schedule a repair.
– All done! You should be up and running in no time. Great job!
Tools Used

Success!