How To Replace MacBook Pro 13 LCD Tutorial
Duration: 45 minutes
Steps: 32 Steps
Heads up, tech warrior! Make sure you’ve got all your tools ready and your workspace clear. It’s time to dive into this repair with some pep in your step!
Keep your wallet happy by just swapping out the LCD instead of the entire display assembly. It’s a savvy move, and totally doable!
Step 1
– Alright, let’s dive right in and unscrew those 10 tenacious screws holding the lower case of your MacBook Pro 13″ Unibody tight. Ready, set, unscrew!
Step 2
– Give the lower case a gentle lift and scoot it toward the back of the computer to unhook those sneaky mounting tabs.
Step 3
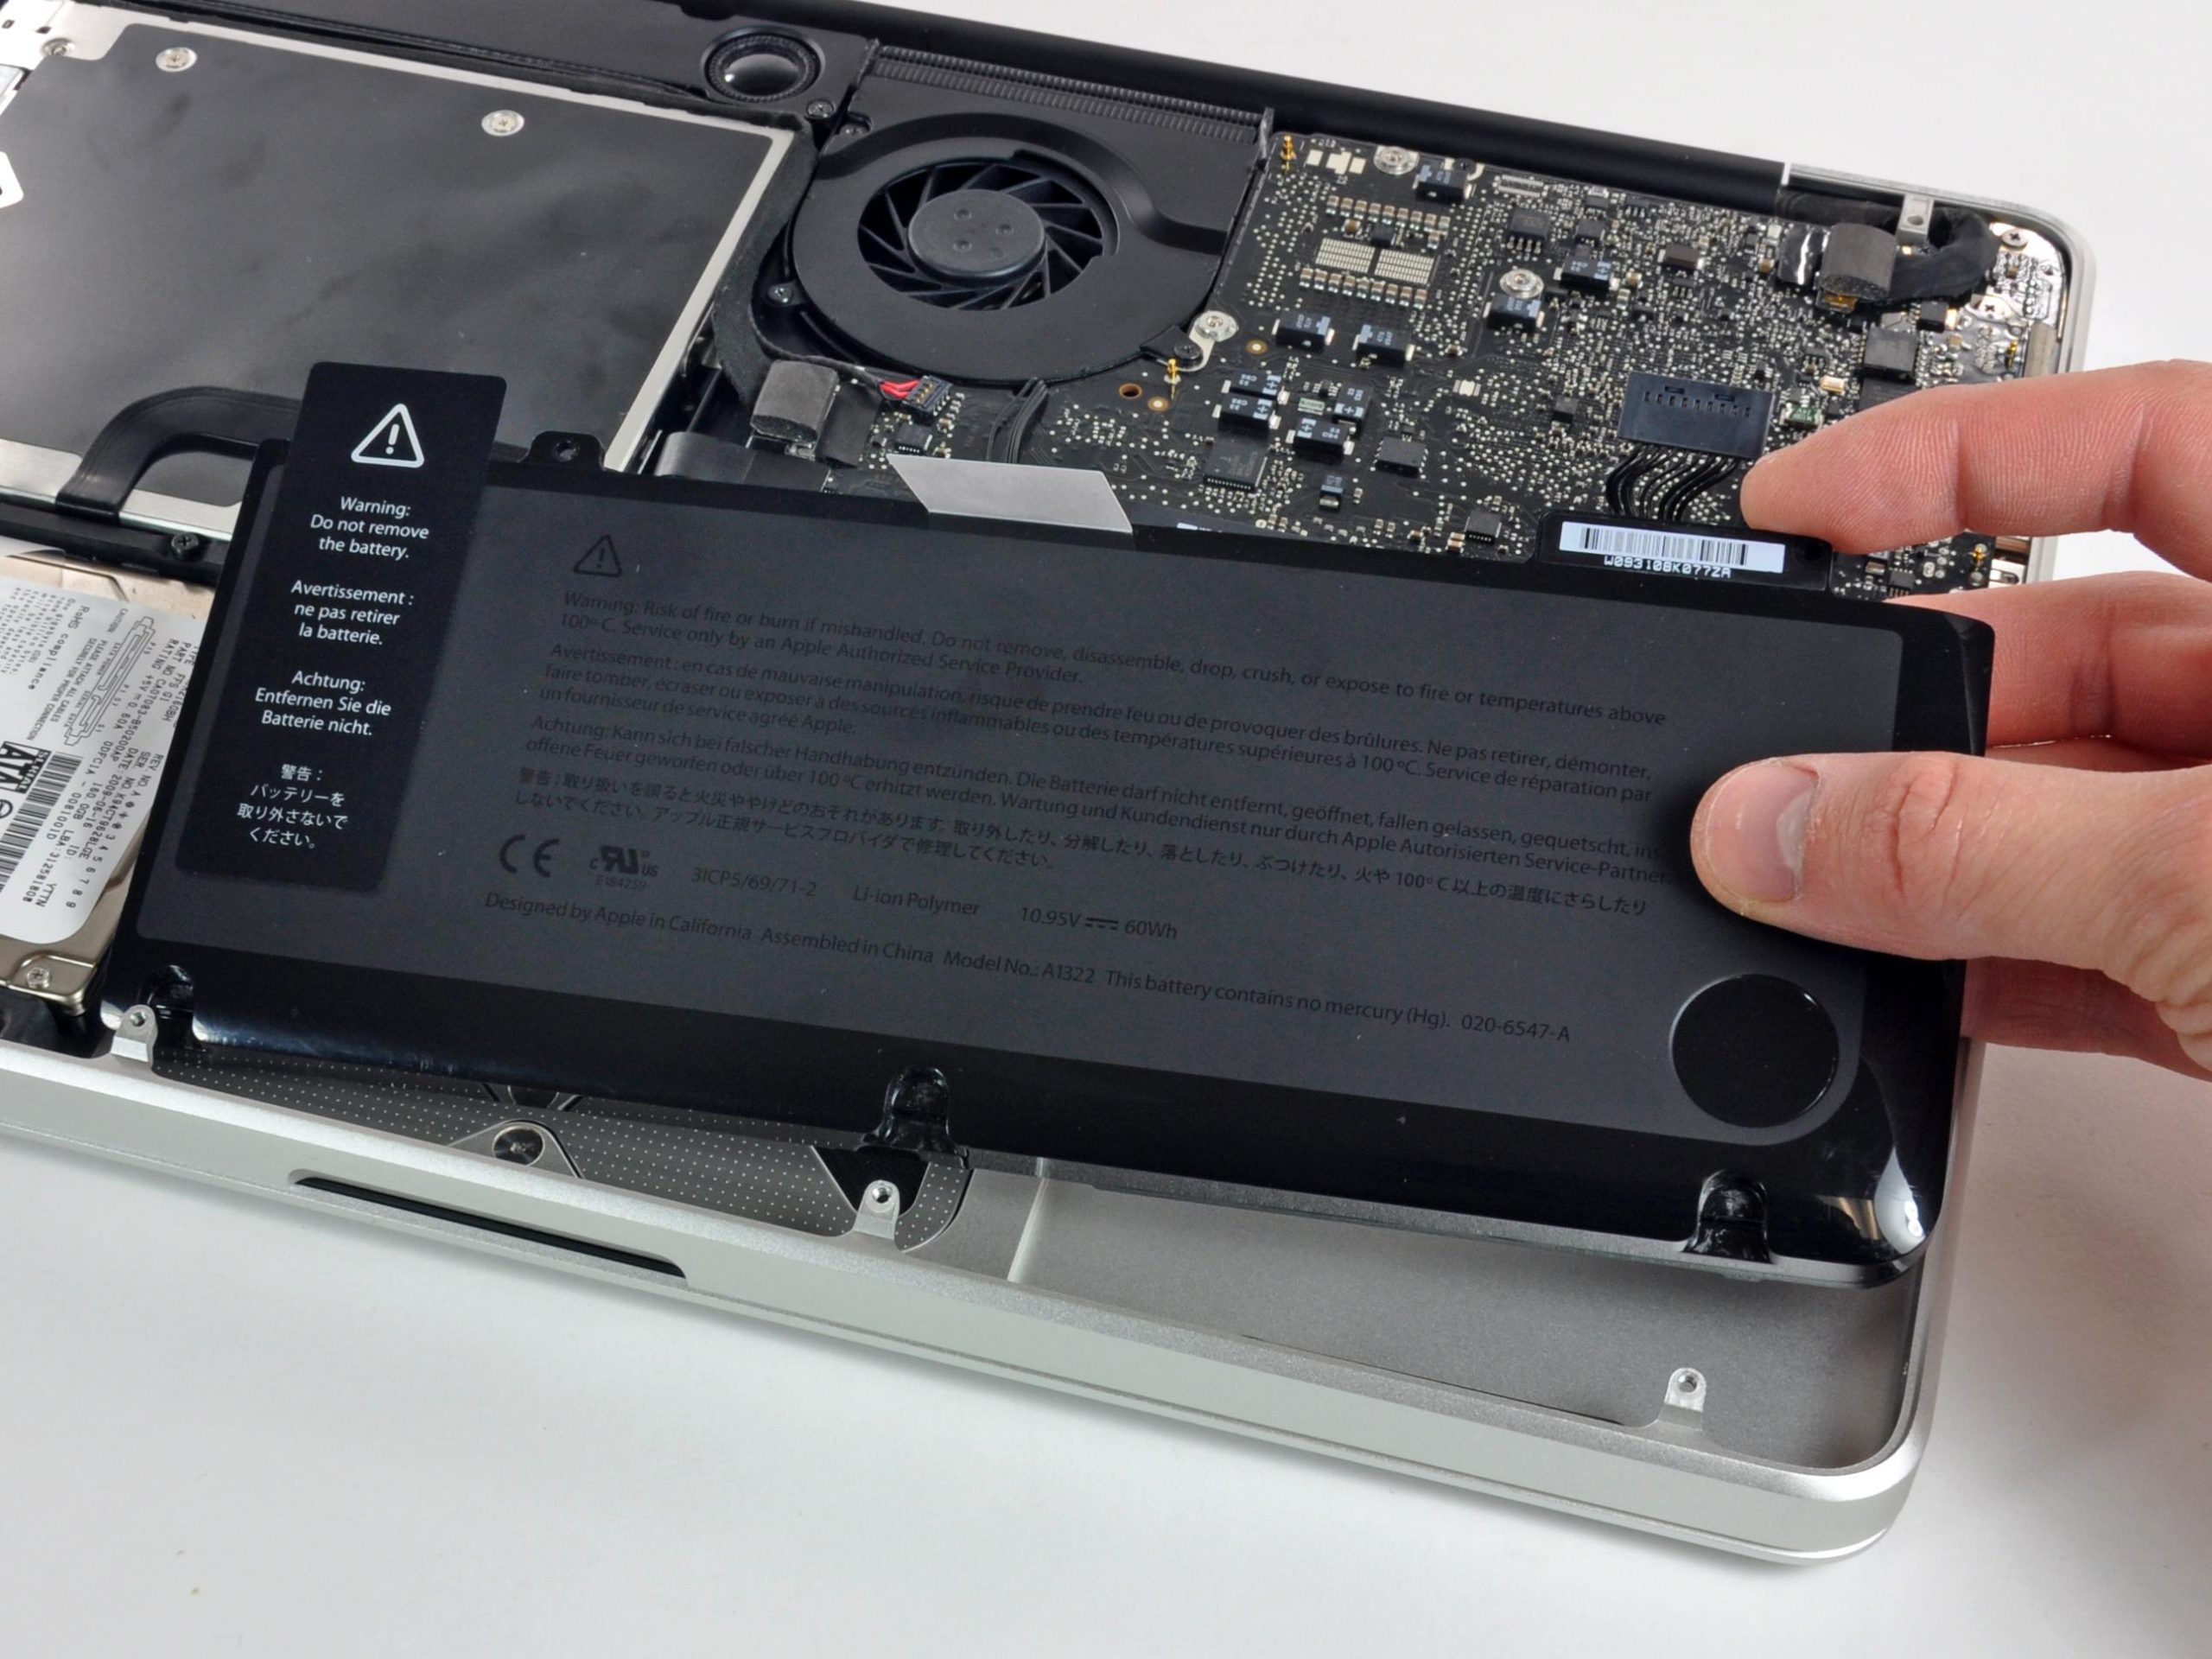
Just a heads-up, folks! It’s a good idea to unplug the battery connector from the logic board to prevent any surprise zaps. Safety first, right?
– Grab the flat end of your spudger and give that battery connector a gentle lift out of its socket on the logic board. It’s like lifting a slice of pizza from a cheesy pie!
Tools Used
Step 4
– Grab your trusty spudger and gently pop the subwoofer/right speaker cable connector off its socket on the logic board like a pro.
Tools Used
Step 5
– Gently slide the camera cable horizontally out of its socket like a ninja. Keep it smooth and steady!
Step 7
It’s likely that one of those cheeky 8 mm Phillips screws will decide to hang out in the camera cable ground loop. No worries, though!
– Alrighty, let’s get those tricky screws out! You’ll need to remove the screws that are keeping the camera data cable and the right speaker snug against the upper case.
– Next up, gently slide the camera cable bracket from beneath the subwoofer, and lift it right out of the computer. You’re doing great!
Step 8
Gently slide the connector right out—no yanking upwards, folks! Keep it smooth and straight like you’re line dancing.
Step 10
– Grab your Torx driver and show those four 6.5 mm screws who’s boss! You’ll find two on each of the display brackets attached to the upper case—make them history!
Step 11
– Lift the lid of your MacBook until it forms a right angle with the base.
– Position your MacBook on a flat surface, similar to the setup shown in the image.
– While securing the display and upper case with your left hand, use your Torx driver to unscrew the last 6.5 mm screw from the lower display bracket.
Step 14
– Hoist the screen up and away from the upper case, but watch out for any sneaky brackets or cables that might try to tag along.
Step 15
– Crank up your heat gun to low and begin warming up the outer black border near the upper right corner of the glass panel. Let’s get this panel loose!
Hey there! Just a quick tip: when using that heat gun, keep it pointed away from the soft rubber strip around the display glass. If you heat up the rubber, it might start to melt a bit, changing from a nice matte finish to a shiny look. And trust me, touching that overheated rubber can lead to some permanent warping. So, let’s keep it cool and avoid any rubber drama! If you need help, you can always schedule a repair.
Alright, gear up for some heat action! You’ll be wielding a heat gun to loosen up the sticky situation under the front glass panel. The target zone where you’ll show that adhesive who’s boss is highlighted in red in the second image.
Heads up! When things get steamy, it’s totally normal for your glass panel and LCD to get a little foggy. No worries though, a quick swipe with glass cleaner will get them looking sharp again once they’re separated.
Tools Used
Step 16
Keep the suction cup away from the rubbery rim that hugs the display glass!
Ready to rock with those suction cups? Position the cup so the handle that moves is all buddy-buddy with the glass surface. Just give the glass a gentle hug with the suction cup, then lift that movable handle until it’s making friends with the static handle.
Only getting a tiny lift on the top edge? No sweat—just give the first couple of steps another whirl until you can pop that corner of the panel up like a pro.
– After giving the panel a good warm-up, slap a sturdy suction cup near the top right corner of the display glass.
– Take it easy and slowly lift that corner of the display glass away from the display assembly.
Step 17
– Carefully pop up the corner of the display glass just enough to sneak a spudger underneath. No cowboy moves here, just gentle nudges.
– Now, grab the flat end of your spudger and softly separate the adhesive holding the front glass to the display. It’s like lifting a pancake without breaking it!
– Edge the glass panel up a few inches from the top right corner. Work your way along the top and right sides with the grace of a cat burglar.
Tools Used
Step 18
Using a guitar pick or something similar, like a thin plastic tool, might be a cool way to prevent the upper right corner of the front glass panel from reattaching to the display assembly. Keep it groovy and smooth!
– Warm up the adhesive beneath the right side’s black strip on the front glass panel using a heat gun. It’s like prepping for a mini spa treatment for your device!
– Pop a suction cup on the right side of the front glass panel. Think of it as giving your device a little handle to hold onto!
– Give a gentle pull on the suction cup, and while you’re at it, slide the flat end of a spudger to start separating the glass panel from the display assembly. It’s like playing Operation, but don’t worry, this patient won’t buzz!
– Keep on cruising down the right edge of the front glass, separating it from the display like you’re peeling a banana. You’re doing great!
Step 19
– Warm up the party by aiming your heat gun at the black strip atop the glass display panel to loosen the adhesive. Keep it toasty, but not too hot!
– Pop a suction cup near the top edge of the glass. Give it a good tug to lift the glass panel away from the display—like pulling a tablecloth from under dishes!
– Mosey along the top edge with the flat end of a spudger, gently prying to defeat that sticky adhesive. Keep it smooth and steady!
Step 20
– Crank up the heat gun and give the adhesive under the black strip a warm-up near the upper left corner of the glass display panel.
– Pop a suction cup close to that same upper left corner of the glass display panel.
– Give the suction cup a tug and use the flat end of a spudger to gently coax the glass display panel away from the display assembly.
Step 21
– Warm up the adhesive beneath the black strip on the left side of the front glass with a heat gun or hair dryer. Get it nice and tacky!
– Pop a suction cup onto the left side of the front glass panel. It’s like giving your screen a little handle!
– Lift up on the glass with the suction cup, and sneak the flat end of a spudger in there to gently pry it away from the display assembly.
– Keep on trucking down the left edge of the front display glass, prying as you go, until it’s completely free from the display.
Step 22
– Alright, you’ve already freed the top, left, and right edges of the glass from the display. Great job! Now, gently lift the top edge of the glass panel and smoothly rotate it away from the display.
– Hold up! Before you put everything back together, make sure to give both the inside of the glass panel and the LCD a good cleaning. Any smudges, fingerprints, or dust you leave behind will be super noticeable once you power up your device.
Tools Used
Step 23
Feel free to jump over this step if you’re sticking with the original glass, superstar!
– Wedge the tip of a plastic opening tool between the display glass and the camera bracket. Slide it around the camera bracket to gently lift it from the display glass.
– Remember, the camera bracket should be reattached to the new front display glass before you put everything back together.
Step 24
Watch out for the sneaky camera cable that might get a bit too attached to the glass panel’s adhesive during removal. If it decides to stay connected to the camera board when lifting the panel, feel free to skip this step and move on!
– First up, grab a spudger and gently lift off the foam tape hiding over the camera cable ZIF socket.
– Next, use the spudger’s tip to flip up the ZIF cable retainer on the camera cable socket.
– Slide the camera cable right into its home on the camera board and use the spudger again to click down the ZIF cable retainer, securing the cable snugly.
– Finish off by sticking the tape back over the camera cable socket.
Tools Used
Step 25
The clutch cover is gonna shimmy just about .25″ to the right and then—bam!—it’ll stop. Don’t go pushing it any further, cowboy!
– Nudge the clutch cover towards the display’s right brink like a sneaky ninja.
– When putting it back, don’t forget to sneak it just a smidge over .25″ right from where it’s supposed to end up—like playing hide and seek with the components!
Step 26
– Kick things off on the right side! Gently wiggle the clutch cover back and forth along its length while easing it away from the hinge. It’s like coaxing a cat out from under the bed—patience is key!
– Moving left, keep on freeing and lifting the clutch from the lower rim of the display assembly. It’s like peeling a banana, but for your tech!
– Raise the clutch cover off the front bezel like lifting a crown, and set it aside like it’s royalty.
– When you’re putting the clutch cover back, don’t forget to gently expand the opening as you slip it over the small black plastic cosmetic cover. It’s like fitting a slipper on Cinderella—make sure it’s just right! The cosmetic cover has dainty plastic arms that need your gentle touch.
Step 28
– Alright, team! Let’s unscrew the six screws holding the LCD panel to the front bezel. Grab your tools and let’s get this party started!
Step 29
Hold up! Don’t yank out the LCD just yet. It’s snugly fit into a gap at the bottom of the aluminum display assembly, so let’s keep it chill and tackle this step with care.
Step 30
Step 31
– Gently lift and peel back the tape that’s snug over the display data cable connector, starting from the side nearest to the LCD. It’s like unwrapping a little present to your device!
Step 32
– Grab a spudger and gently flip up the sleek steel clip that’s keeping the display data cable cozy in its socket on the LCD.
– Gently tug the display data cable straight out from its snuggly home in the LCD socket.
– Carefully lift the LCD from its nest in the display assembly and place it to the side.
Tools Used


