How to Replace MacBook Pro 13 MagSafe DC-In Board
Duration: 45 minutes
Steps: 10 Steps
Heads up! Make sure to handle your device with care during this process. If you find yourself in a pickle, don’t hesitate to schedule a repair for some professional help!
Get ready to tackle that pesky MagSafe DC-In board replacement! With this guide, you’ll be on your way to giving your device a new lease on life. Let’s dive in and make it happen. If you need help, you can always schedule a repair.
Step 1

– Let’s get started by unscrewing those ten screws holding the lower case to the upper case. Remember, each screw has its own special spot, so keep them organized to avoid any mishaps with your device!
– As you dive into this repair, keep an eye on each screw and ensure it finds its way back home. This way, your gadget stays safe and sound!
Step 2

– Slip your fingers in between the upper and lower cases like a pro.
– Carefully tug the lower case away from the upper case to set it free.
Step 3


The lower case is attached to the upper case with two plastic clips near its center – easy peasy to disconnect, but first, make sure you know what you’re doing! If you need help, you can always schedule a repair.
– When you’re putting it all back together, give the center of the lower case a gentle push to snap those two plastic clips back in place. You’re doing great!

Step 5


Make sure to gently pull on the connector only, not the socket, or you might end up with a logic board that needs some serious TLC.
– Gently use the flat end of a spudger to carefully lift the battery connector straight up from its cozy little home on the logic board. You’ve got this!
Tools Used

Step 6

– Lift the battery connector upwards to keep it safely out of the way, ensuring it doesn’t accidentally touch its socket while you work on your device.
Step 7


– Give that black plastic tab a gentle tug to pop the display cable connector open, then smoothly pull it straight out of its cozy spot on the logic board.
Step 8


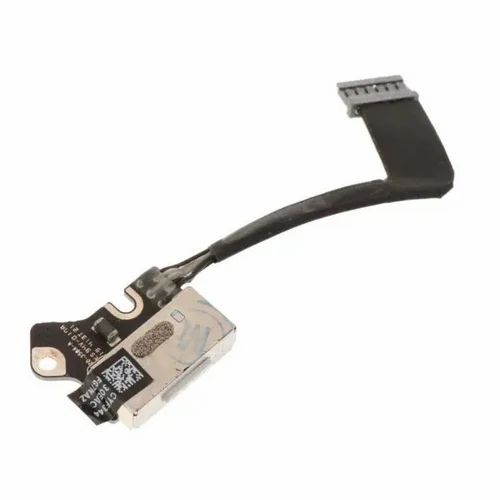
– Gently wiggle the DC-In board connector and pull it straight out of its cozy spot on the logic board. You’re doing great!
Step 9

Feel free to gently nudge the display cable aside to reveal those sneaky screws waiting for you.
– Unscrew the two 3.5 mm T5 Torx screws that are holding the MagSafe DC-In board in place on the upper case. You’ve got this!
Step 10


– Grab that MagSafe DC-In board cable and gently pull the board out and up from the upper case to set it free!


