How to Replace MacBook Pro 13 Microphone – DIY Guide
Duration: 45 minutes
Steps: 21 Steps
Hey there! Just a heads-up, this guide’s got all the steps you’ll need. Have fun and stay cool while you tinker!
Time to jazz up your tech skills by diving into the laptop to swap out that microphone! Just a heads up, you’ll need to wiggle the logic board out first. Let’s make this repair shine!
Step 1
– Unscrew these 10 bad boys keeping the lower case attached to the MacBook Pro 13″ Unibody:
Step 2
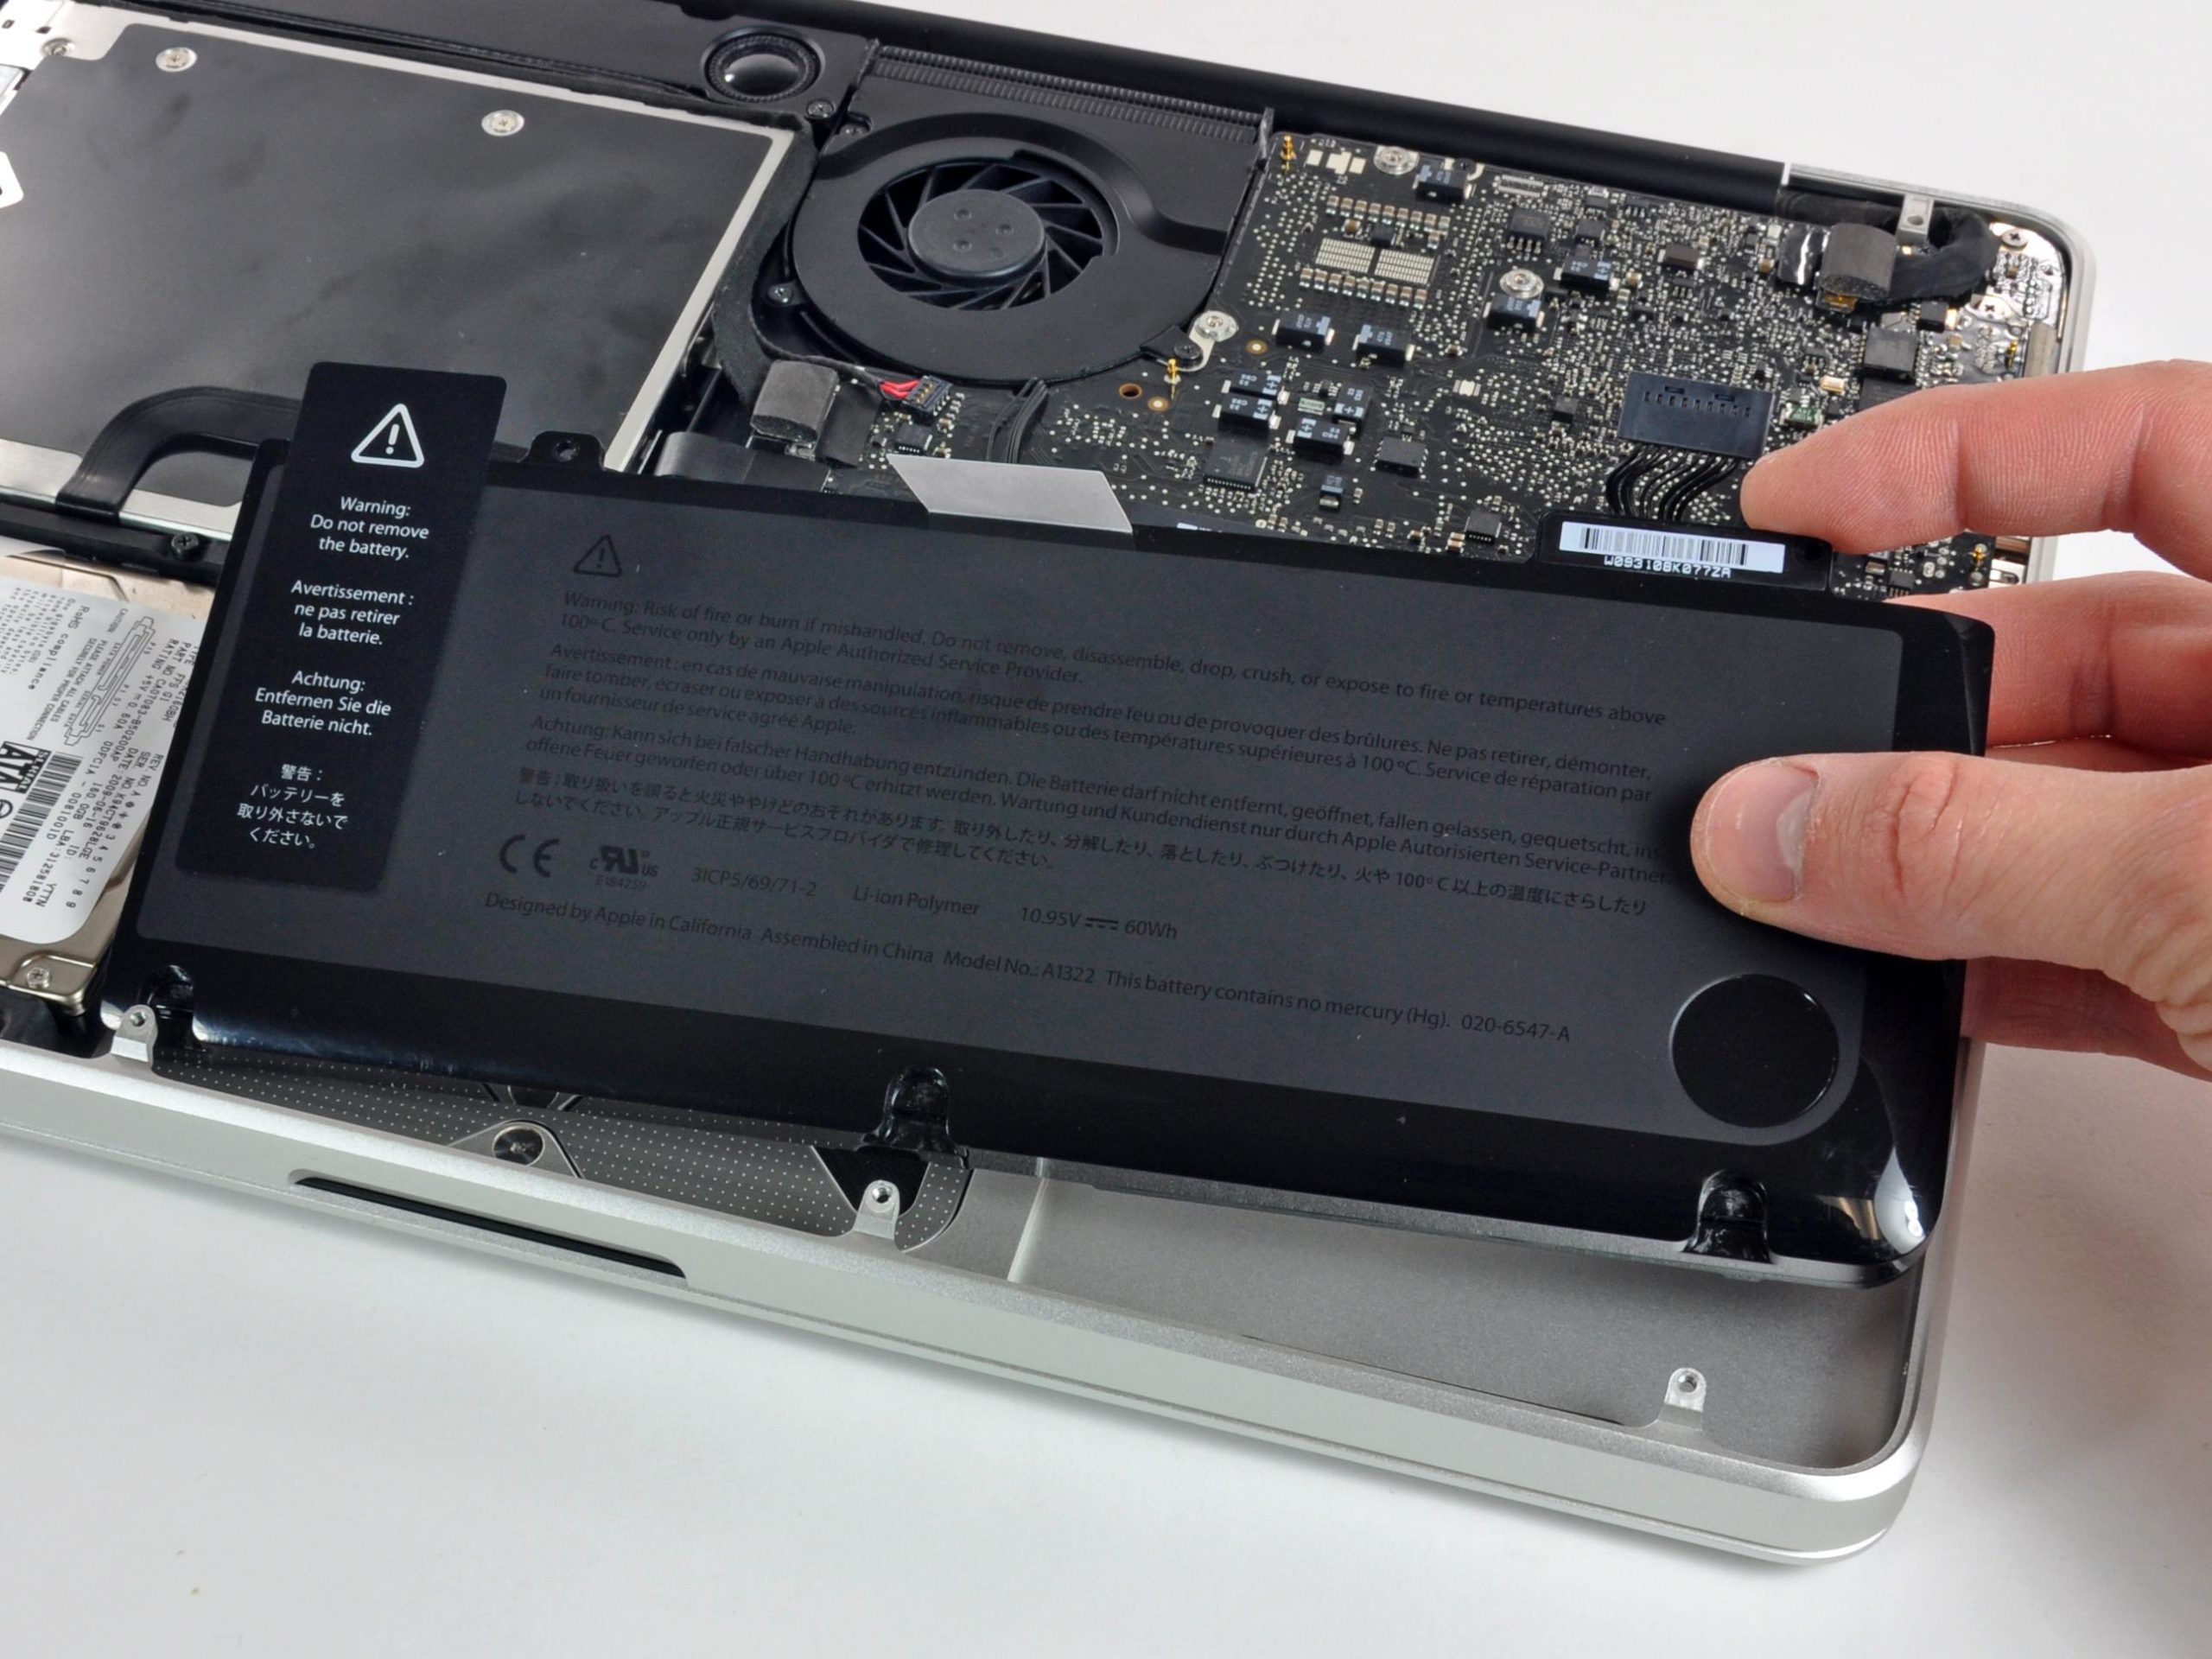
– Gently lift the lower case a tad and nudge it toward the back of the computer to unhook those sneaky mounting tabs.
Step 3
Just a heads-up! Let’s play it safe and disconnect the battery connector from the logic board to prevent any unexpected zaps.
– Grab the flat end of your spudger and give that battery connector a gentle lift from its home on the logic board.
Tools Used
Step 4
– Grab your trusty spudger and gently wiggle that fan connector out of its cozy home, lifting it straight up off the logic board. You’ve got this!
Check out the fan socket and the fan connector in the snapshots! Remember, while you’re using your spudger to disconnect the fan, be gentle with the plastic socket on the logic board. It’s a delicate dance! Though the logic board layout might look a bit different from your device, the fan socket remains your dance partner. Keep it cool and carry on!
Tools Used
Step 6
– Hoist that fan right out of the upper case like you’re lifting a treasure chest out of the ocean!
Step 9
– Grab the flat end of a spudger and gently lift the subwoofer and right speaker connector off the logic board like a boss.
Tools Used
Step 10
– Gently slide the camera cable connector toward the optical drive to pop it off the logic board. Easy peasy!
Alright, get ready to unplug the camera cable! There’s usually a sneaky little plastic retainer glued right on the logic board to keep that connector snug. Make sure to slide that out of the way before you go unplugging anything. Let’s keep things smooth and accident-free!
Hey there! Just a heads up, the socket we’re dealing with is metal and can get a bit moody and bent out of shape. So, let’s play it cool and make sure the connector is perfectly lined up with its buddy, the socket on the logic board, before you bring them together. It’s like setting up a perfect high-five!
Step 11
– Grab your spudger and let’s make some magic happen! Gently lift the optical drive, hard drive, and trackpad cable connectors away from the logic board. It’s like lifting a slice of pizza from a cheesy pie—smooth and satisfying!
Tools Used
Step 12
– Pop open the cable retaining flap on the ZIF socket with your fingernail or the tip of a spudger. It’s like lifting a tiny treasure chest lid!
– Gently wiggle the keyboard ribbon cable out of its socket using your spudger. It’s like pulling a secret message out of a bottle!
Tools Used
Step 13
– Yoohoo! Time to whip off that sneaky strip of black tape from the keyboard backlight ribbon cable socket. Let’s peel it away, champ!
Step 14
– Use a spudger to pop open the cable retaining flap on the ZIF socket for the keyboard backlight ribbon cable. Gently, now!
– Nudge that keyboard backlight ribbon cable out of its socket with the spudger. Easy does it!
Tools Used
Step 15
– Grab the flat end of your spudger and gently pop the battery indicator cable connector off the logic board. Like a pro!
Tools Used
Step 17
– Unscrew the following with gusto:
Step 19
Watch out—don’t yank the microphone connector like it’s a band-aid! This little buddy is super fragile.
– Gently hoist the logic board starting from its left side, tilting it just enough so the ports can wave goodbye to the upper case.
– Ease the logic board away from the upper case’s embrace and lift it out, watching out for the sneaky DC-in board that might try to tag along.
Step 20
– Unstick that tape hiding your microphone cable connector like a pro.
Step 21
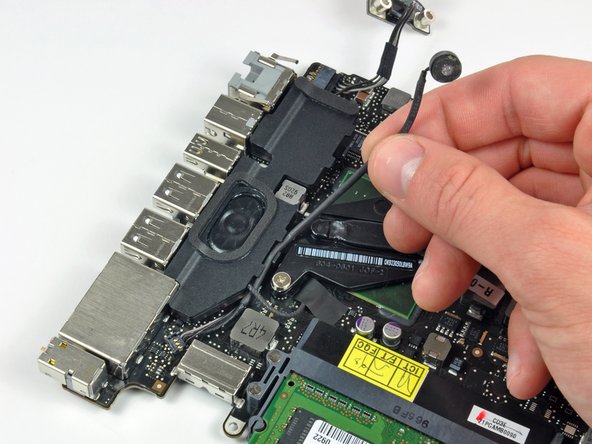
– Grab the flat end of your spudger and gently pop the microphone cable connector off the logic board like a pro.
– Glide the microphone cable out of the channel in the left speaker with smooth moves.
Tools Used


