How to Replace Macintosh Powerbook 5300cs Keyboard Guide
Duration: 45 minutes
Steps: 5 Steps
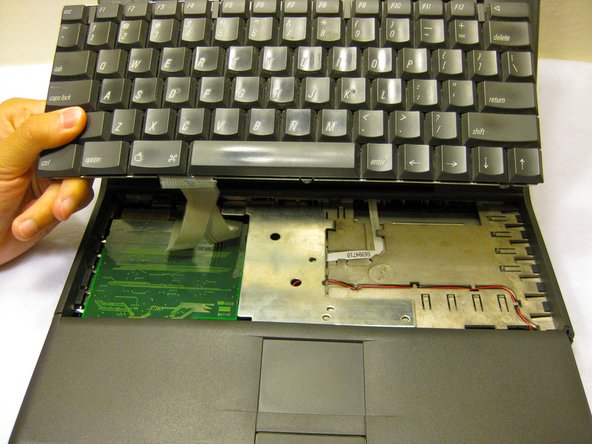
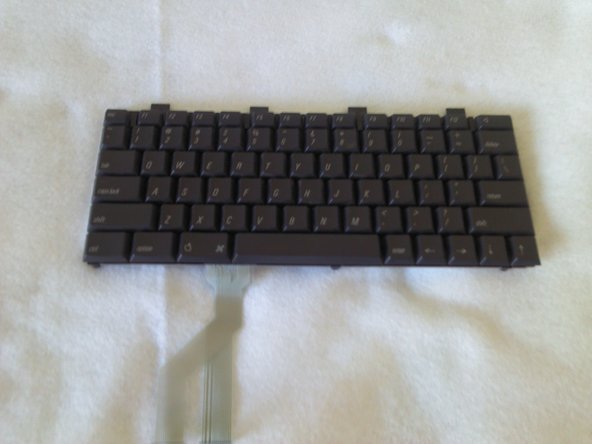
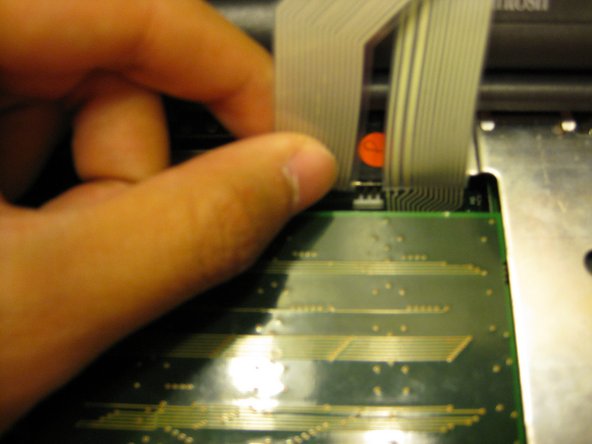
The Macintosh Powerbook 5300cs series hit the shelves thanks to Apple starting in 1995. If your keyboard needs a little TLC, this guide will walk you through the steps to pop it in and out with ease. Fixing or swapping out the keyboard can help clear up any hiccups with your keystrokes not making it to the machine. No special wizardry is needed here, just a good grasp of Apple gadgets, including how to handle that keyboard connector ribbon like a pro. Grab your Torx #9 screwdriver to tackle those three .84 in. screws on the back of your laptop, and you’re all set! Remember, if you need help, you can always schedule a repair.
Step 1
– You’ll find the battery compartment cozy and waiting for you on the front-right side of the laptop.
Step 3
– With the laptop flipped over and the battery safely out, grab your trusty Torx #9 screwdriver and go ahead and unscrew those three .84 in. screws you see. You’ve got this!


