How to Replace Motorola Moto G Play (2021) Display Panel
Duration: 45 minutes
Steps: 26 Steps
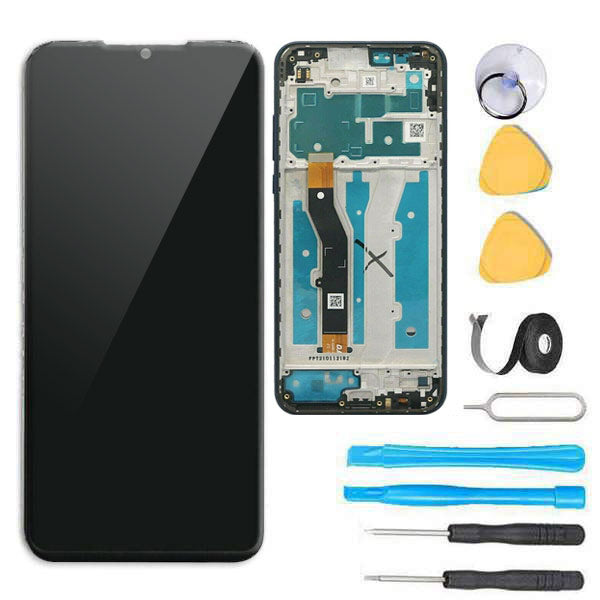
Follow this guide to replace the LCD display panel in your 2021 Motorola Moto G Play. Before you begin, download the Rescue and Smart Assistant app to backup your device and diagnose whether your problem is software or hardware related. Note: This procedure is for a screen without the frame (a.k.a. chassis). If you’re replacing the screen with a genuine Motorola screen pre-installed in a new frame, follow this guide instead. For your safety, discharge the battery below 25% before disassembling your device. This reduces the risk of fire if the battery is accidentally damaged during the repair. If your battery is swollen, take appropriate precautions .
Step 1

Discharge your battery to 25% or lower and power off your phone before you begin.
A hair dryer or heat gun may also be used, but be careful not to overheat the phone—the display and internal battery are both susceptible to heat damage.
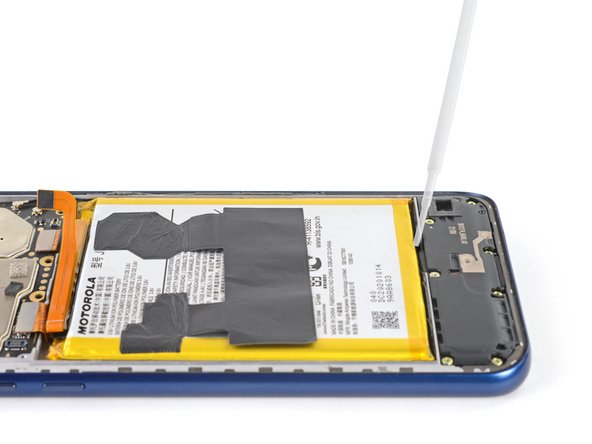
– Heat an iOpener and apply it to the left edge of the cover for two minutes.
Tools Used
Step 2


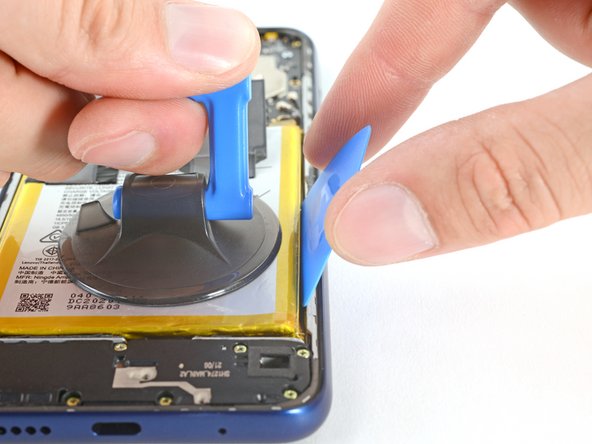
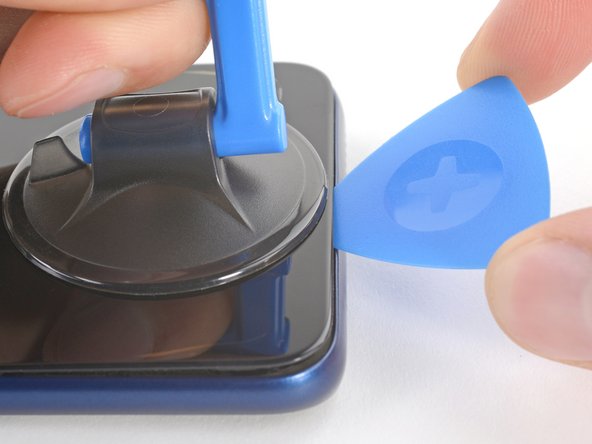
– Apply a suction cup to the back cover, as close to the center of the left edge as possible.
– Pull up on the suction cup with strong, steady force to create a gap between the cover and the frame.
– Insert an opening pick into the gap.
Step 3


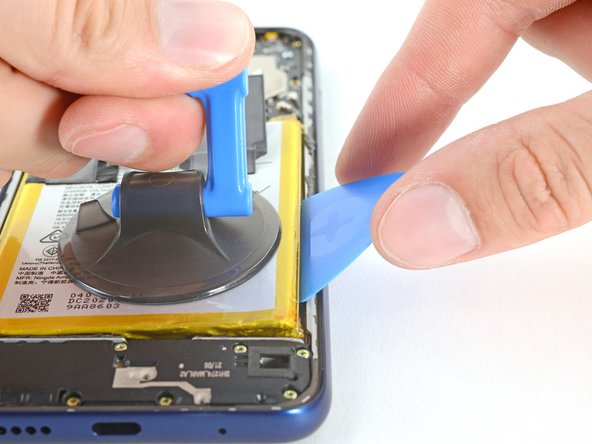
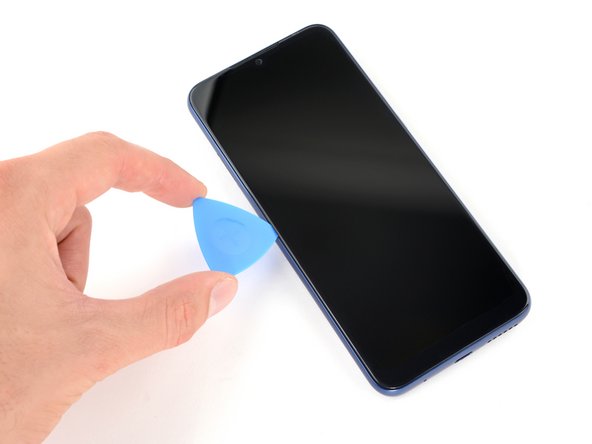
– Slide your opening pick back and forth along the left edge to slice through the adhesive.
– Leave the pick in at the bottom left corner to prevent the adhesive from resealing.
Step 4


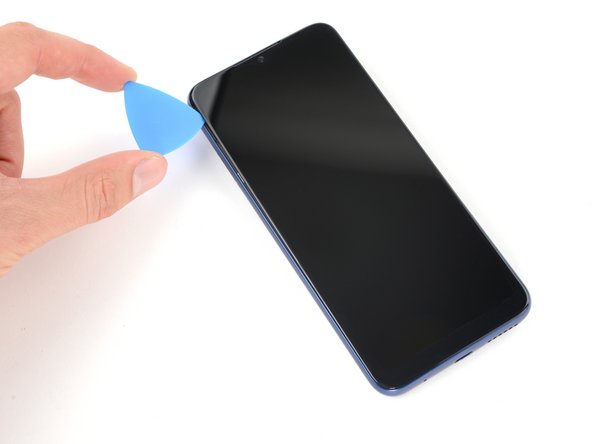
– Insert and slide a second opening pick to the bottom right corner to slice through the adhesive.
– Leave the pick inserted to prevent the bottom edge from resealing.
– Repeat this process for the right and top edges of the cover.
Step 5


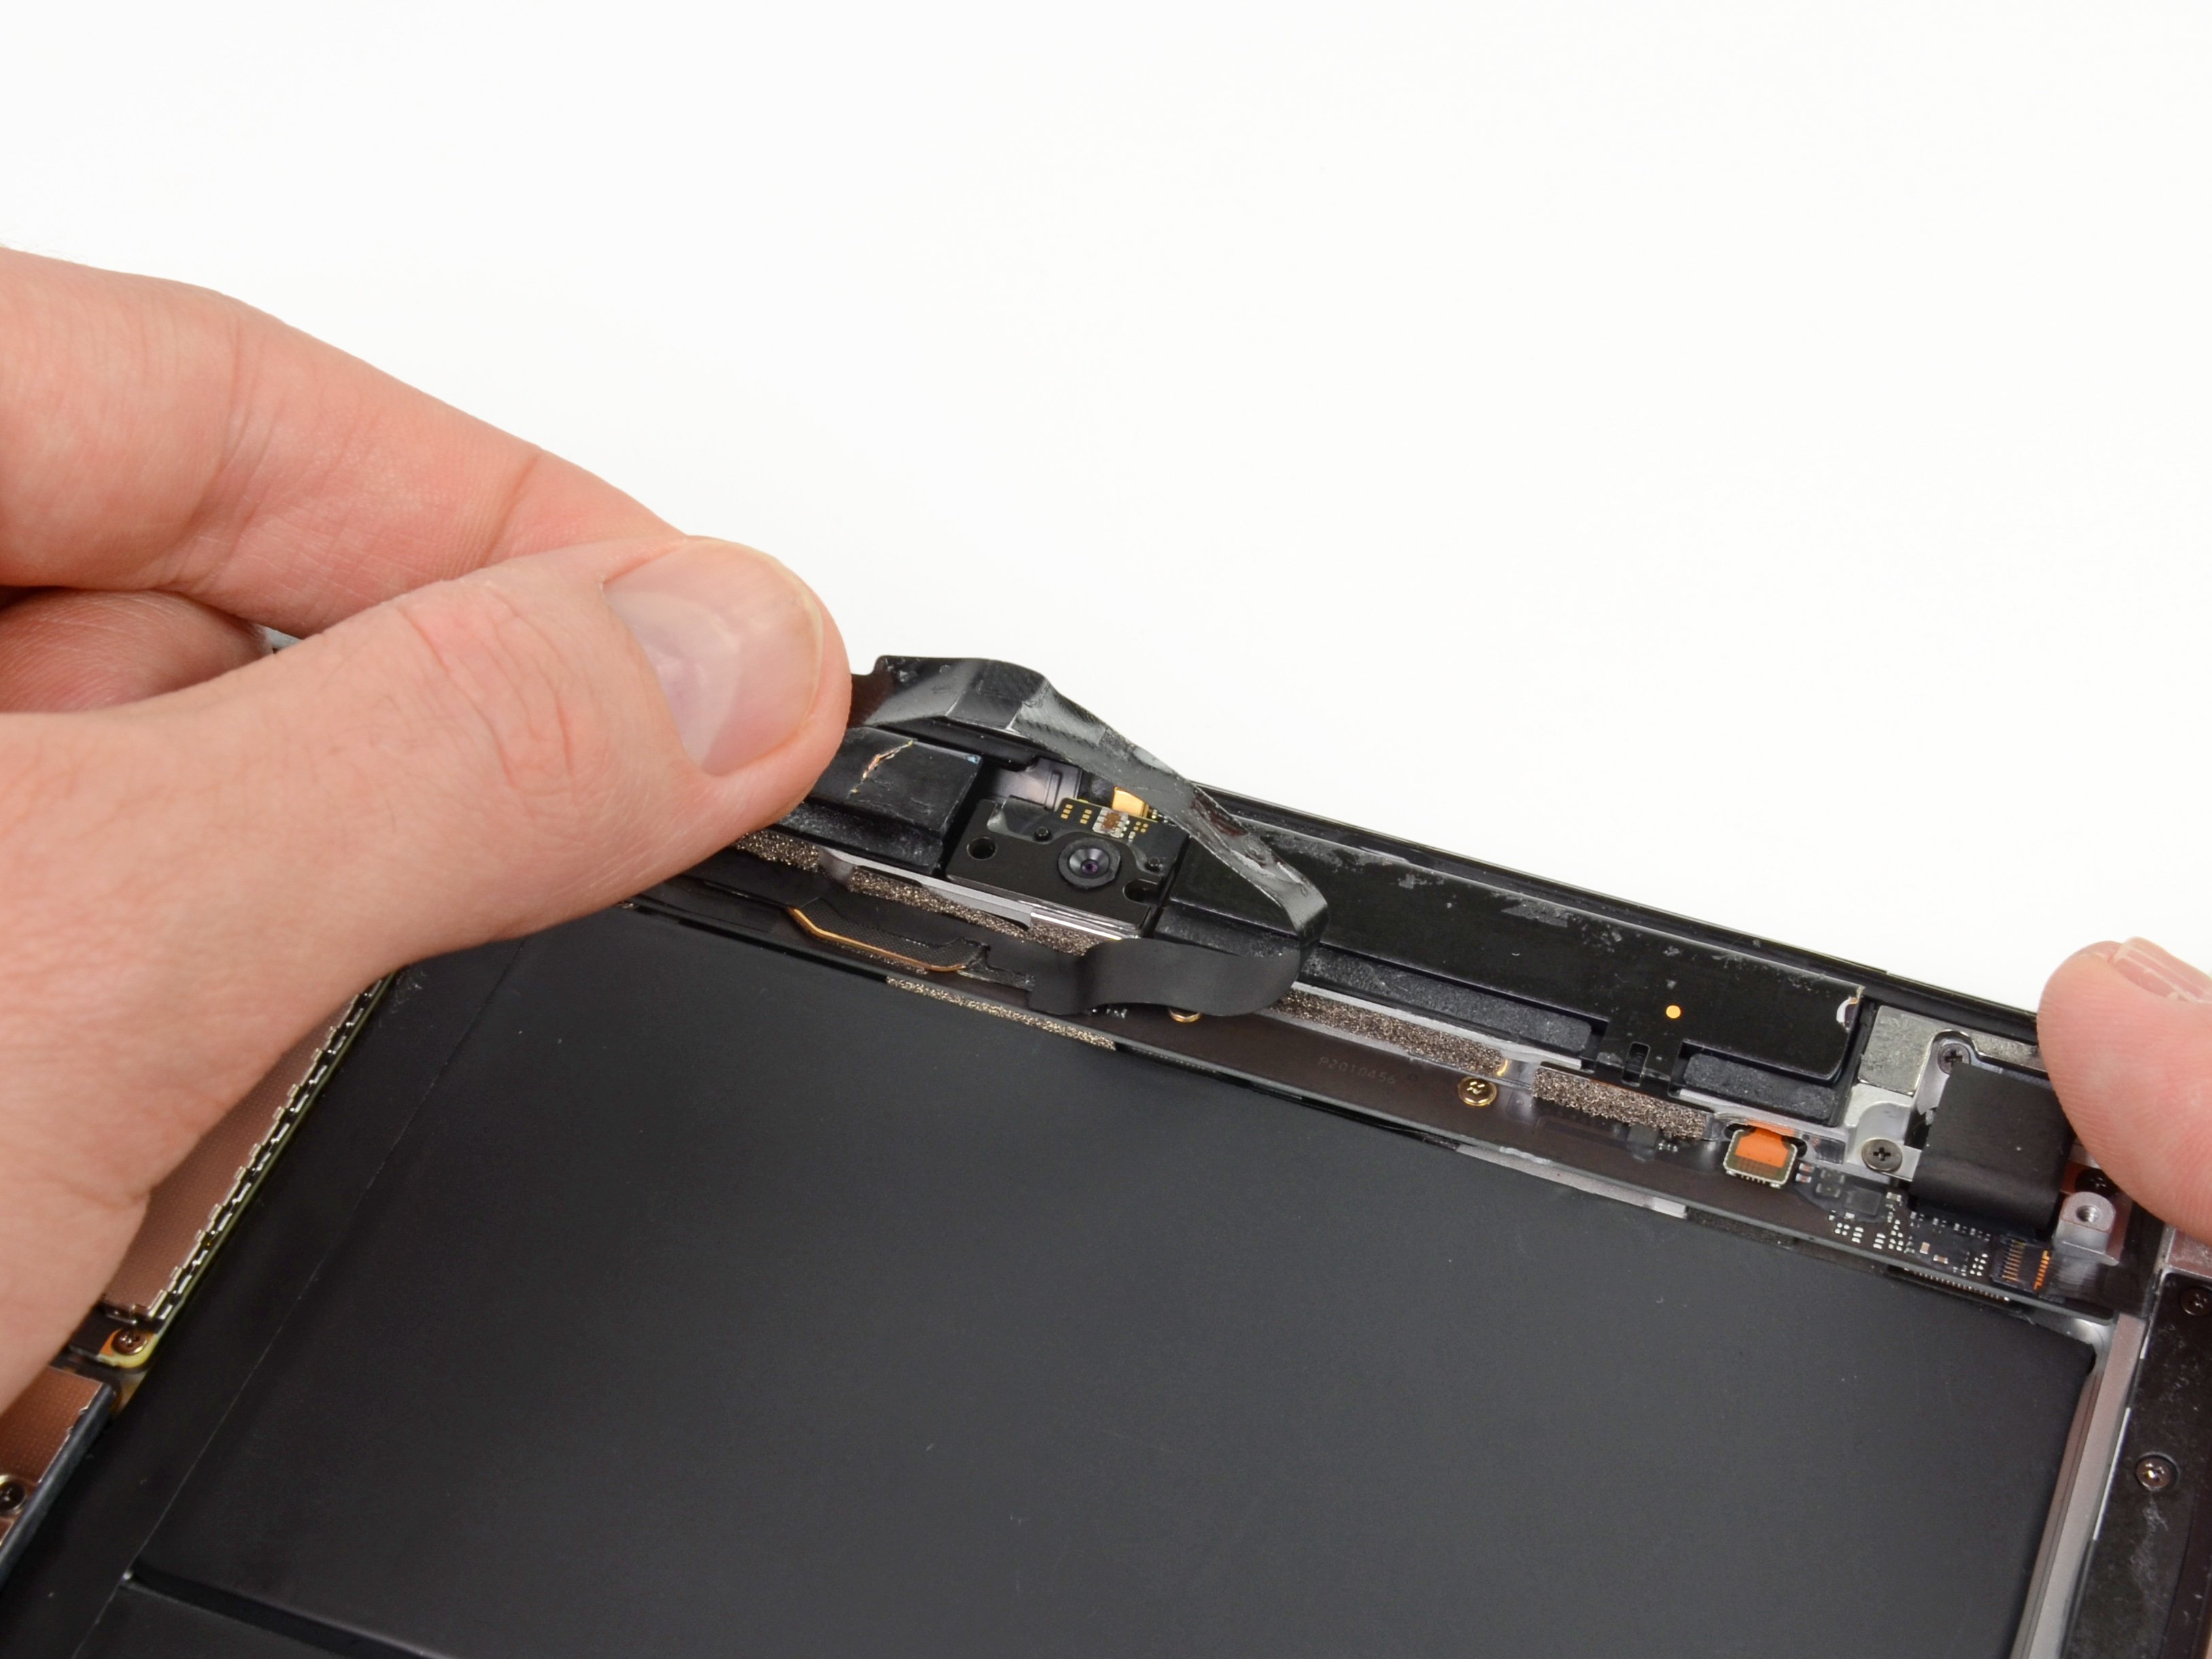
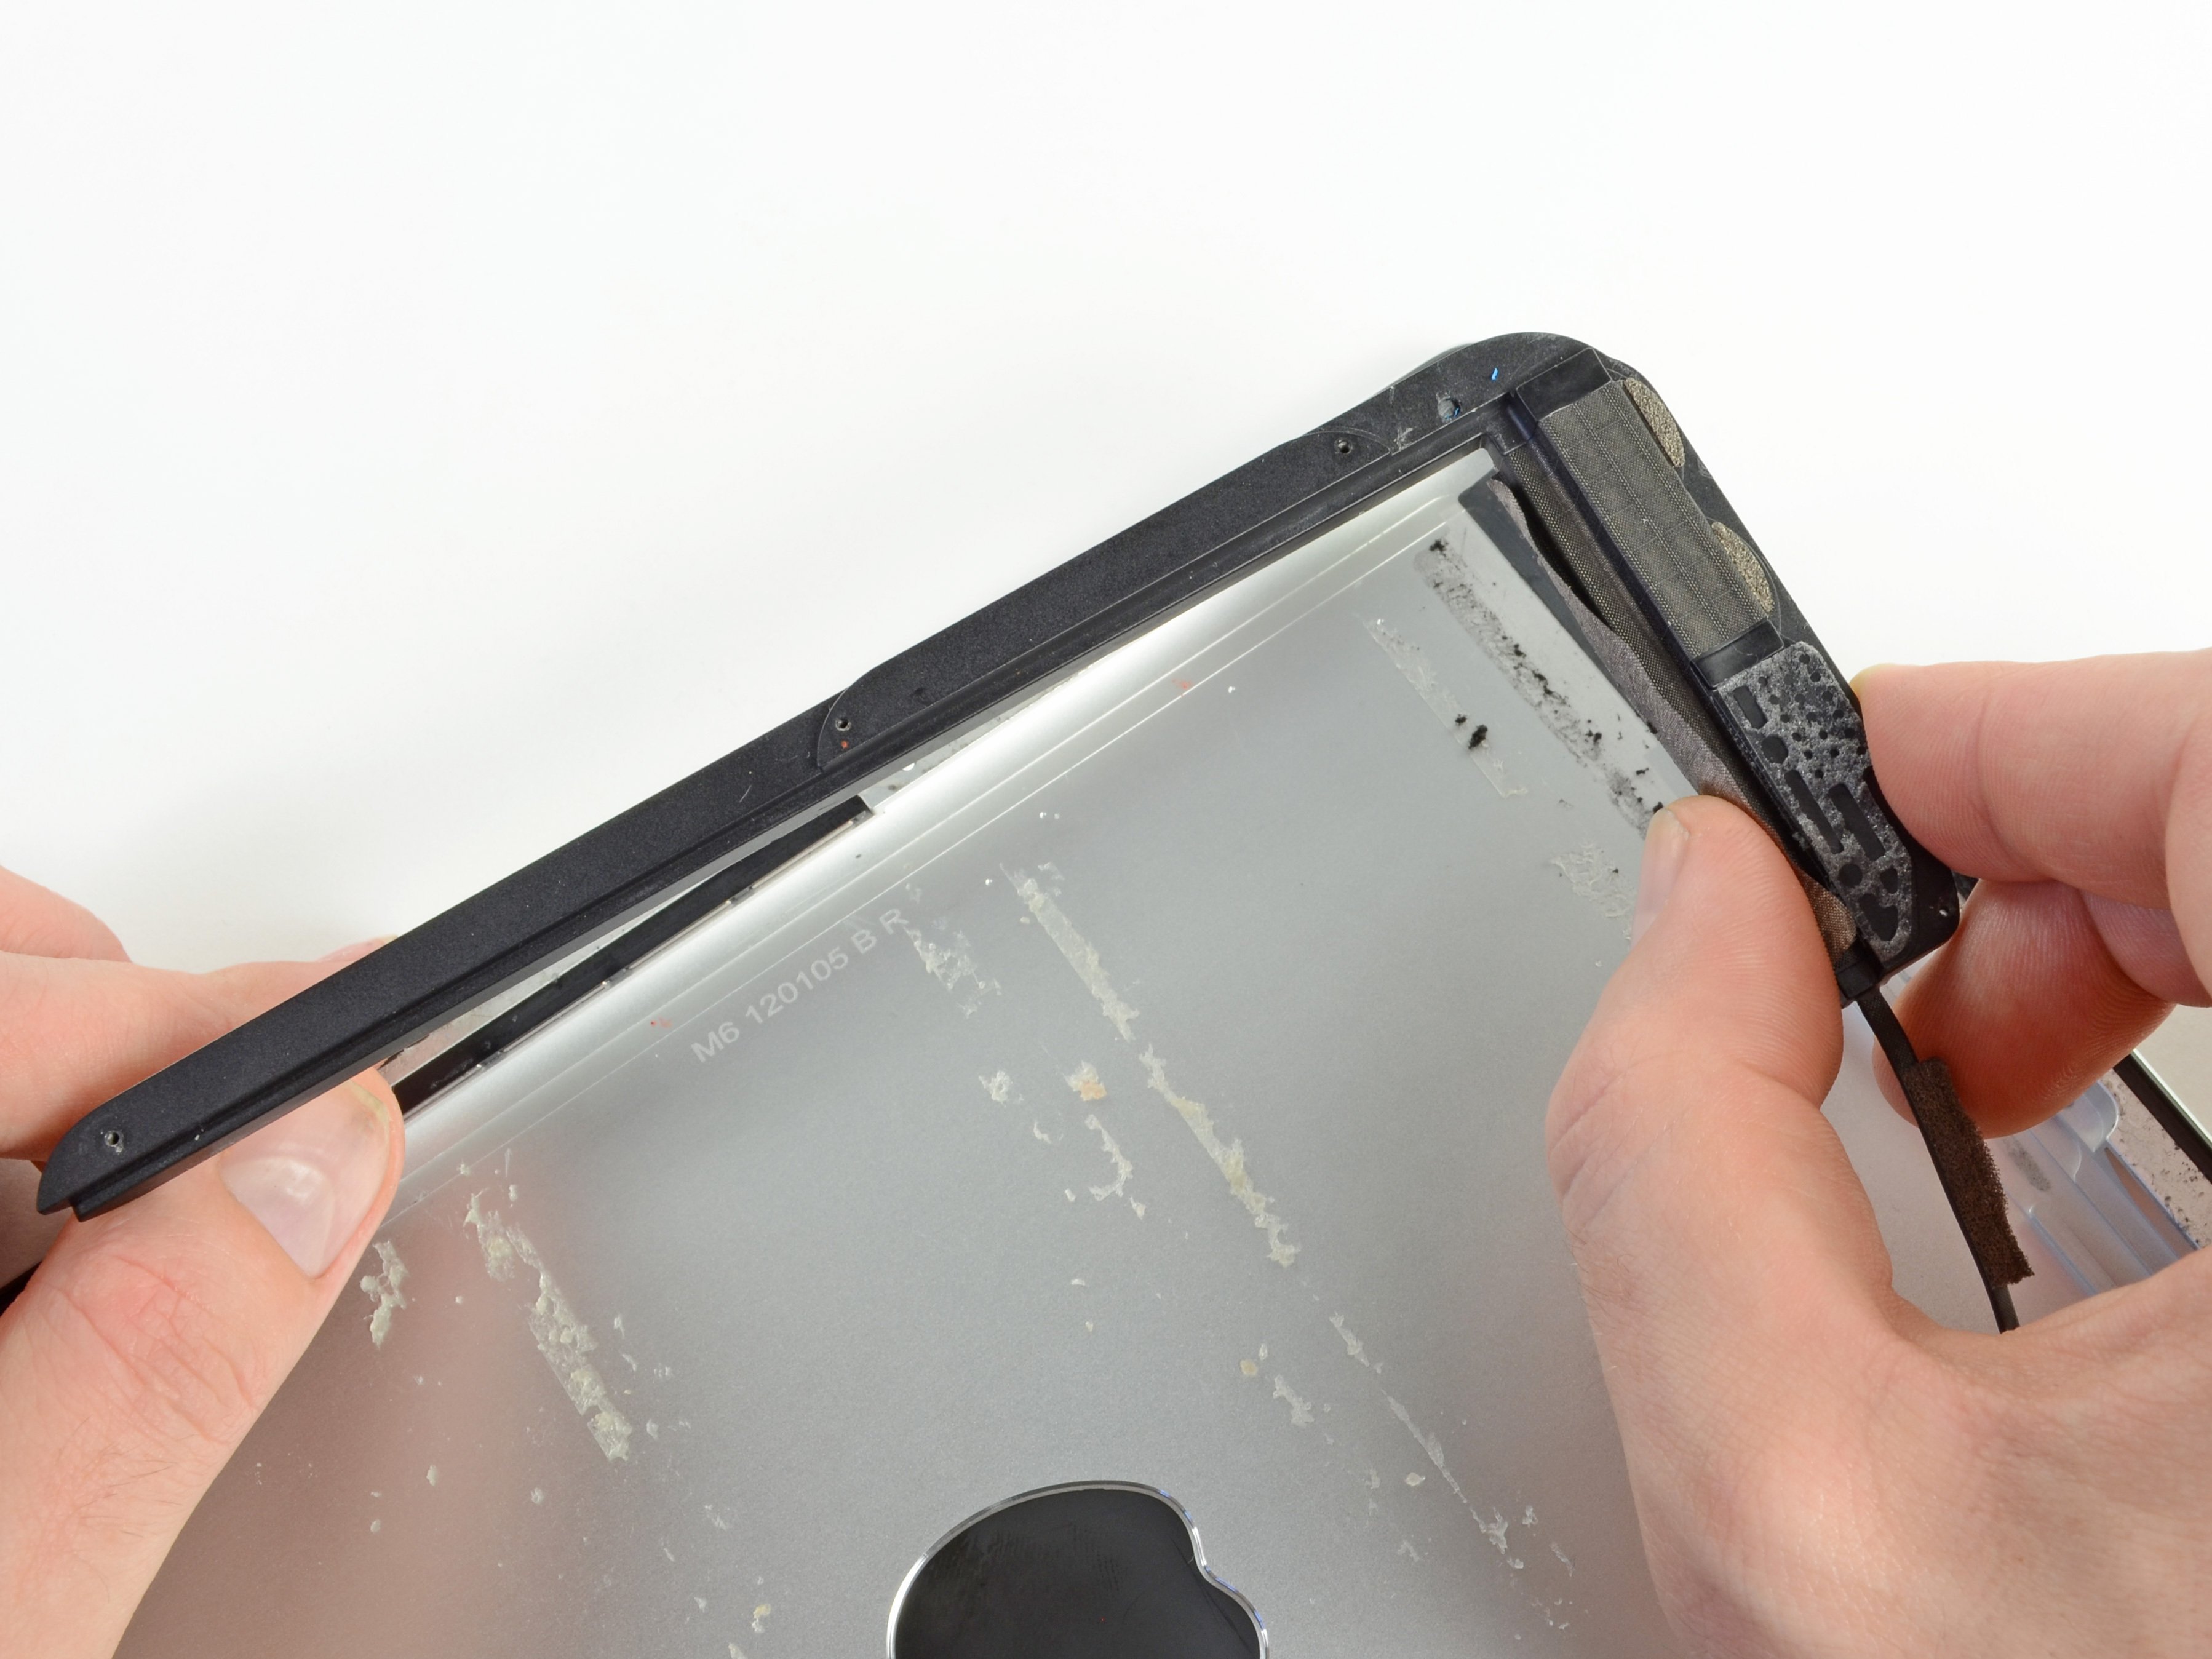
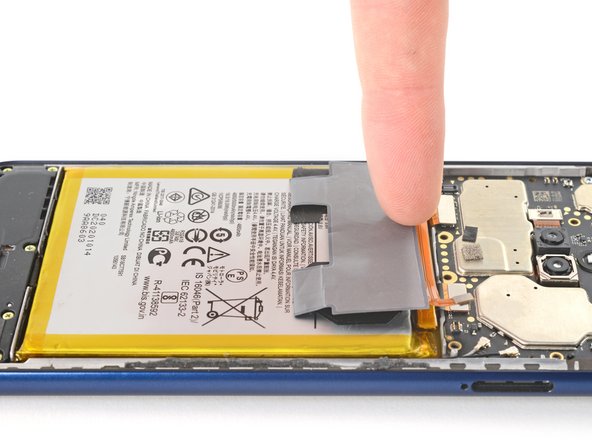
The fingerprint reader is connected to the motherboard by a fragile cable. You must free it before pulling the cover off.
– Grab and lift the bottom edge of the cover.
– As you lift the back cover, press and unstick the fingerprint reader from it.


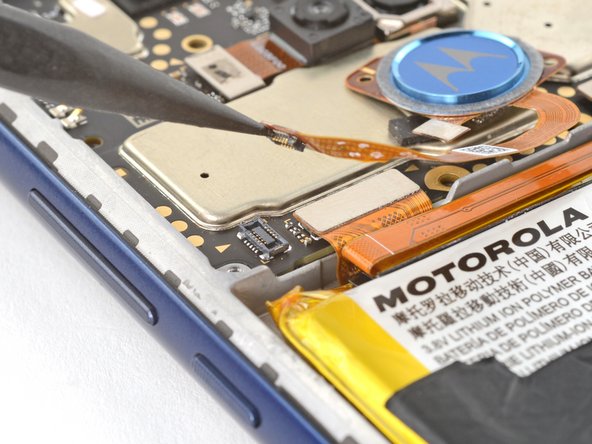
Step 7


Don’t fold or sharply bend the ribbon cable.
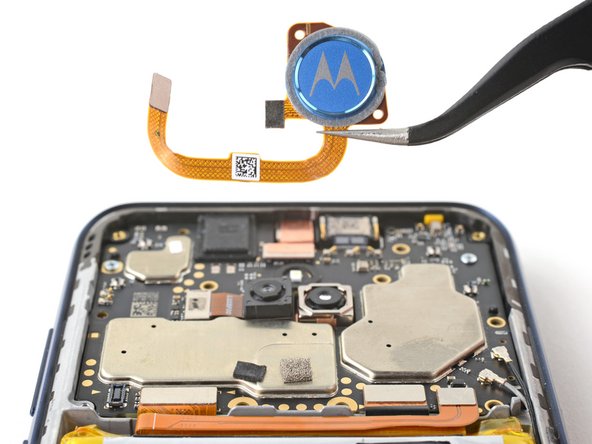
– Flip the fingerprint reader to the left, away from the phone.
Tools Used
Step 8


– Use your Phillips screwdriver to remove the twelve 3.9 mm-long screws securing the motherboard cover.
Step 9


– Insert the pointed end of a spudger between the bottom right corner of the motherboard cover and the frame.
– Pry the cover upward until you can grab it with your fingers.
Tools Used


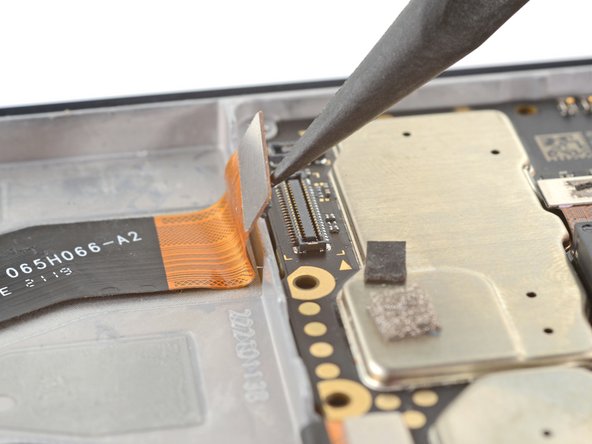
Step 11


To re-attach press connectors , carefully align and press down on one side until it clicks into place, then repeat on the other side. Don’t press down on the middle. If the connector is misaligned, the pins can bend and cause permanent damage.
Tools Used


Step 15

Tools Used

Step 17

Apply more heat or isopropyl alcohol if the battery readheres.
– Place a suction handle on the center of the battery.
– Insert an opening pick between the right edge of the battery and the frame.
– Use a steady force to pull on the suction handle and simultaneously pry with the pick.
Tools Used


Step 20

A hair dryer, heat gun , or hot plate may also be used, but be careful not to overheat the phone—the display is susceptible to heat damage.

Step 22

A hair dryer, heat gun , or hot plate may also be used, but be careful not to overheat the phone—the display is susceptible to heat damage, and the exterior coating of the phone will wrinkle under high temperatures.
– Heat an iOpener and apply it to the bottom of the screen for about two minutes.
Tools Used
Step 23
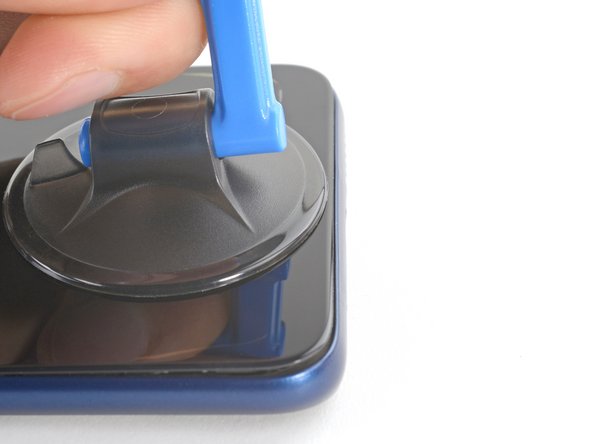

– Apply a suction cup to the screen, as close to the center of the bottom edge as possible.
– Pull up on the suction handle with a strong, steady force to create a gap between the glass and the frame.
– Insert an opening pick into the gap.
Tools Used
Step 24


Don’t insert the opening pick deeper than 2 mm, as you may delaminate the display panel.
– Slide the pick back and forth to separate the bottom edge’s adhesive.
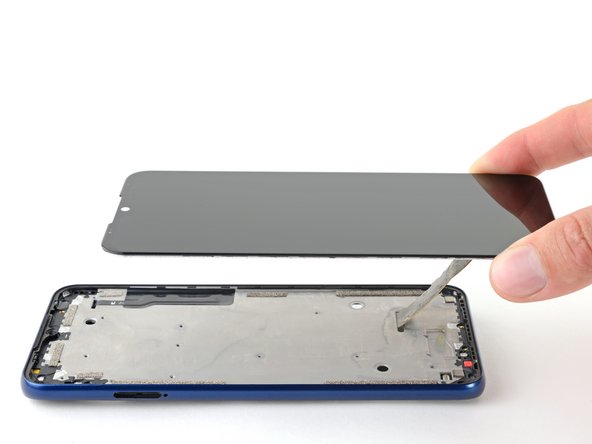
Step 25

– Slide your opening pick to the top left corner to separate the left edge’s adhesive.
– Repeat this process for the top and right edges to completely separate the display panel from the frame.