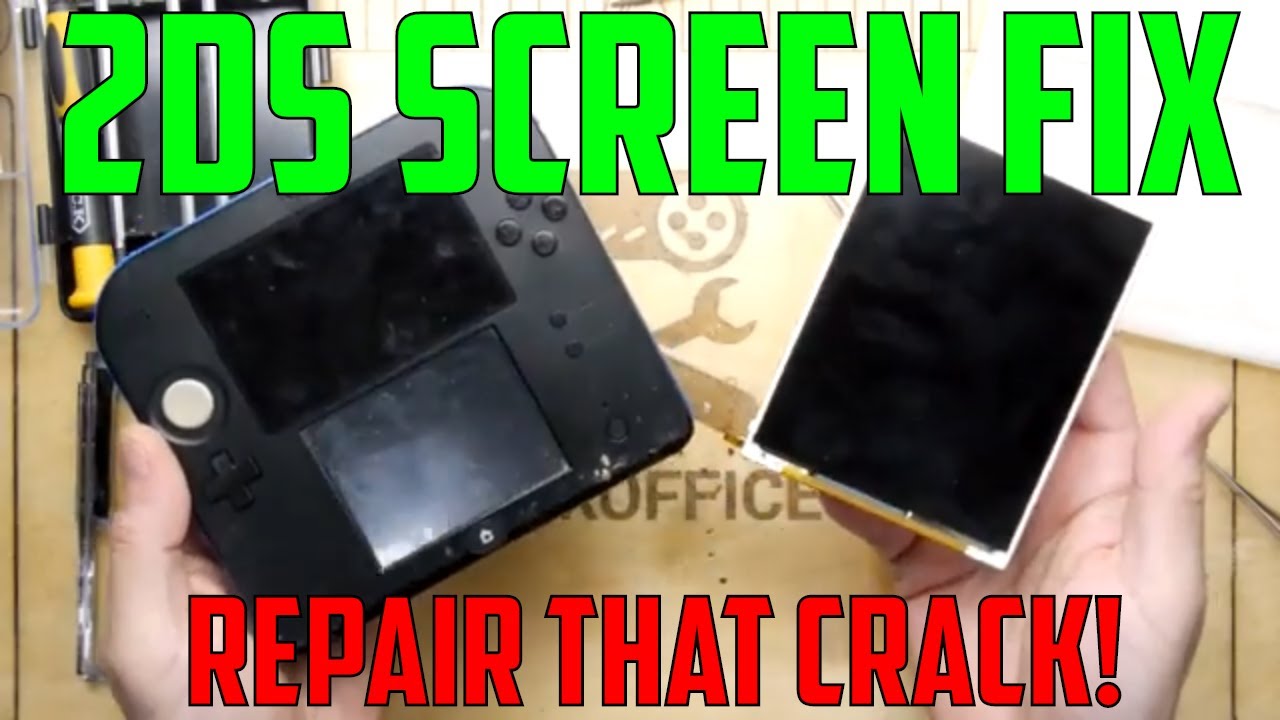
How to Replace Nintendo 2DS Motherboard: Step-by-Step Guide
Duration: 45 minutes
Steps: 10 Steps
The motherboard is the hub for all the internal circuitry of the Nintendo 2DS. When disassembling it, be extra careful not to strip any screws. Damage from stripped screws can be nearly impossible to repair. Tread lightly!
Step 1

The captive screws are designed to stay cozy with the back panel, so they won’t fully come off. No worries, just keep going!
– Carefully take out the two Phillips screws that are holding down the upper rear panel. You’ve got this!
Step 2


– Gently lift the upper rear panel up and away to set it free.
Step 3


– Pop out the battery by gently lifting it from the side nearest the outer edge. Easy does it!
Step 4

– Unscrew the ten Phillips screws holding the rear panel in place. Let’s get that cover off and see what’s inside!
Step 5

The rear panel is connected to the motherboard with a ribbon cable, so take it easy and don’t pull the rear panel too far away from the device.
– Gently lift the rear panel straight up off the device like you’re unveiling a masterpiece.
Step 6

Now’s a great time to pop off the Left and Right triggers. Just a heads-up—they’ve got little hinges that can snap and springs that might take a leap of faith, so keep an eye on them.
– Get a grip on that connector! Use your trusty fingernail or the flat end of a spudger to carefully flip it up and release the ribbon cable from the motherboard
– Now it’s time to set that cable free! Gently remove it from the connector and you’re one step closer to fixing your device
Step 7


The panels pop off nice and smooth—no wrestling required!
– Grab those side panels of the device’s case with your fingers and give them a gentle outward pull to pop them off.
– In the photo, you’ll notice three ribbon cables that have already been unplugged—be sure to disconnect those bad boys before diving further into disassembly.
Step 8

Be gentle when handling these screws – stripping them can be a real pain and might make it super tough to replace the motherboard if things go wrong!
The circle pad is missing in this image. No worries, we’ll get it sorted in the next step.
– Alright, time to grab that screwdriver and carefully remove the 12 shiny, brass-colored Phillips screws holding down the main board. Take your time—steady hands win the race!
Step 9


The top panel can only be popped off once the motherboard isn’t locked in place.
The top panel should lift off effortlessly—barely any muscle required!
– There are two screws hiding up top on the rail. Unscrew them to free up the buttons and top rail.
– The joystick base is held in place by two screws. Unscrew them carefully, but remember, the ribbon cable is still connected, so be gentle!
– Gently hold the top panel with your fingers and carefully pull it away from the device to remove it.
Step 10


– To get your device up and running again, simply reverse the steps you followed to take it apart.
– If you’re having trouble, don’t worry! You can always schedule a repair with Salvation Repair.
– You did it! You successfully completed this repair guide.
Success!