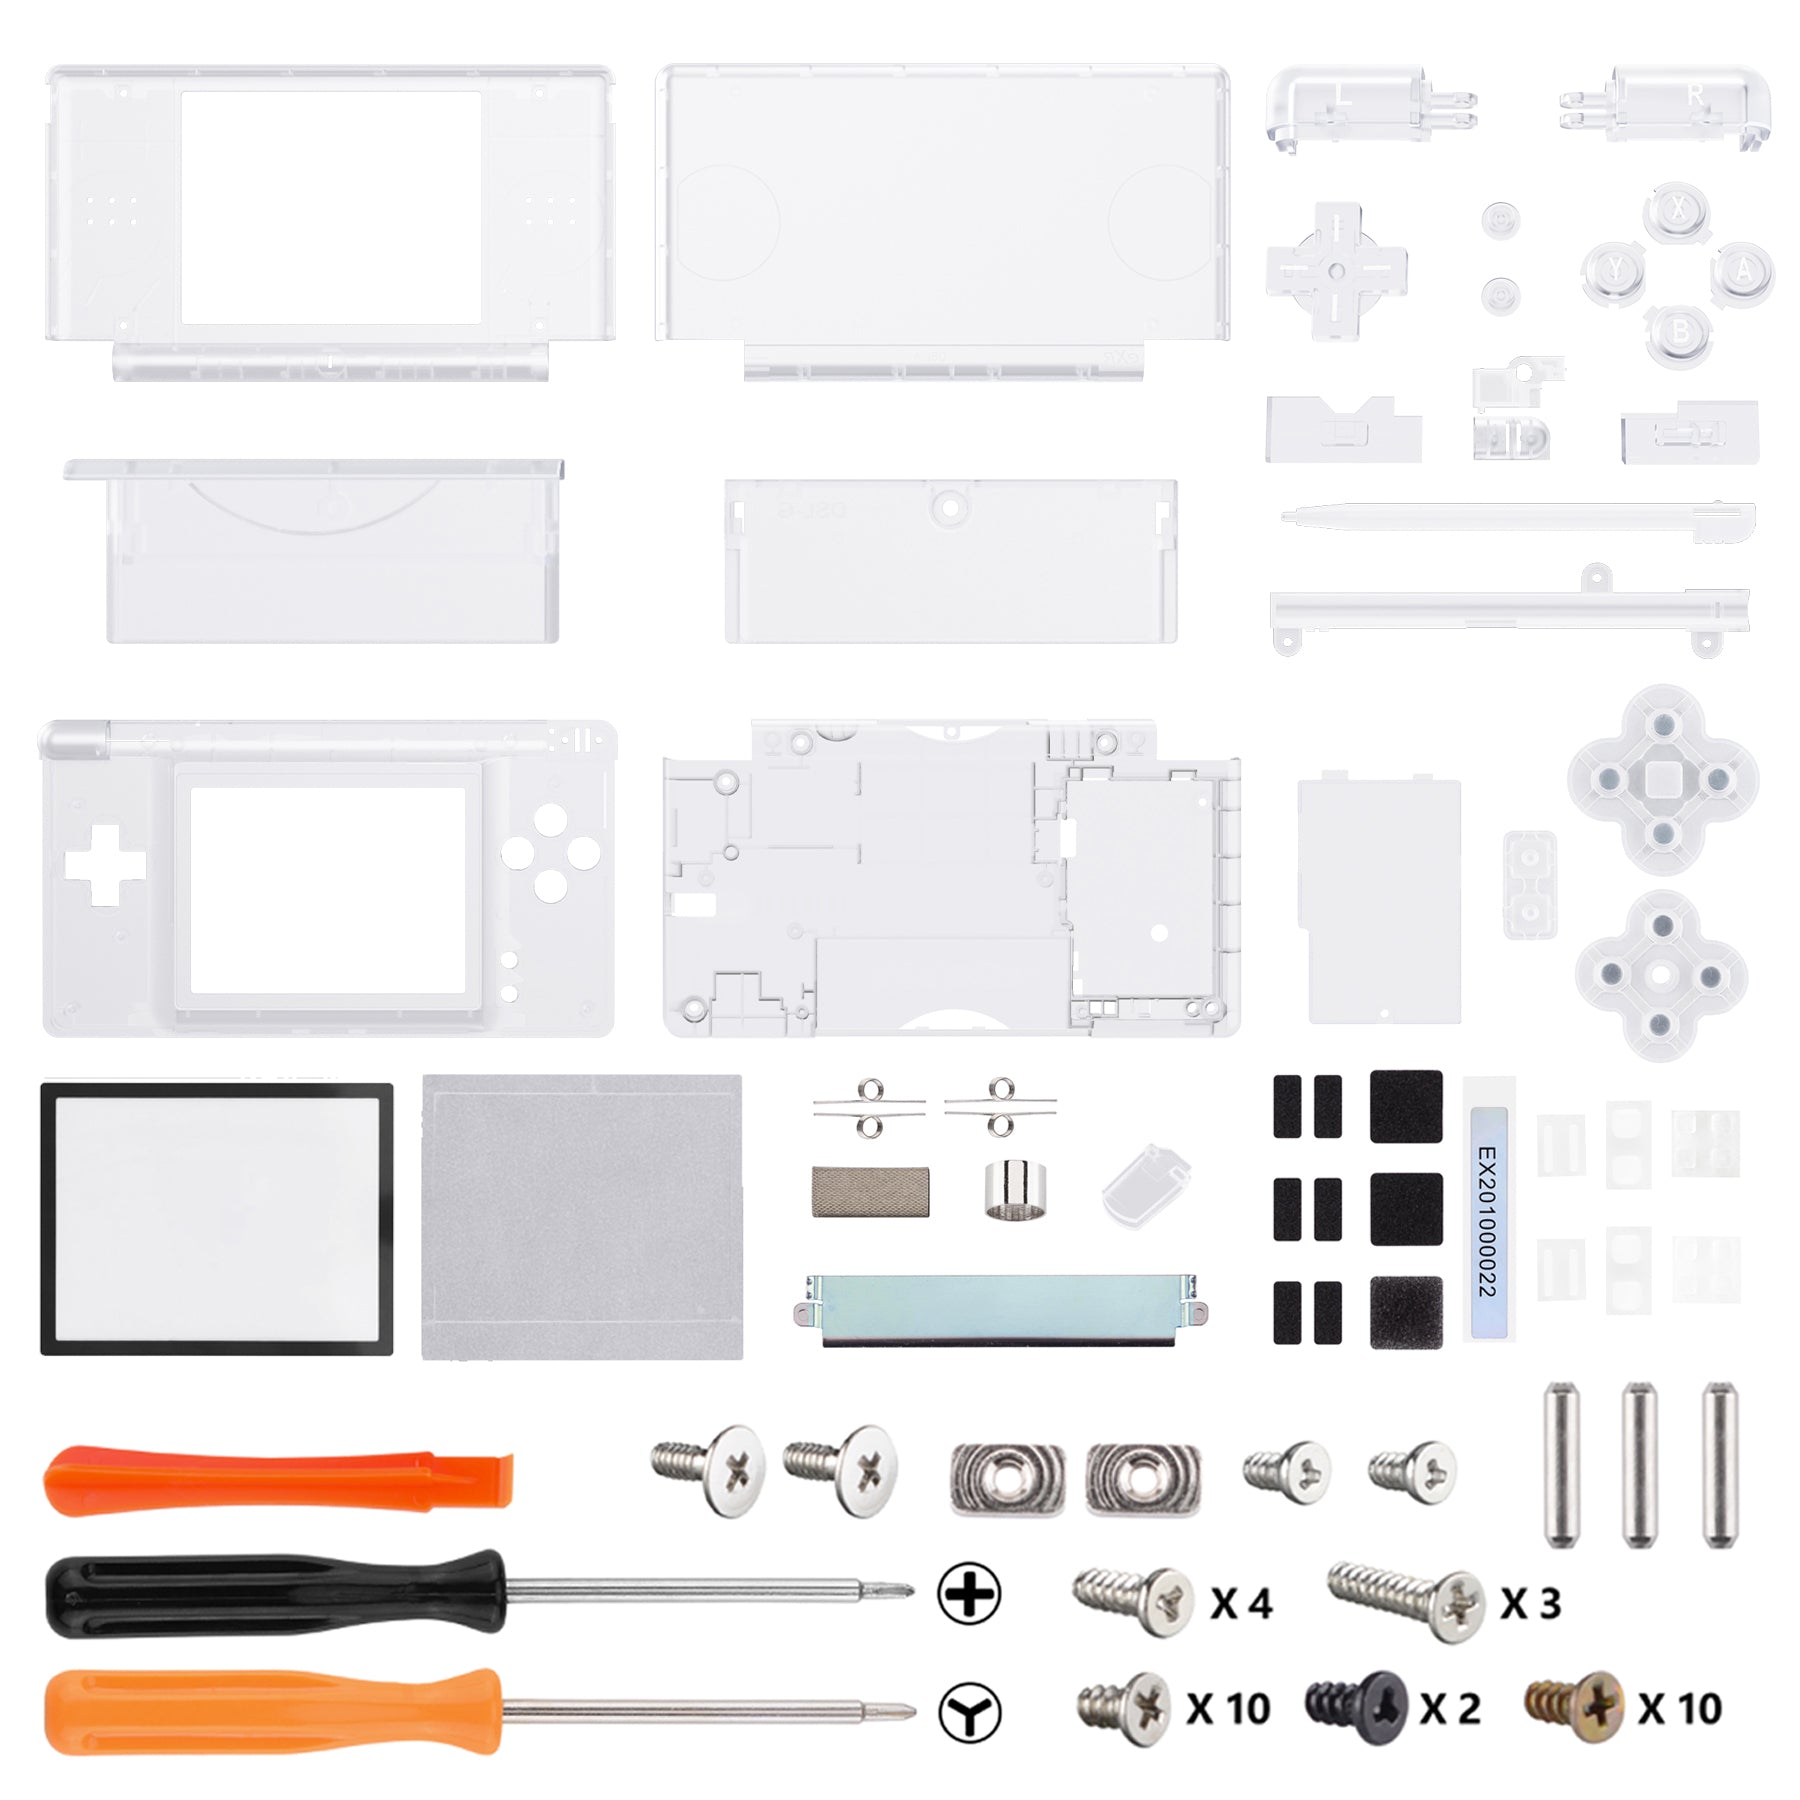
How to Replace Nintendo DS Lite Lower Case – Step-by-Step Guide
Duration: 45 minutes
Steps: 6 Steps
Give your Nintendo DS Lite a fresh new look by swapping out that lower case! It’s like giving your device a mini makeover, straight from the store!
Step 1


The screw stays attached to the battery cover.
– Grab your Phillips screwdriver and unscrew the screw that’s keeping the battery cover locked in place on the lower case.
– Now, gently use a spudger or your fingernail to pry up the battery cover and lift it out of the lower case. It should pop right off!
Tools Used


Step 4

– Alright, let’s kick things off by removing these screws holding the lower case to the DS Lite:
– Two 4.3 mm gold Phillips screws
– One 3.9 mm black Tri-Wing screw
– One 3.3 mm silver Phillips screw
– Three 5.5 mm silver Tri-Wing screws
Step 5


Go ahead and pop off the cover from the Game Pak slot before you dive into the next steps!
– Slide the edge of your trusty spudger between the lower and upper case, right near the top right corner of the DS Lite. You’ve got this!
– Gently glide the spudger along the right edge of the DS Lite, and watch as it creates a little opening for you. Nice and easy!
– Keep that spudger moving along the back of the DS Lite until most of the lower case is happily separated from the upper case. You’re doing great!
Tools Used
Step 6

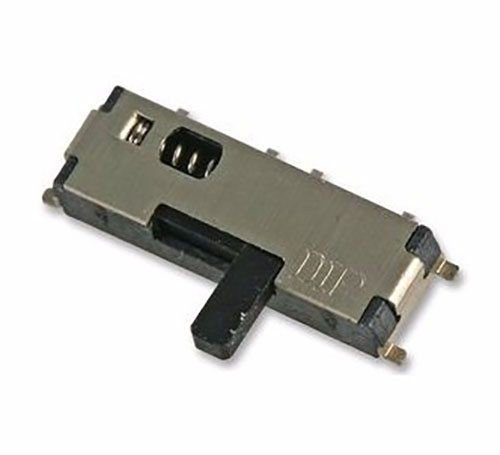
Take it easy while pulling—some units use adhesive, and too much force could harm that delicate power switch.
When putting things back together, double-check that the power switch and volume sliders are lined up just right with their corresponding switches on the motherboard.
– Gently lift the lower case away from the rest of the DS Lite, like you’re unveiling a surprise gift!
Success!