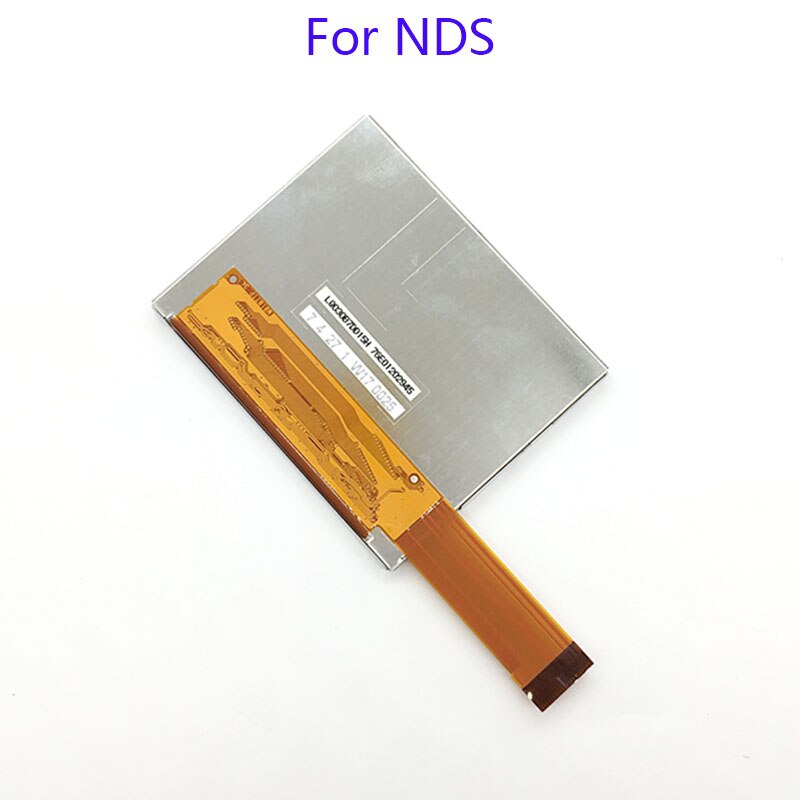
How to Replace Nintendo DS Upper LCD Screen: Step-by-Step Guide
Duration: 45 minutes
Steps: 17 Steps
This guide walks you through replacing the upper LCD screen in your Nintendo DS. You’ll find everything you need in the tool section below. Be extra gentle with the ribbon cables to avoid any tearing or breaking. Also, handle the black and red wires between the circuit boards with care when removing the screen. These components are crucial and not covered in this guide if damaged. Use the proper tools and techniques to keep everything in tip-top shape. If you need help, you can always schedule a repair.
Step 1


In the images, you’ll see the fixer using a flathead screwdriver. Don’t worry, this flathead screwdriver can totally handle the job just like the Phillips #00 Screwdriver!
– Pop that cartridge out of the console like a pro.
– Grab your trusty Phillips #00 Screwdriver and unscrew the little guy holding the battery door to the rear case.
– Gently remove the battery door and set it aside—you’re on your way!
Tools Used

Step 2

– Grab a plastic opening tool or a spudger to gently nudge the battery out from the bottom. If you don’t have one of those handy, your trusty fingernails might just do the trick!
Tools Used


Step 4

Got a lanyard on your DS? Remove it to make unscrewing the top-left screw a breeze.
– Alright, here we go! Take out those seven 6.4mm Y00 screws from the back. You got this!
Step 5


– Gently pop off the back panel using your hands.
– Pull apart the back and front, and place the back panel aside.
Step 6

Handle that screwdriver with care – we don’t want any accidental slips that could damage the circuit board!
– Let’s get started! Use a Phillips #00 screwdriver to carefully remove the four screws from the circuit board. Take your time and make sure they’re all out before moving on to the next step.
Tools Used
Step 7


Avoid using pliers to tug on those cables; they’re more delicate than they look and can get hurt easily!
– Pop up those black clips to unlock the big ribbon cables.
– Gently tug the ribbon cables down and out using your fingers.
Step 8


Handle with care – those teeny ribbon cables can be super fragile!
Grab some tweezers to gently wrangle those tiny ribbon cables—precision is key, and you’ve got this!
– Spot the two small ribbon cables just under the large one on the right.
– Gently slide the locks on the small ribbon cables sideways and remove them.
Tools Used


Step 10

– Slide those ribbon cables right through the opening on the board like a pro.
– Gently lift and remove the circuit board, then set it aside for its well-deserved break.
Step 11


As you tackle this step, remember to gently remove those rubber screw covers. If they happen to tear or get damaged, you might need to grab some new ones. While they’re not essential for sealing up the console, putting them back on is a great way to keep things looking sharp and protect against dirt and moisture. So, go ahead and (re)install those rubber screw covers for a neat finish!
– Grab a flathead screwdriver, some tweezers, or even a toothpick or dental tool to gently pop off those rubber covers on the screen. It’s like peeling a banana, but for your device!
– Next up, take your trusty Phillips #00 screwdriver and remove those four screws. You’ve got this!
Tools Used
Step 12


– Grab your trusty plastic opening tool and gently wiggle it into the seam of the plastic case. Give it a little pry at the edges to pop it open like a pro!
Step 13


– Gently pry off the top cover to separate it from the body.
– Grab a Phillips #00 screwdriver and carefully remove the screw securing the hinge cover.
– Now, take off the hinge cover and set it aside for safekeeping.
Tools Used
Step 14


– Gently slide the ribbon cables and the WiFi pigtail cable through the gap in the hinge cover.
– Carefully remove the yellow spacer and set it aside for now.
Step 15


Watch out for those tiny red and black wires linking the two circuit boards! They’re a bit delicate, so let’s keep them safe and sound.
– First, grab your trusty Phillips #00 screwdriver and carefully remove the two screws holding down the speaker circuit boards – don’t worry, it’s easier than it sounds!
– Next, gently lift out the two small circuit boards and set them aside where they won’t get lost. You’re making great progress!
Tools Used
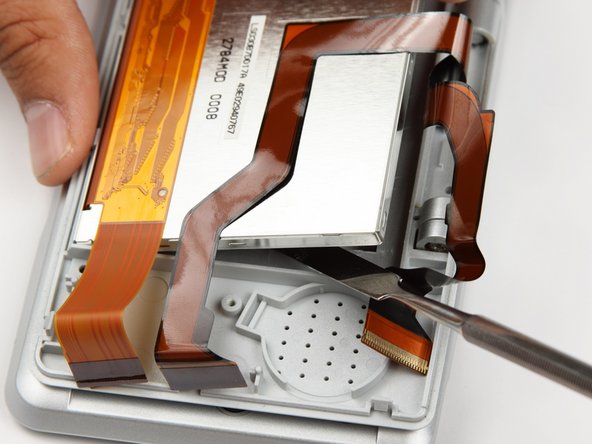
Step 16


Handle those two ribbon cables with care—they’re as delicate as butterfly wings when you’re removing them from the DS.
– Pop that black lock up on the two big ribbon cables with a pry tool, then gently slide them out.
– For the little ribbon cable, pull the lock down.
– Gently slide out the little ribbon cable from its connector.
– Set the two small circuit boards aside.
Step 17

– Time to put your device back together! Just retrace your steps and follow these instructions in reverse. You’ve got this!
– If you find yourself needing a little extra help, don’t hesitate to schedule a repair.
– You’re on the right track, keep it up!
Success!