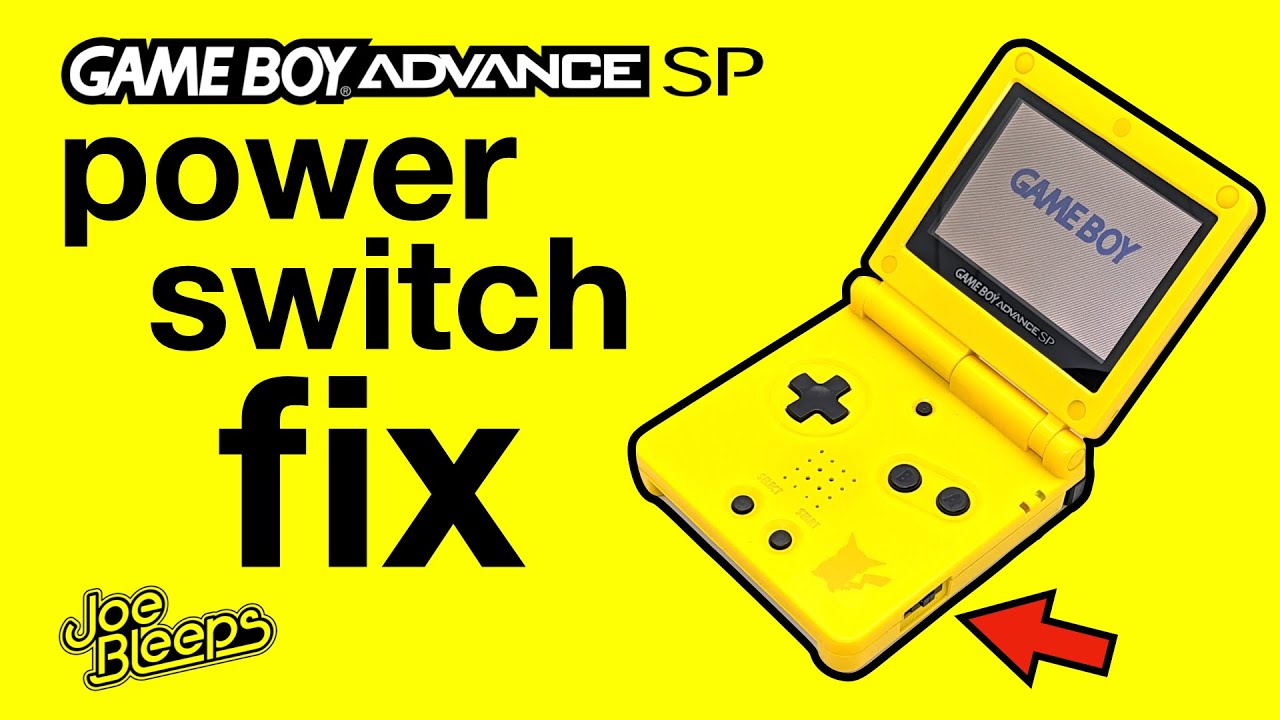
How to Replace Nintendo Handheld Game Console Game Boy Advance SP Back Cover
Duration: 45 minutes
Steps: 5 Steps
The back cover is like a superhero shield for your motherboard, keeping it safe from the evildoers of dust and spills. Those six screws holding it down? They’re tough cookies, so get ready to give ’em a little elbow grease!
Step 1

– Grab your trusty Phillips #00 screwdriver and gently loosen that 4 mm screw holding the battery cover snugly in place. You’ve got this!
Tools Used


Step 3

Heads up: Handle that battery with care! If you notice any swelling or damage, it’s a potential fire risk. Stay safe and keep it cool!
– Gently pop out the battery using your fingers or a plastic opening tool.
Step 4


– Grab your tri-point Y00 screwdriver and pop out the four 6.5 mm screws hanging out at the corners of the back cover. Easy peasy!
– Now, take out the two 4.6 mm screws chillin’ at the top-center and bottom-center of the device, again with that trusty tri-point Y00 screwdriver. You’re cruising through this!
Tools Used

Step 5

Heads up! Those inner components are like sensitive little flowers when it comes to static electricity. So, as you dive into the next steps, be gentle and cautious to keep your device safe and sound.
– Time to get started! Carefully lift the back cover off your device, taking note of any clips or screws that might be hiding.
– Keep an eye out for the power switch – it can easily fall out when you’re removing the back cover, so be gentle and stay alert!
Success!