How to Replace Nintendo Switch Joy-Con Shell: Step-by-Step Guide
Duration: 45 minutes
Steps: 12 Steps
After heavy gaming sessions or an accidental drop, your Nintendo Switch Joy-Con shell might look a bit battle-worn or even cracked. This could leave the internal electronics vulnerable to damage. While your Joy-Con might still work fine, swapping out the shell is a great way to keep it safe and looking sharp without having to fork out for a new pair. This guide walks you through replacing the right Joy-Con shell. Heads up: fixing the Left Joy-Con is a slightly different process. The steps mainly involve unscrewing and carefully moving around electronic parts, so precision is key for reattaching those tiny components. Since Joy-Cons are separate from the console, there’s no need to turn off your Switch while doing this repair. Let’s get started!
Step 1

These screws can be a bit tricky and may strip easily. Just remember to keep a steady downward pressure while unscrewing them, and you’ll be just fine!
These are the sole tri-point screws you’ll encounter on the Joy-Con. For all the other screws, grab your trusty Phillips head screwdriver and get to work!
– Unscrew the 4 tri-point screws on the back of the Joy-Con. It’s like unlocking a tiny treasure chest—steady hands win the day!
Step 2

– Let’s get started by flipping open the back shell. This will give you access to the battery, and we can begin the repair process.
Step 3

– Unscrew the little guy holding the rail to the back shell—it’s time to set it loose!
Step 4

The battery can be a bit stubborn to remove due to the adhesive, but don’t worry, a trusty spudger can help coax it out from the casing.
– Take out the battery and disconnect it from the motherboard. Feel free to use your fingers or tweezers to gently pull those connections away from the motherboard. You’ve got this!


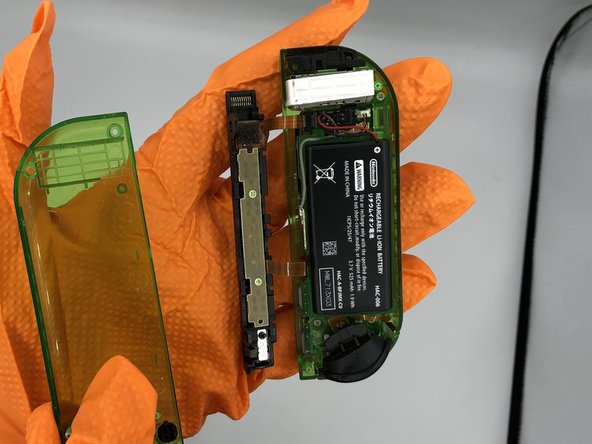
Step 5

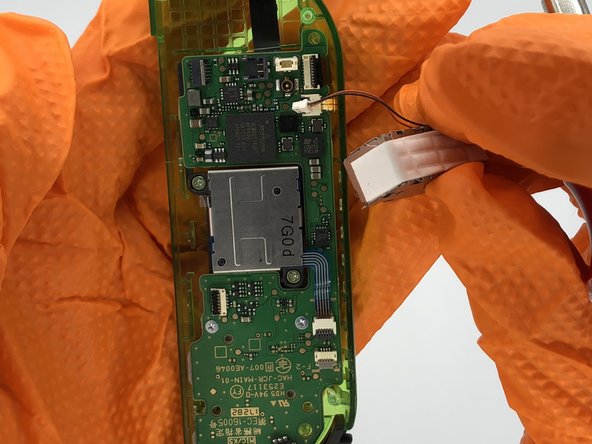
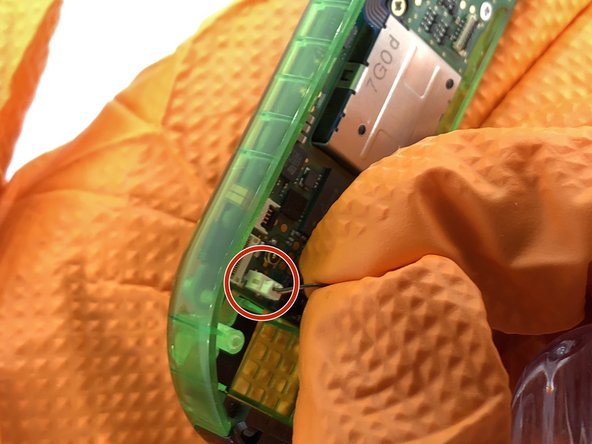
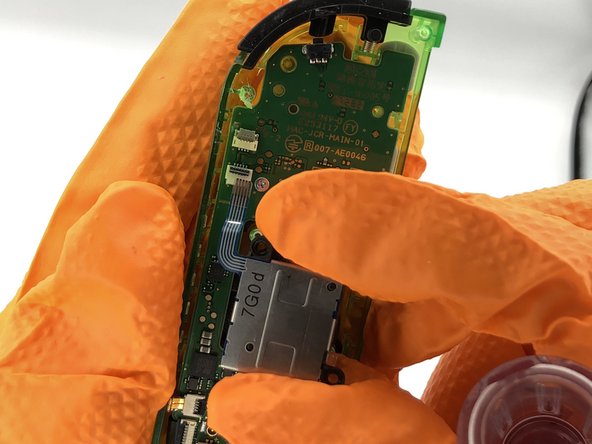
– Heads up! Before you go any further, make a mental note of how the antenna cable is sitting for when you put everything back together.
– Pop out the small antenna chip (check the second picture for reference) and unplug it from the motherboard.
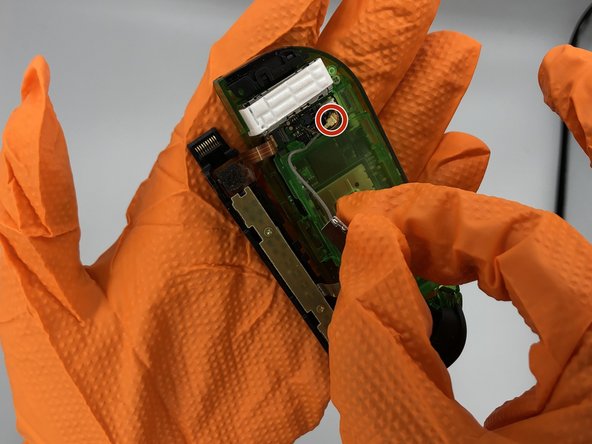
Step 6

– Take out the 3 screws securing the battery case to the shell.
Step 7

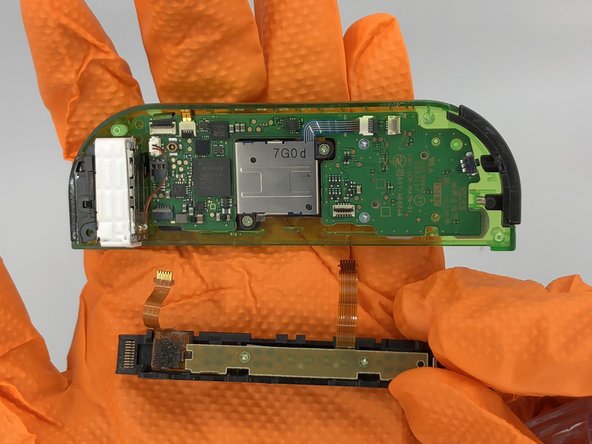
Heads up! Don’t lift the connectors the wrong way. The one near the shoulder buttons lifts away from the black rail, and the one near the rumble motor lifts toward the thin grey rail. Smooth moves!
You could leave the rail connected if you’re feeling adventurous, but fair warning—it’s going to be a bit of a handful.
– Gently detach the ribbon cables that link the rail and battery casing to the motherboard. To unlock the cables, use a spudger to flip the connector upwards, then carefully pull the cable out of the connector. You’re doing great!
Tools Used
Step 8

– Disconnect the white 2-pin connector to free the rumble motor.
Step 9
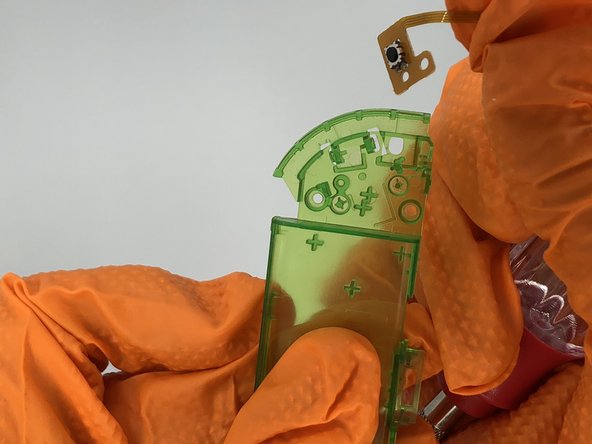
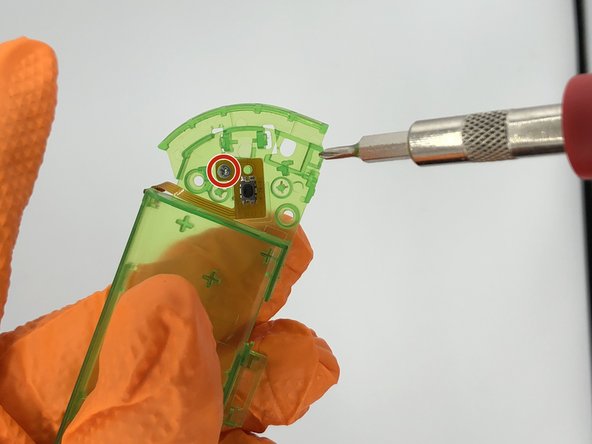

– Pop off the black ZR button from the battery casing—don’t be shy, it’s ready to come off!
– Gently unscrew the button sensor from the battery casing to set it free. Keep those screws safe!
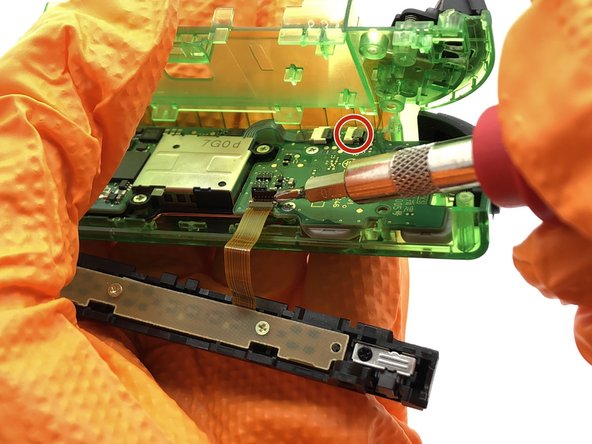
Step 10

– Pop out those two Phillips screws keeping the joystick snugly attached to the motherboard—easy peasy!
– Gently unplug the joystick ribbon cable from the motherboard. Take your time, no rush—you’re doing great!
Step 11

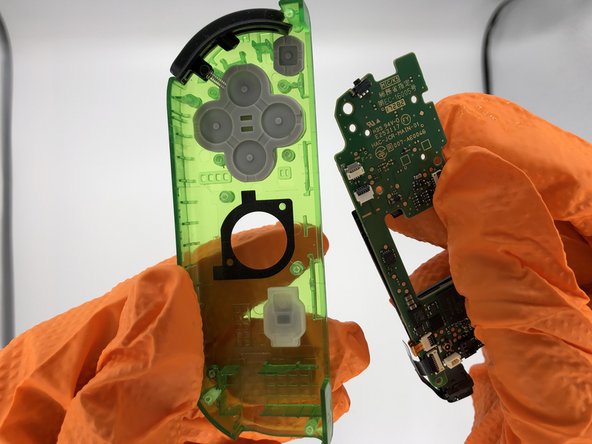
– Unscrew those two little screws holding the motherboard snugly in the shell. Let’s get this party started!
Step 12

If you’re missing any silicone button covers, take a peek at the back of the motherboard; they might just be hanging out there!
– Put everything back together by following the steps in reverse—easy peasy!
– If you run into any snags, you can always schedule a repair.
Success!


