How to Replace Nintendo Switch OLED Dock Baseplate Tutorial
Duration: 45 minutes
Steps: 6 Steps
Ready to swap out the baseplate in your Nintendo Switch OLED dock? Let’s do this! The dock’s screws are JIS-style, but don’t stress—you can use a Phillips screwdriver if that’s what you’ve got handy. Just keep it cool and take your time to avoid stripping those screws. Bonus tip: Phillips bits often play nice with JIS screws. Before you dive in, make sure to unplug all the cables from your dock. Let’s get this dock back in action!
Step 1


– Give the rear cover a gentle tug to pop it off the frame and free those plastic clips.
– Take off the rear cover.
Step 2


– Grab your trusty Y0 screwdriver and let’s get to work! Unscrew that 7.5 mm-long screw that’s holding the baseplate snugly to the frame. You’ve got this!
Step 3


– Sneak an opening tool between the frame and that little plastic screw cover at the bottom-left corner.
– Lift up with the opening tool to pop off the screw cover from the frame.
– Take off the screw cover.
Step 4


– Grab your trusty Y0 screwdriver and let’s get to work! Start by unscrewing the seven screws that hold the midframe securely in place. You’ve got this!
– First up, we have four screws that are 3.9 mm in size.
– Next, you’ll find three screws that are a bit longer at 7.5 mm.
– Finally, don’t forget about that last little 3.9 mm screw waiting for you!
Step 5


– Gently pry the midframe away from the main frame using your fingers. You’ve got this!
Step 6


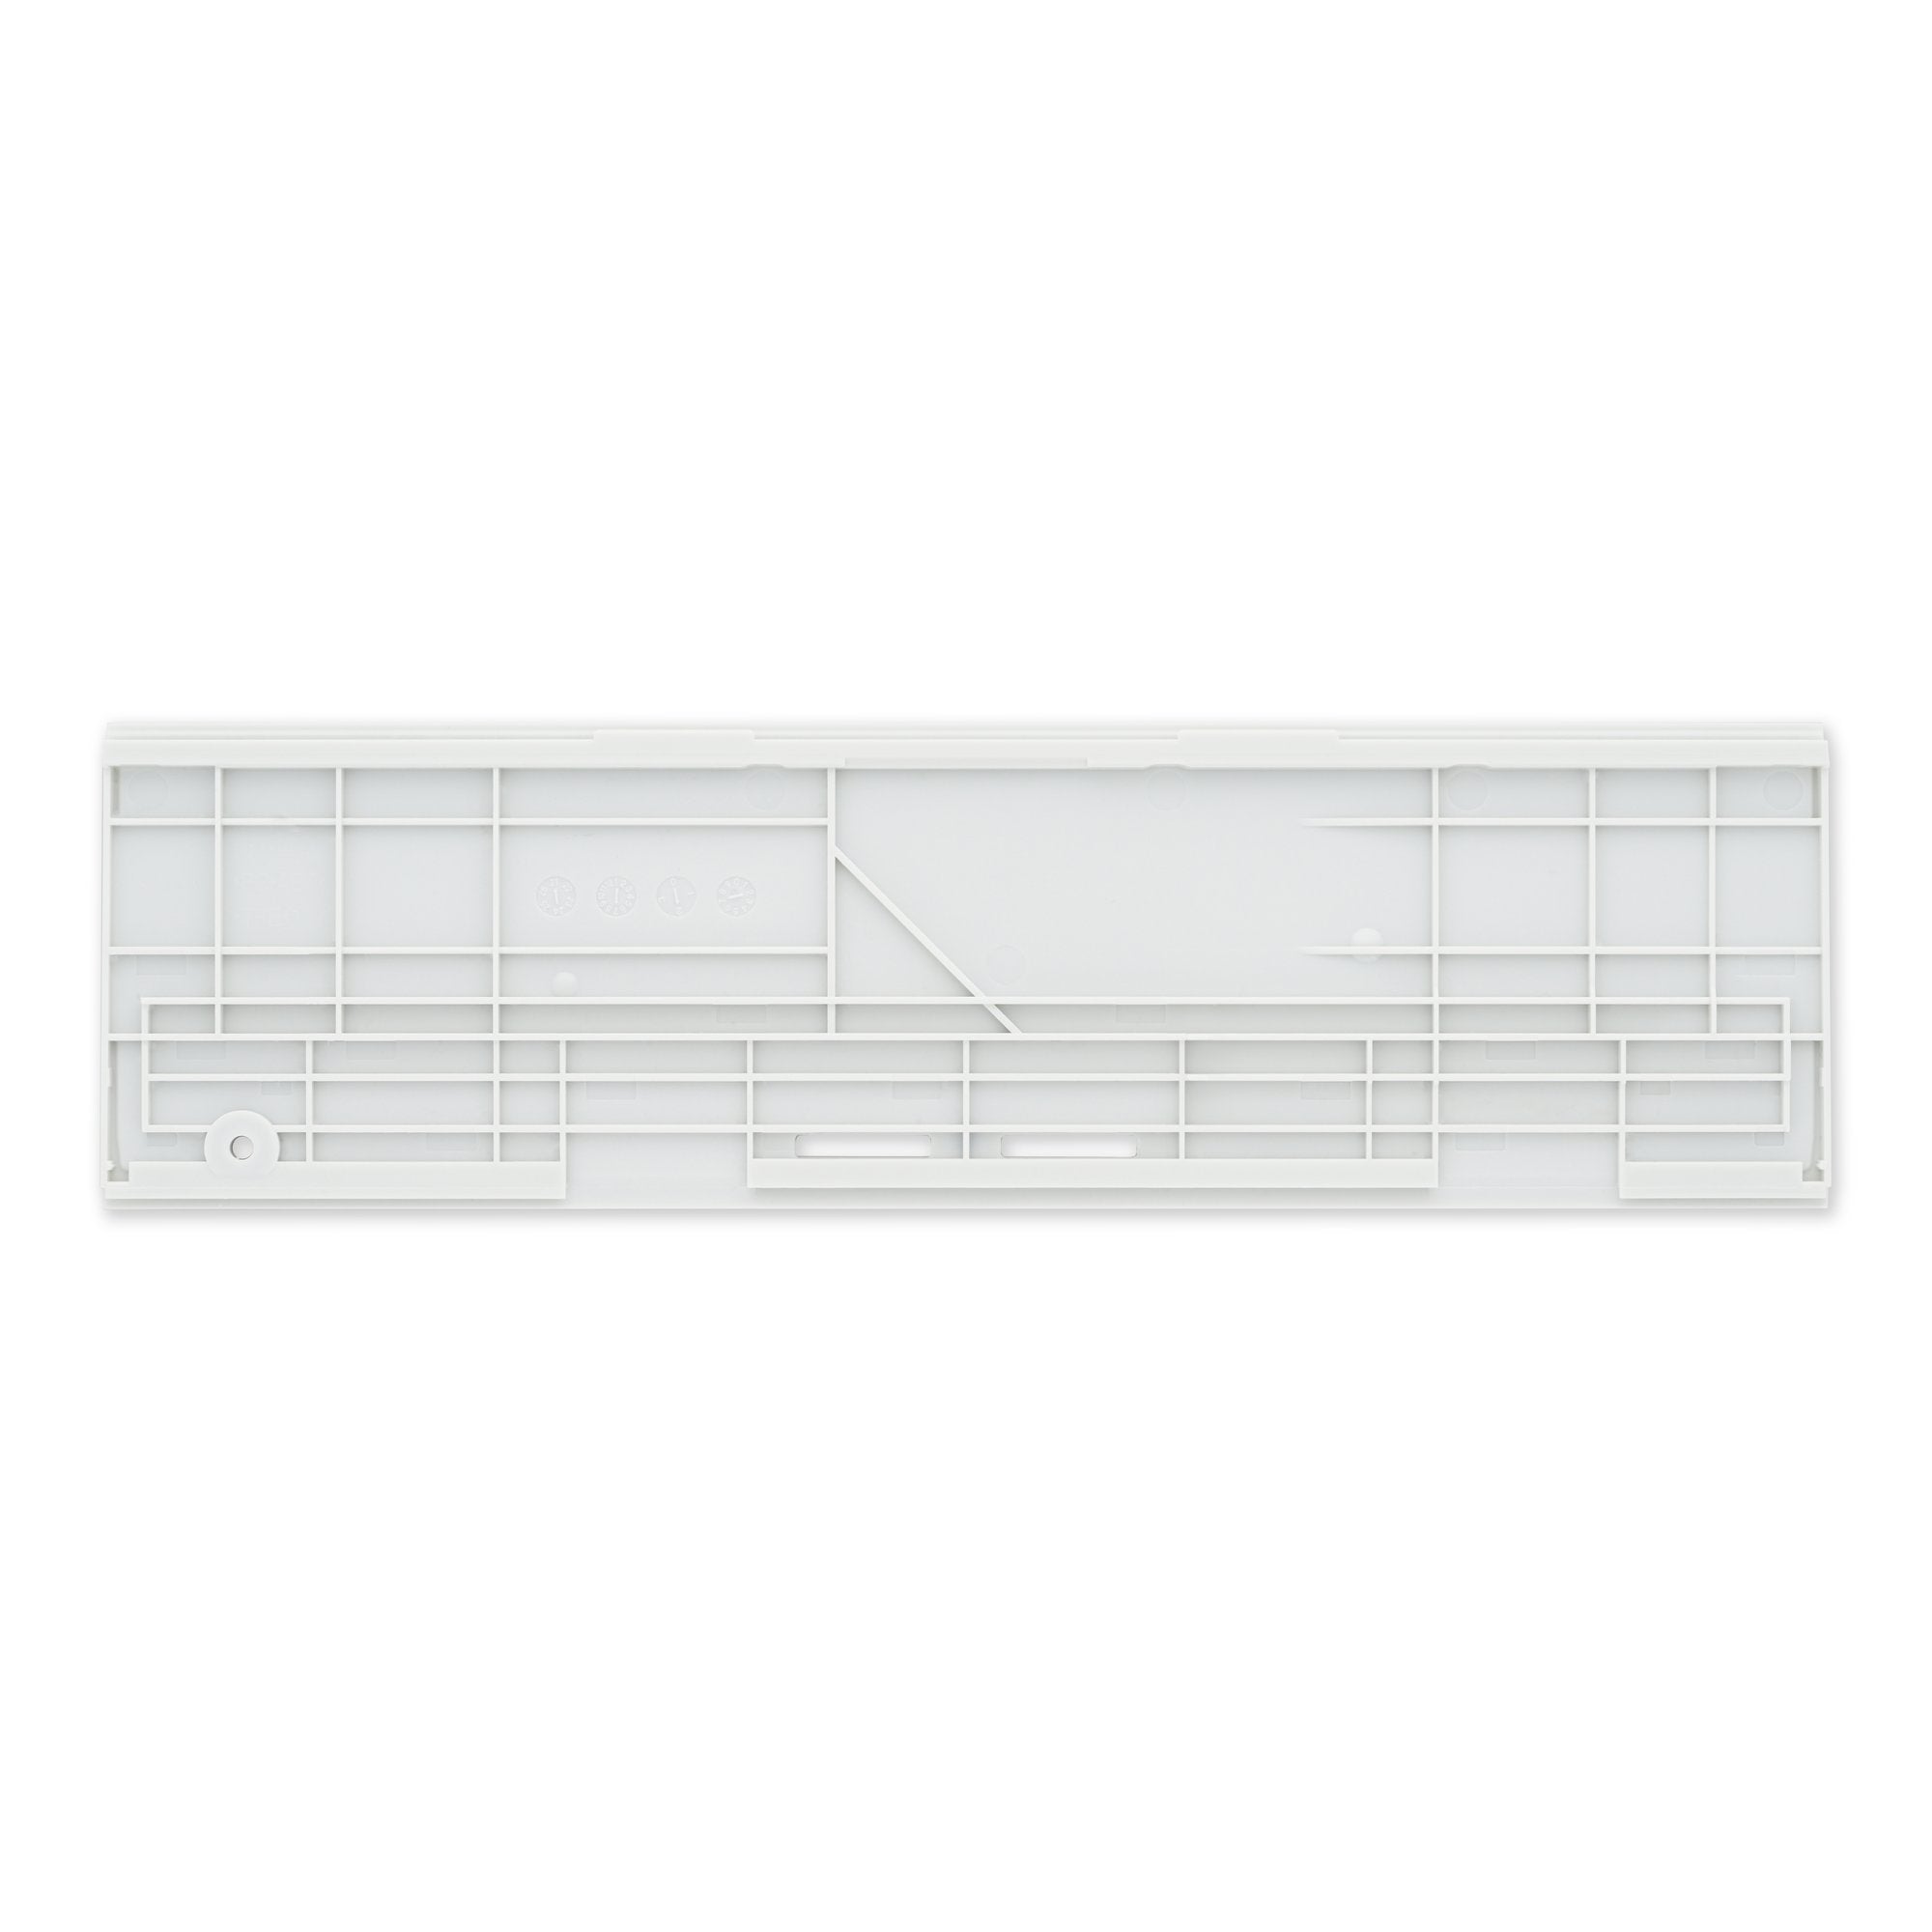
– Gently wiggle the baseplate loose from the frame using your fingers, popping it free from those sneaky plastic clips.
– Lift off the baseplate and set it aside like a pro!
Success!