How to Replace Nintendo Switch OLED Rear Case – Step-by-Step
Duration: 45 minutes
Steps: 9 Steps
Ready to give your Nintendo Switch OLED a fresh new look? This guide will walk you through replacing the rear case. The Switch OLED uses JIS screws, but don’t stress—your trusty Phillips screwdriver will work just fine in a pinch. Just take it slow and steady to avoid stripping those screws. Salvation Repair’s Phillips bits are designed to work smoothly with JIS-style screws, so you’re in good hands!
Step 1


Before diving into this repair adventure, ensure your device is fully powered down and ready for action.
– Get a grip on that Joy Con controller and press the small round button on the back – yeah, the one that’s just begging to be pressed!
– Now, while you’re still holding it down, gently slide the controller upward. Easy does it!
Step 2


Now, go ahead and repeat the process for the other Joy Con. It’s just like a mini dance routine—same moves, just on the other side!
– Keep gliding that Joy Con upward until it’s free from the console! You’ve got this!
Step 3


To keep those pesky screws from getting stripped, press down firmly, take your time, and if they’re being stubborn, give a different JIS or Phillips driver a shot!
– Grab your trusty Phillips or JIS screwdriver and pop out that 2 mm screw holding the top of the rear case to the frame. Easy peasy!
Step 4


– Grab your trusty Phillips screwdriver and unscrew the two 2 mm-long little guys holding the bottom of the rear case to the frame. Easy peasy!
Step 5


To keep those pesky screws from getting stripped, apply a solid downward push, take your time, and if they’re being stubborn, give a JIS 000 or PH 000 driver a shot. You’ve got this!
– Let’s get started! Use a Phillips driver to carefully remove the 3.8mm screw that’s holding the right Joy-Con sensor rail in place at the back of the case.
Step 6


– Grab your trusty Phillips driver and unscrew that 3.8 mm screw holding the left Joy-Con sensor rail snugly to the rear case. You’ve got this!
Step 7


Got a microSD card snug in its slot? Time to pop it out before heading to the next step—trust me, your phone will thank you later!
– Give that kickstand a little nudge with your finger and watch it pop up from the back of the device like a champ!
Step 8


– Grab a Y00 screwdriver and unscrew the two 4.3 mm screws holding the rear case to the frame—easy peasy, right?
Step 9


If you’re finding it tricky to pop off the case, grab an opening pick and gently nudge those plastic clips up. You’ve got this!
– Time to put your device back together! Just retrace your steps in reverse and you’ll be golden.
– Things not going as smoothly as you’d hoped? No worries! Give some basic troubleshooting a shot, or feel free to reach out to our Nintendo Switch OLED Answers community for a helping hand.
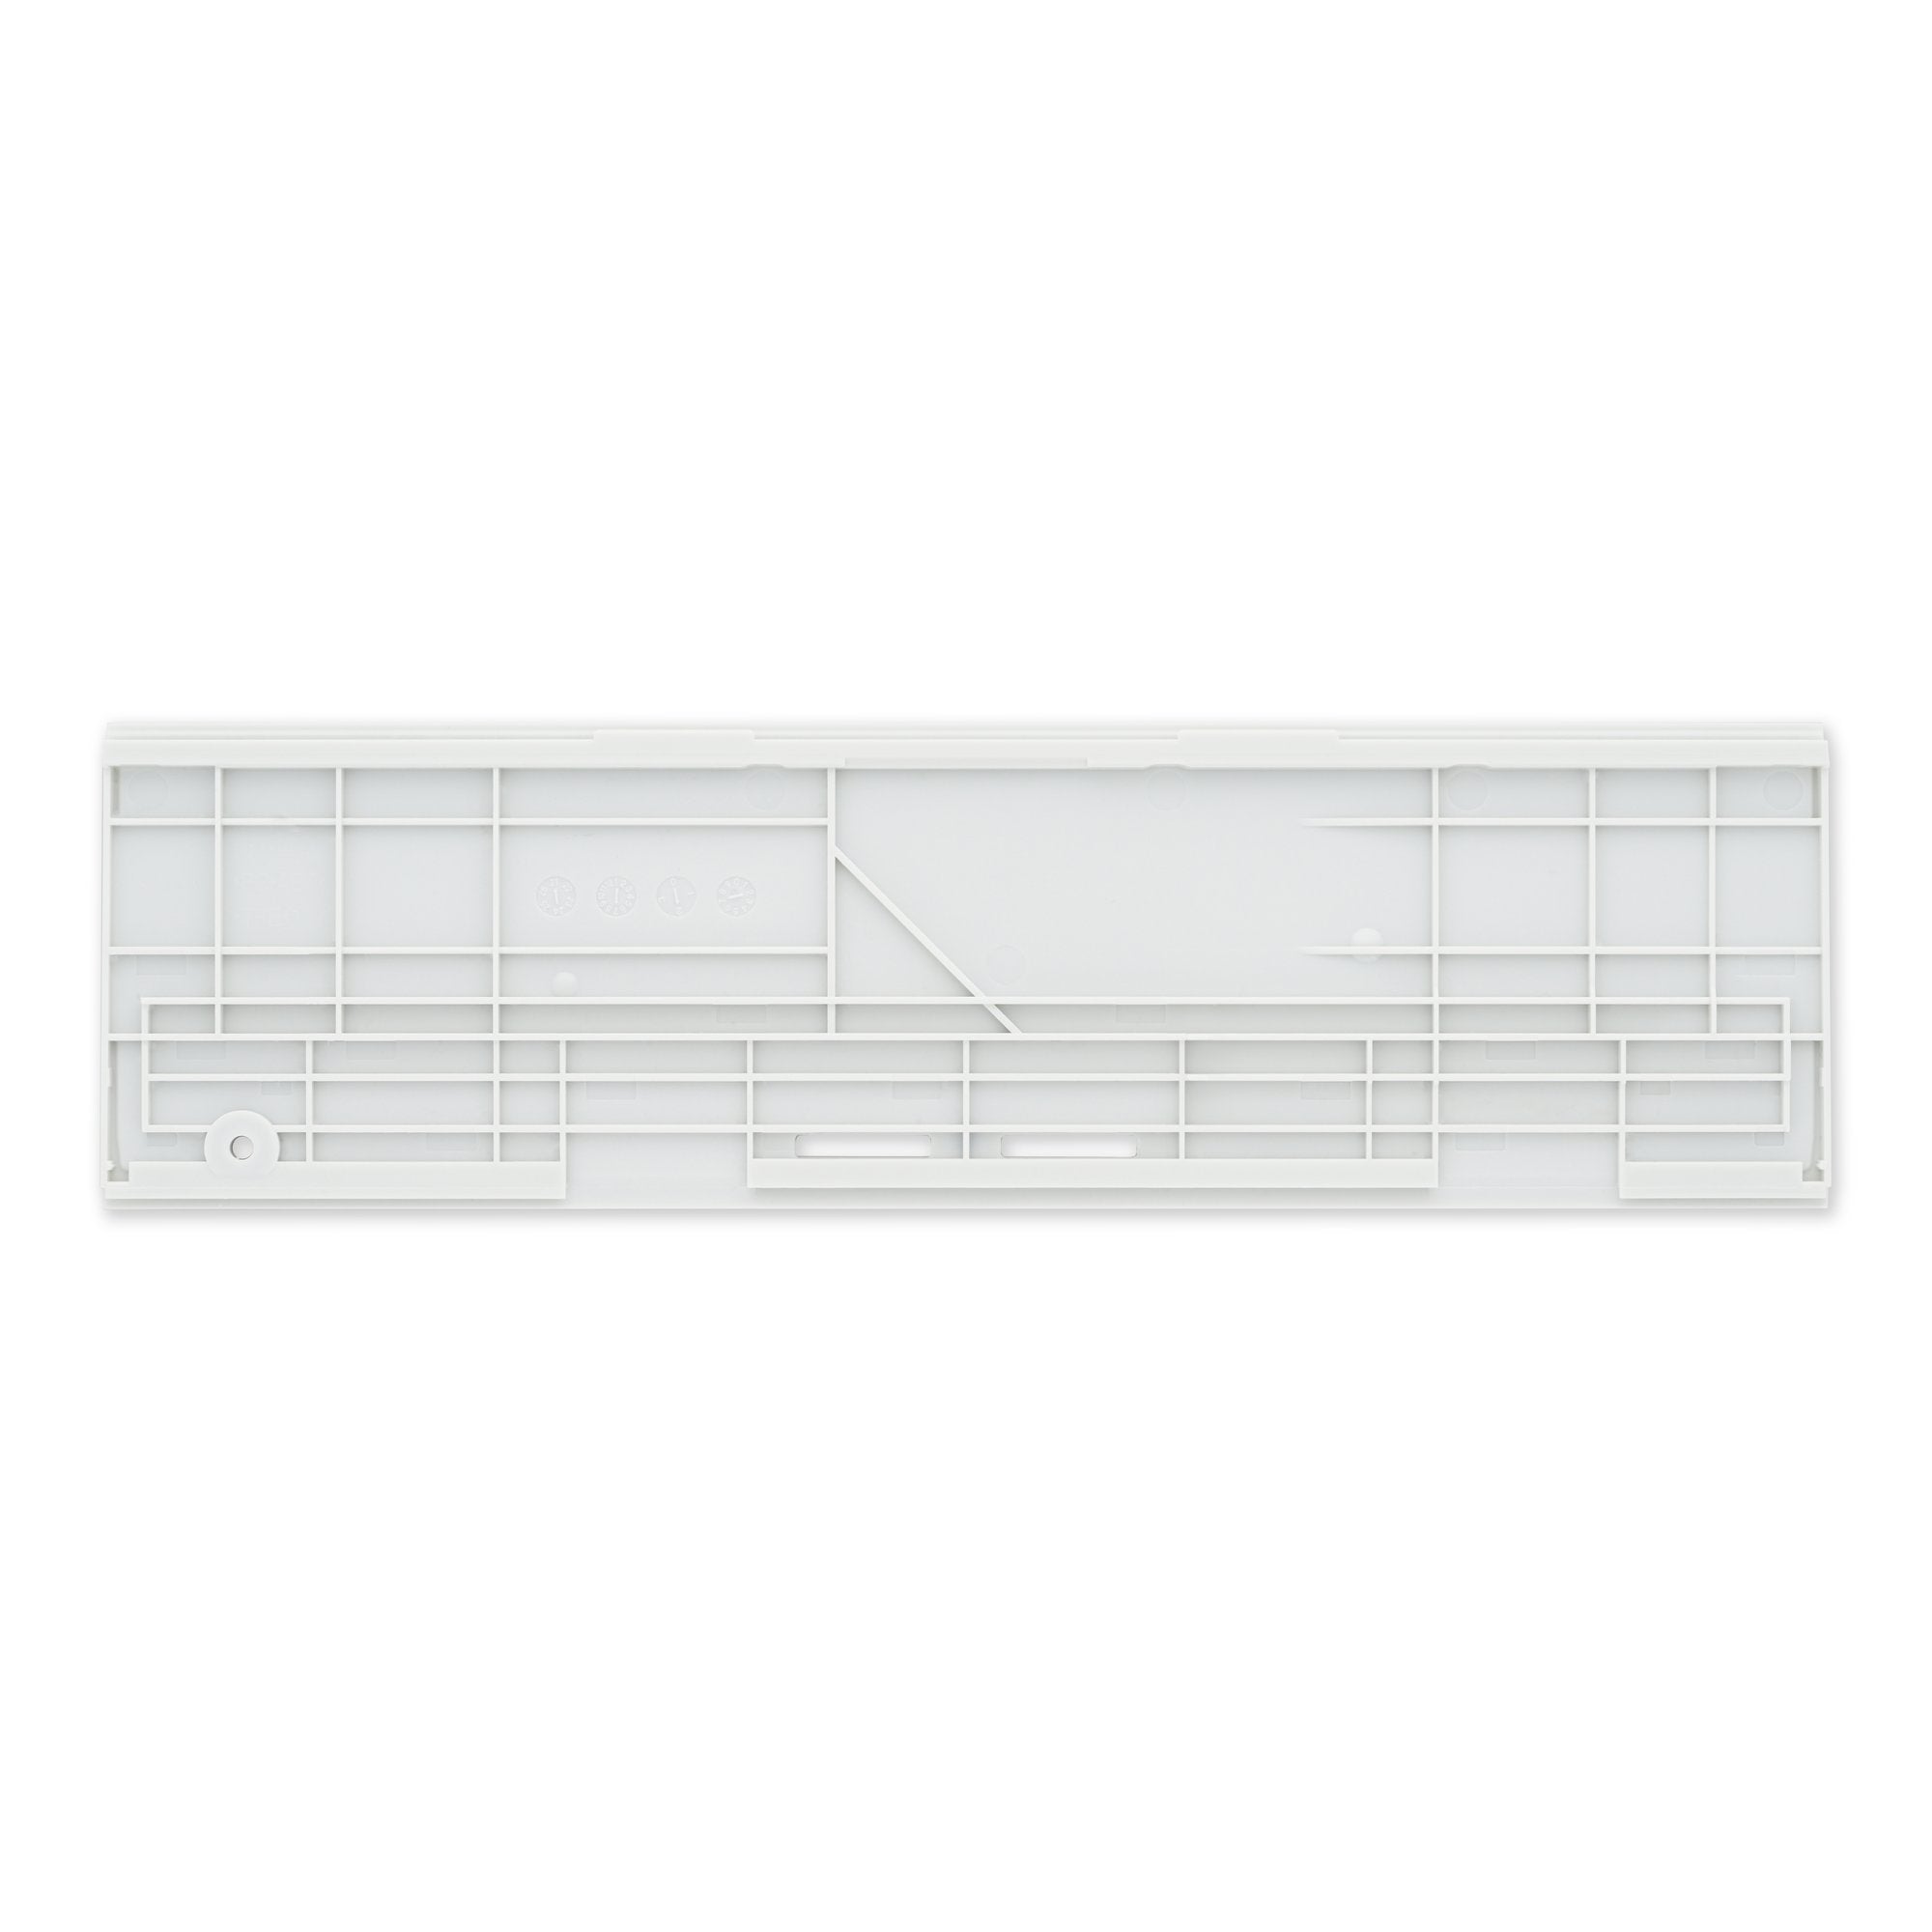
– Before you dive into the installation, take a moment to compare your shiny new replacement part with the original. You might need to swap over some components or peel off those pesky adhesive backings first.
– And remember, if you find yourself in a bind, you can always schedule a repair.
Success!