How to Replace Nintendo Switch Rear Panel: Step-by-Step Guide
Duration: 45 minutes
Steps: 8 Steps
Ready to swap out that cracked or damaged rear panel on your Nintendo Switch? No worries, we’ve got you covered! The Switch uses JIS screws, but if you don’t have a JIS screwdriver, a Phillips will do just fine. Just be careful not to strip those screws! Also, fun fact: Phillips bits are actually compatible with JIS screws, so you’re all set. This guide works for both the original Nintendo Switch from 2017 and the updated version from 2019 (model numbers HAC-001 and HAC-001(-01), respectively). If you need help, you can always schedule a repair.
Step 1


Alright, before you dive into this repair adventure, double-check that your device is totally, completely powered down. Safety first!
– Give that little round button on the back of your Joy Con controller a firm press and hold it down like you mean it!
– While you’re holding that button like a champ, slide the controller upwards with confidence.
Step 2


Now, rinse and repeat for the other Joy-Con—you’re halfway to victory!
– Keep sliding that Joy Con up until it’s totally free from the console.
Step 3

As you work through this repair, keep an eye on each screw and remember its original spot. A little screw organization goes a long way!
– Grab a Y00 screwdriver and go ahead and remove the four 6.3 mm screws holding the rear panel in place.
Step 4


When dealing with these stubborn screws, press down firmly, take it slow, and if they’re still stuck, switch to another JIS 000 or PH 000 driver—you’ve got this!
– Grab yourself a trusty JIS 000 driver or an awesome PH 000 driver, and let’s tackle these screws holding the rear panel in place:
– One 2.5 mm screw chilling on the top edge of the device.
– Two 2.5 mm screws hanging out on the bottom edge of the device.
Step 5


– Grab your trusty JIS 000 screwdriver (or a PH 000 driver, if that’s your jam) and unscrew those two 3.8 mm center screws hanging out on the sides of your device—one on each side. Easy does it!
Step 6


Got a microSD card in there? Time to pop it out before we move on to the next step.
– Let’s get started by flipping up the kickstand on the back of your device using your finger. It’s easy and will give you a solid base to work from.
Step 7

– Time to get started! Use a JIS 000 screwdriver or an official PH0000 driver to carefully remove the 1.6 mm screw hiding in the kickstand well.
– Almost done with this step! Close the kickstand to move on to the next part of the repair process. If you need help, you can always schedule a repair
Step 8


Alright, listen up! The game card cartridge flap hooks onto the other half of the plastic shell. So, if it’s shut, you can’t fully lift up the rear panel. Don’t worry, you’re doing great!
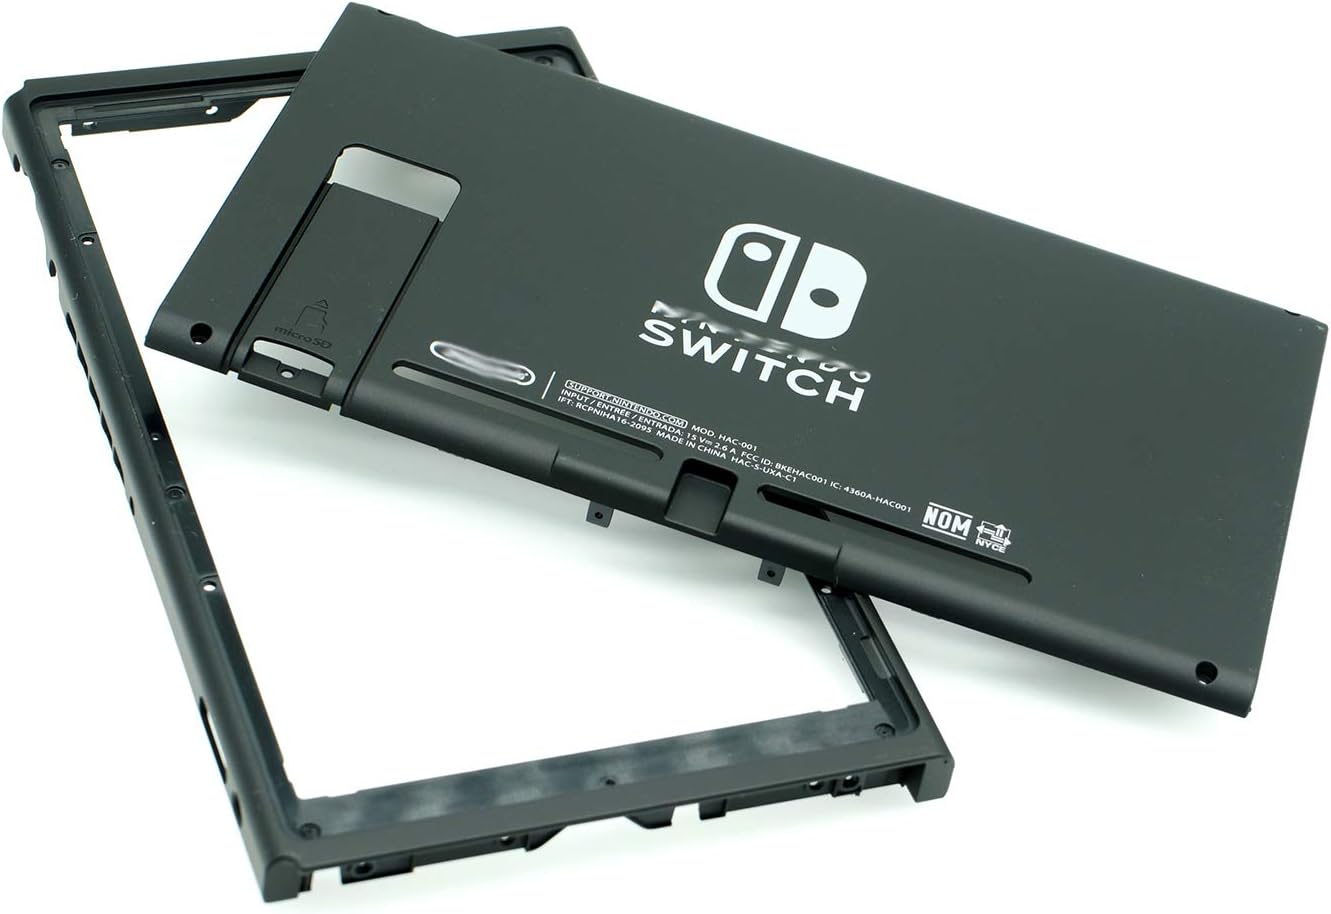
– You made it! Compare your new replacement part to the original to make sure everything looks good. You may need to transfer some components before installing.
– Now, let’s put everything back together. Just follow these steps in reverse order and you’ll be all set.
– Remember to responsibly recycle your old parts. Find an R2 or e-Stewards certified recycler to take care of your e-waste.
– If things didn’t quite go as planned, don’t worry! Try some basic troubleshooting or check out our resources for help. If you need help, you can always schedule a repair.
– You’re done! Great job completing this repair guide from Salvation Repair.
Success!
