How to Replace OnePlus 2 USB Connector – DIY Guide
Duration: 30 min.
Steps: 11 Steps
In this guide, we’ll walk you through the process of swapping out the faulty USB connector on your OnePlus 2. If your computer is playing hard to get and won’t recognize your phone, or if charging feels like a lost cause, this repair is just what you need. And remember, if you need help, you can always schedule a repair.
Step 1
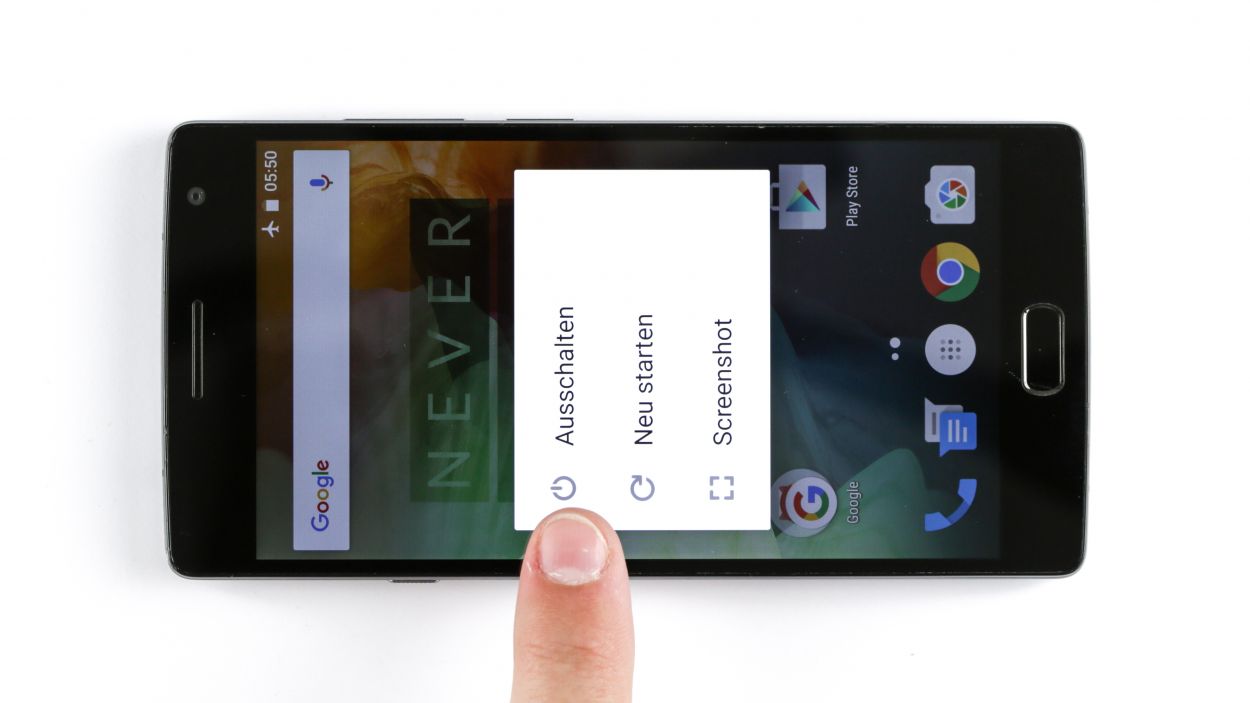
– First things first, let’s power down your device! Hold that power button until you see the ‘Power off’ option.
– Tap to confirm and watch your screen go dark. Easy peasy!
Step 2
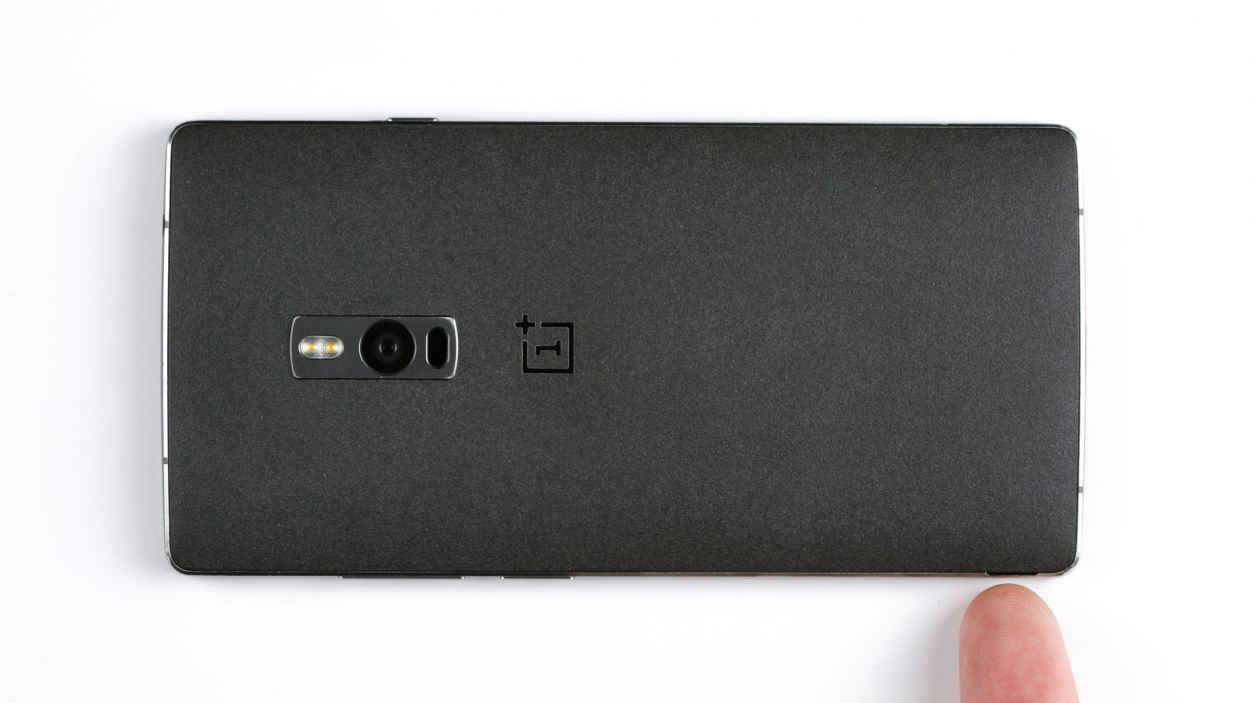
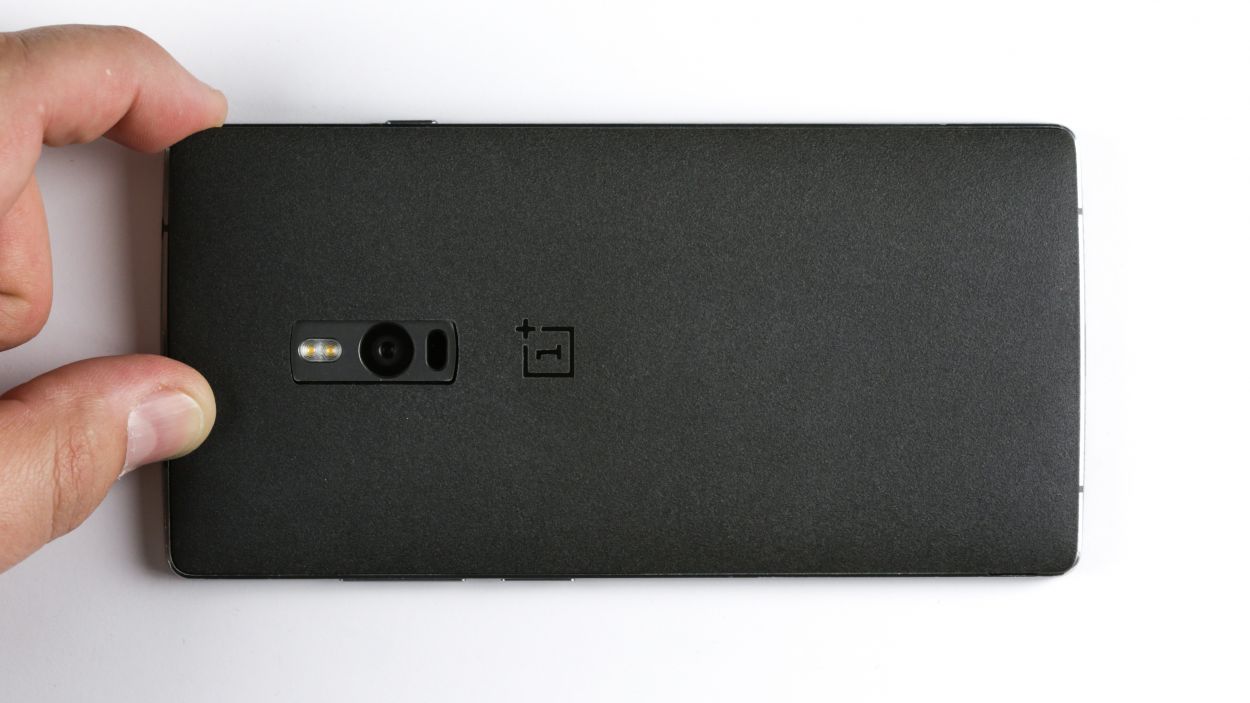
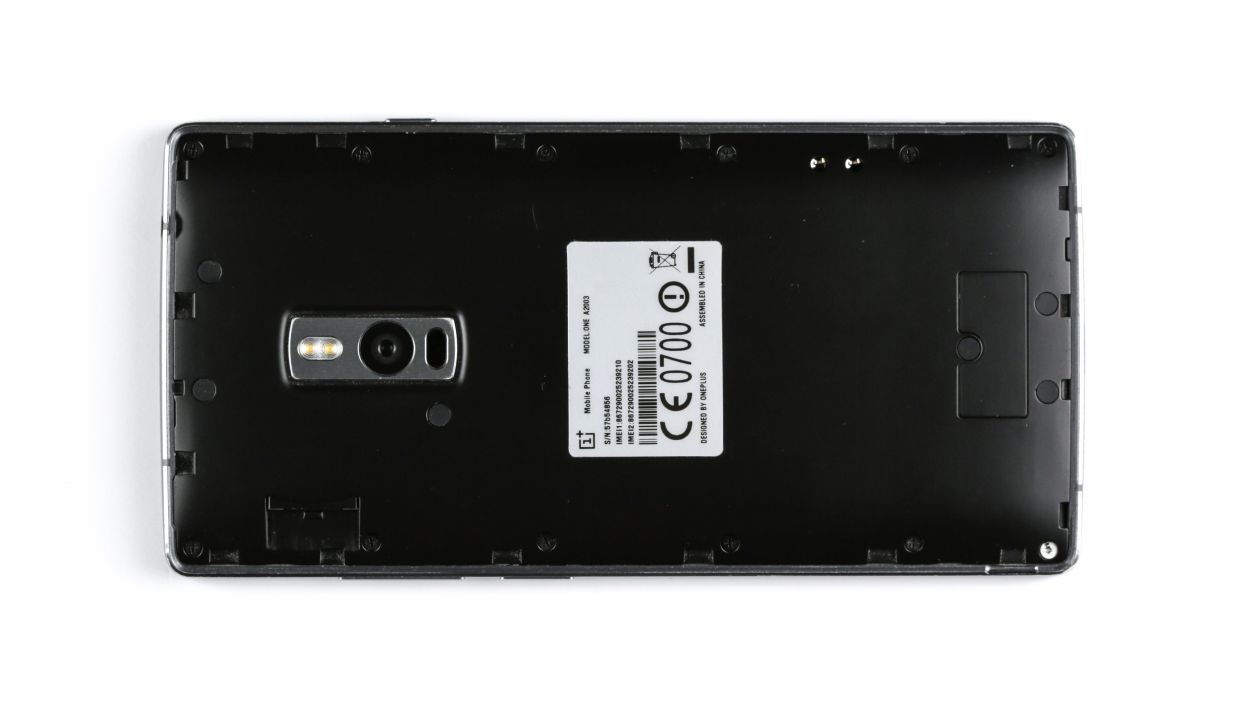
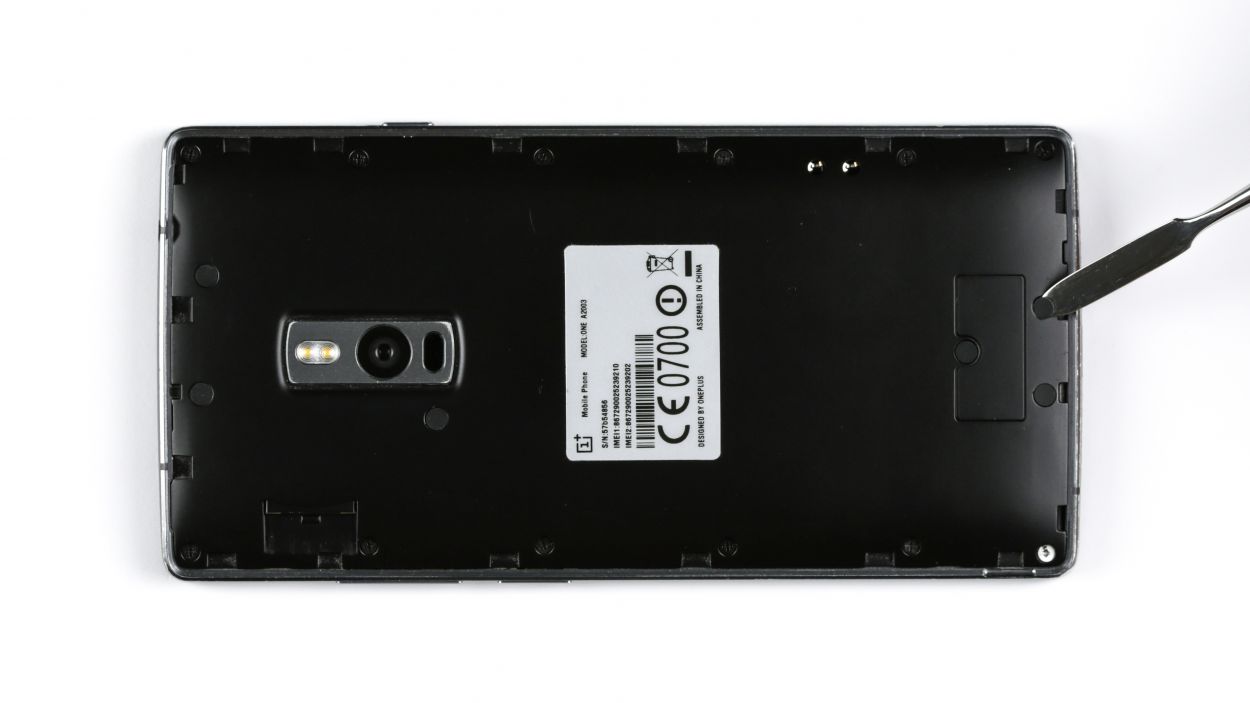
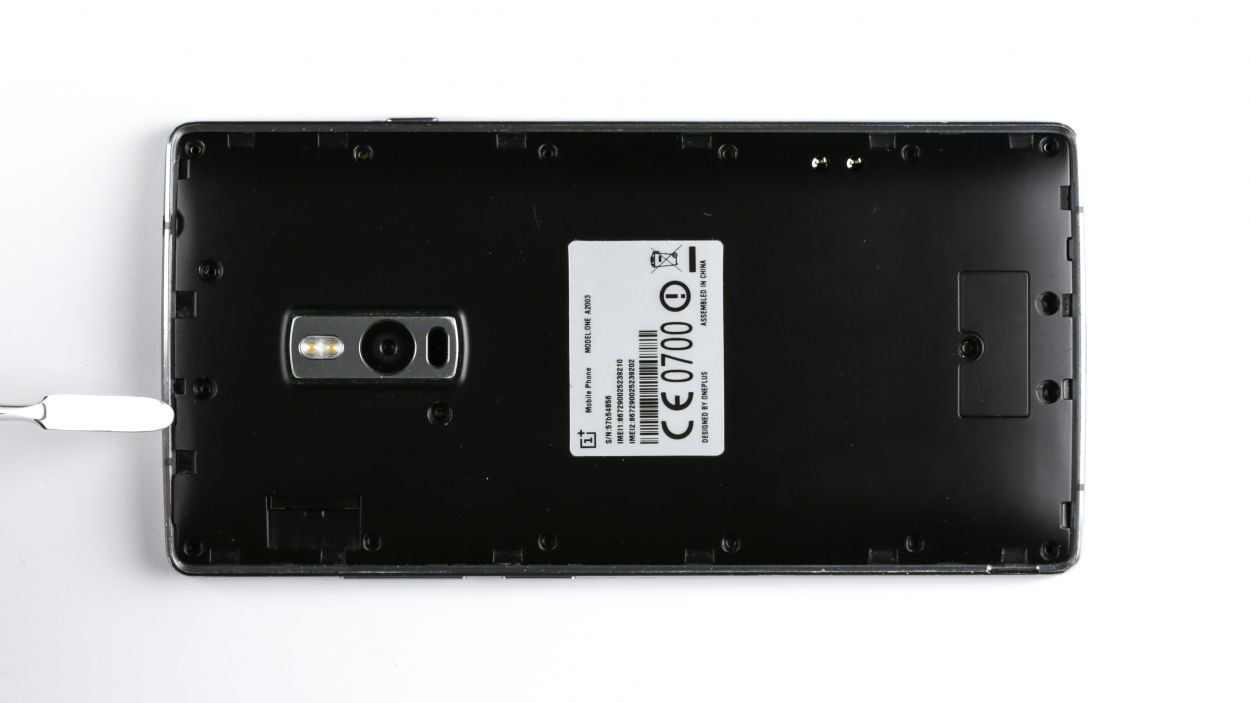
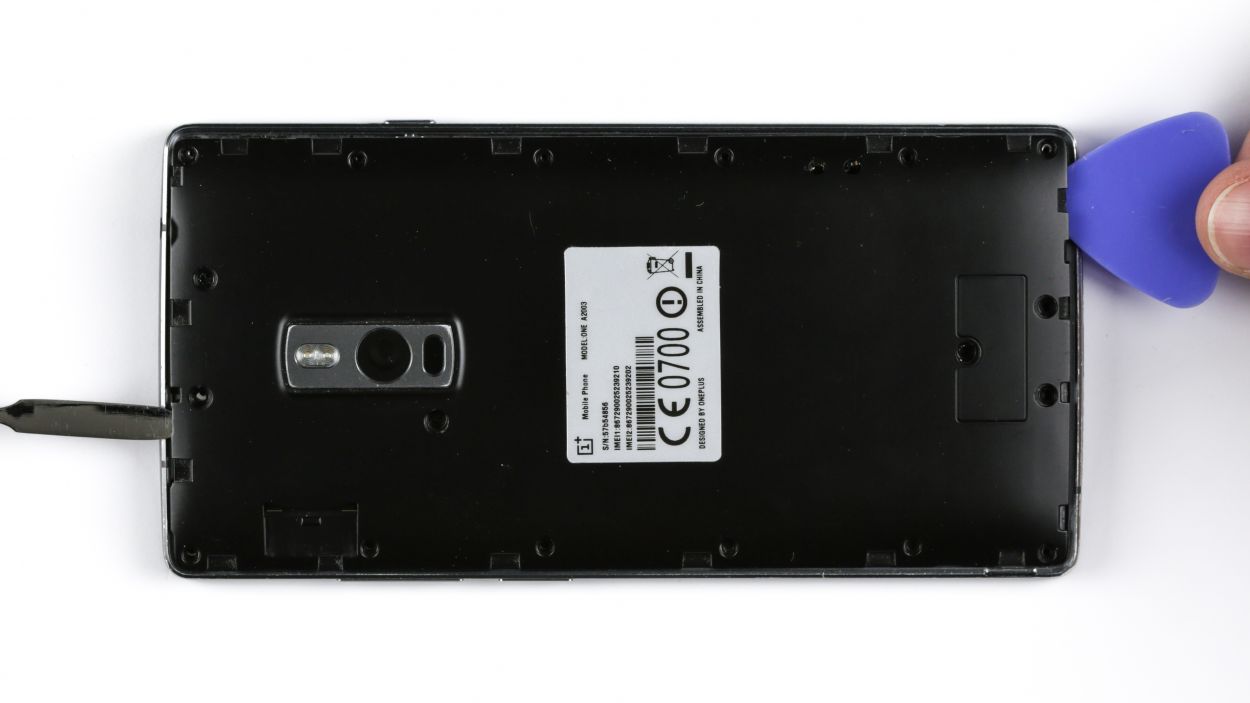
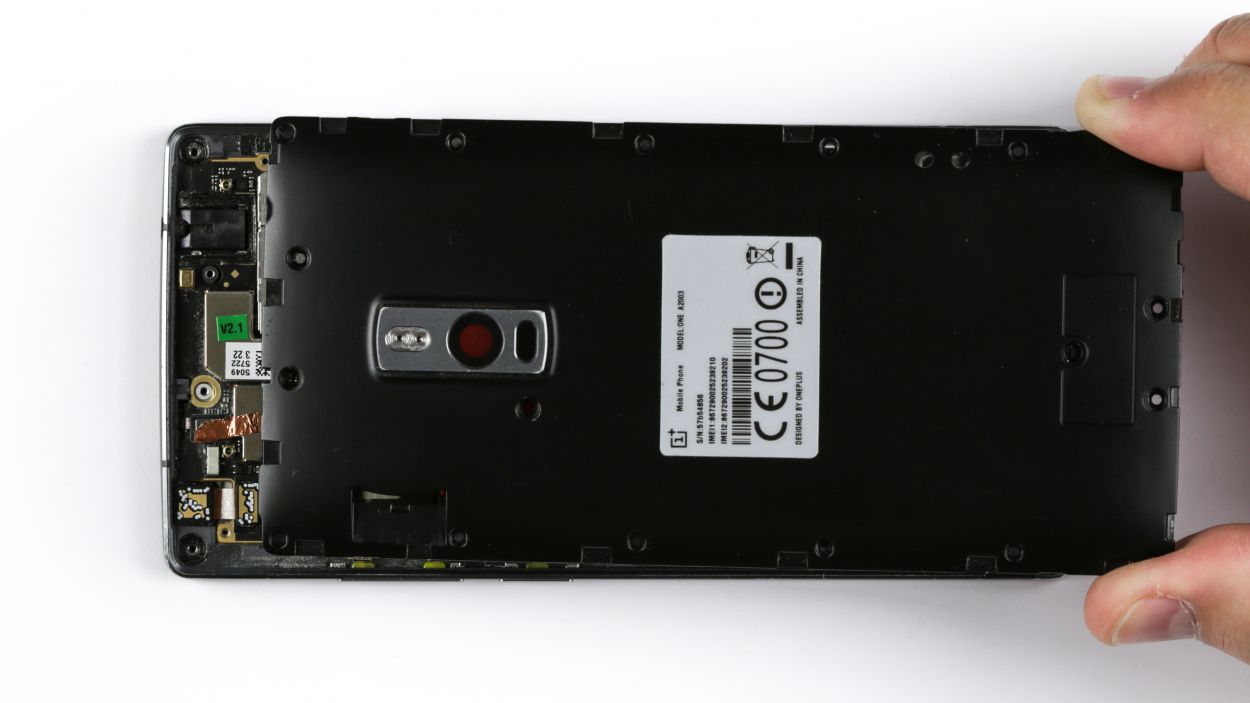
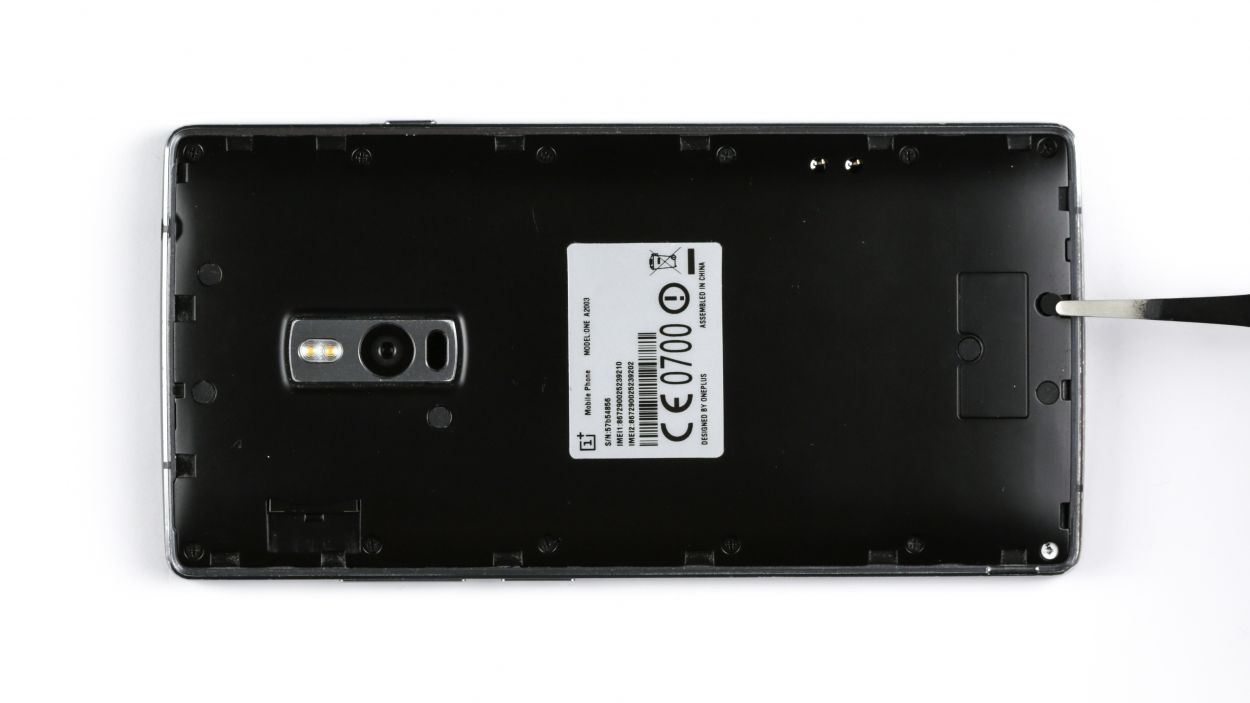
– Time to get started. Begin by carefully inserting a thin, flat, tapered spudger into the gap at the corner of your smartphone. You’ll find several clips under the back cover – gently work the spudger around the entire phone to release them. If you’re feeling handy, you can also try using your fingernails to detach the back cover.
– Now that the clips are released, you should be able to remove the back cover. If you need help, you can always schedule a repair
Step 3
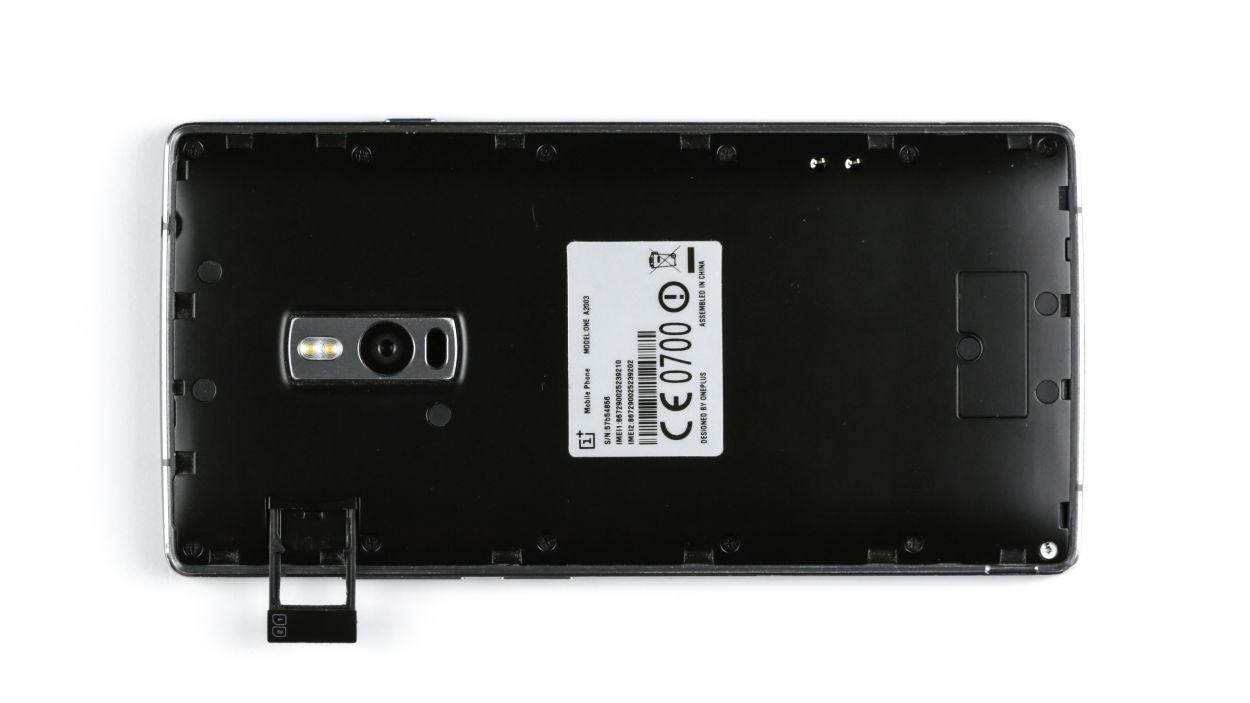
– Grab that SIM Tool or a trusty paperclip to pop out the SIM card tray! Just give a gentle poke into the tiny hole on the tray and watch it come right out. Easy peasy!
Step 4

6 × Gummiabdeckung
18 × Phillips-Schraube
– Time to tackle those 18 Phillips screws holding the plastic cover snugly in place. Let’s get them out!
– Keep an eye out for 6 sneaky Phillips screws hiding under a rubber cover. Grab a sharp object and gently lift that cover off.
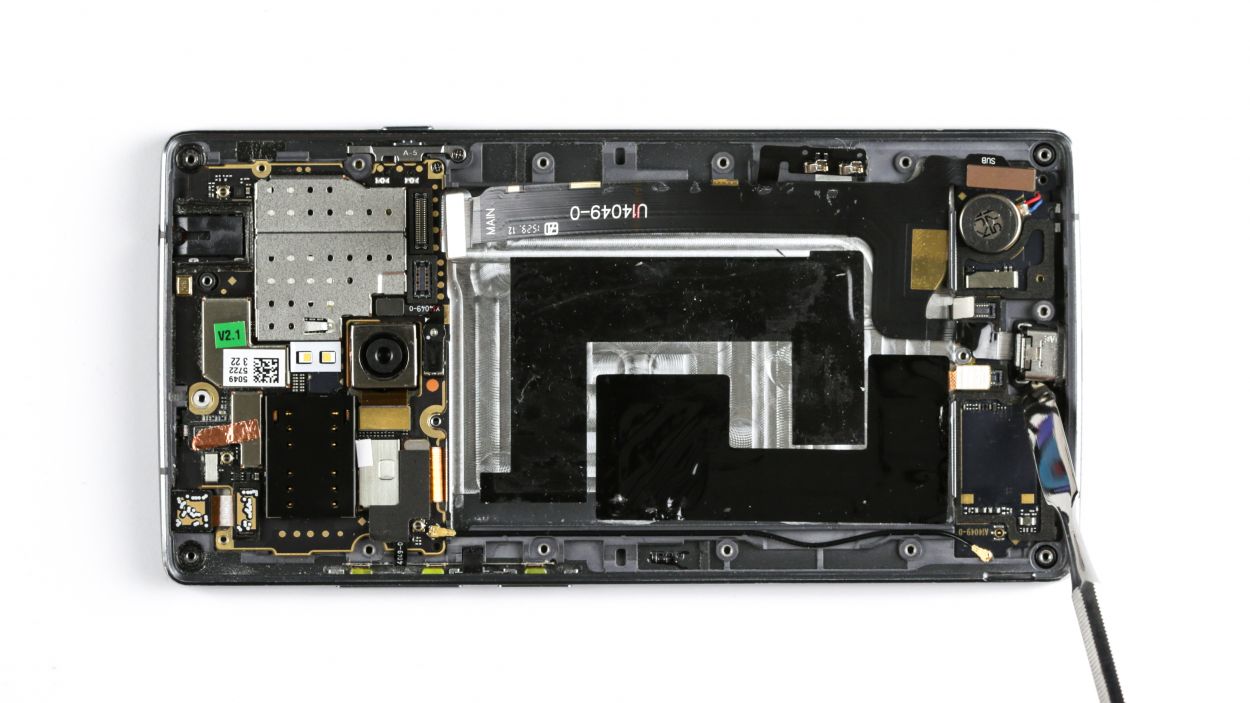
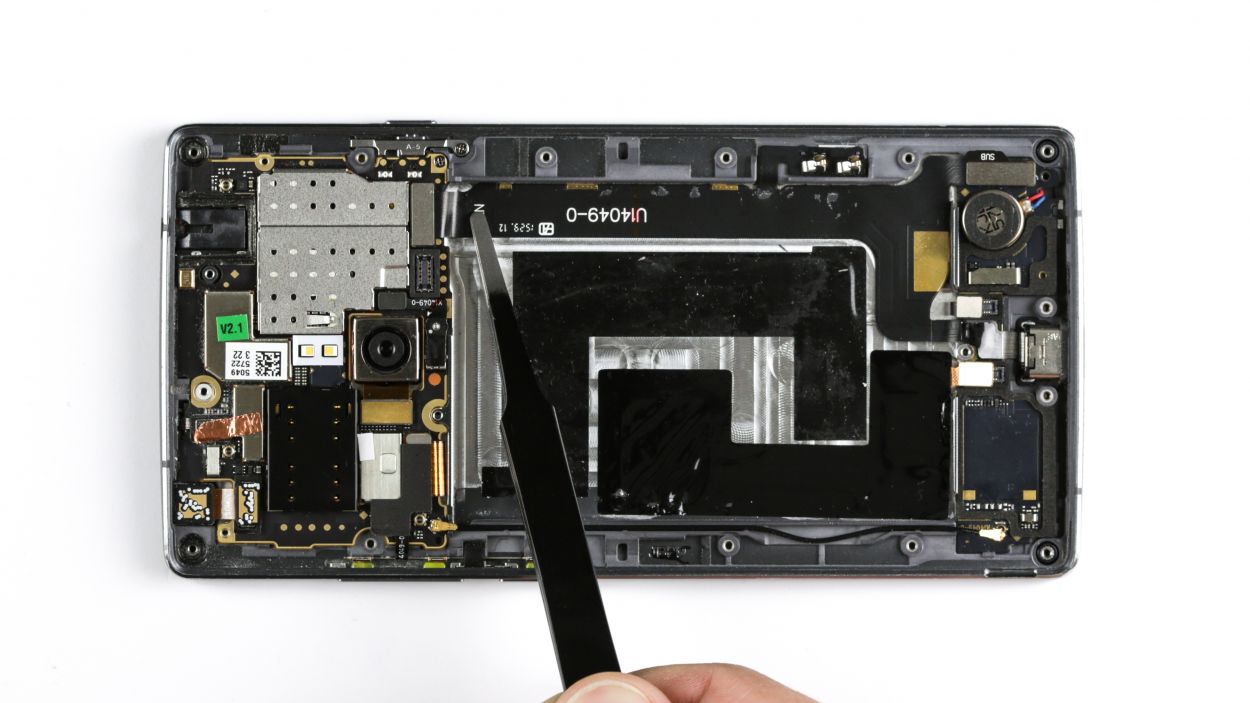
– Now, let’s lift out the logic board cover. Carefully use the pointed tip of your ESD spudger to nudge the black cover up. Feel free to pry it out at other spots too!
Step 5

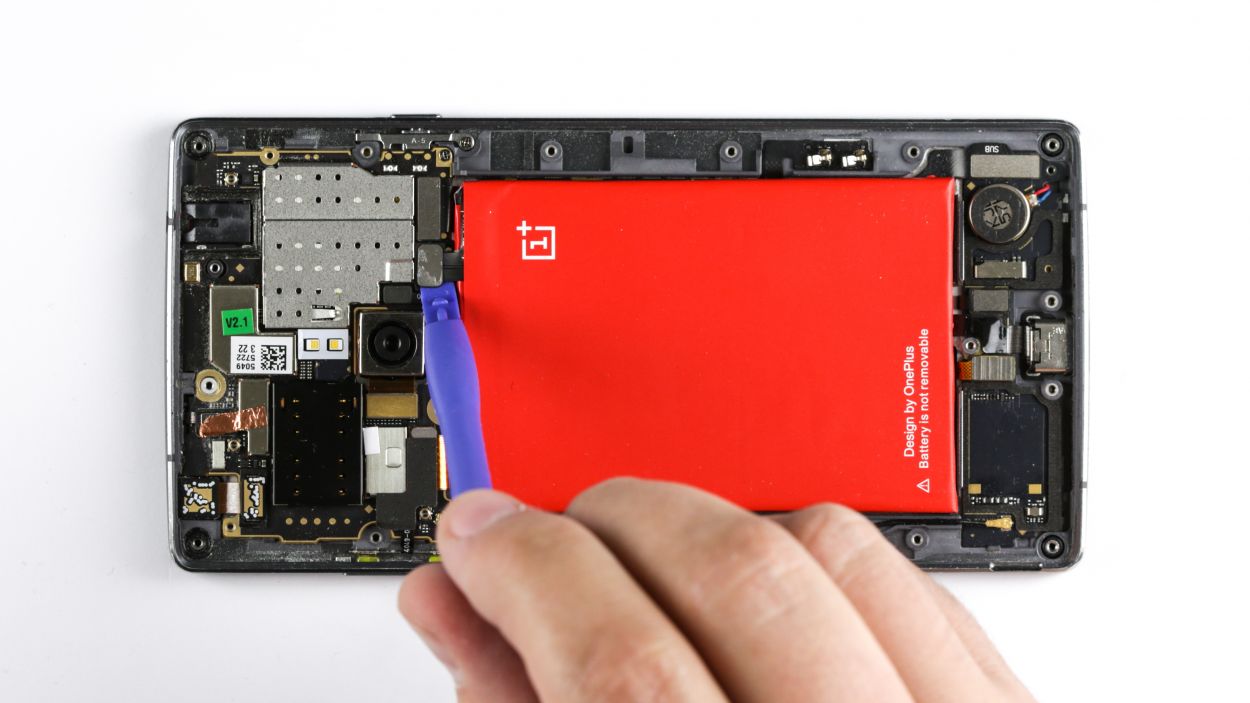

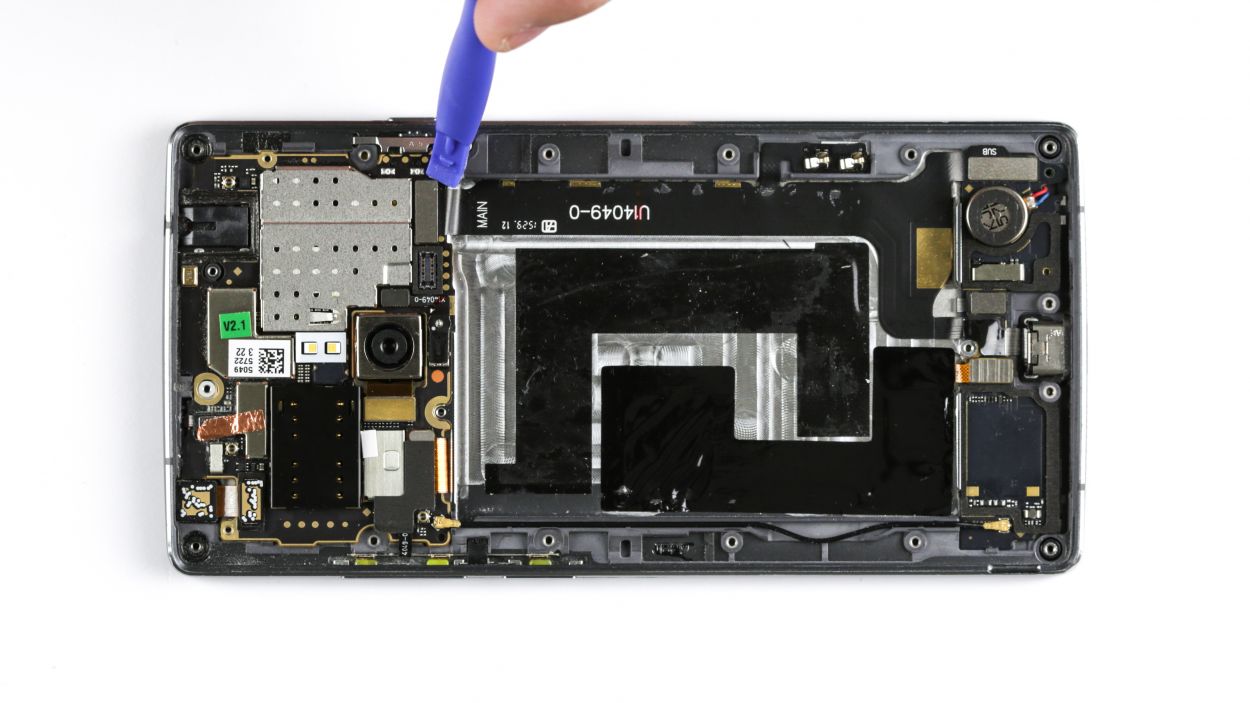
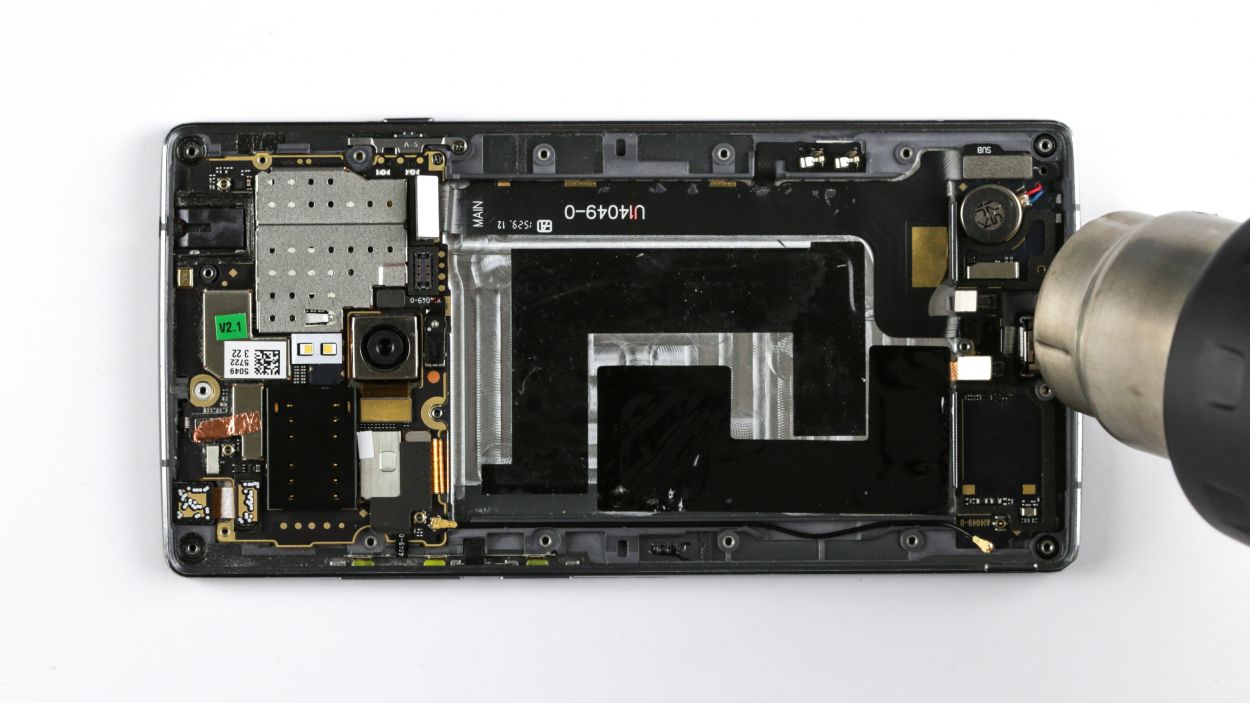
The battery is a bit snug with the cover. A little warmth might just do the trick for an easier removal!
– First things first, if your OnePlus 2 is still powered on, let’s give it a little break! Press and hold the standby button for about three seconds and follow the on-screen prompt to turn it off.
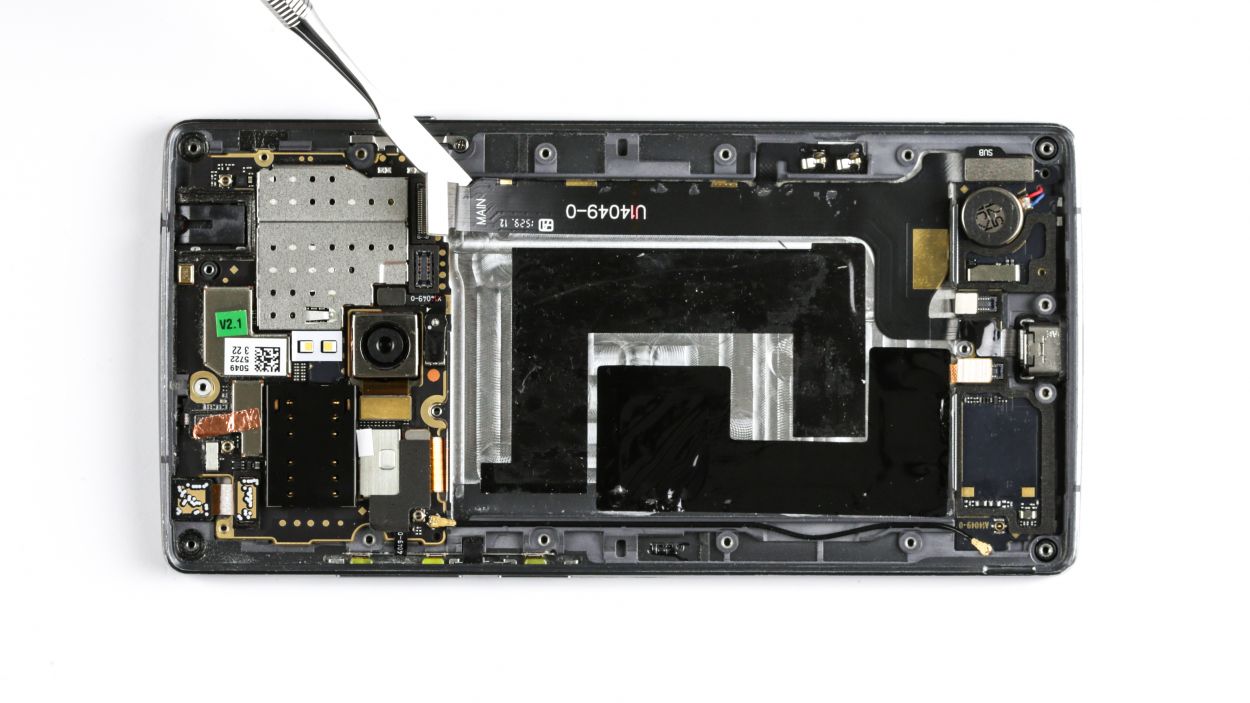
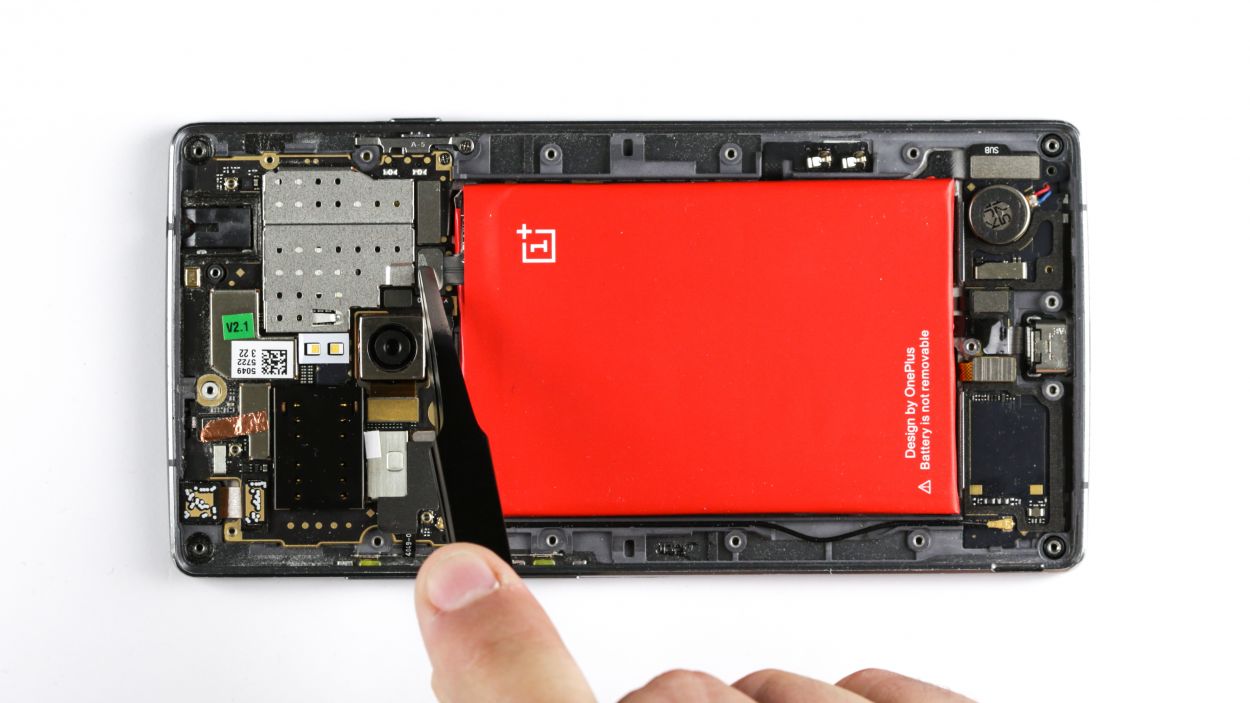
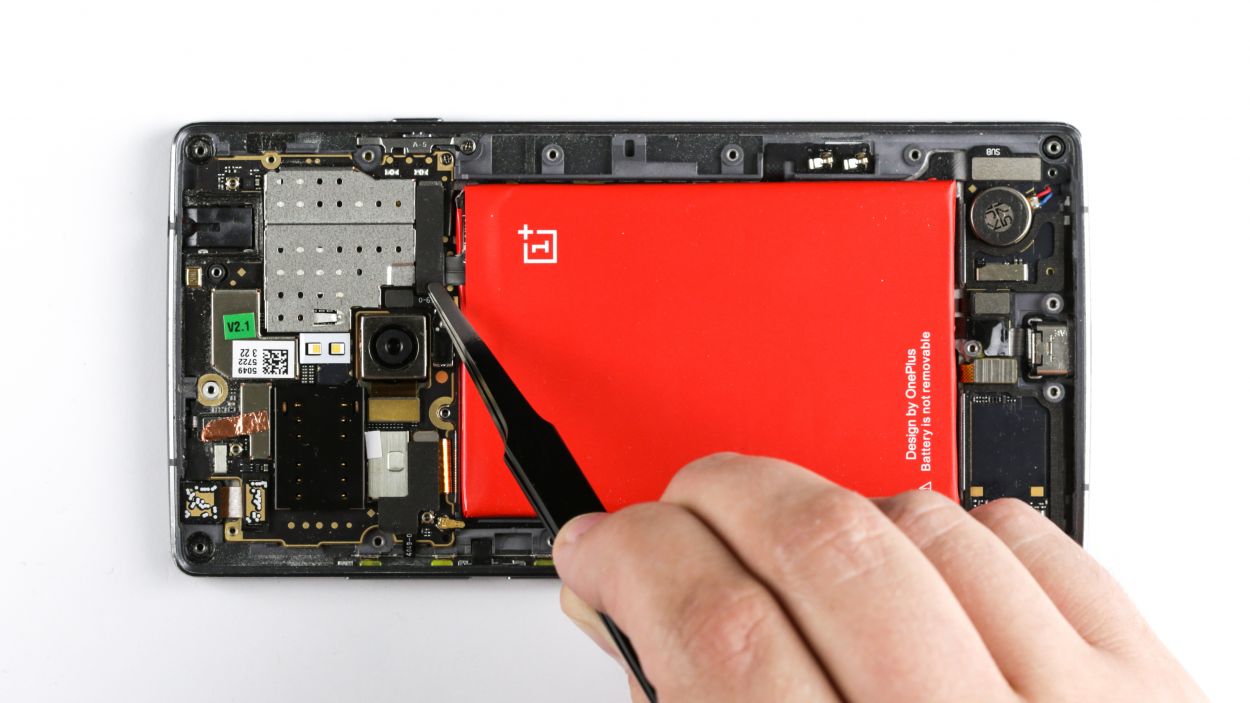
– Next up, it’s time to gently detach the battery connector. Be super careful here! Take the pointed tip of your spudger and slide it just below the contact, then carefully lift it up. Check out the pictures for the best spots to place your spudger to avoid any mishaps with those tiny resistors. Oh, and just a heads up, the battery might be a bit glued to the cover. A little warmth can help make it easier to remove.
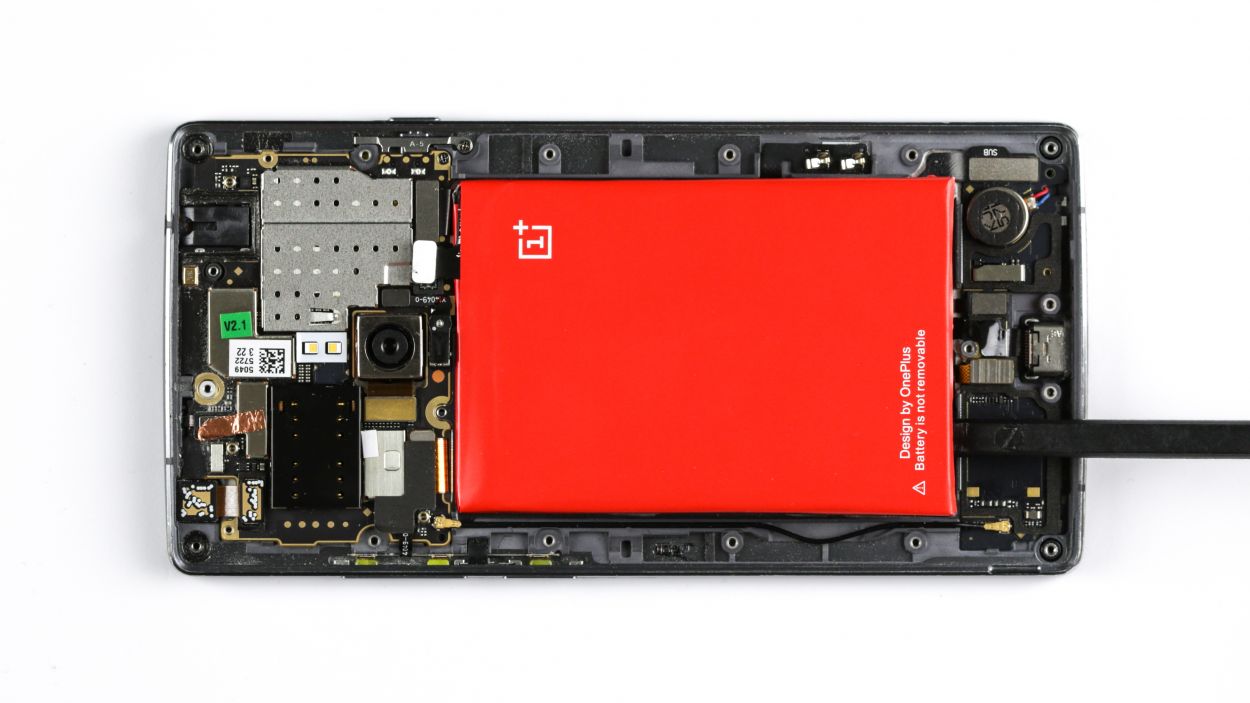
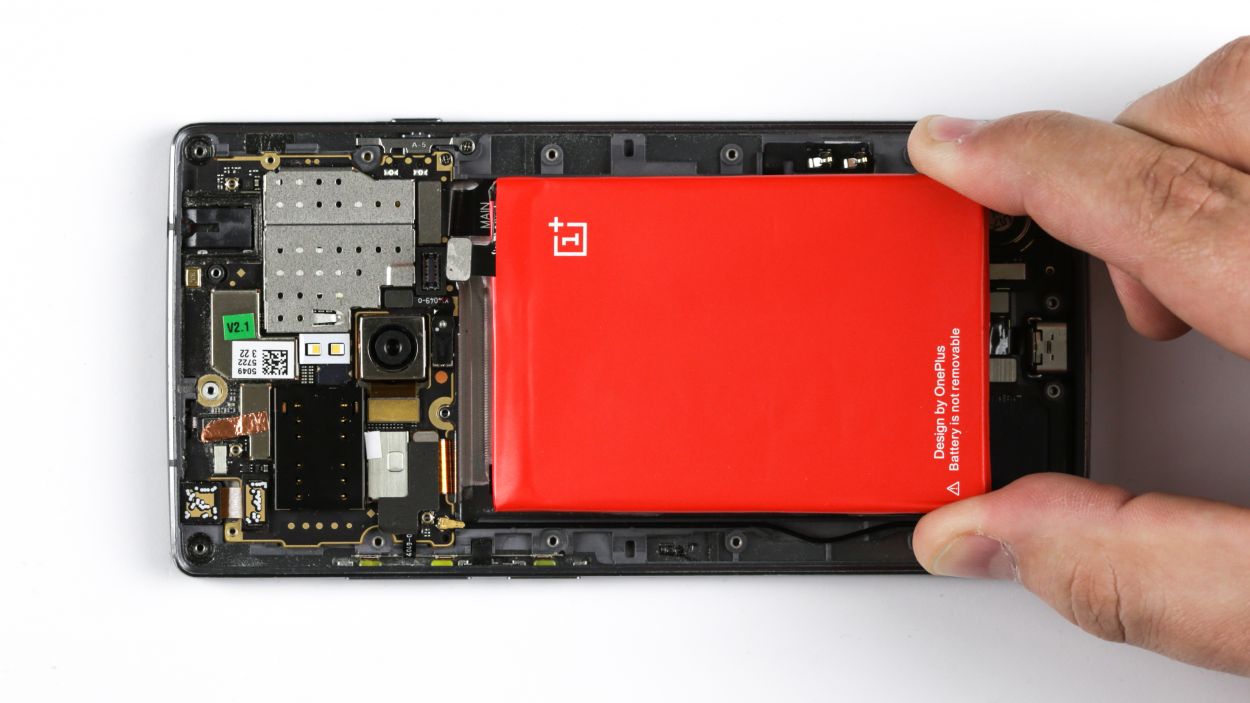
– Now, with your trusty spudger, lift the battery out and say goodbye to it!
Step 6
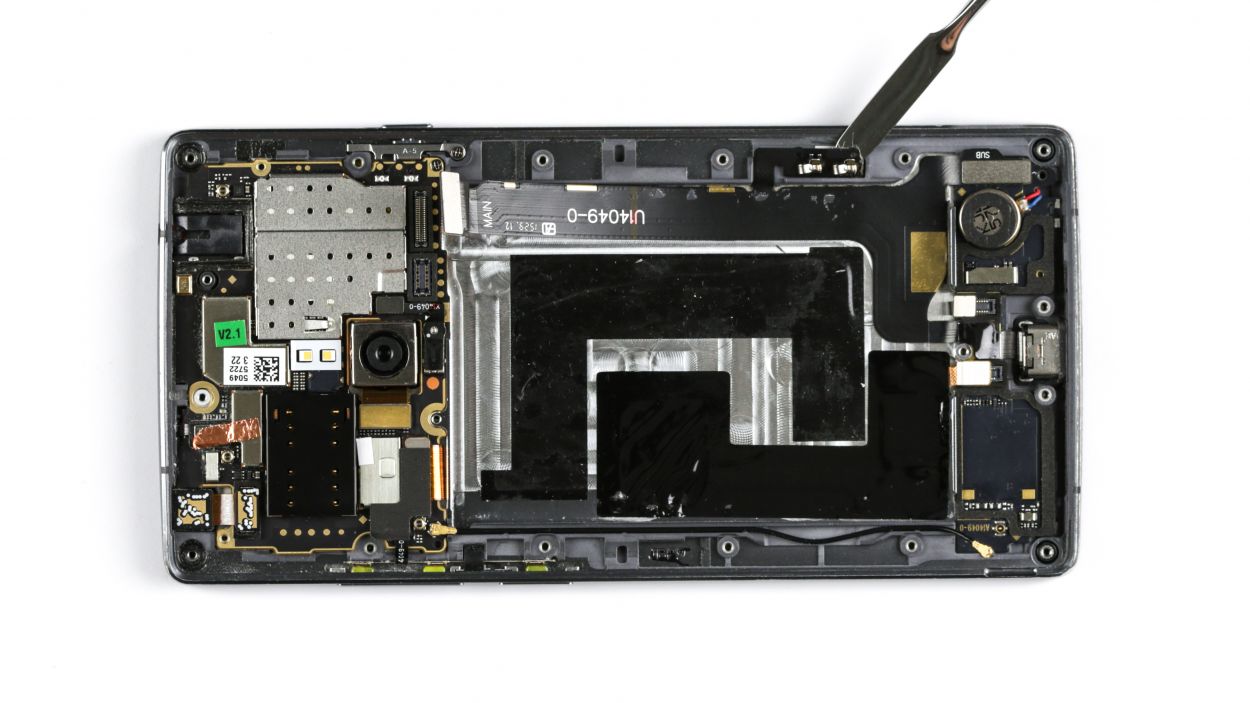
Be super careful not to accidentally snap off those little resistors and coils that are snugly soldered onto the logic board. We want everything to stay in one piece!
Sweet! Now disconnect that dock connector from its spot outside.
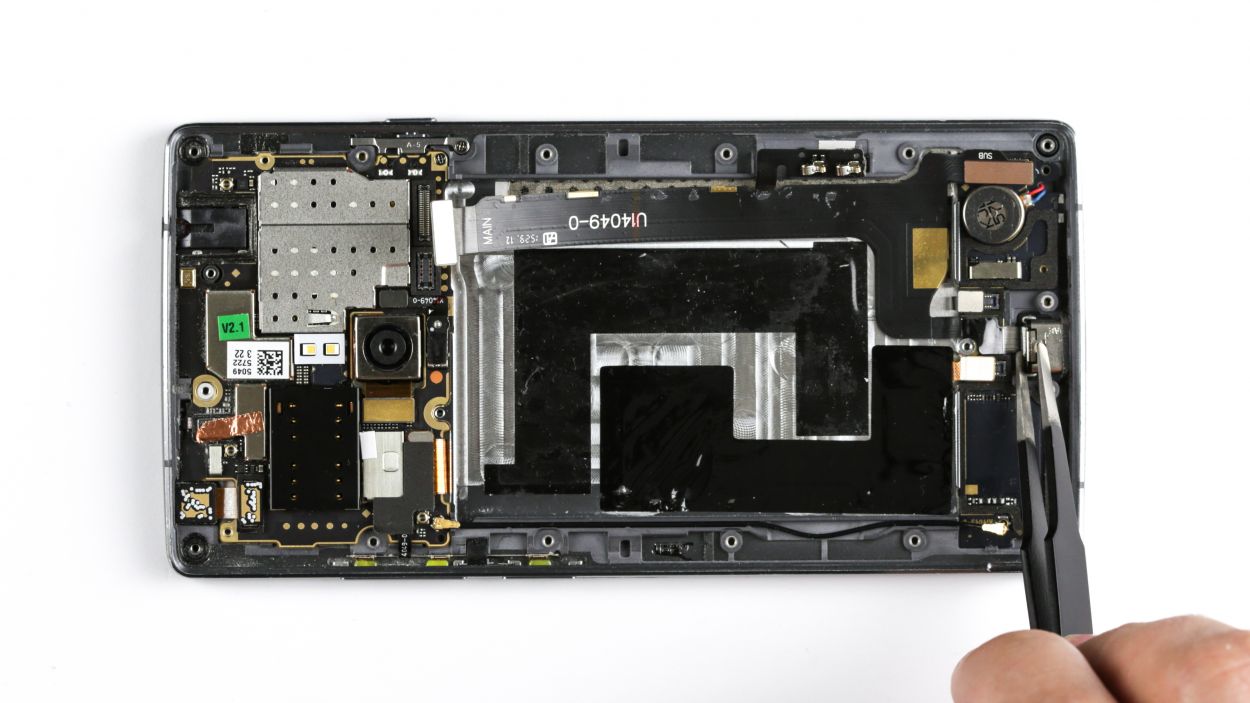
– Step 1: Gently disconnect the dock connector and those pesky display button cables. Don’t want you to snap any tiny fragile resistors (ouch!). Pry it off from the outside, nice and smooth!
– Step 2: Time to tackle that flat cable! Use a trusty metal spatula to carefully pull it off. Oh, and yeah, it might be a tad stuck due to some stubborn glue – no worries, just use your spatula to gently coax it loose.
Step 7
– Alright, it’s time to tuck those dock connector and speaker cables back into their cozy spots!
– Just place the dock connector cable right on top of the speaker cable, where the old glue is holding it snugly in place.

Step 9

18 × Phillips-Schraube
6 × Gummistöpsel
– Snap that cover back on!
– Time to snug those Phillips screws back in place.
– And don’t forget those teeny tiny rubber buddies!
Step 10

– Pop in that sim tray like a pro!
Step 11
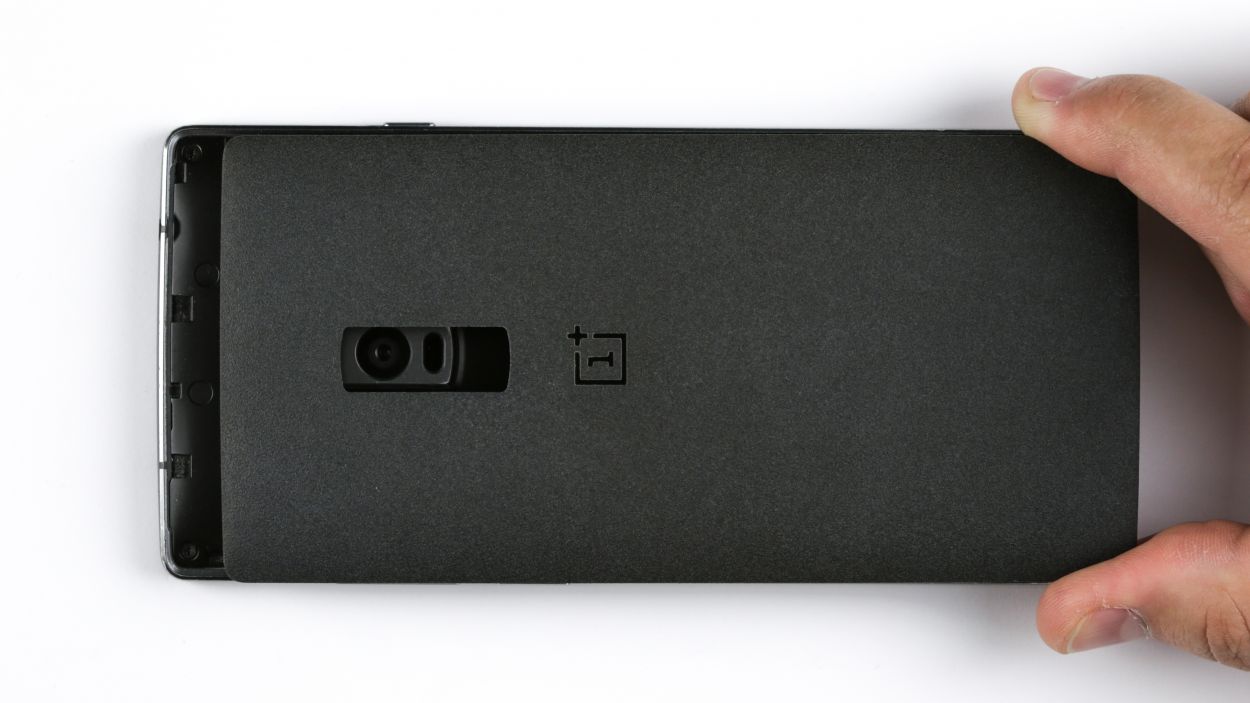
– Slip that back cover back on like a glove! Align it just right, then give it a firm squeeze all around the edges until you hear those satisfying clicks.


