How to Replace OnePlus 5T Back Cover – DIY Guide
Duration: 45 min.
Steps: 18 Steps
Feel like a boss and swap that busted back cover on your OnePlus 5T like a pro! This sweet step-by-step guide will give you the skills you need to get it done. No worries, it’s a breeze! The screen isn’t glued to the back, making it a snap to pop off. Don’t sweat the screws either, they’re all buddies. Now, the clips on the screen can be a bit of a pain, but no stress. Before you dive in, back up your data and make sure your crib is clean and lit. Take your time and if you need a hand, just hit us up on the live chat or drop a comment below. Now, let’s make that back cover history!
Step 1

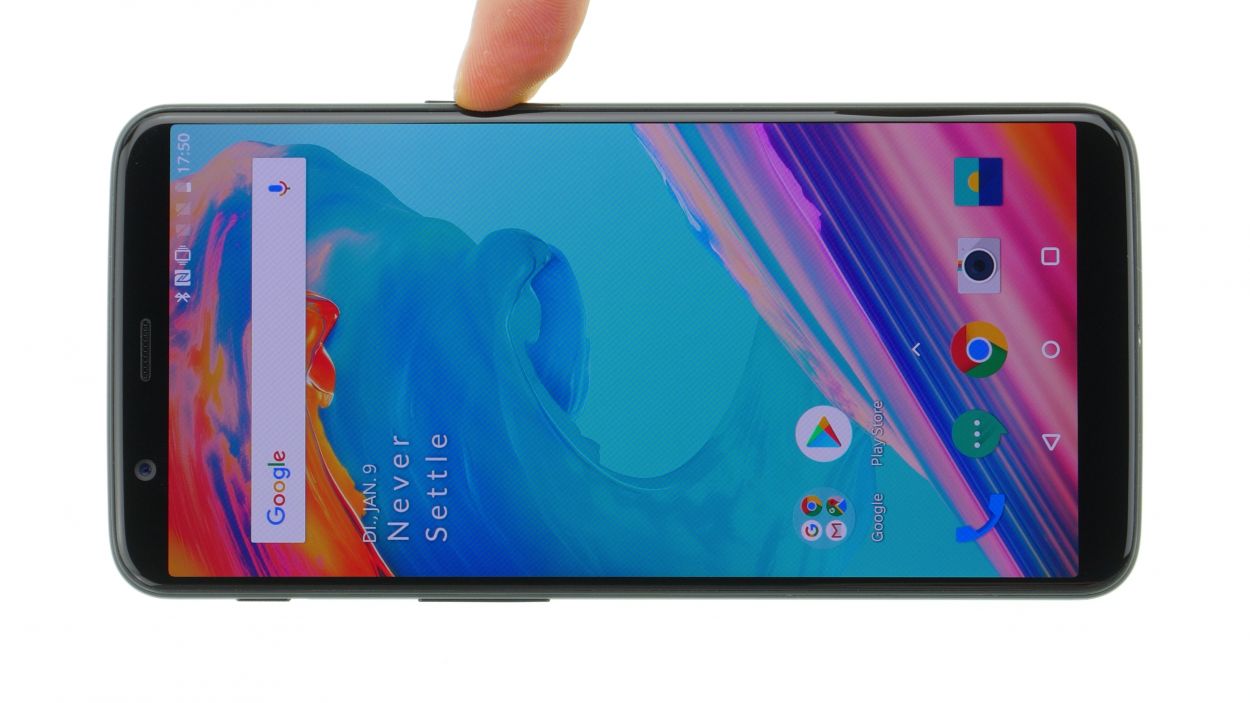
If your OnePlus 5T touchscreen is giving you the silent treatment, no worries! Just press and hold the standby button for about 10-15 seconds to give it a little nap. Remember, if you need help, you can always schedule a repair.
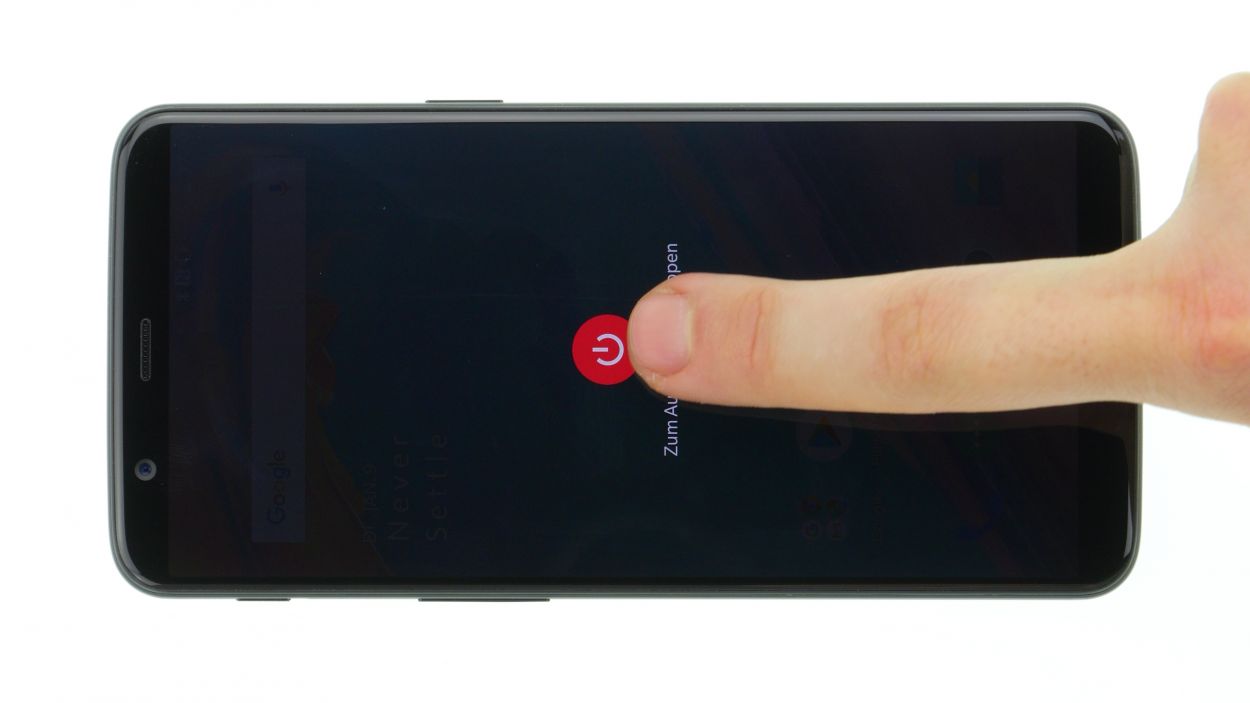
– Give that standby button a good press and hold until you see the “Switch off” option pop up.
– Tap it again to seal the deal!
Step 2

2 × Torx T2
– Remove both screws on the bottom edge of the case. They are located to the right and left of the USB port.
– Place the screws on one field of the magnetic pad or sorting box.
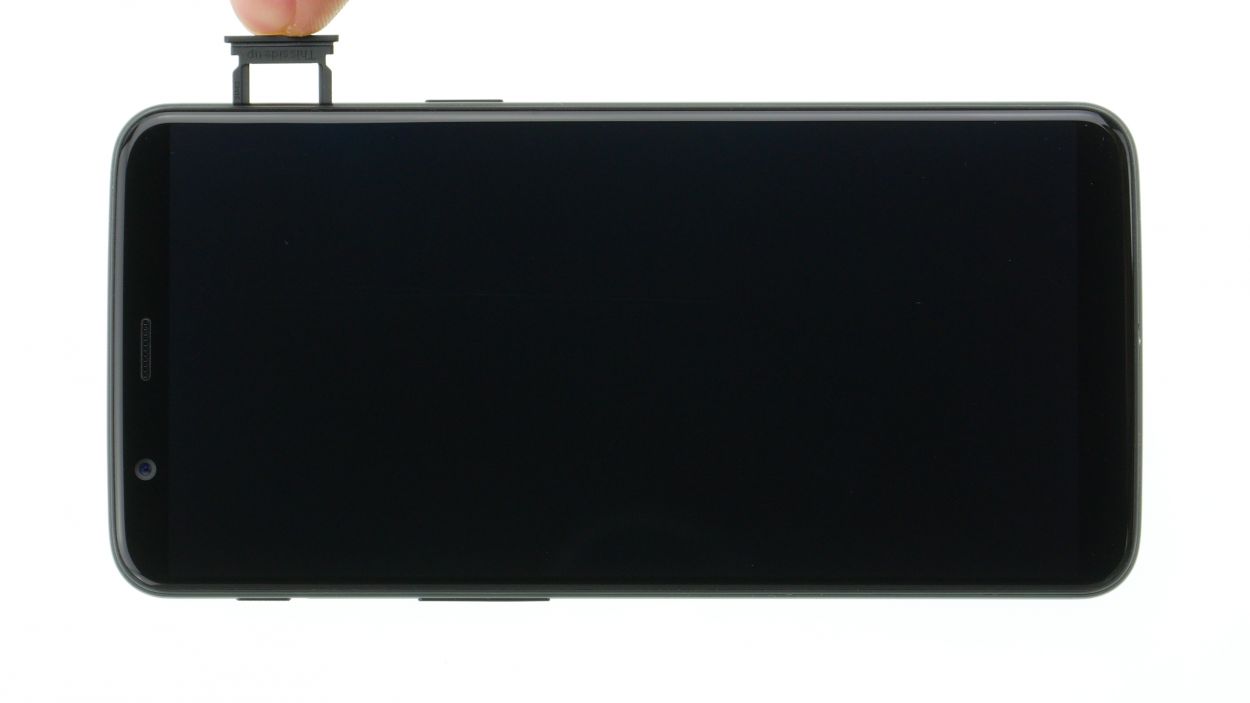
Step 3

– Let’s get this SIM card out! Grab a SIM tool (or a paperclip in a pinch!), find that tiny hole on your SIM tray, and gently nudge it out. Easy peasy!
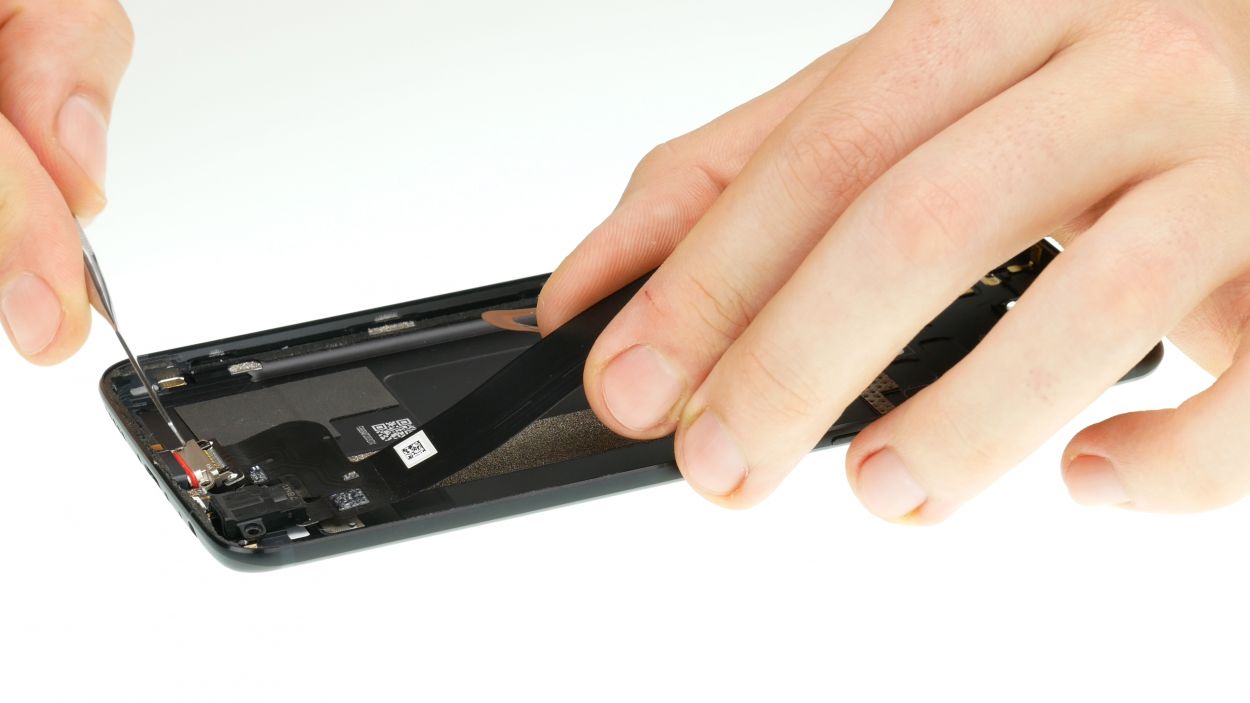
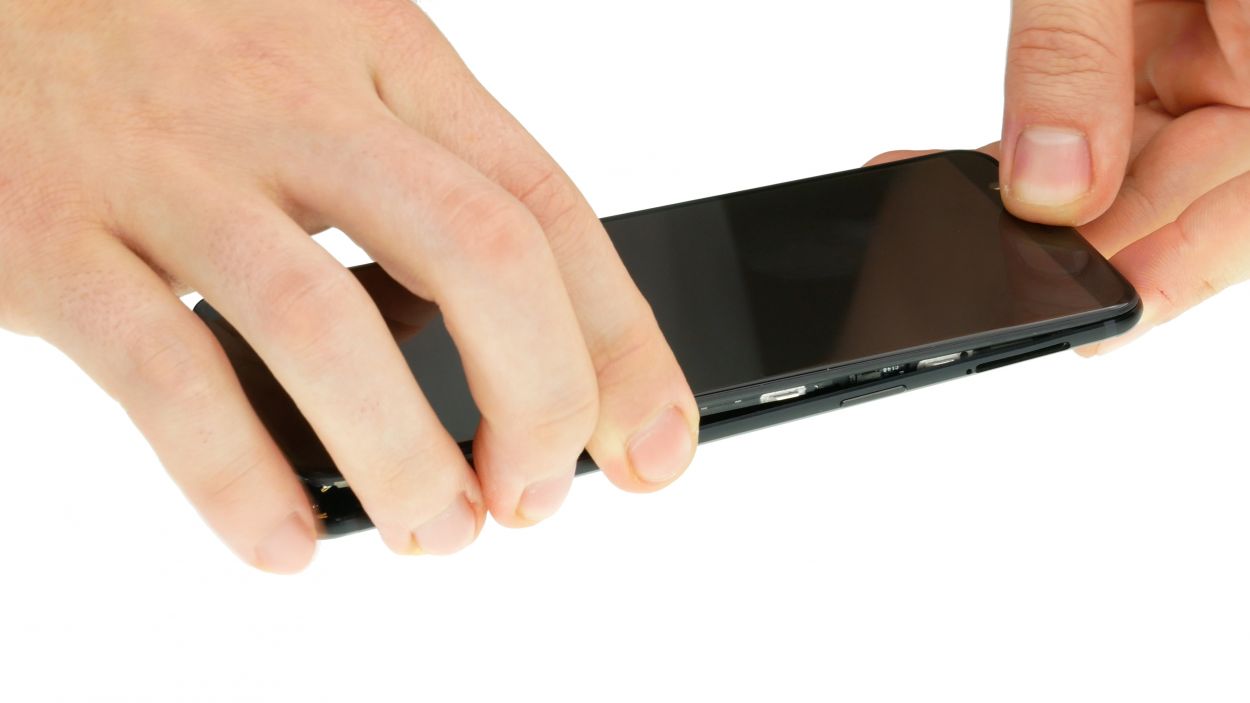
Step 4
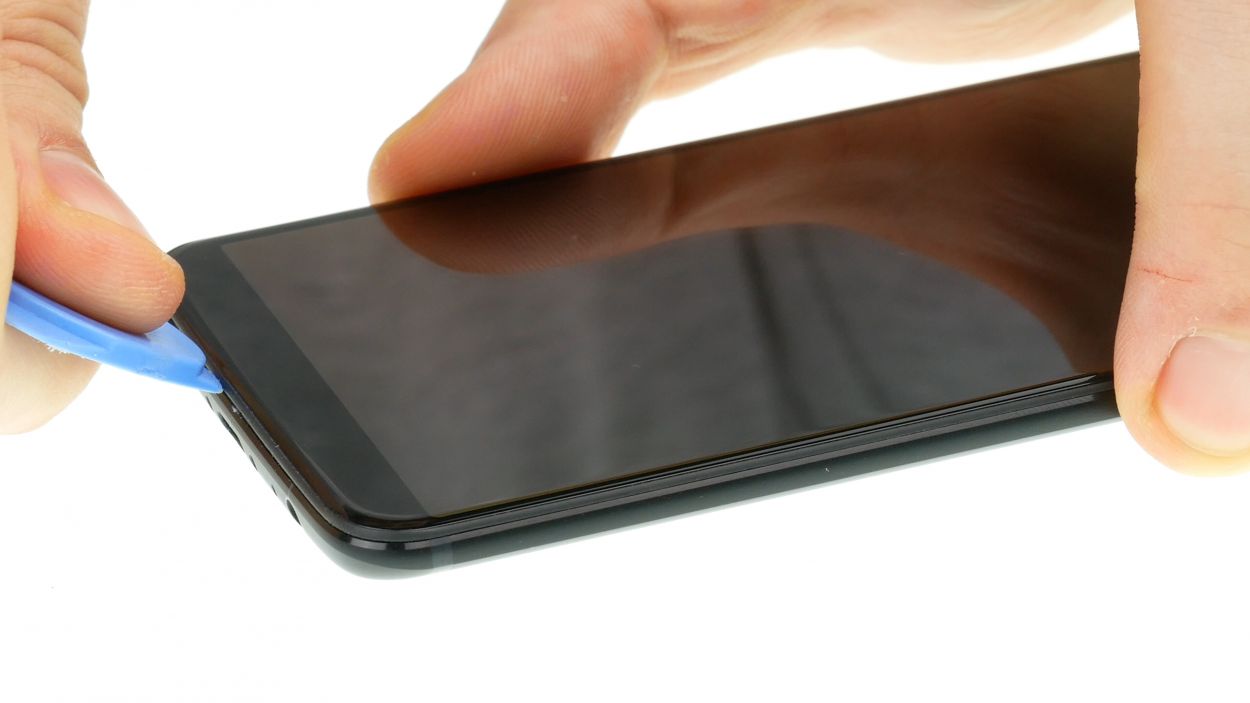

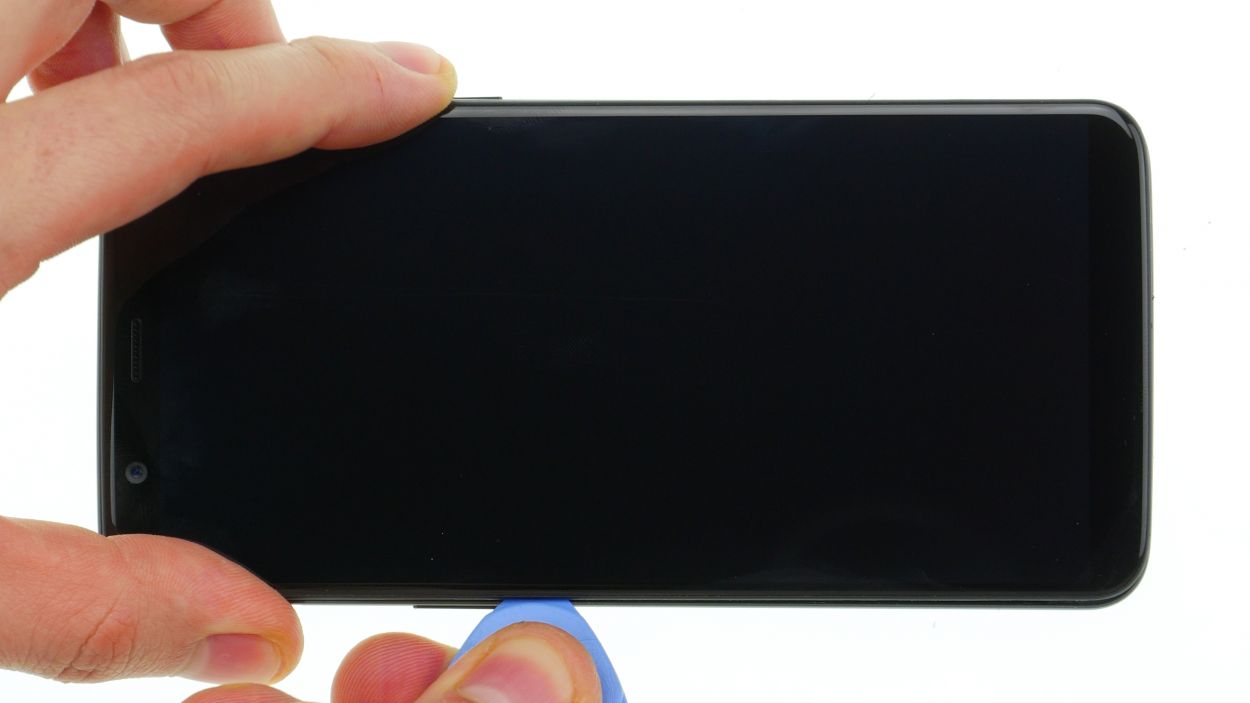
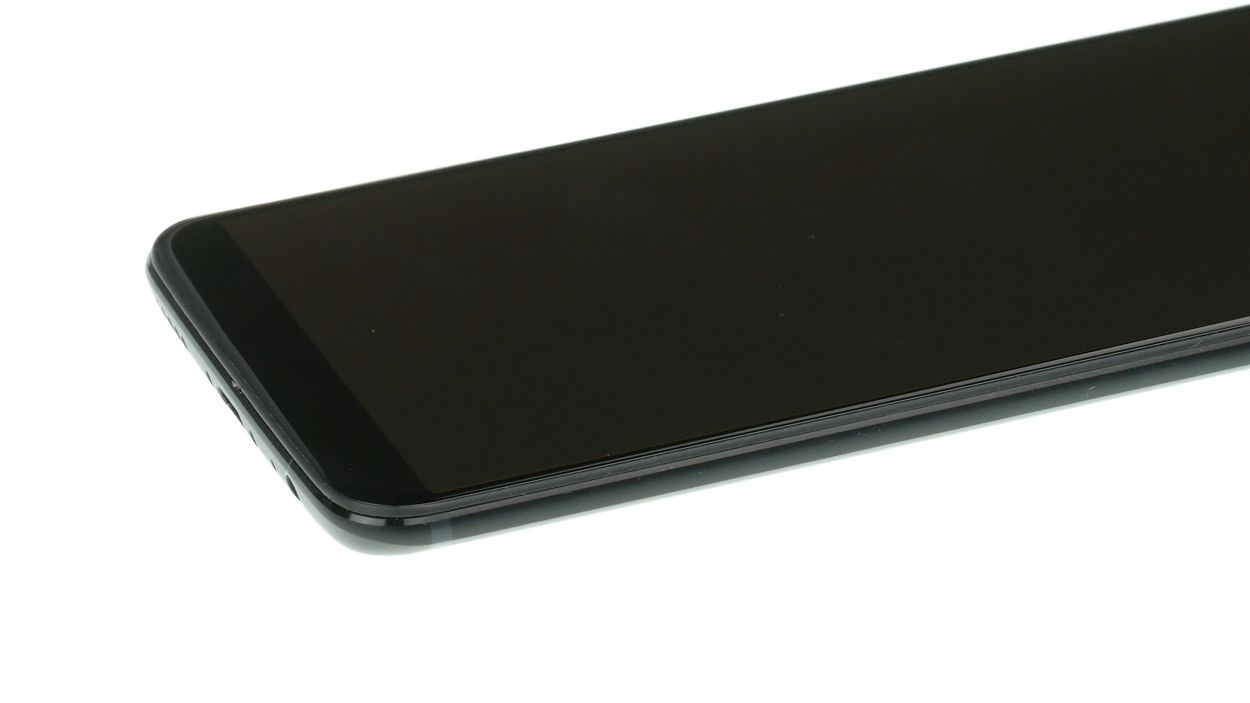
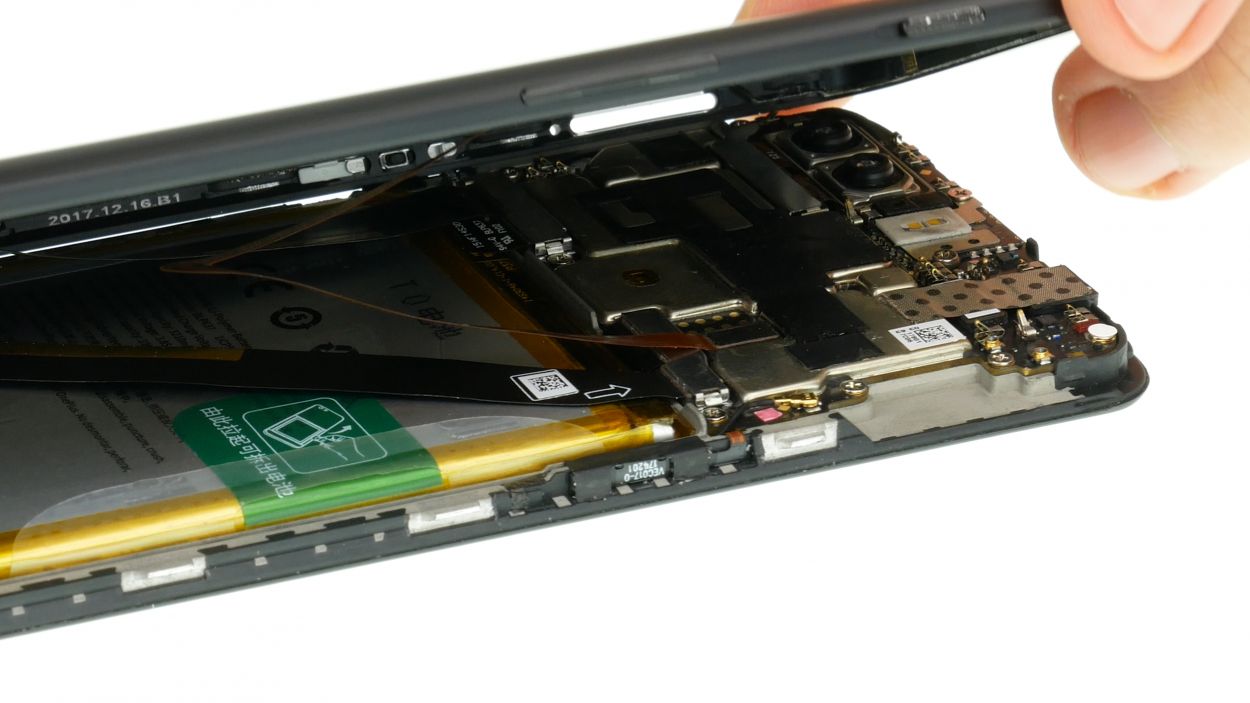
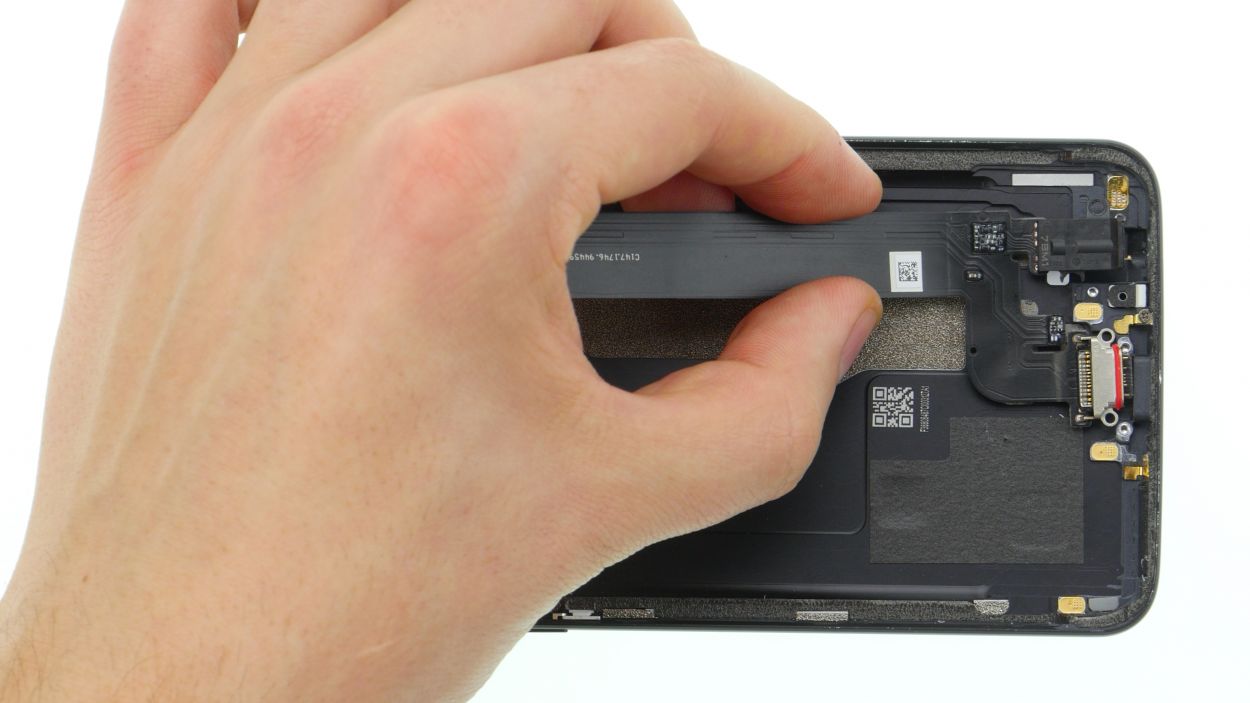
– Gently press down on the back shell’s frame with the tip of your trusty plectrum and slide it into the gap you create. Using a sturdy plastic plectrum with a handy stopper is highly recommended. This way, it won’t slip too far and accidentally poke around inside the device, which we definitely want to avoid!
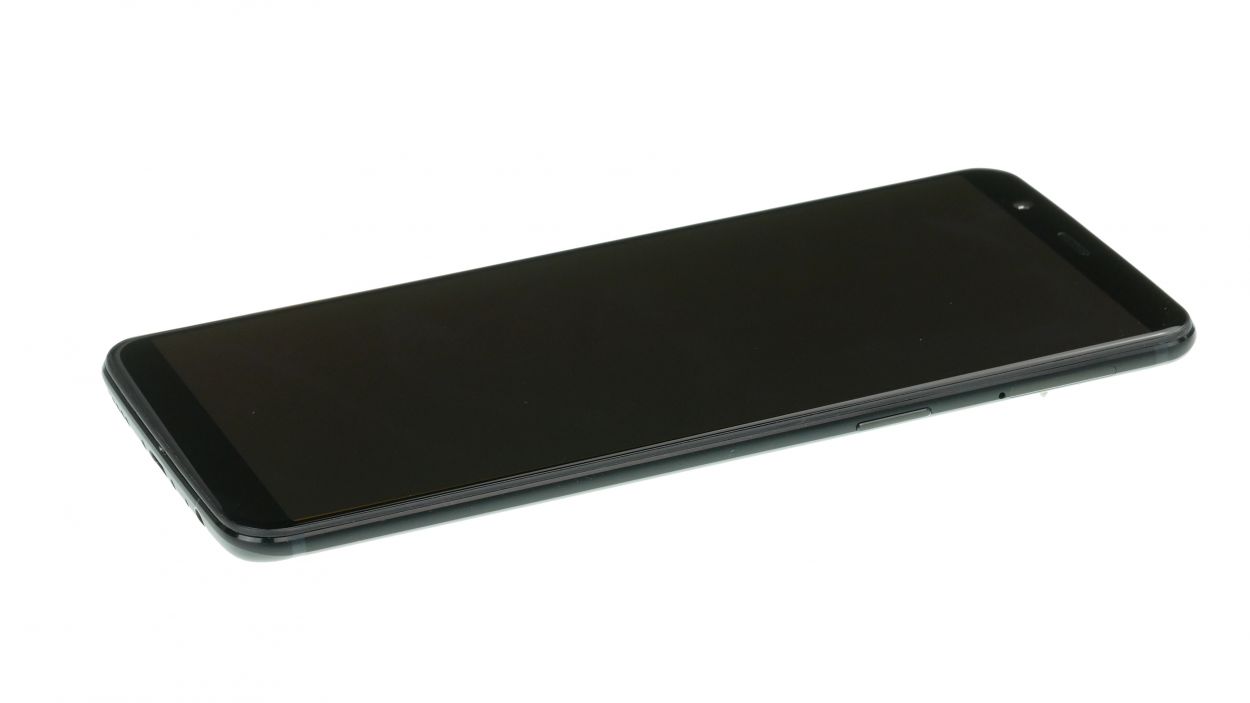
Hey there! Keep your OnePlus 5T scratch-free by giving it a comfy spot on a soft, clean surface. It deserves the VIP treatment!
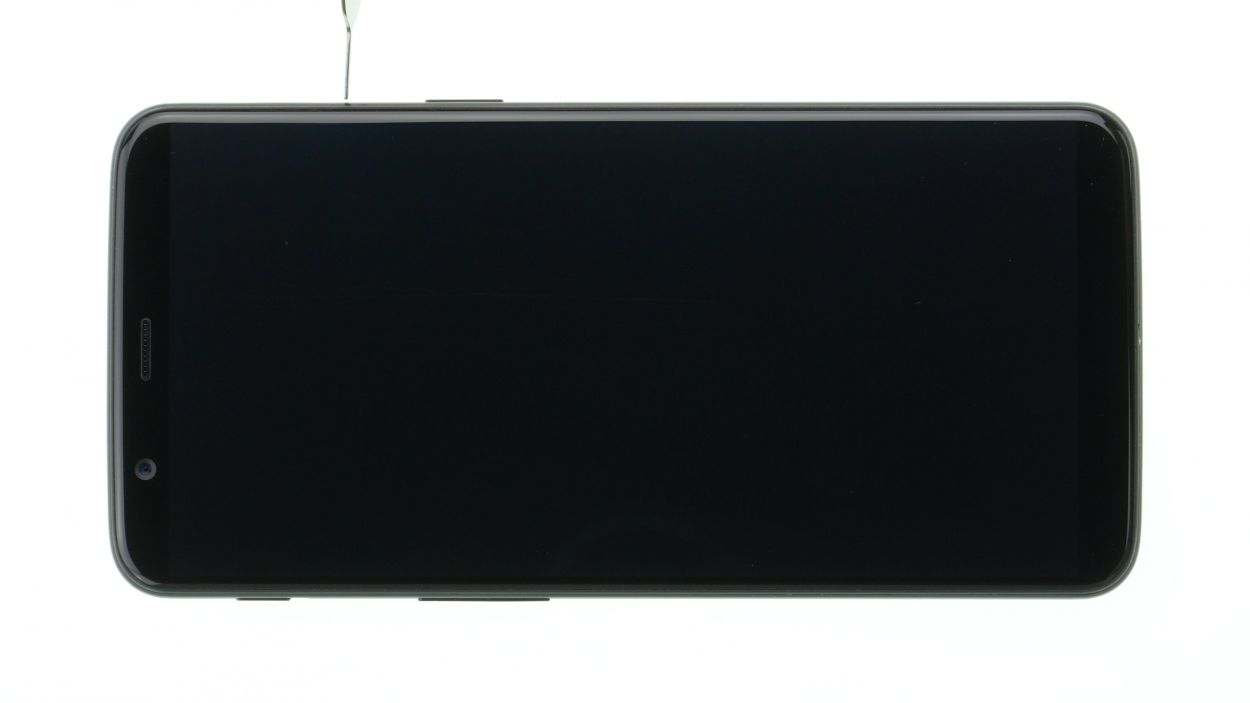
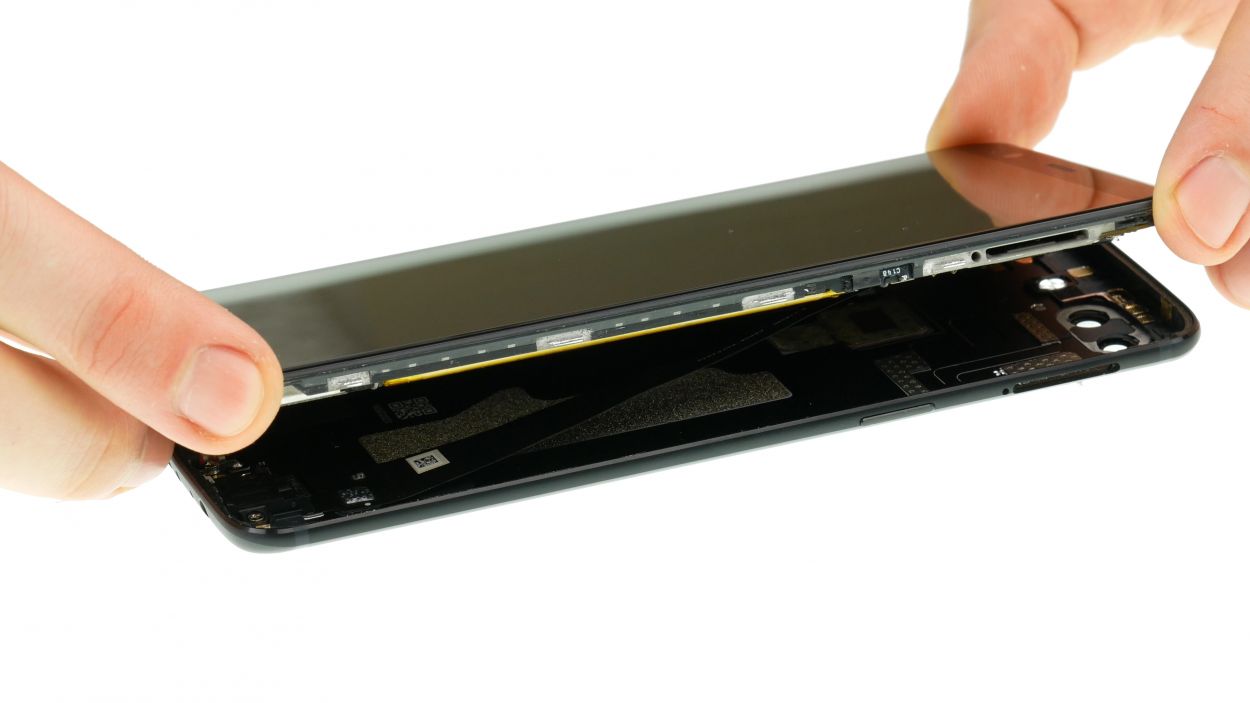
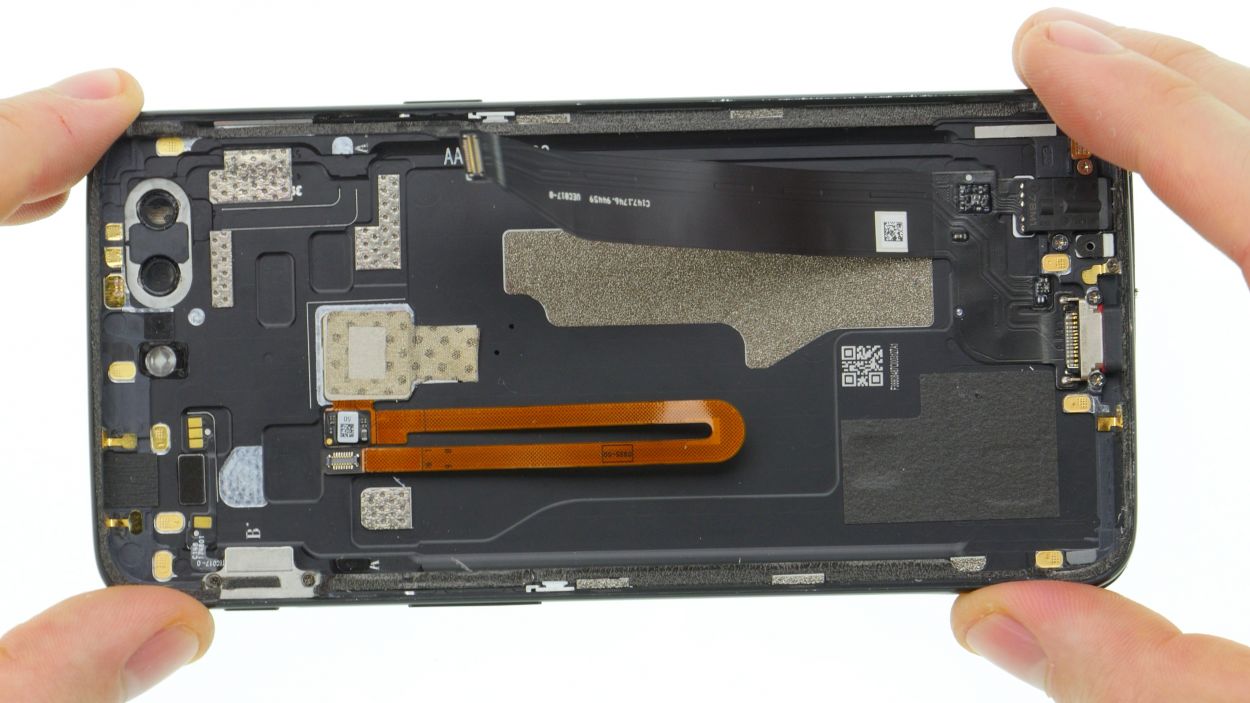
Alright, let’s crack this OnePlus 5T! It’s basically two main parts: a snazzy back cover and the display unit, which is where all the tech magic (and the screen) lives. Think of the back cover as a super cool case. Easy peasy, right? If you get stuck, you can always schedule a repair.
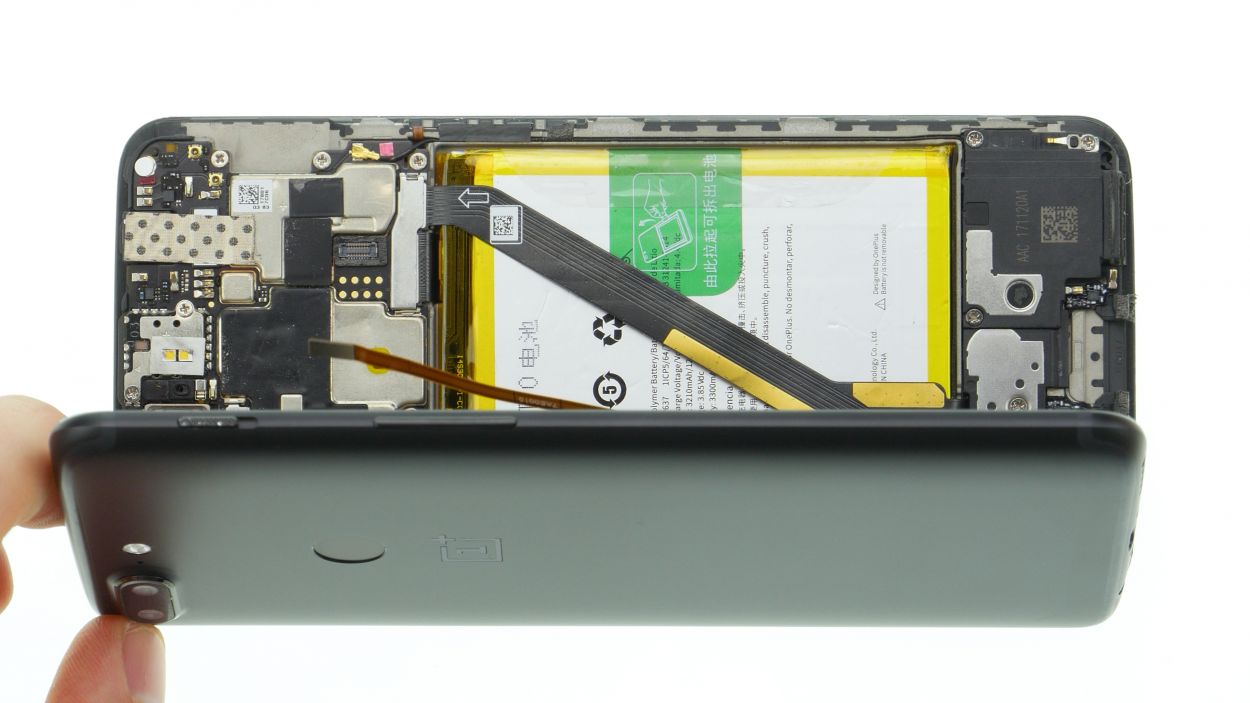
Step 6

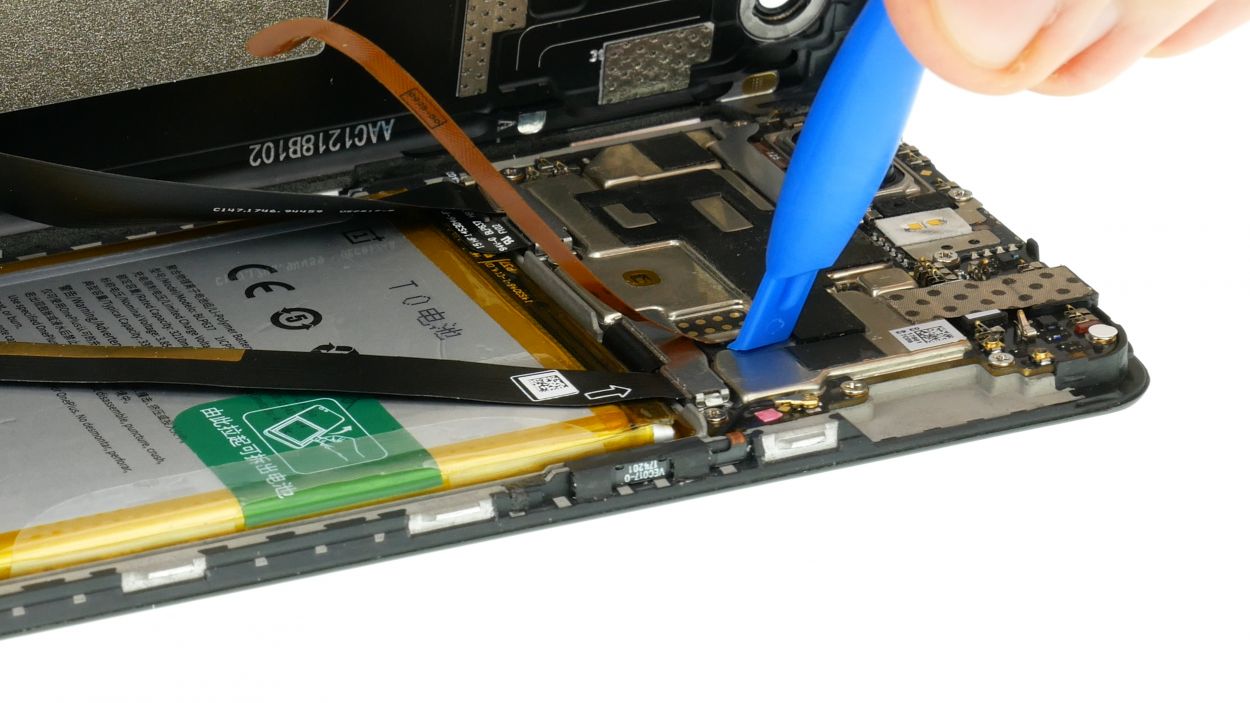
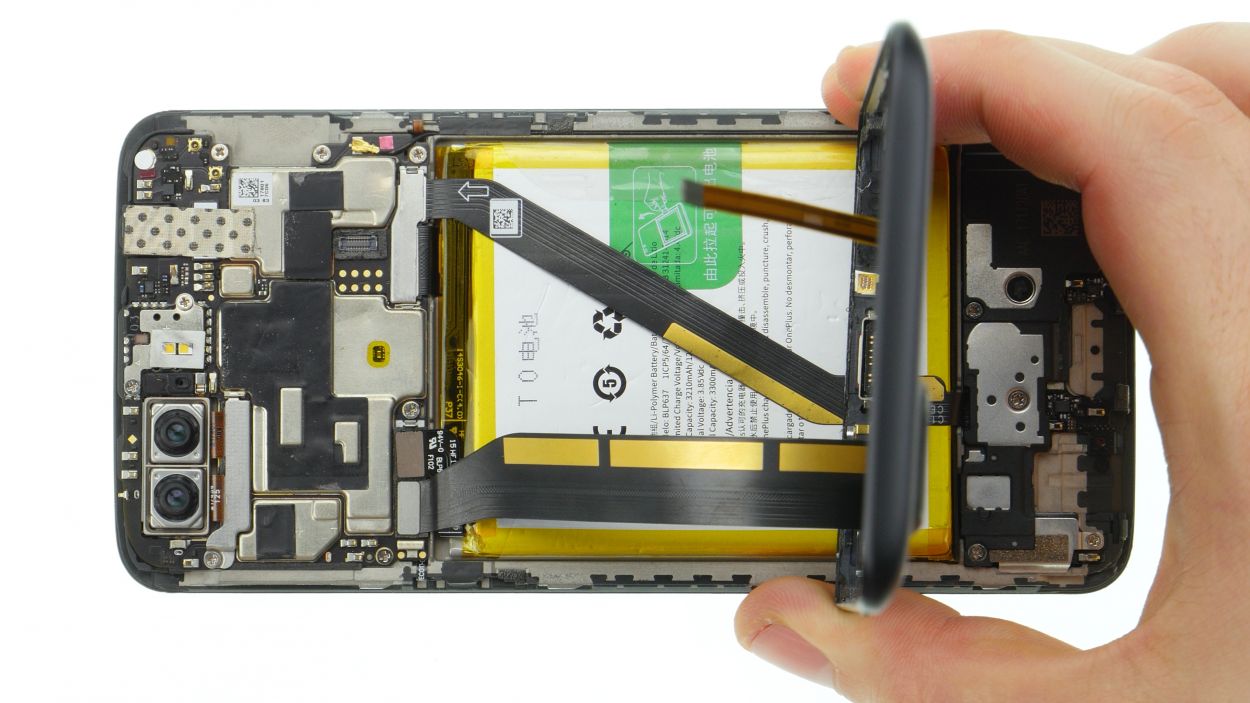
Battery Connector
Disconnect the juicy maker as fast as you can to stop the electricity from taking a shortcut!
– Let’s get this show on the road! First, gently remove the battery connector cover using your ESD tweezers. Easy peasy!
– Time to disconnect that battery! Use a plastic spudger to carefully unplug it. Almost there!
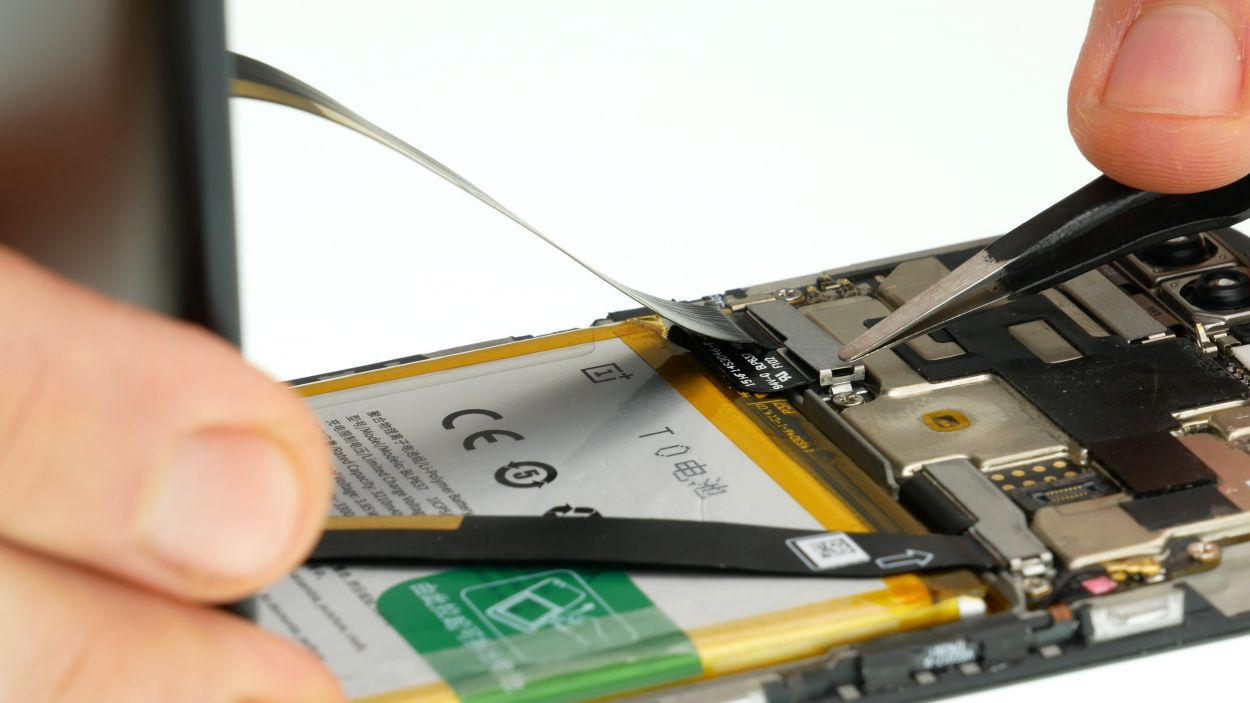
Step 7

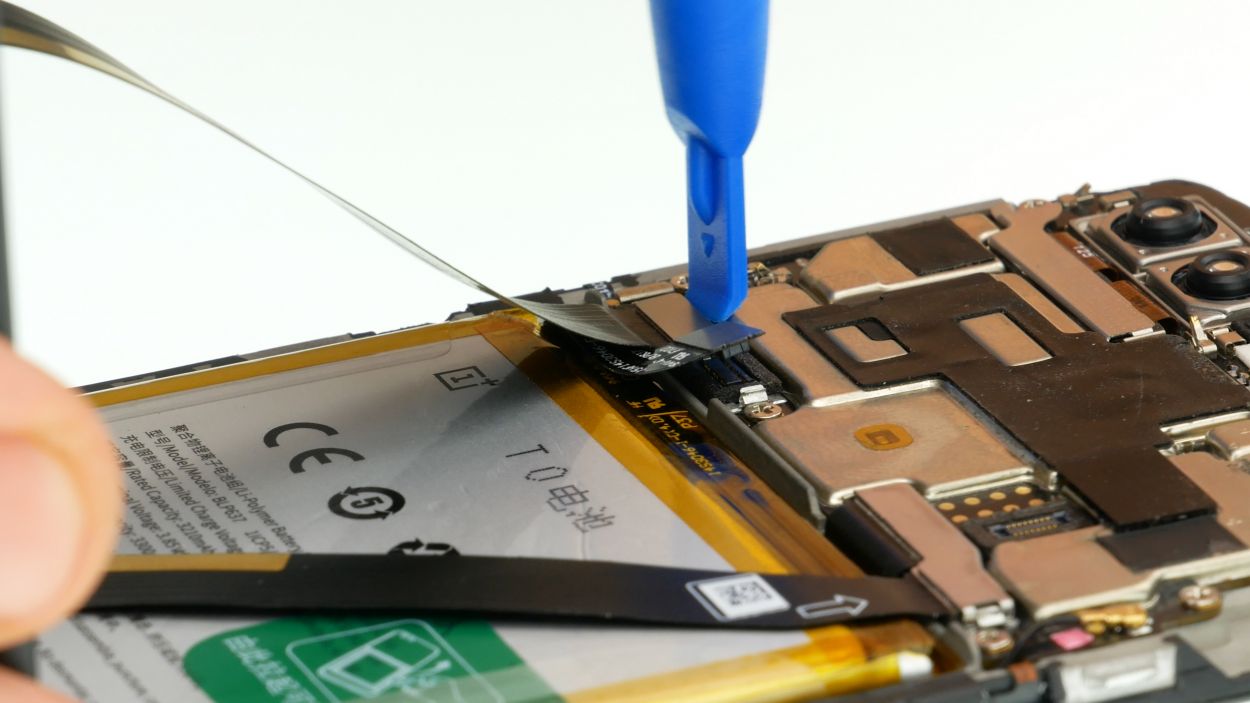
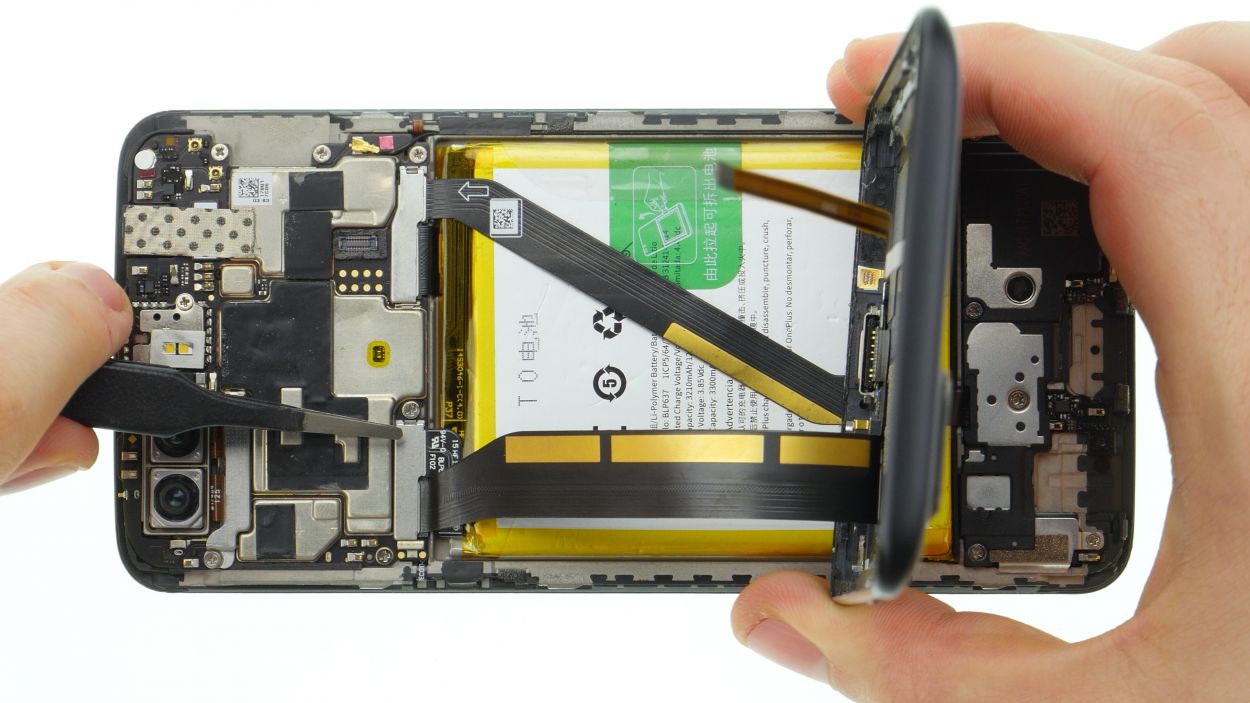
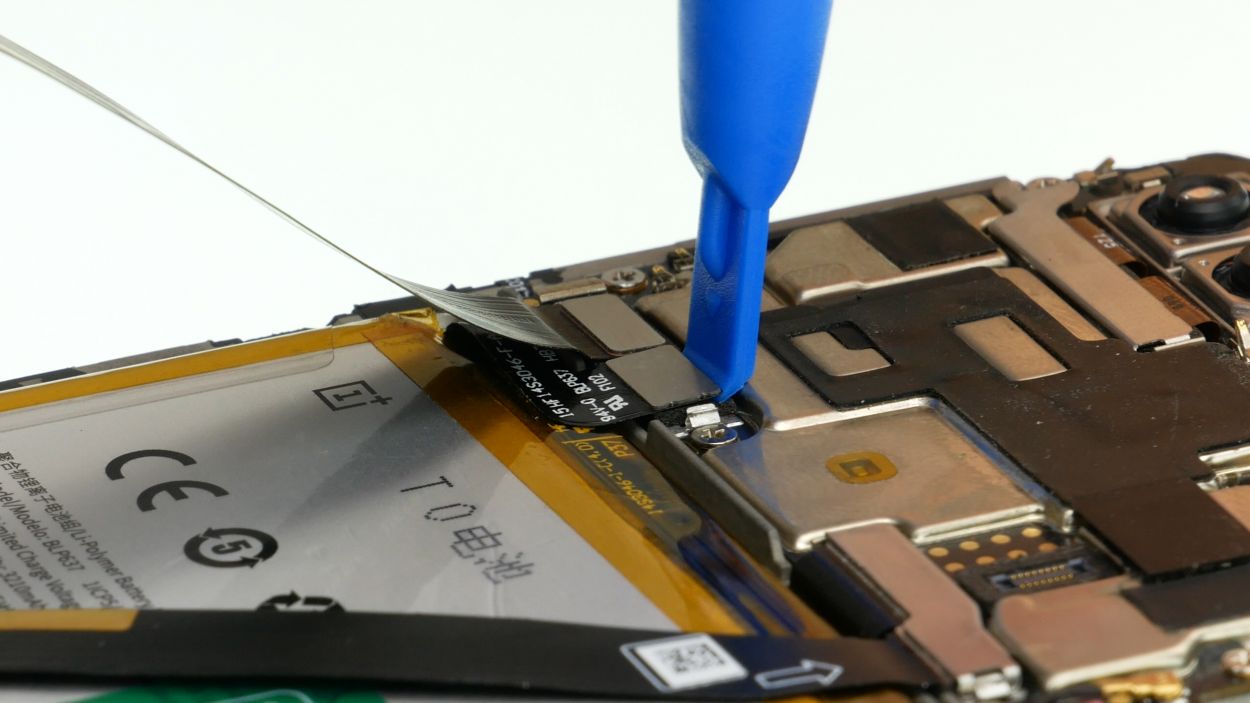
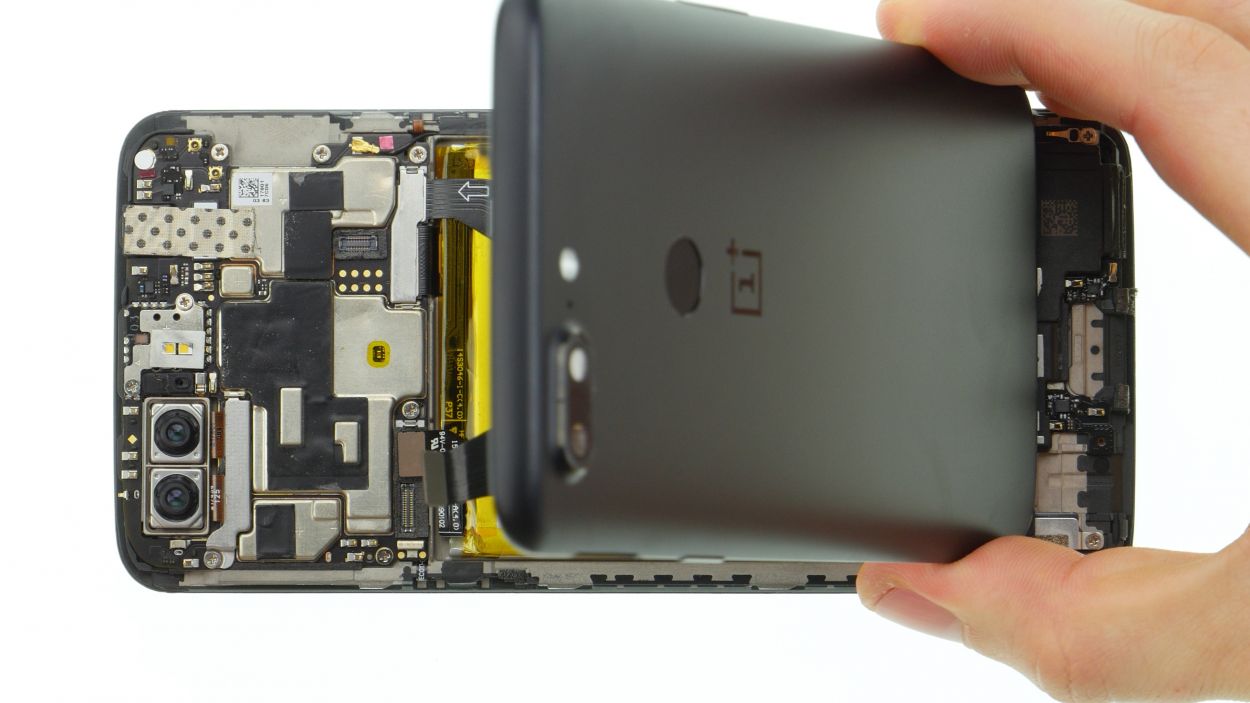
USB/audio flex Connector
– First, gently pop off the USB/audio flex cable’s connector from the mainboard. Easy peasy!
– Now, just set that back cover aside like a pro!
Step 8
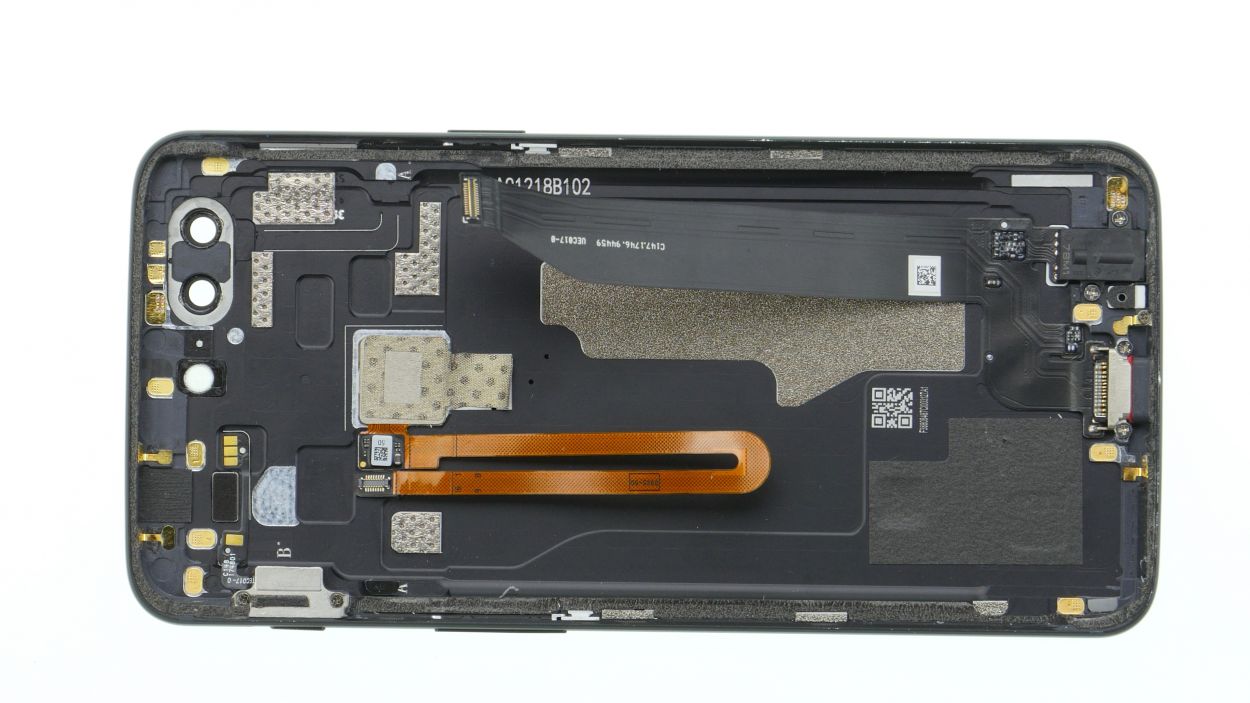
4 × 2,3 mm Phillips
If the cable is stuck on there like it’s never leaving, just give it a little warmth with some hot air to loosen that adhesive up!
– Let’s loosen those 4 screws holding the USB and audio jack — easy peasy!
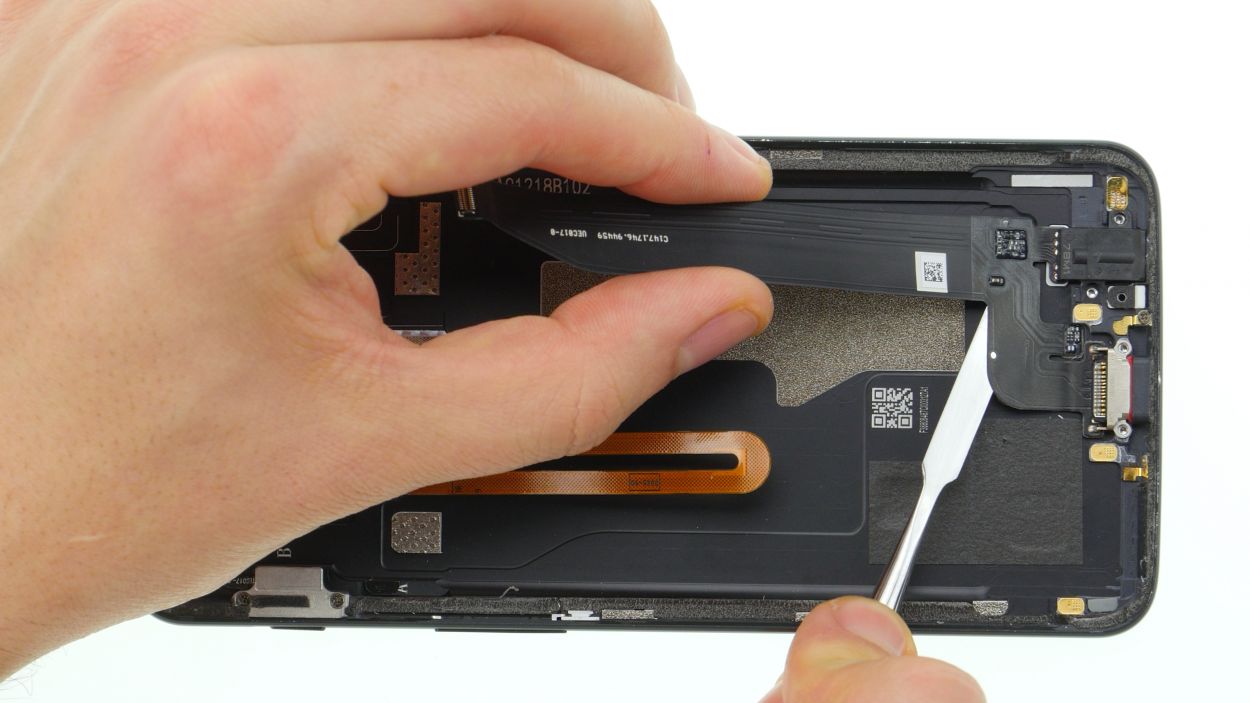
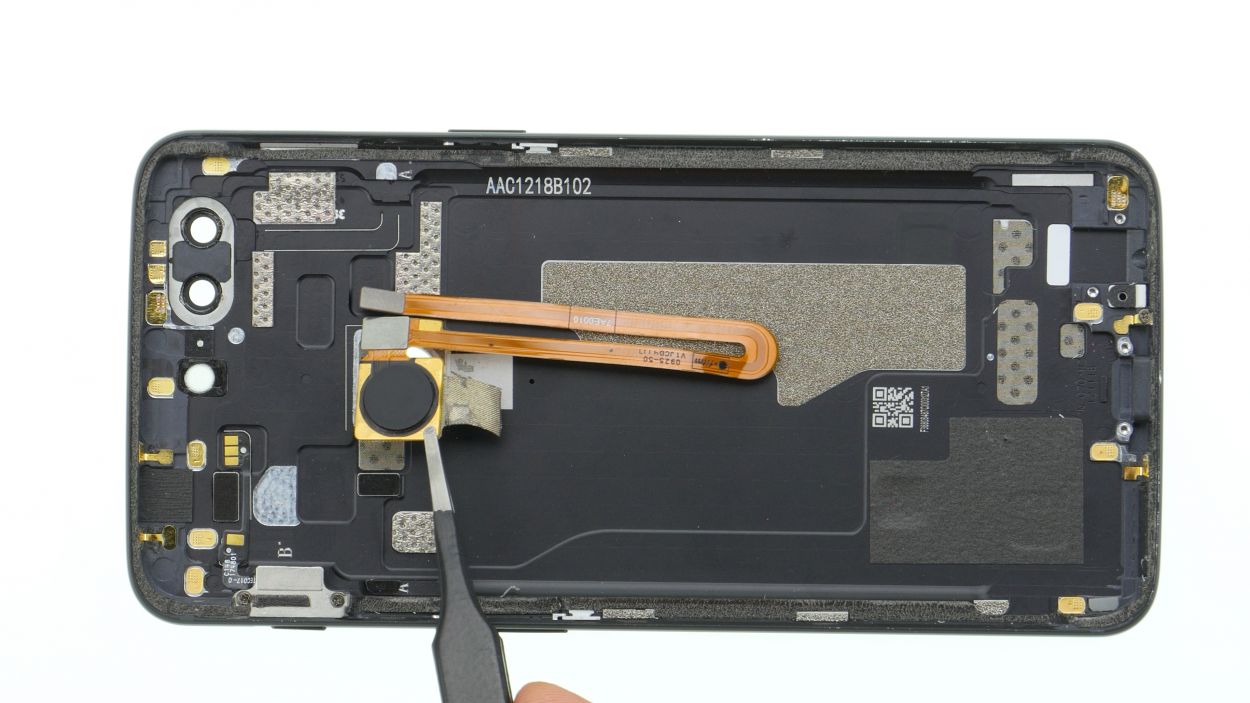
Step 9
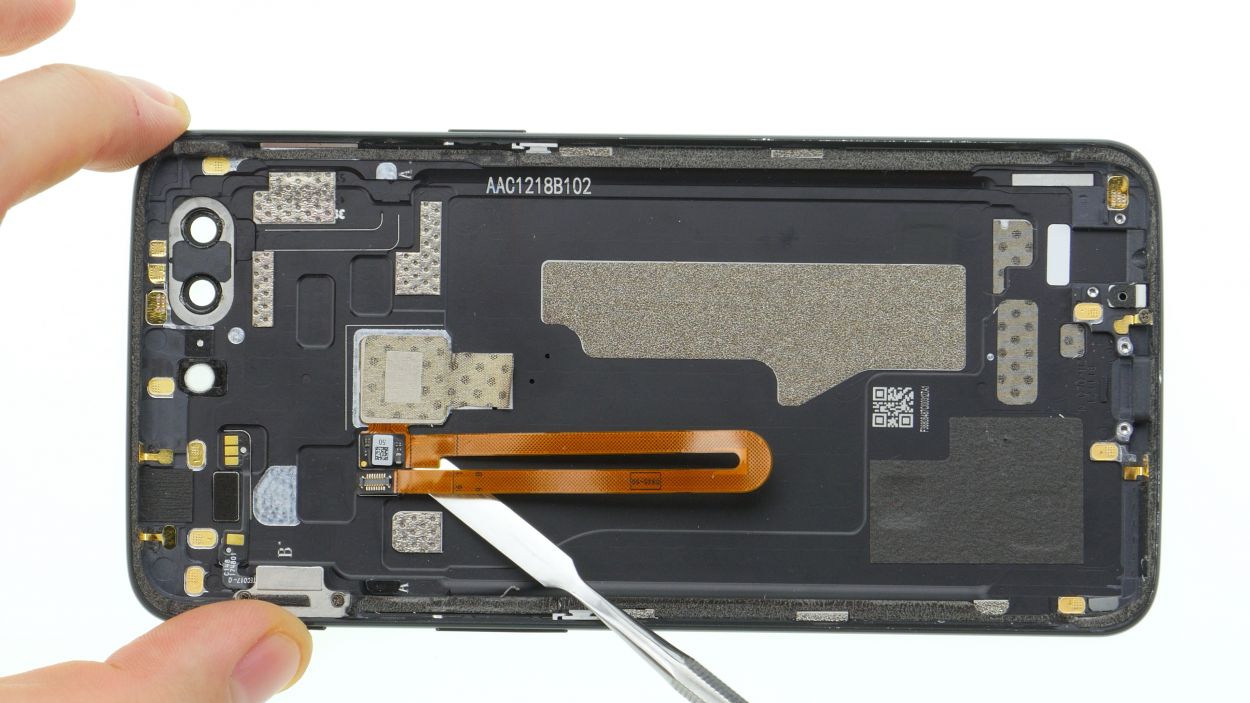

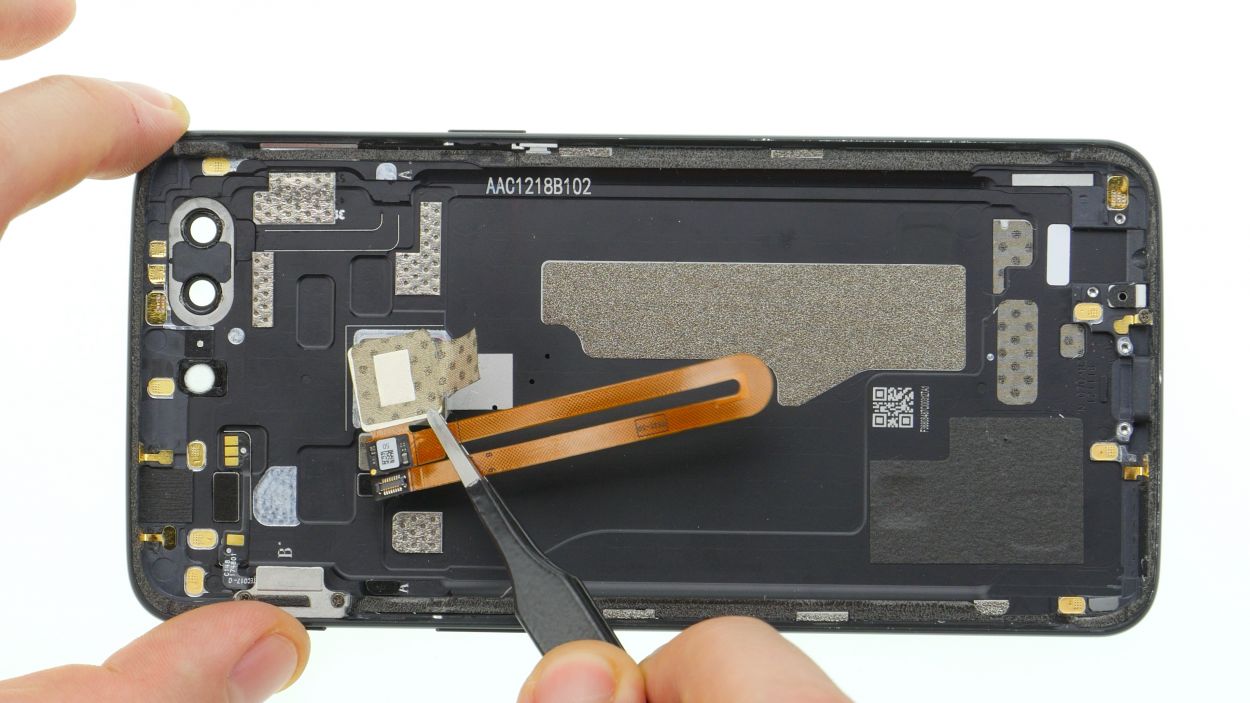
– Gently detach the fingerprint sensor, which might be a bit sticky. If it’s putting up a fight, a little hot air can help soften the glue.
– Carefully loosen the cable and button piece by piece, taking your time to avoid any mishaps.
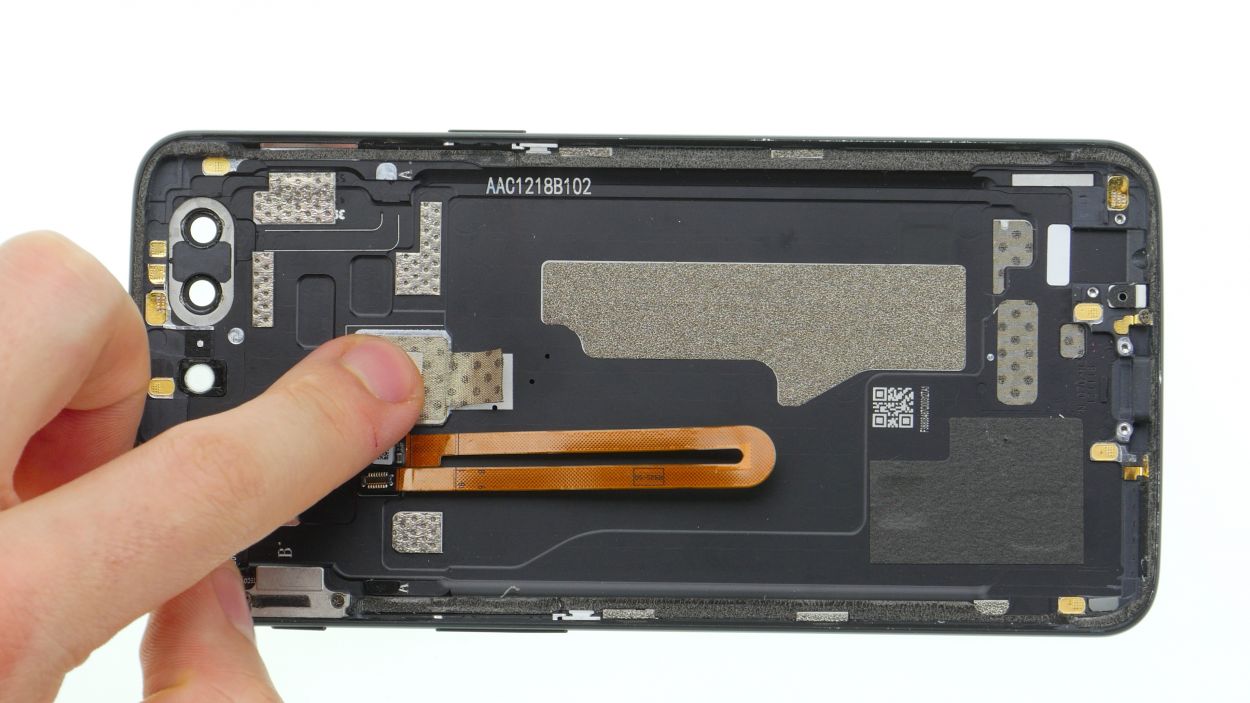
Step 10
– Compare your new back cover with the old one. If necessary, further small parts have to be transferred.
– Remove all protective foils.
Step 11
– Gently place the fingerprint sensor back where it belongs and give it a nice, firm press to secure it.
– Don’t forget to reconnect the cable to the back cover for a snug fit!
Step 12

4 × 2,3 mm Phillips
– Carefully position the flex cable and give it a gentle press to secure it in place. Ensure that the jacks fit snugly into their designated spots.
– Next, pop those marked screws back in to keep everything nice and tidy.

Step 14
– Now reconnect the battery.
– Reinsert the cover over the battery and USB/Audio Flex connectors.
Step 15

– Grab those tweezers and align the plug just right!
– Give that plug a snug little squeeze with your fingers to secure it in place.
Step 16
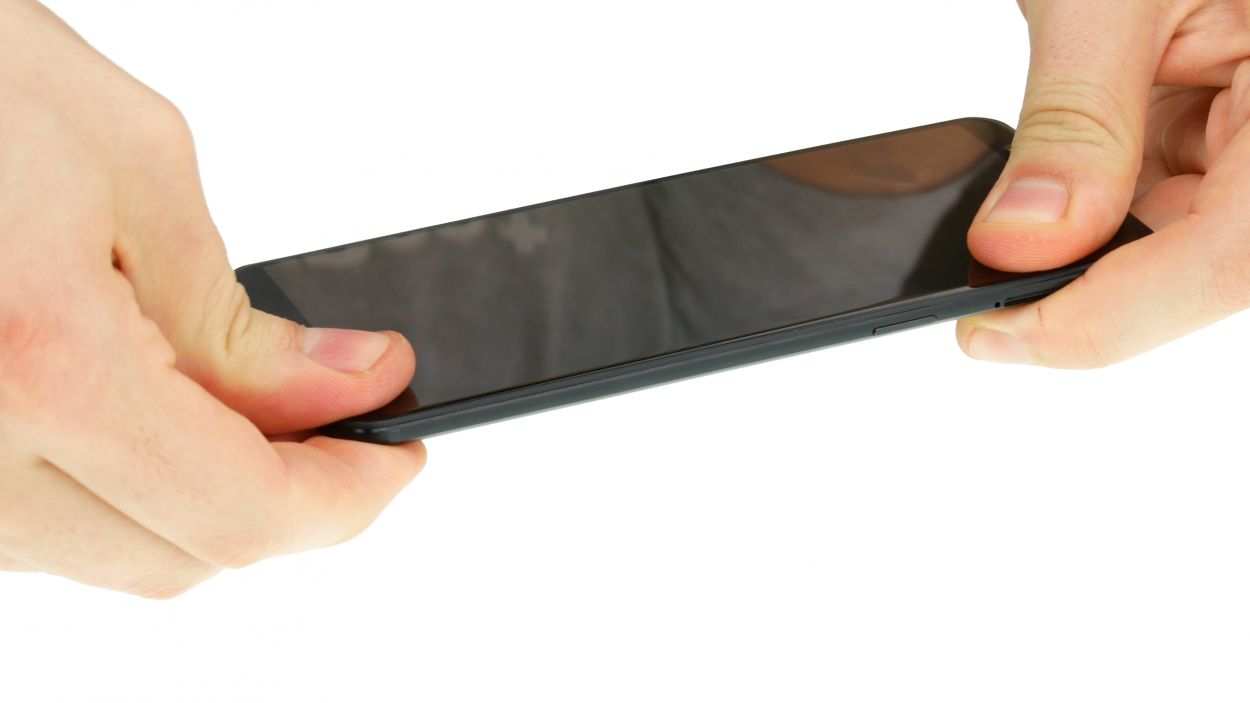
– Now, let’s give that display unit a little push and slide it back into the back cover. You’ve got this!
– Start with the upper edge and make sure those three clips on the back cover are lining up just right.
– Clipping everything together may take a bit of muscle. Use both hands to squeeze it all together—your fingers will thank you!
Step 17
– Insert the SIM/SD cards and slide the tray back into the device.
Step 18
2 × Torx T2
– Fasten the two screws to the left and right of the USB port.