How to Replace OnePlus 6 Battery – DIY Guide
Duration: 60 min.
Steps: 11 Steps
Is your battery getting weak? Power up your OnePlus 6! Each step has detailed photos to guide you through this battery replacement. The battery isn’t glued in very strong and you don’t need tools to remove it.We advice you to check your spare part before installation. If you find any visible errors, please contact your vendor before starting.The repair is somewhat more difficult because the OnePlus 6 has to be opened via the glass back cover.Run a data backup before the repair, use a clean work surface and take enough time. If you have questions, use the live chat on our website or write a comment.
Step 1

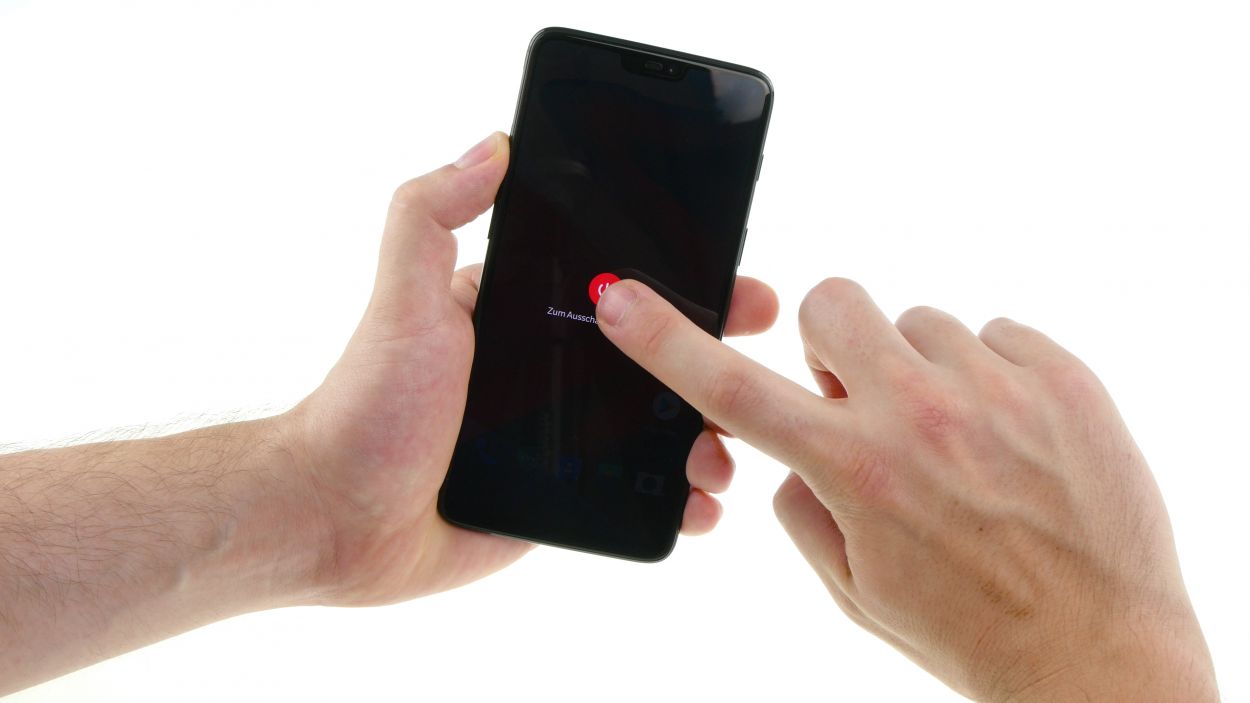
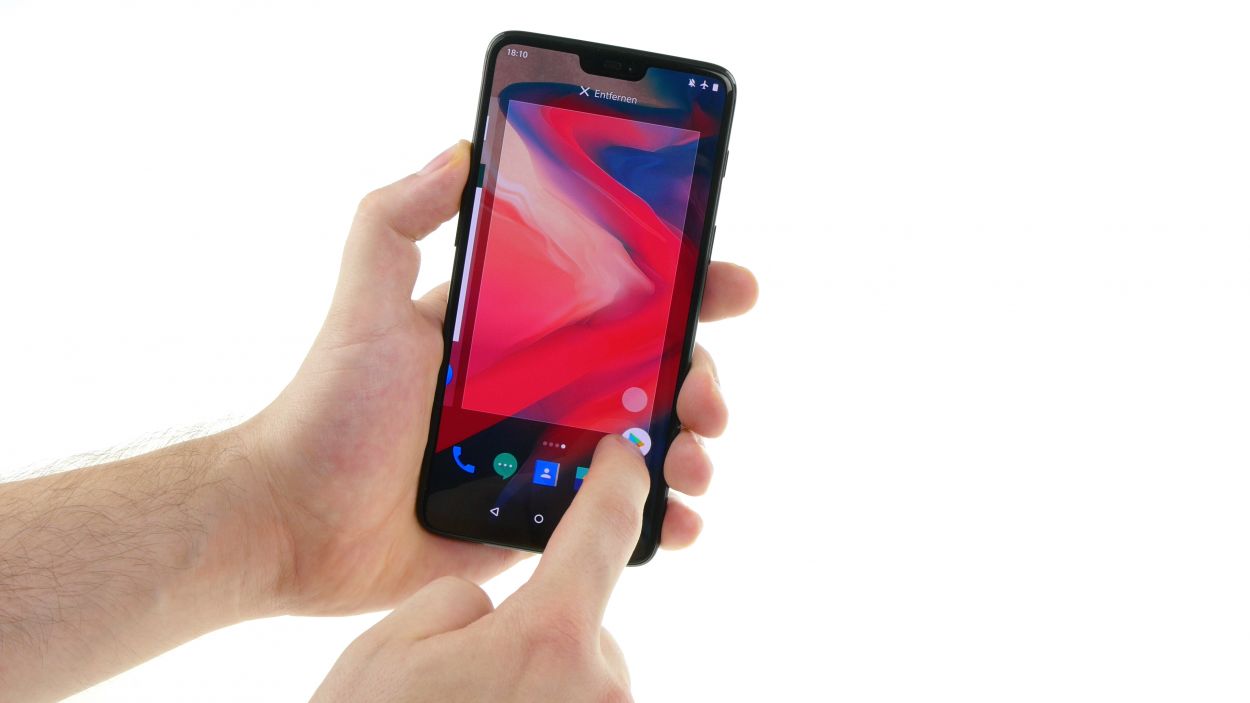
– Give that standby button a good press and hold until you see the ‘Turn off’ option pop up.
– Give it another tap to confirm you’re ready to power down.
Step 2
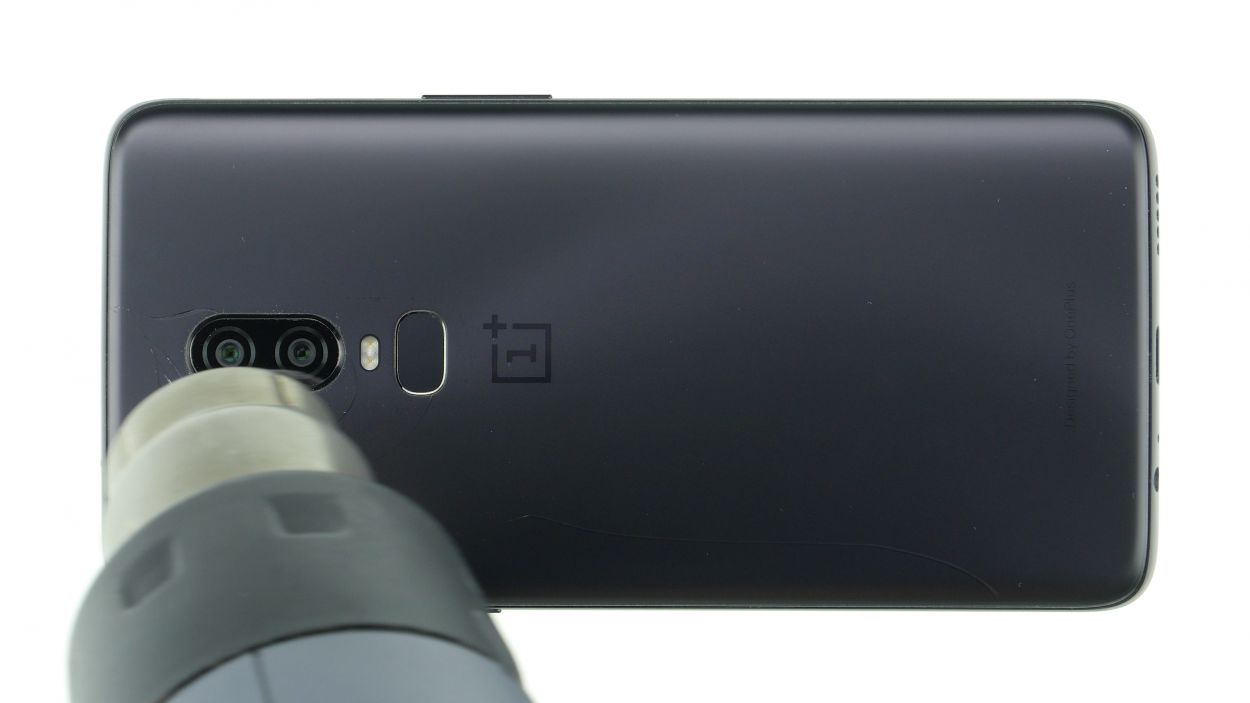
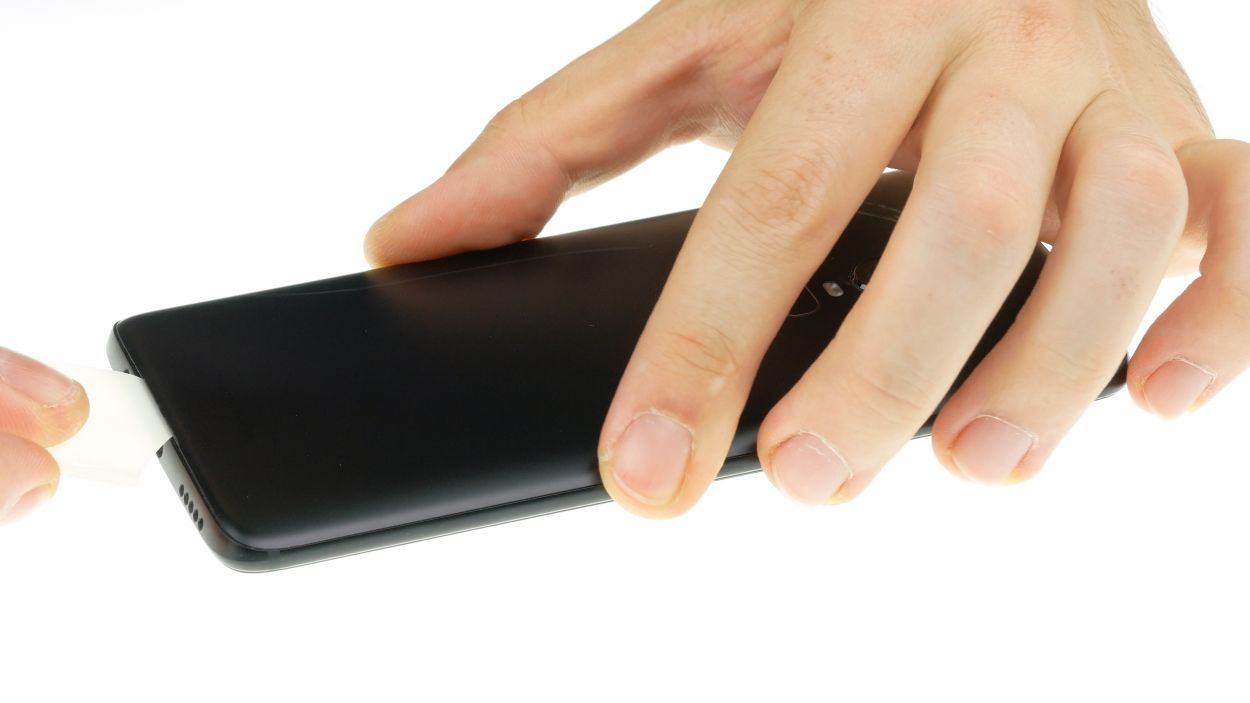
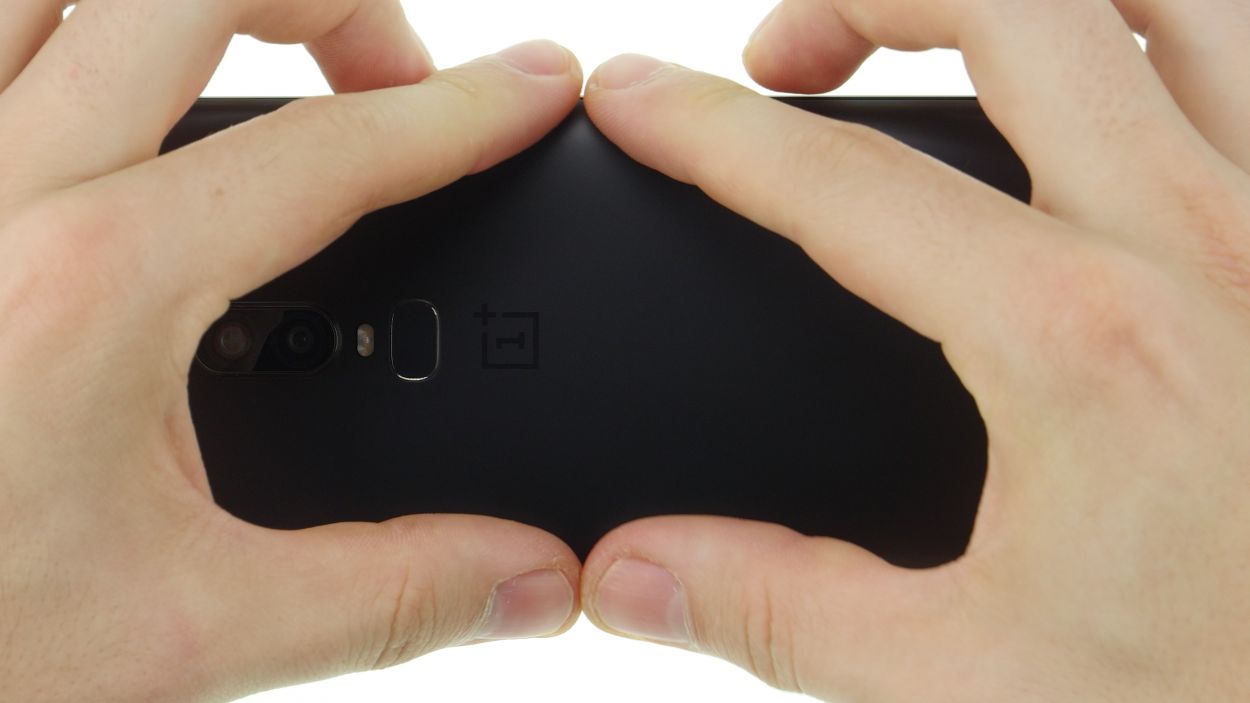
– Let’s warm things up! Apply some heat to where you’ll start prying.
– Slide a flat tool in between the back cover and the frame. Easy peasy!
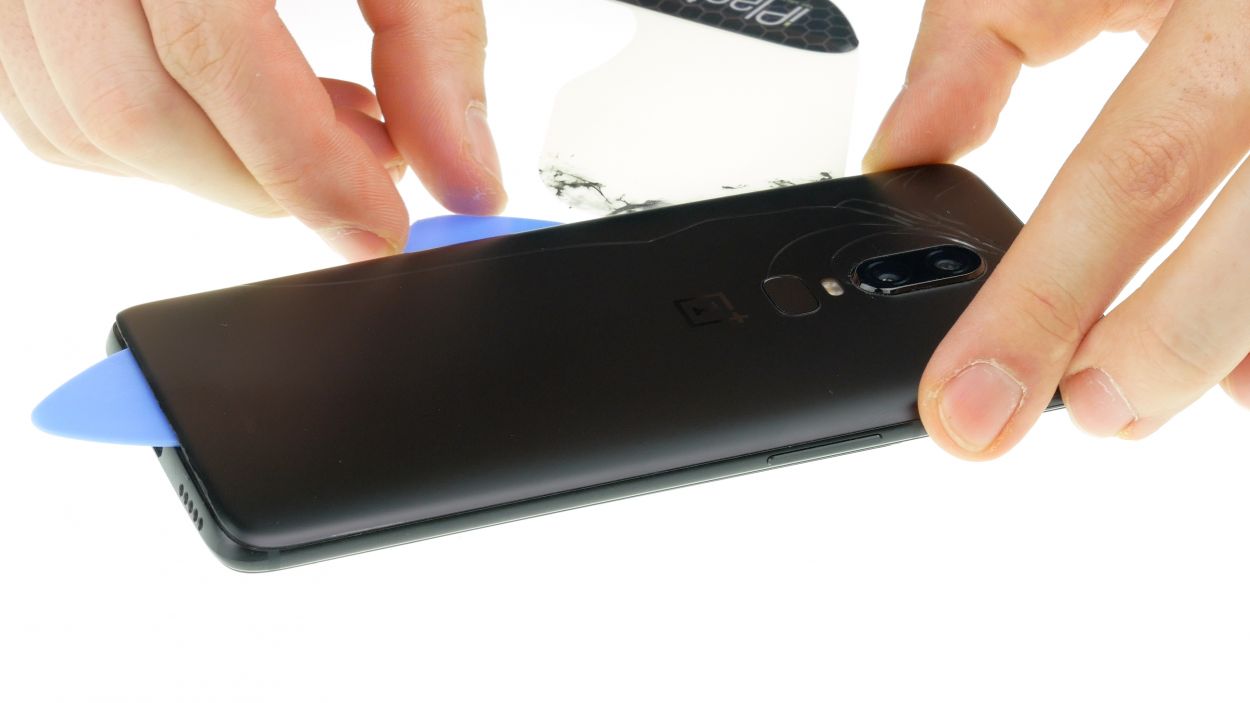
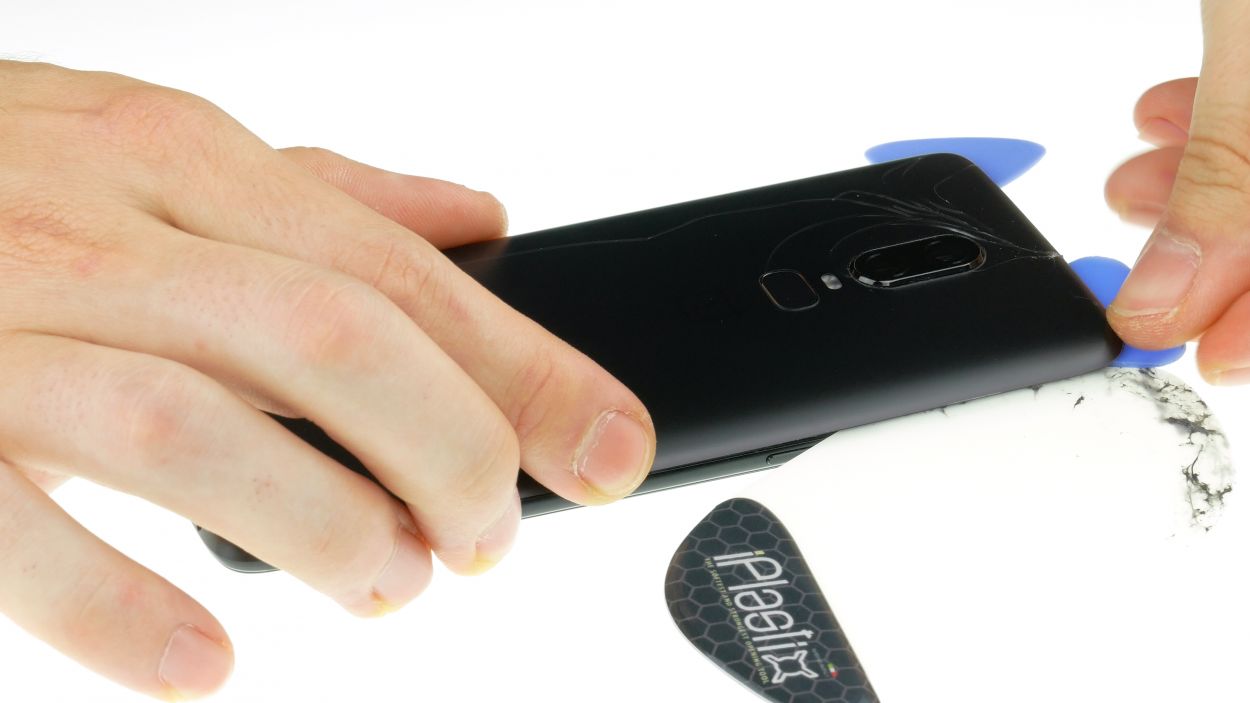
Hey there! Just a friendly reminder to handle that back cover with care—it’s a bit fragile and can crack easily. If it’s giving you a hard time, don’t hesitate to warm it up a few times and give it another go. Remember, taking your time is key; it might take around half an hour, but being patient and gentle will help you avoid any mishaps. You’ve got this!
The iPlastix is crafted from plastic, ensuring it won’t leave any scratches on your device. Just a heads up, it’s a bit on the soft side, so getting it in place might require a little finesse!
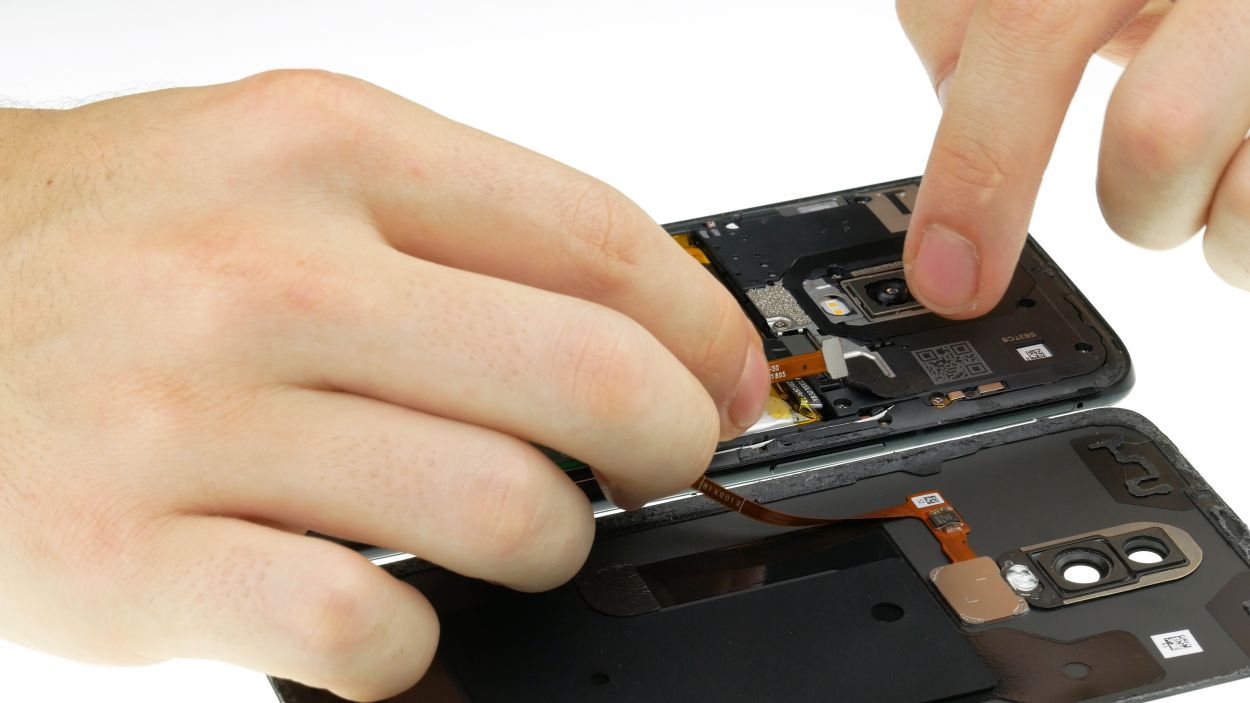
Step 3
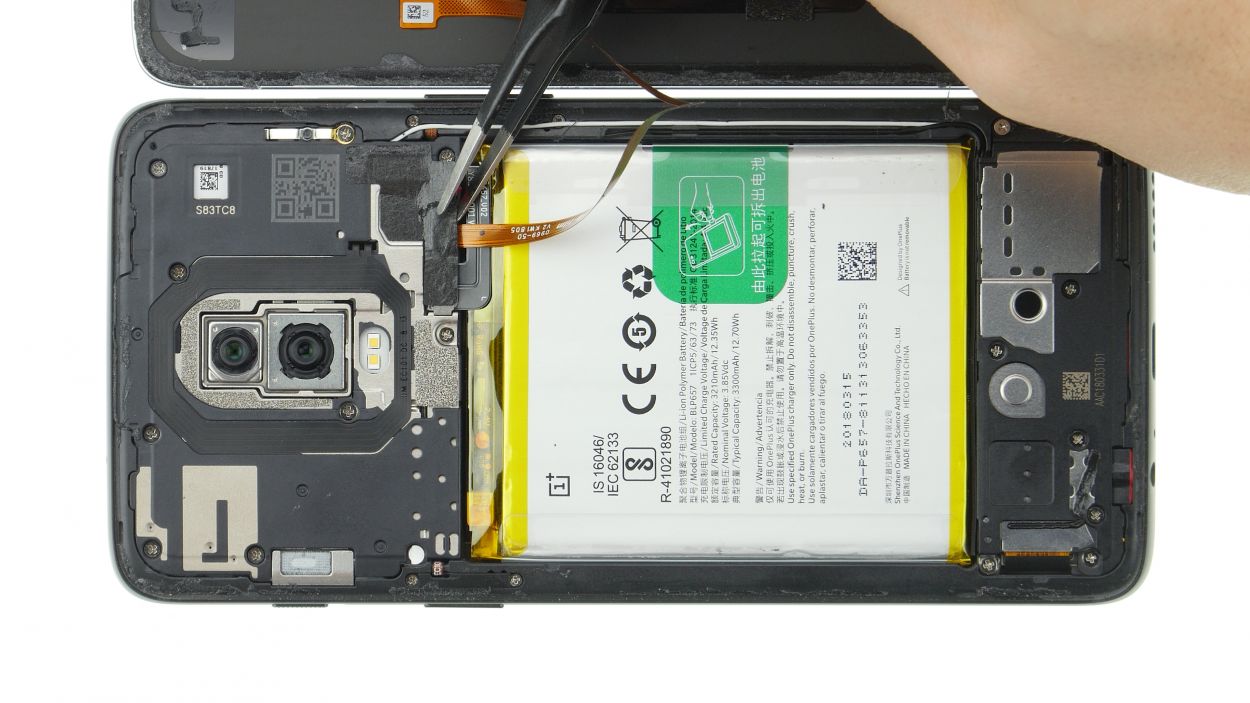
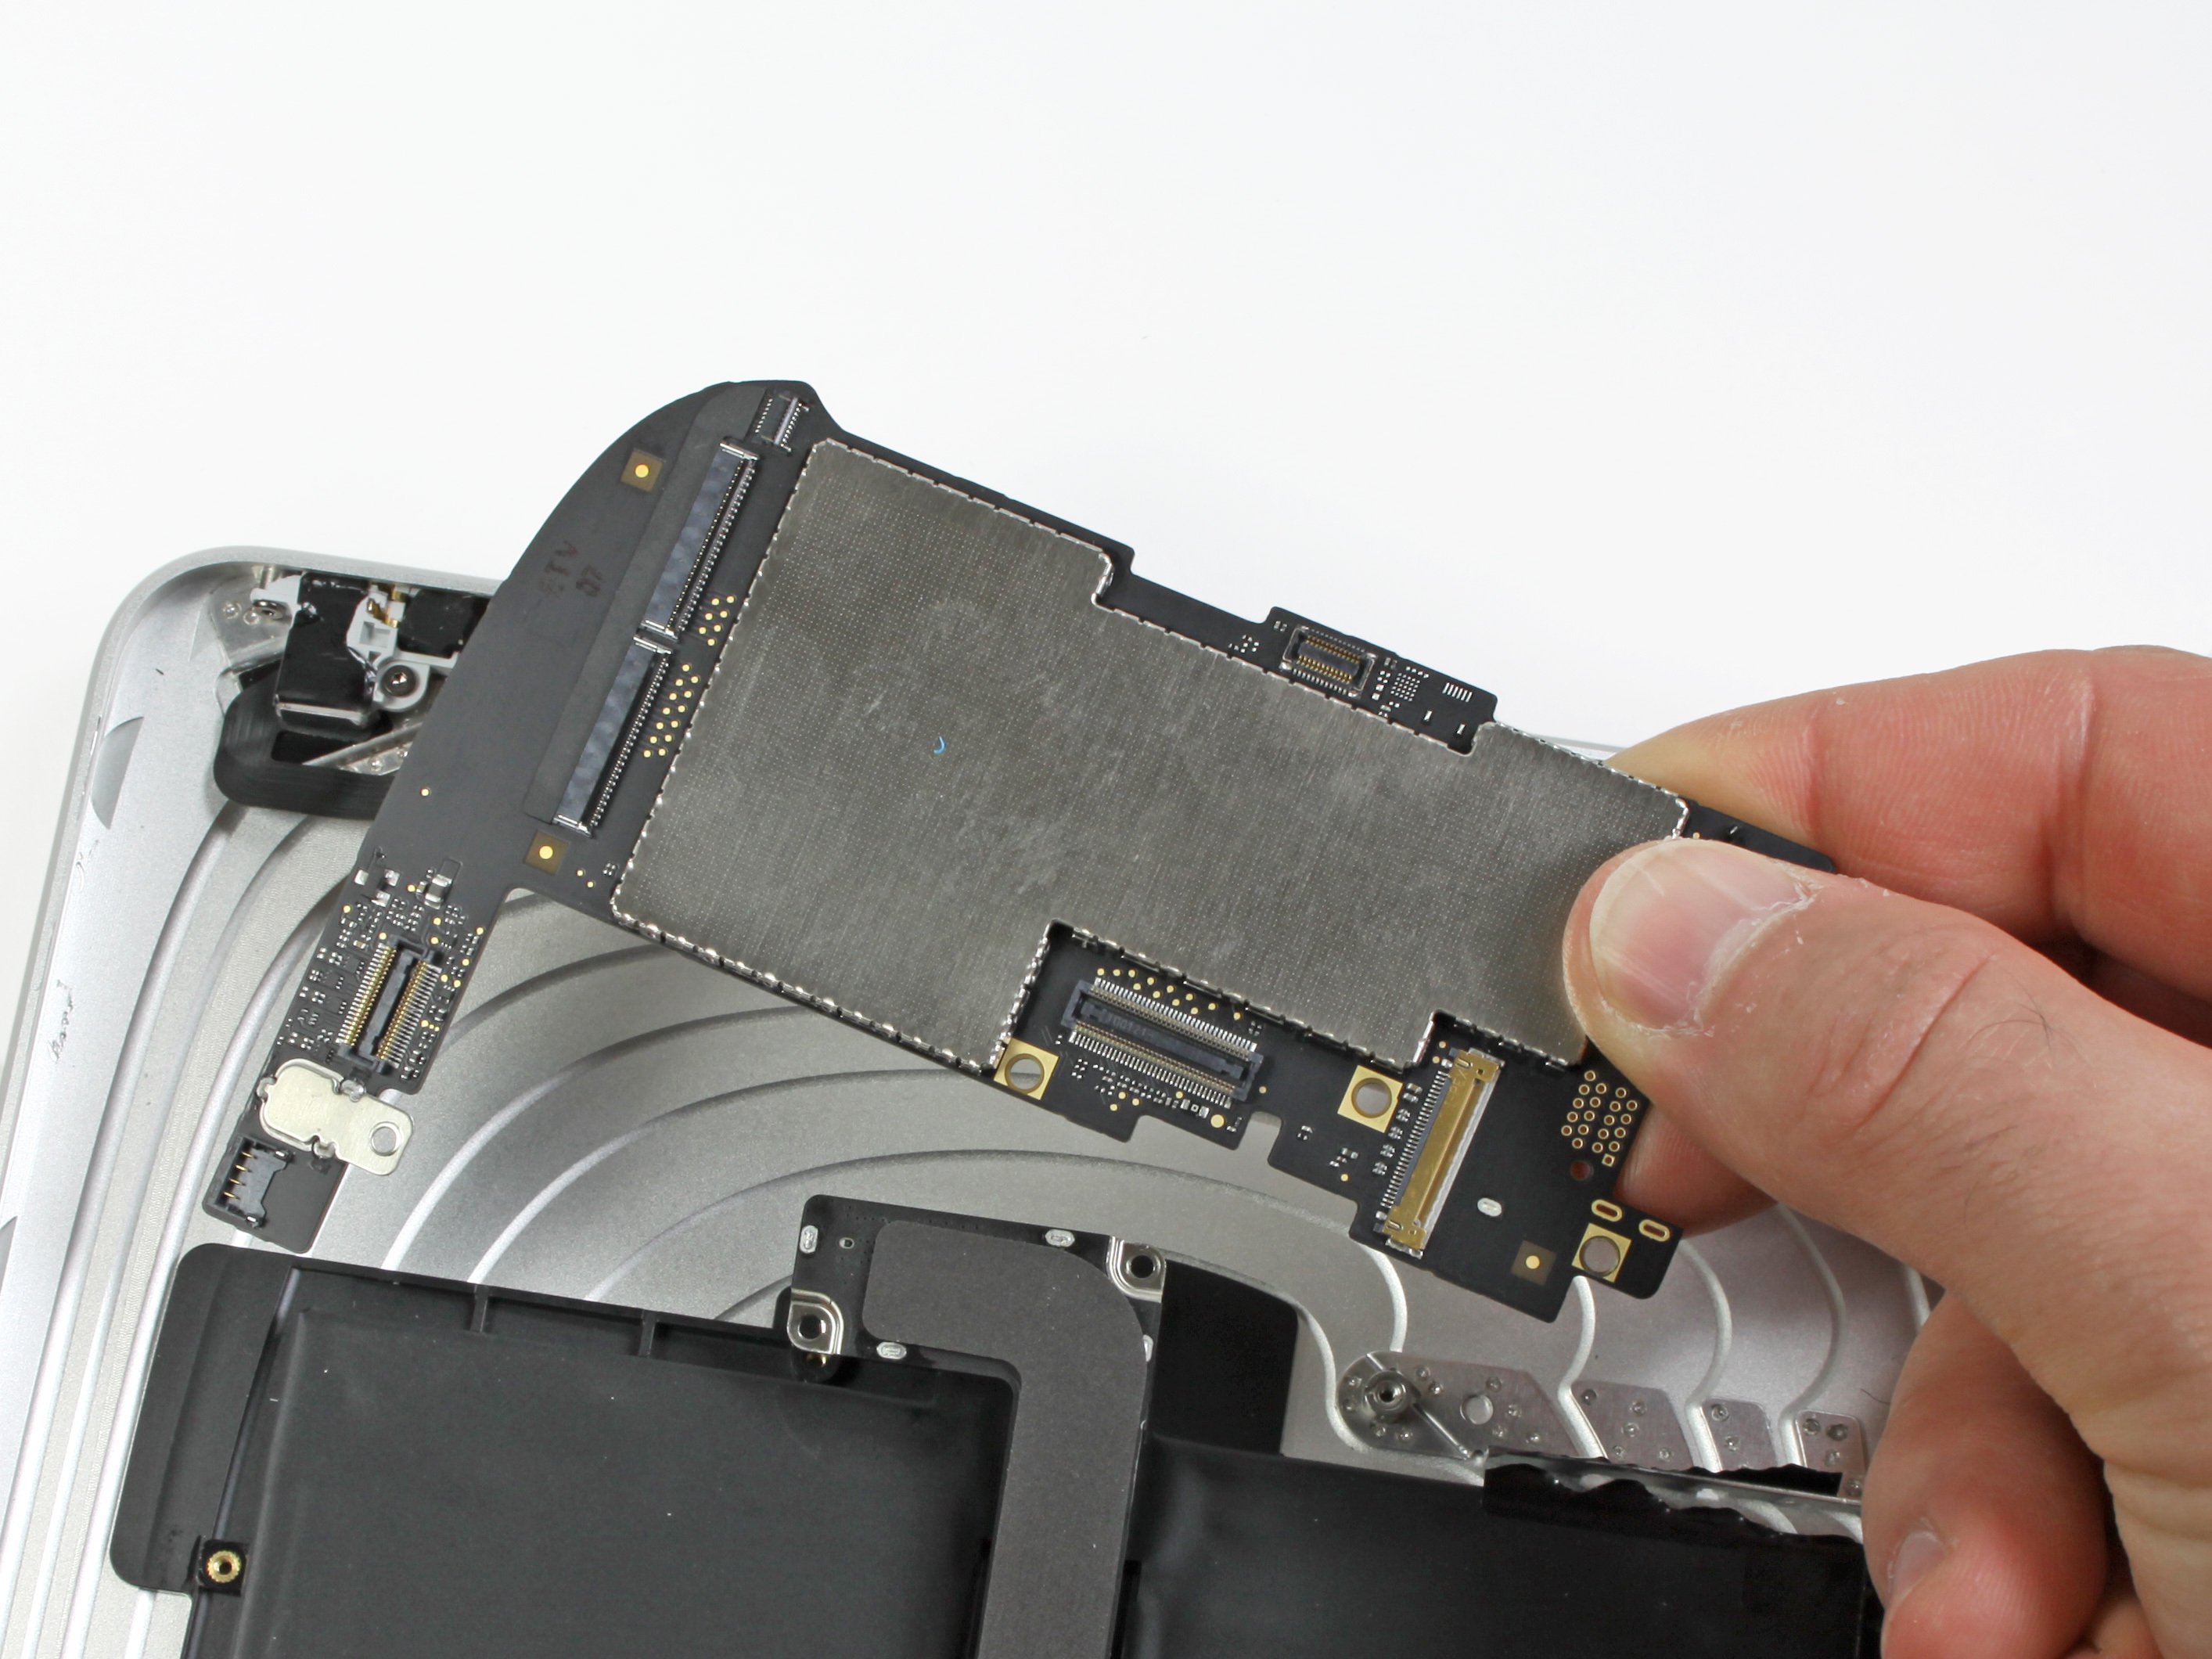
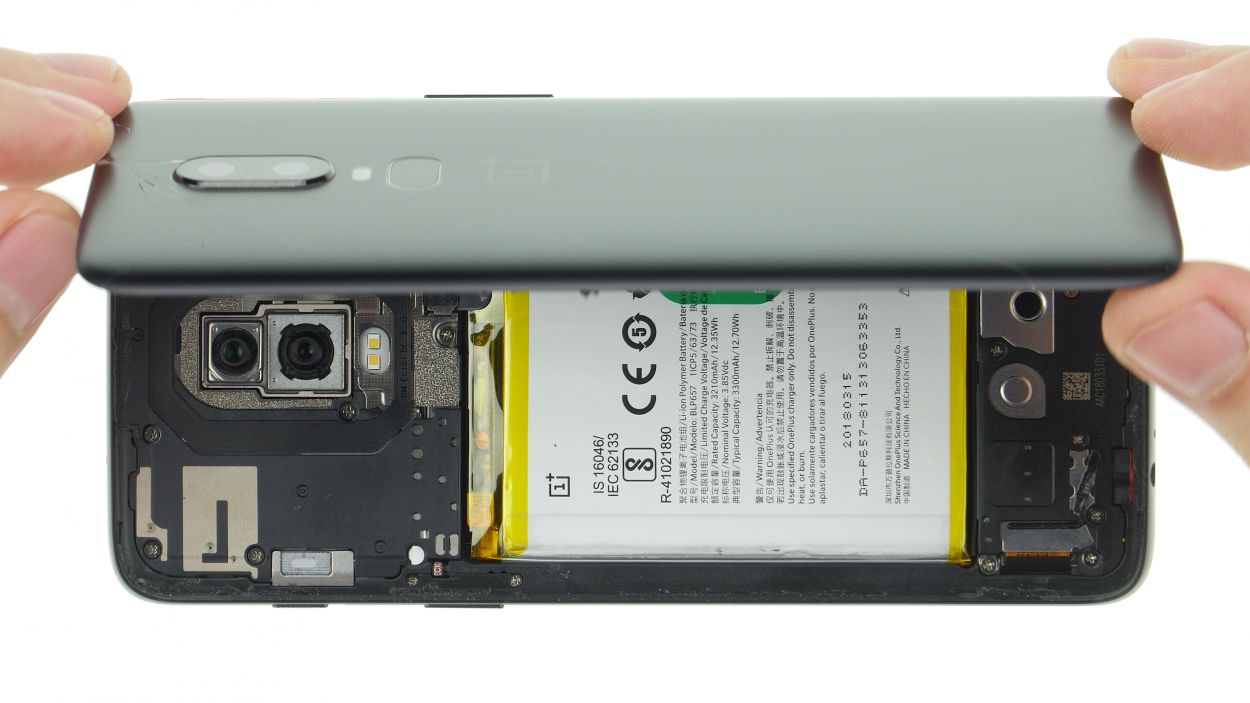
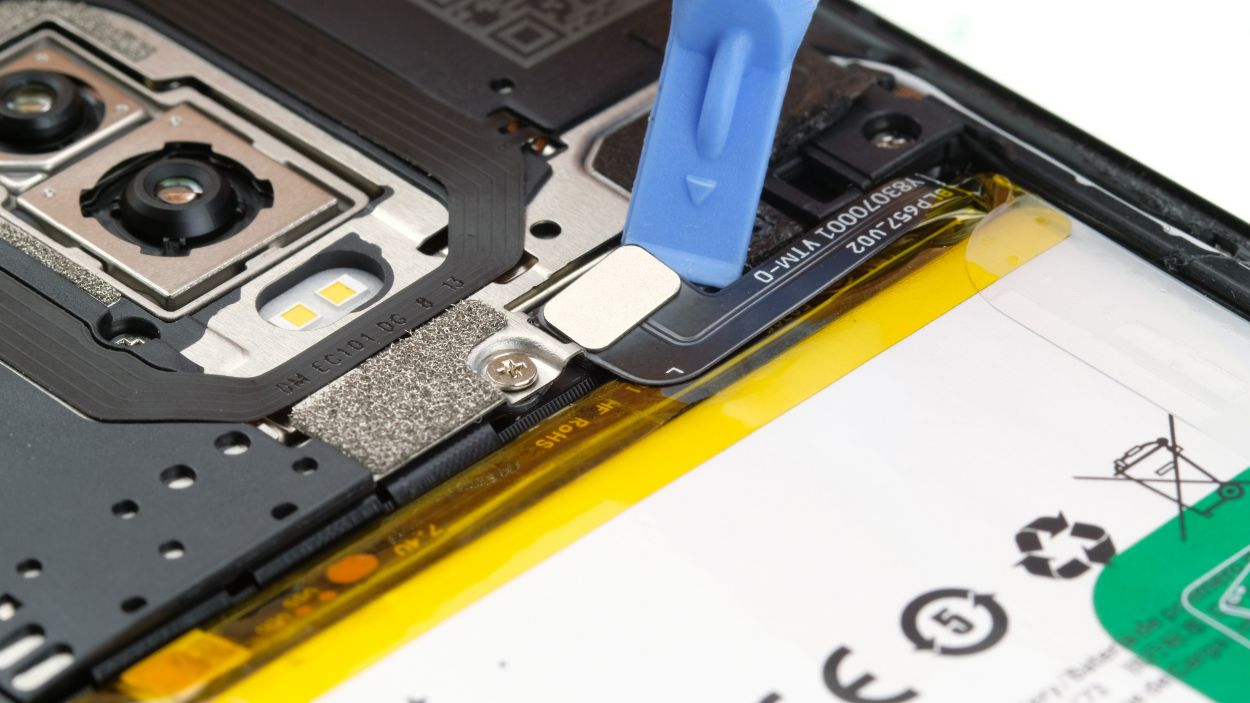
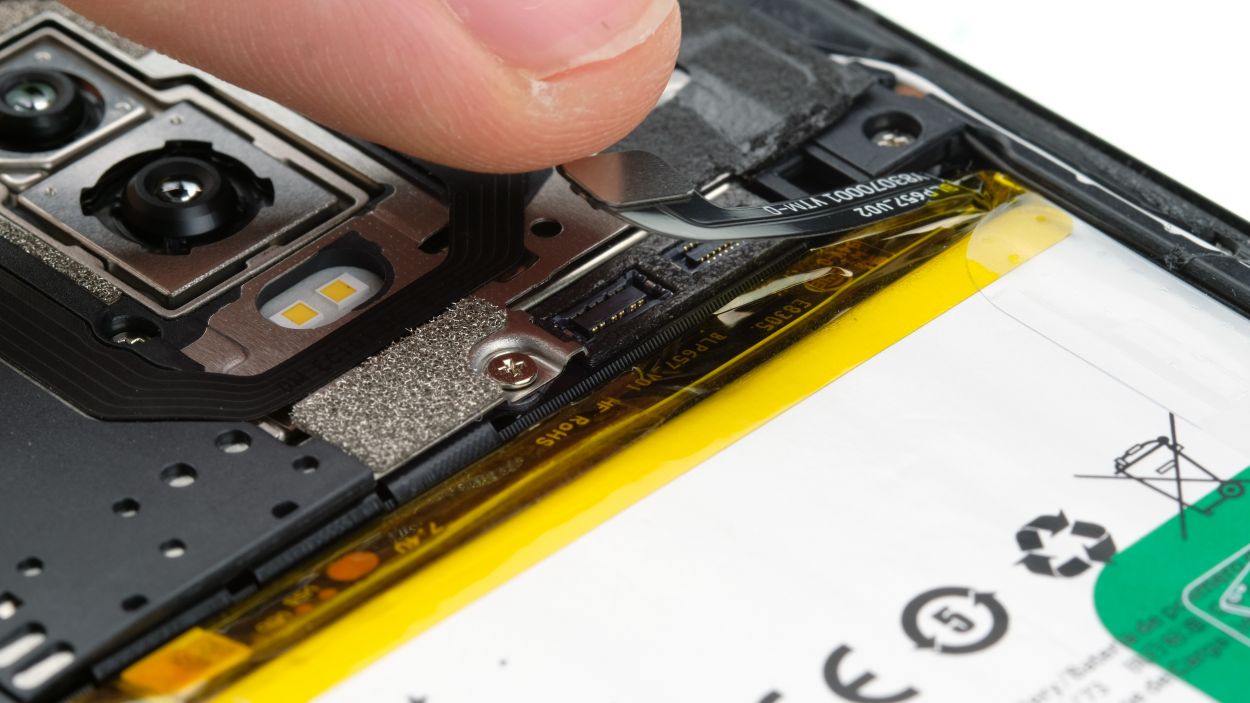
Fingerprint Connector
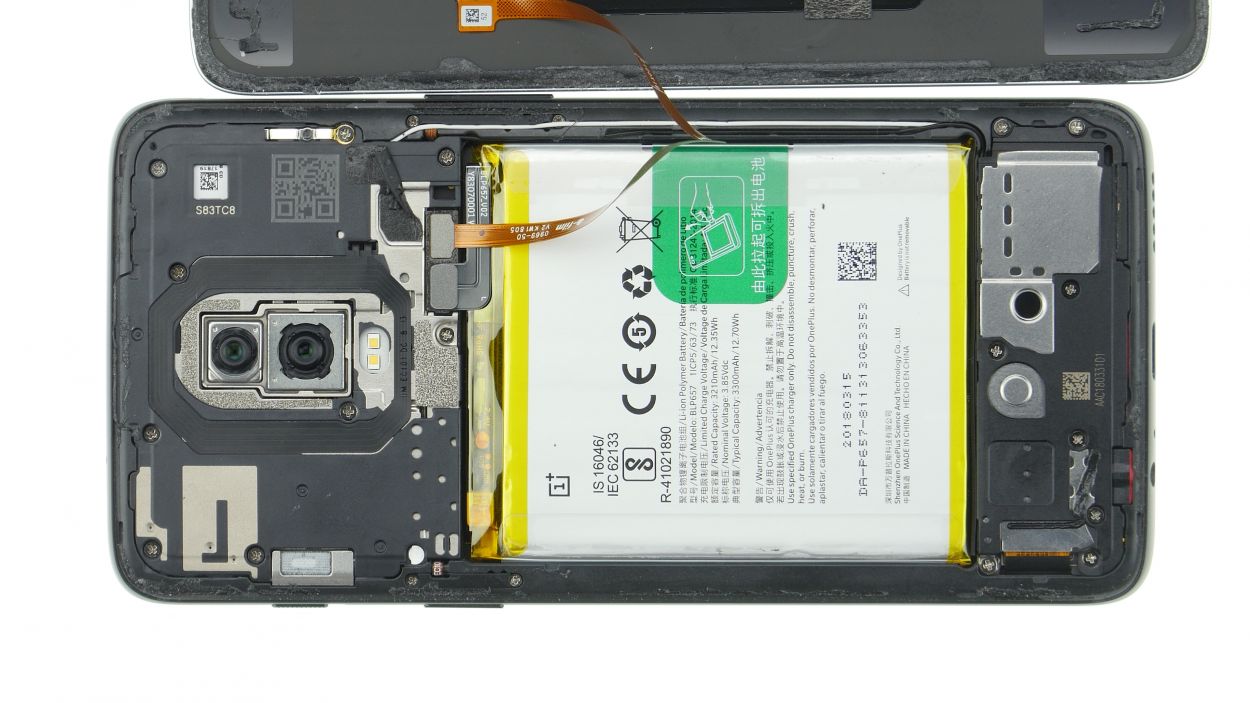
– Gently lift the back cover that you’ve just loosened and fold it back like a pro.
– Take care to loosen the adhesive strip around the cover plate—just a little tug will do!
– Using your trusty tweezers or your fingers, carefully take off the cover that’s over the connector.
– Now, with a spudger or maybe even your fingernail, gently disconnect the connector and say goodbye to the back cover!

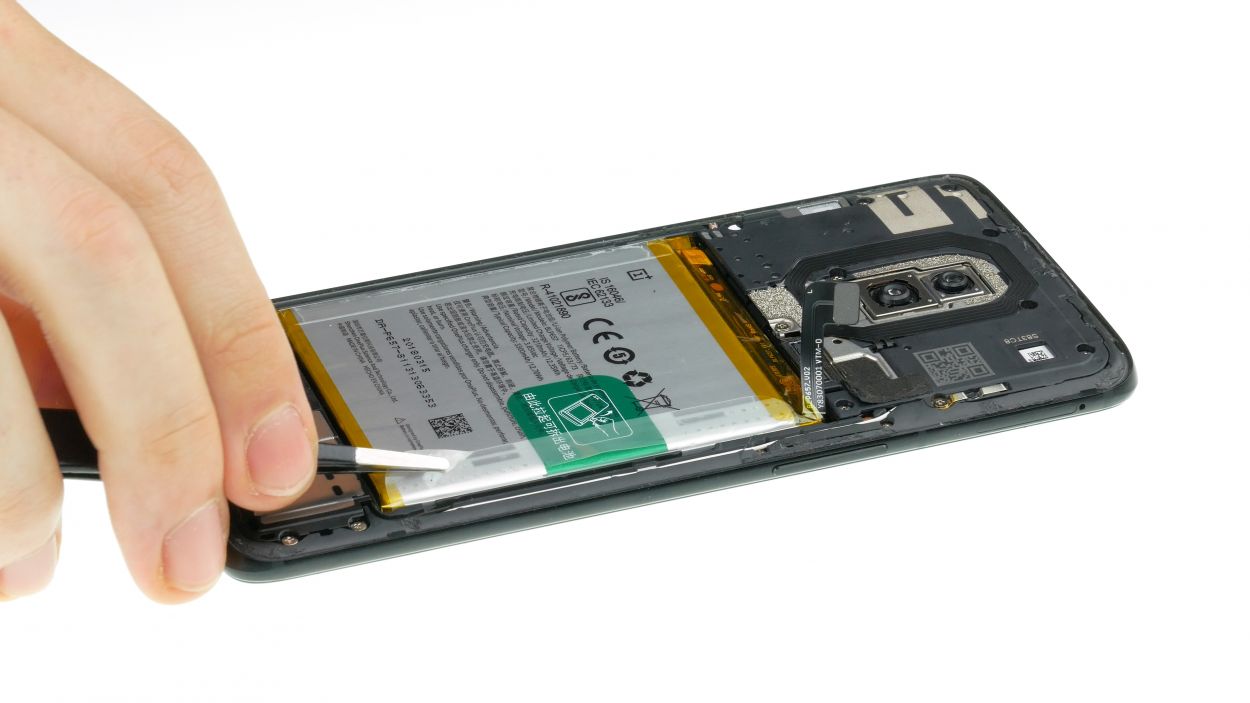
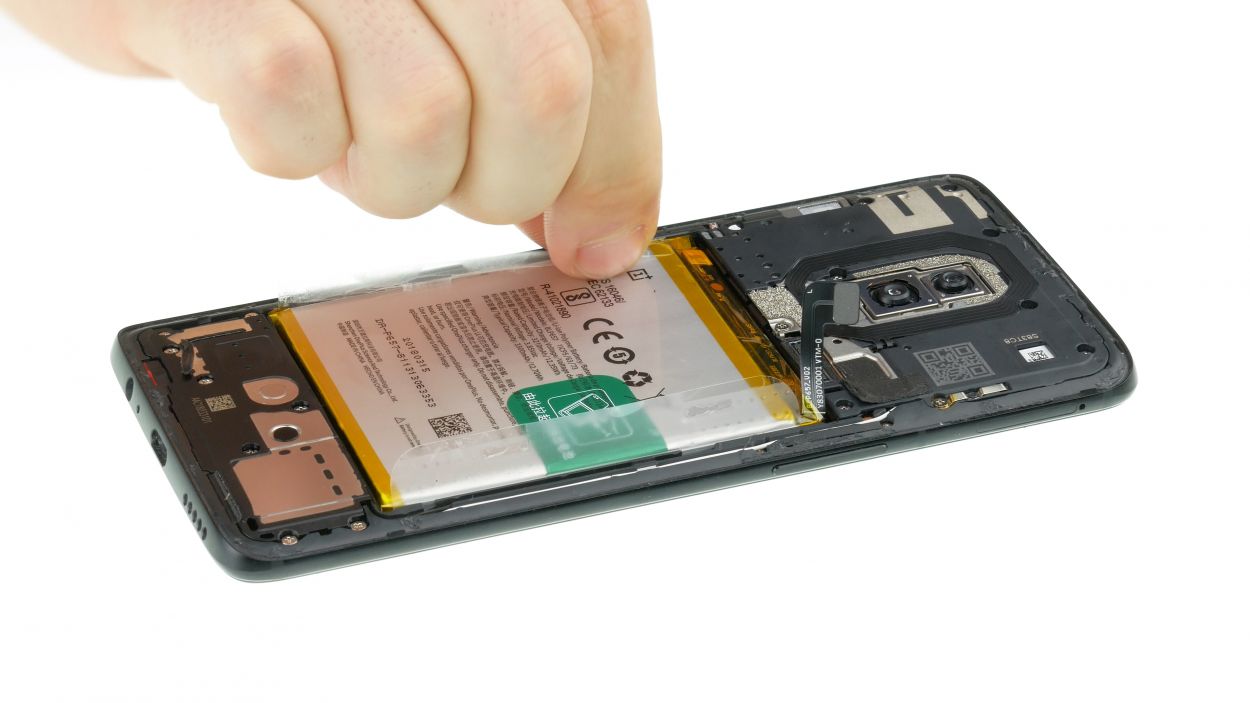
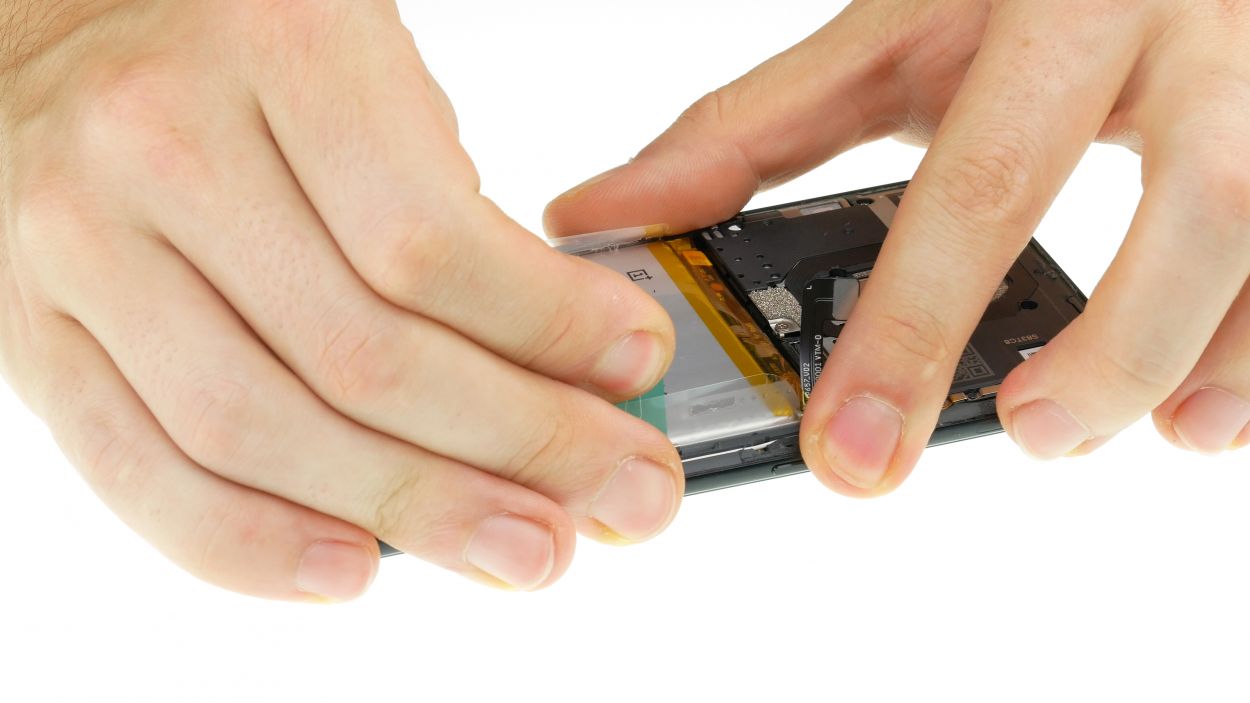
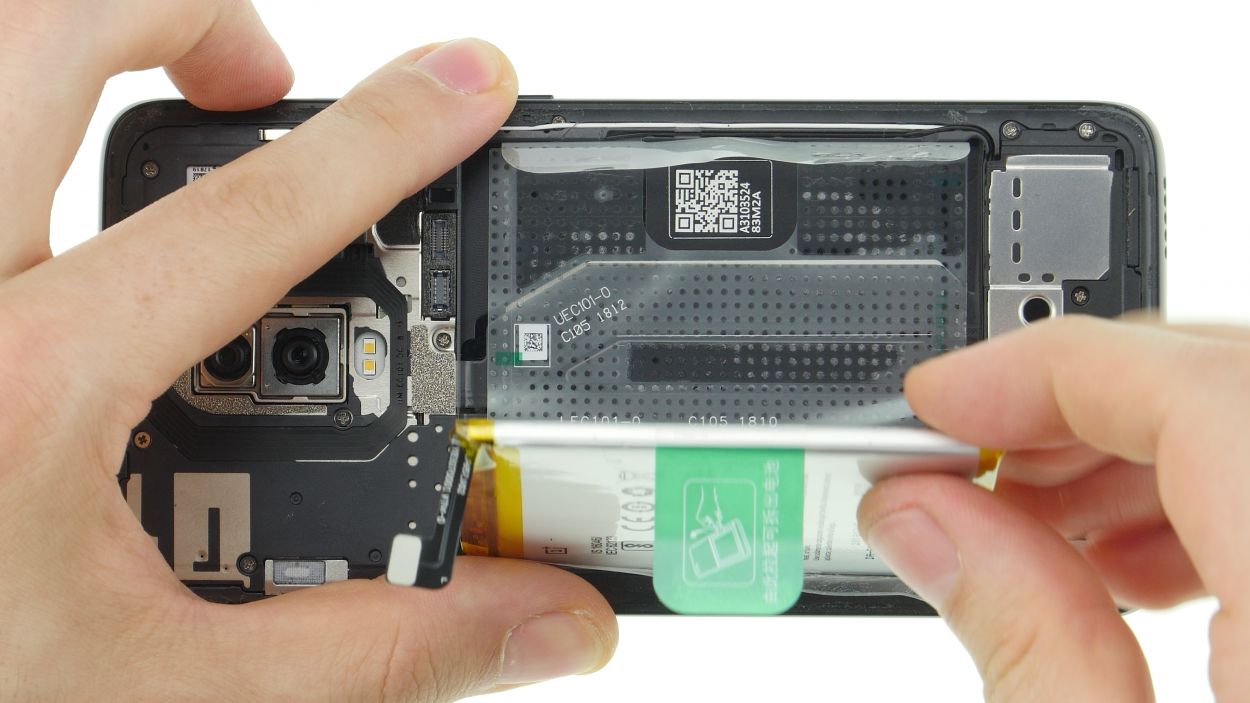
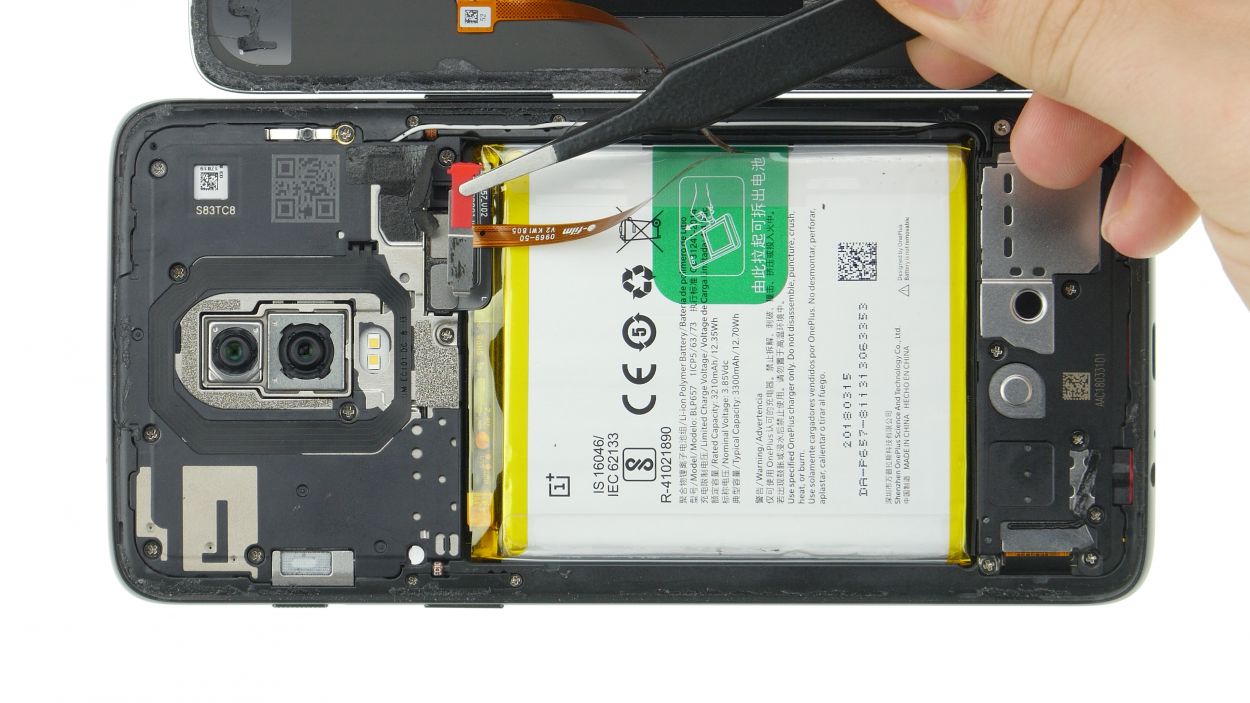
Step 5
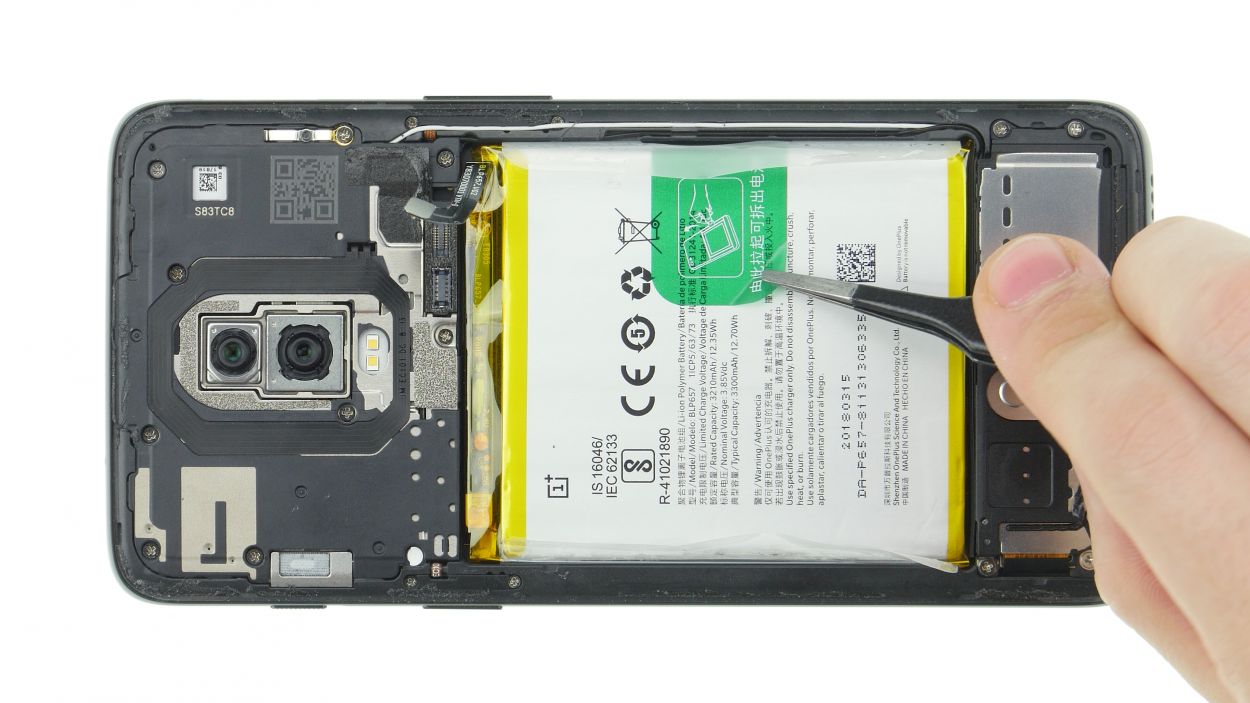
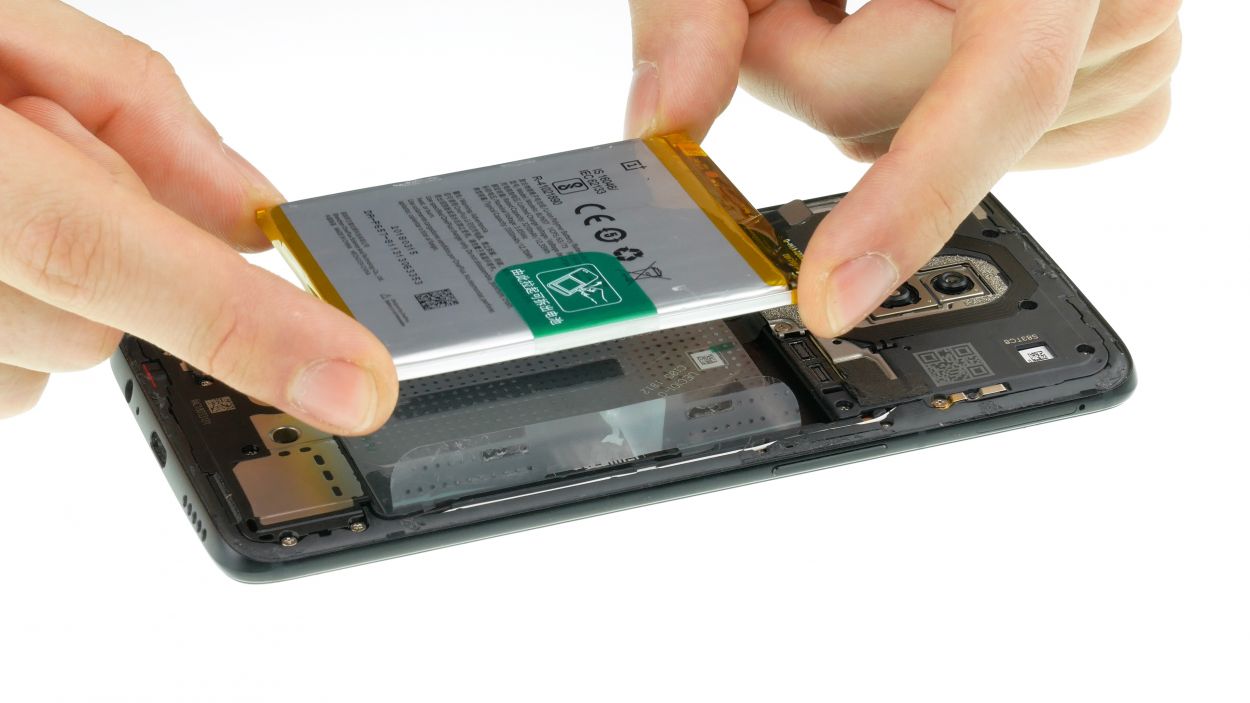
Step 7

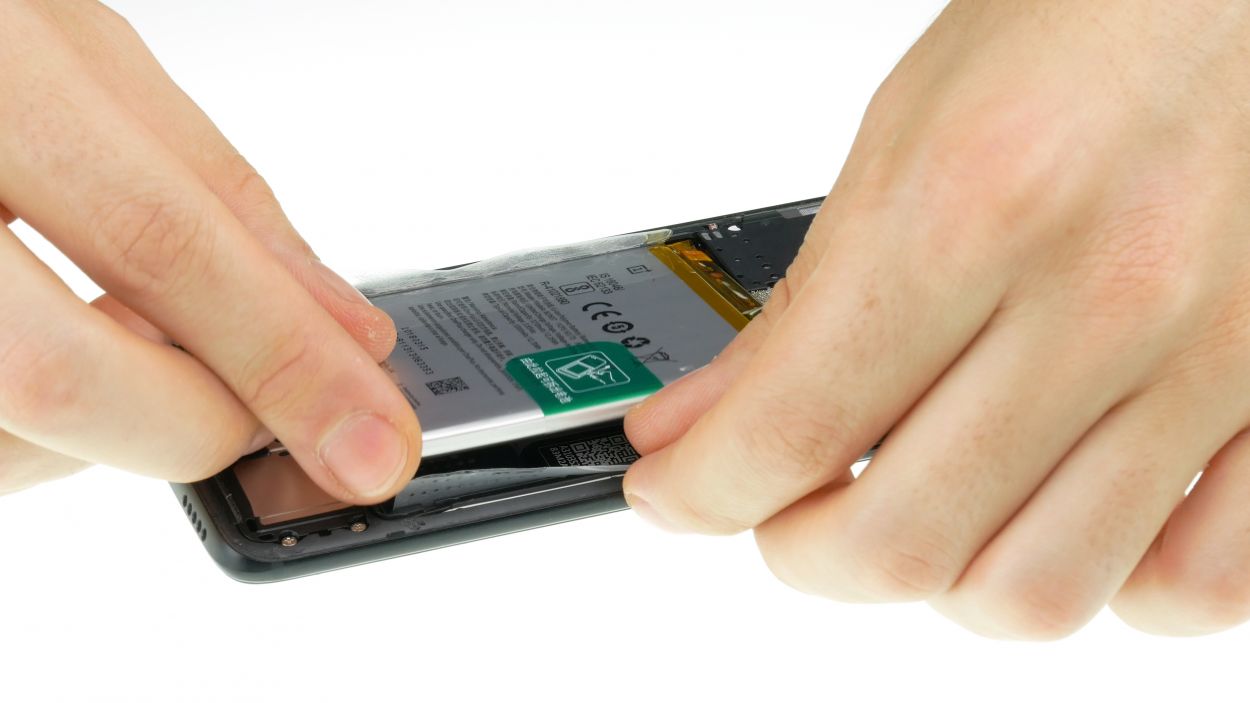


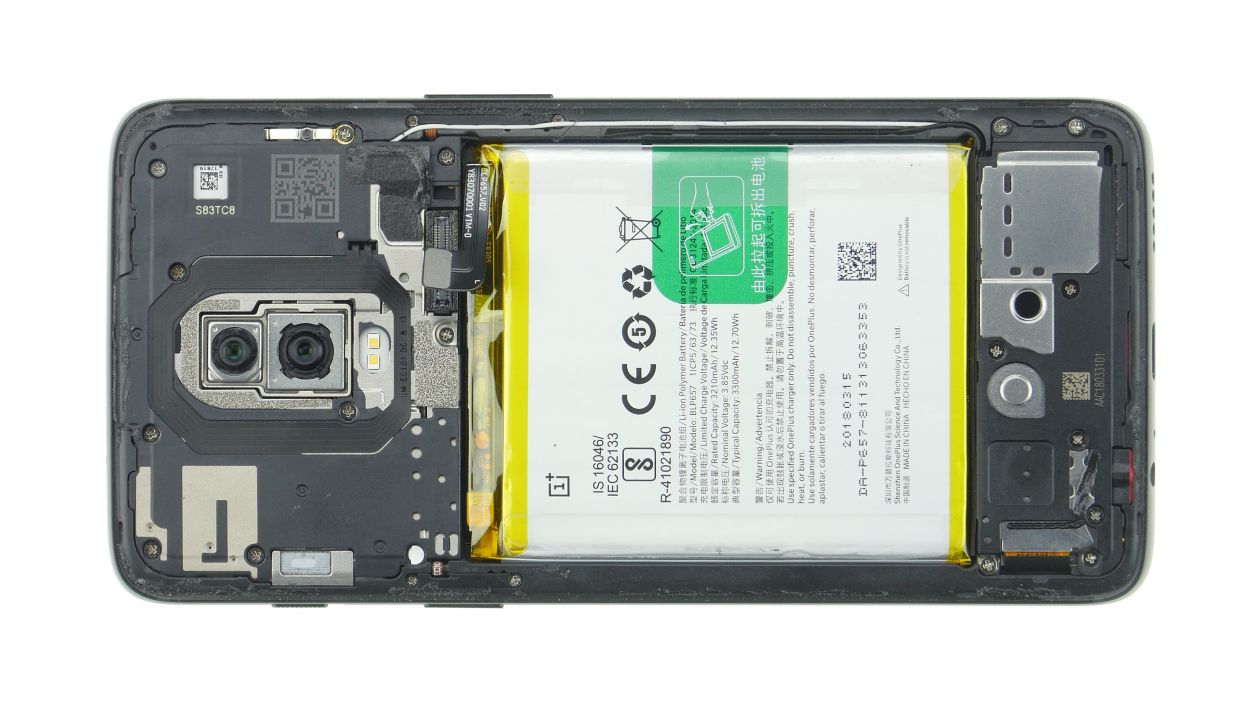
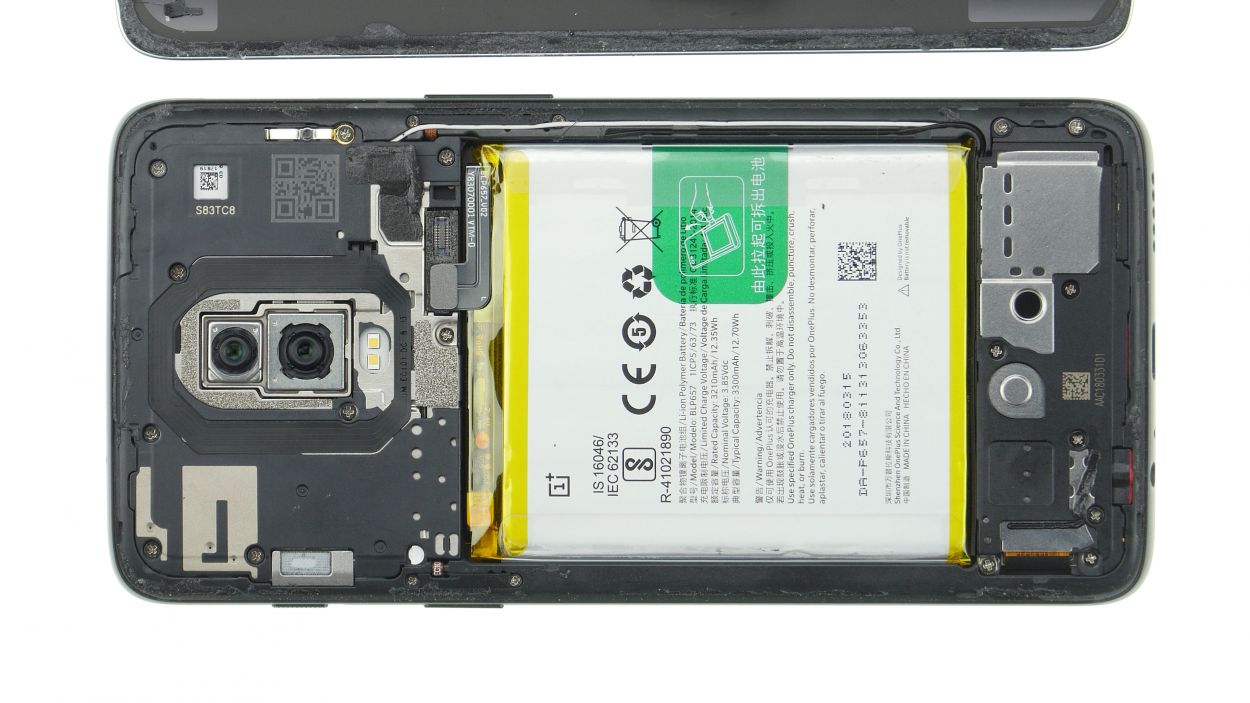
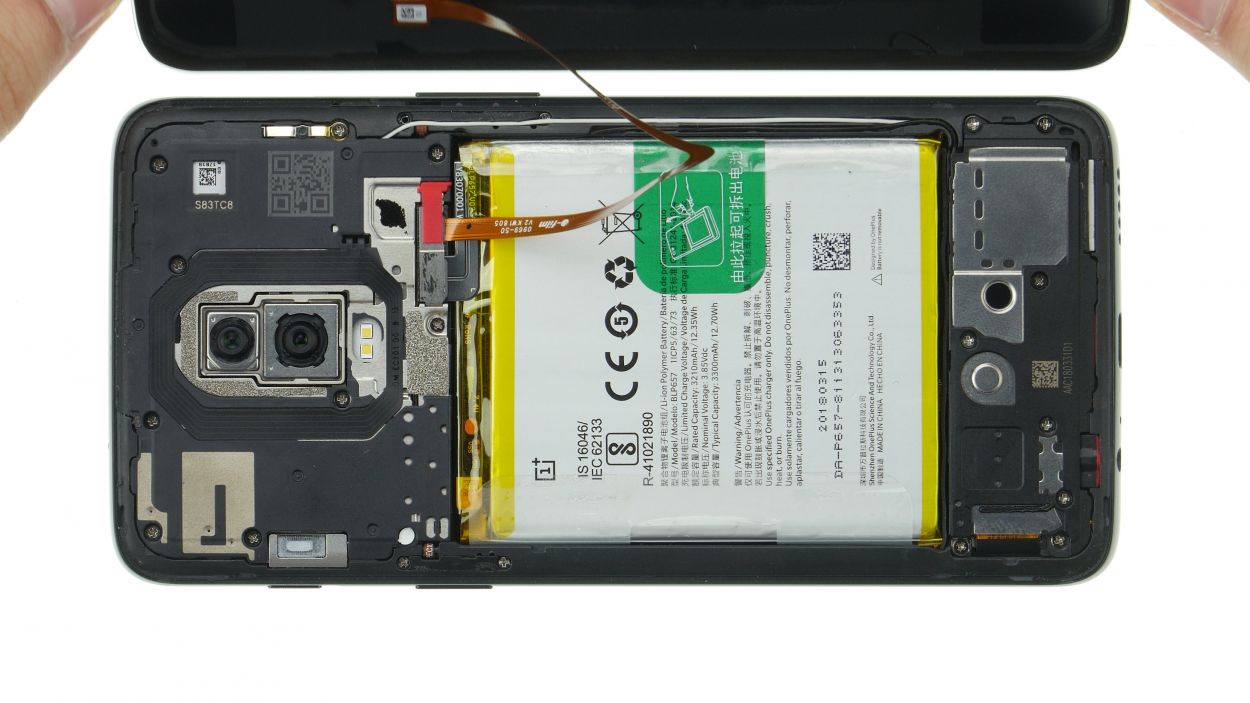
– Pop that battery in its spot! Make sure it’s got some breathing room – no snuggling up against the frame or other parts.
– Line up the battery connector with its home on the motherboard. Easy peasy!
Step 9
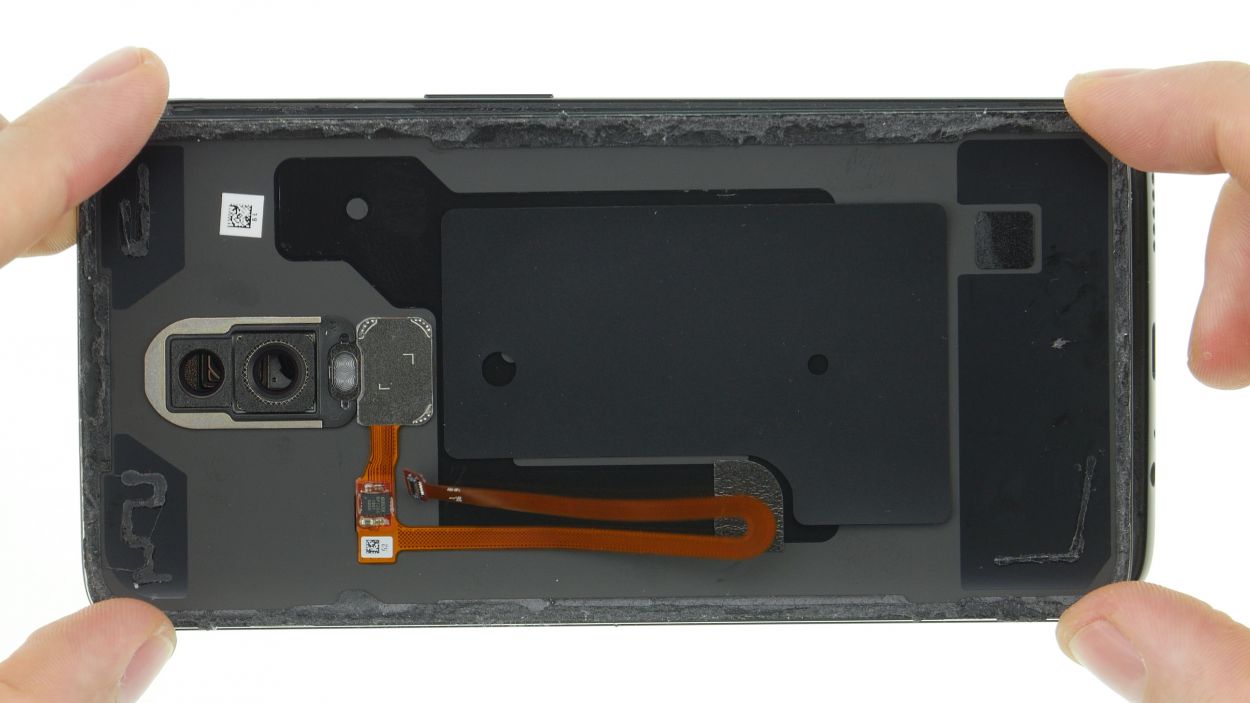

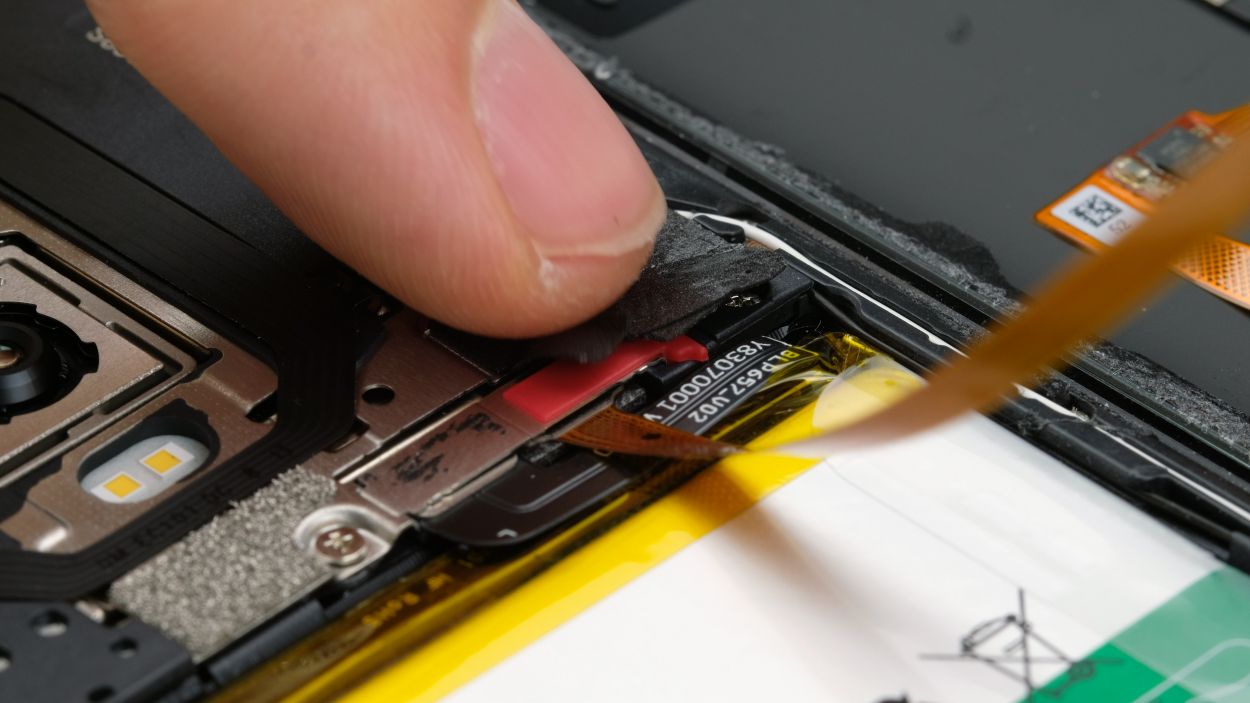
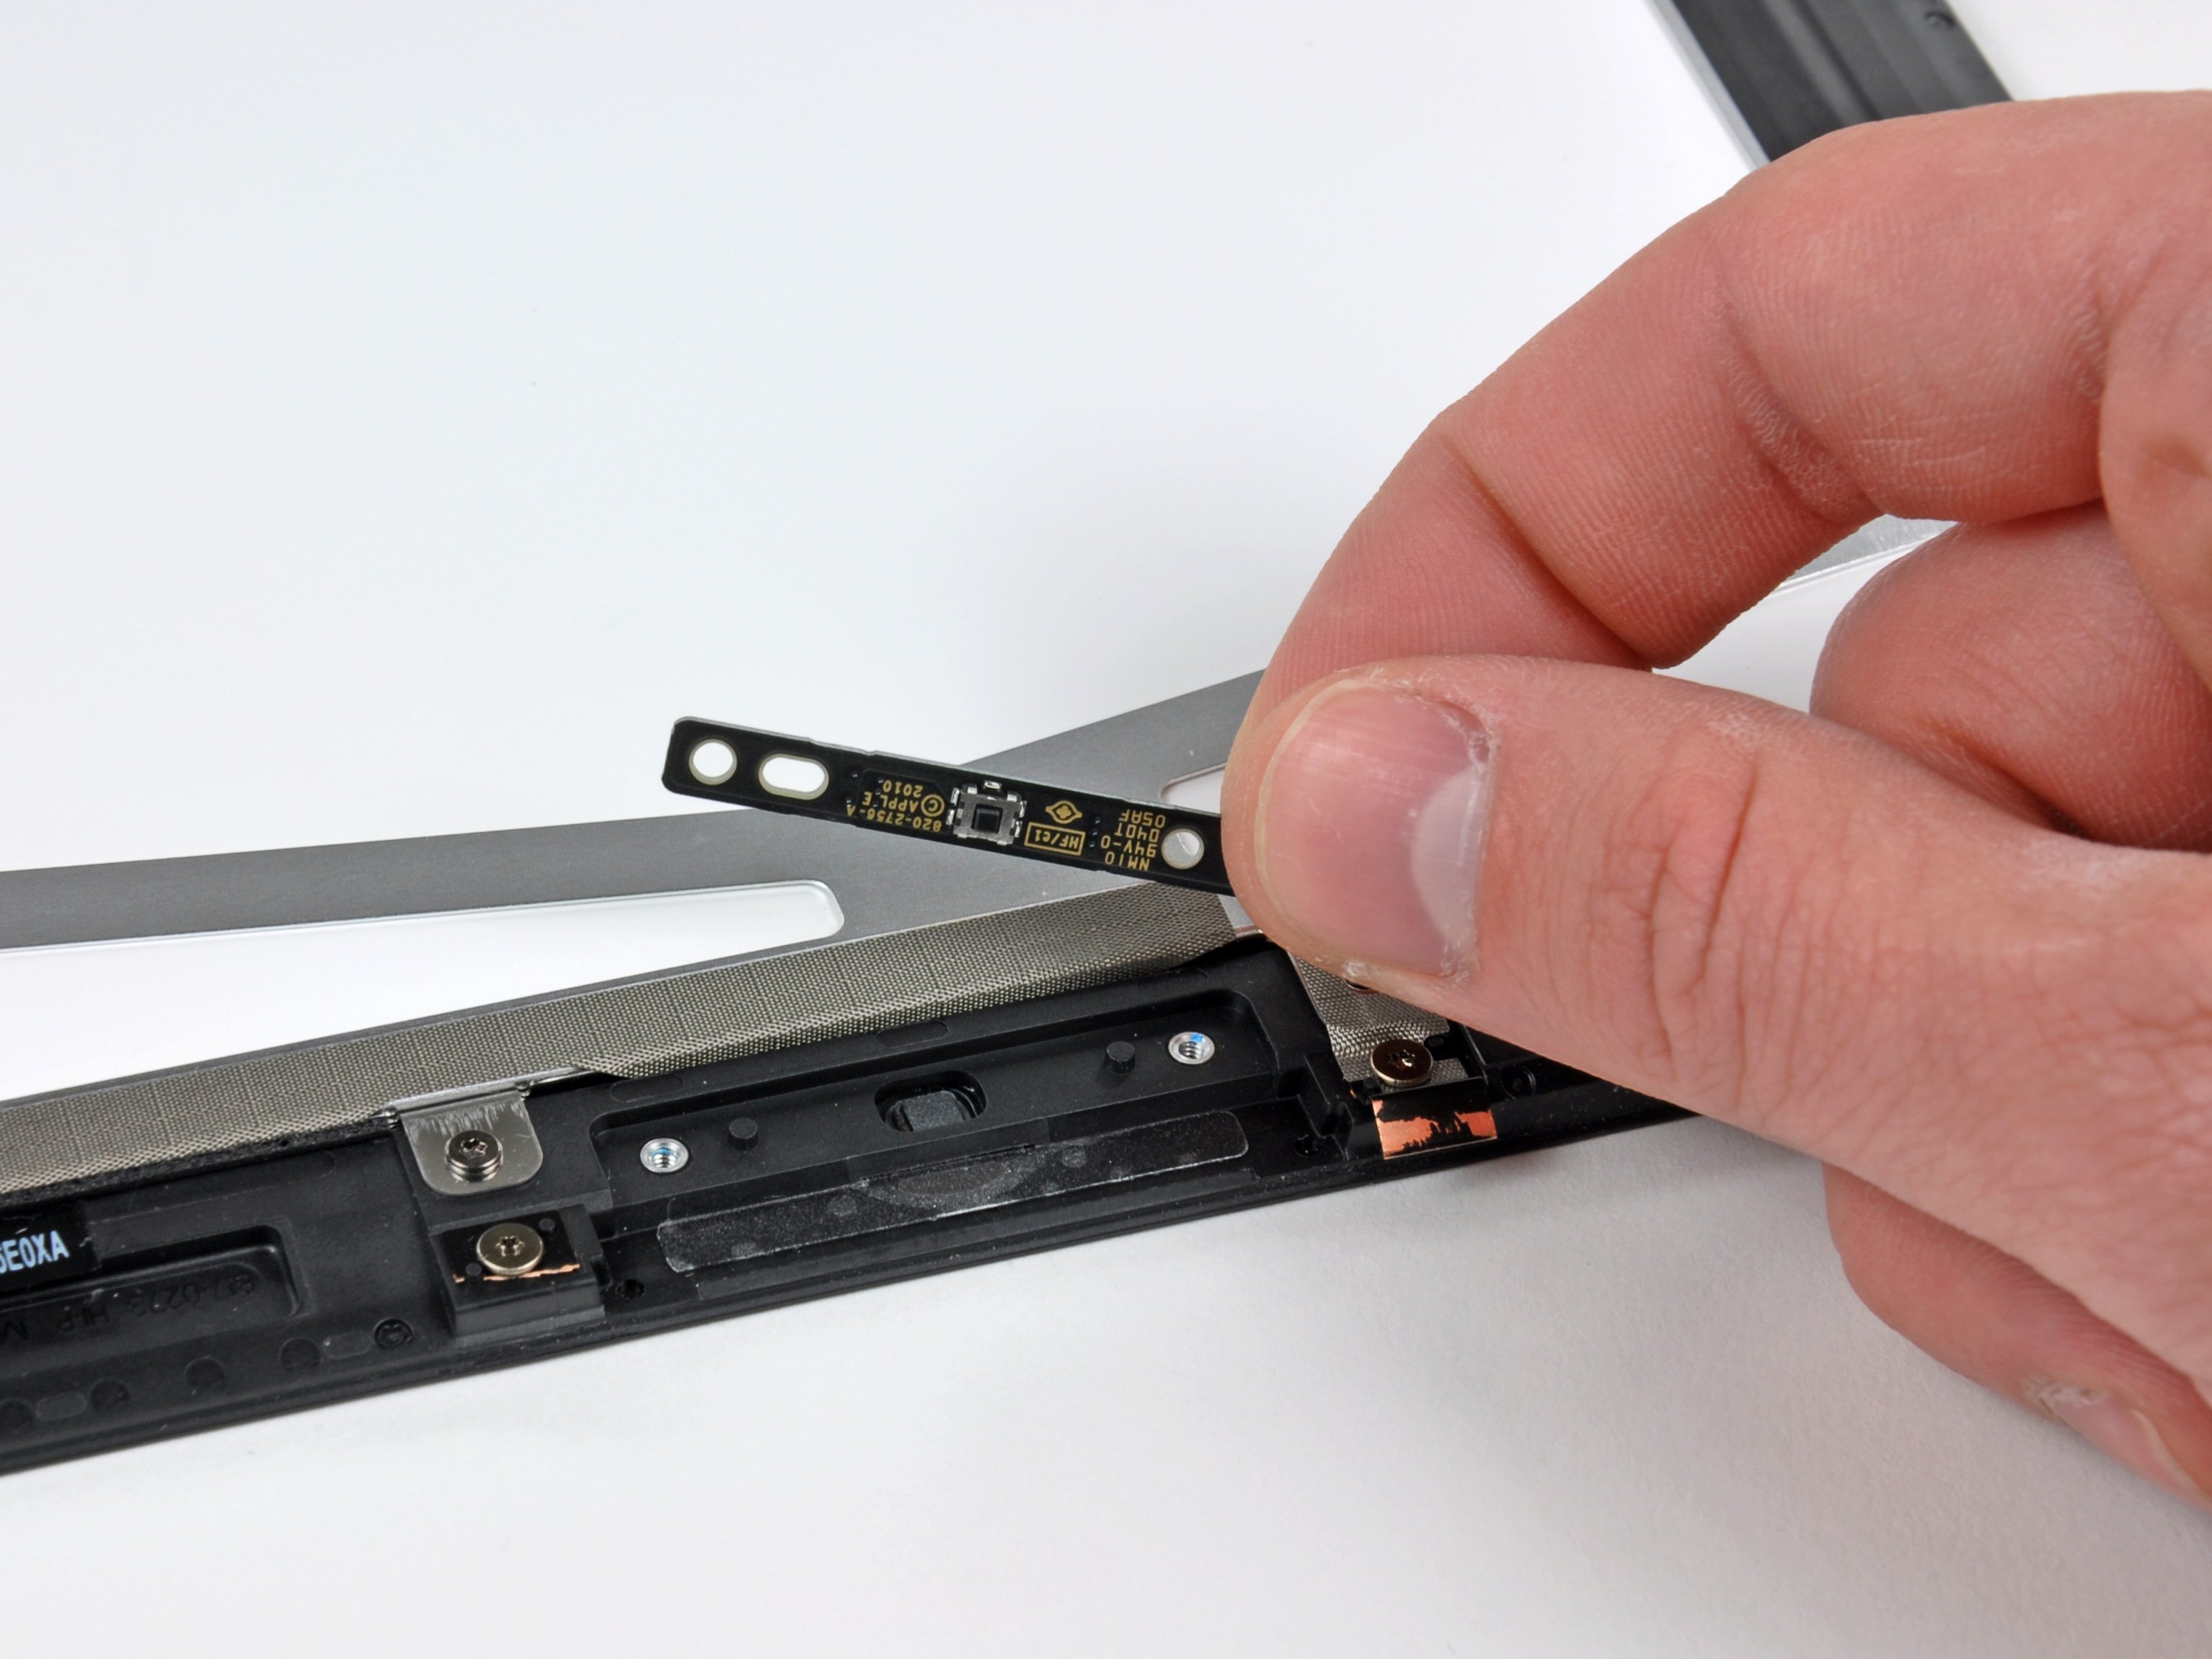
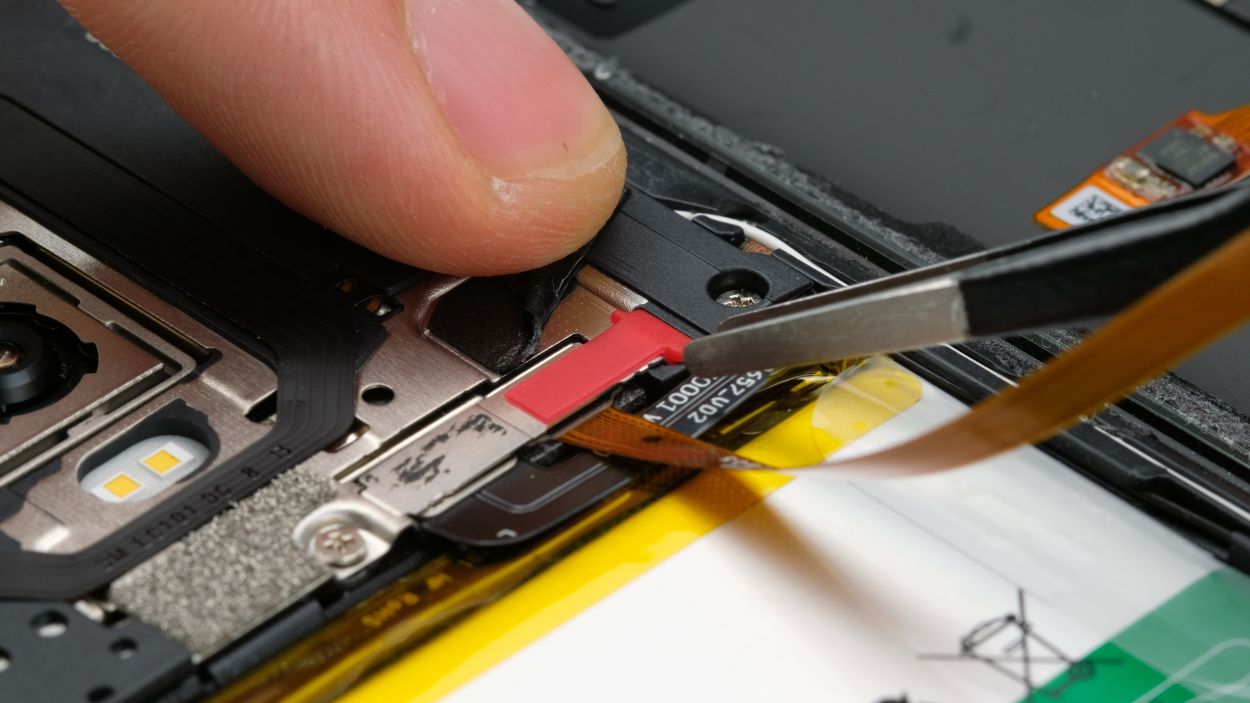
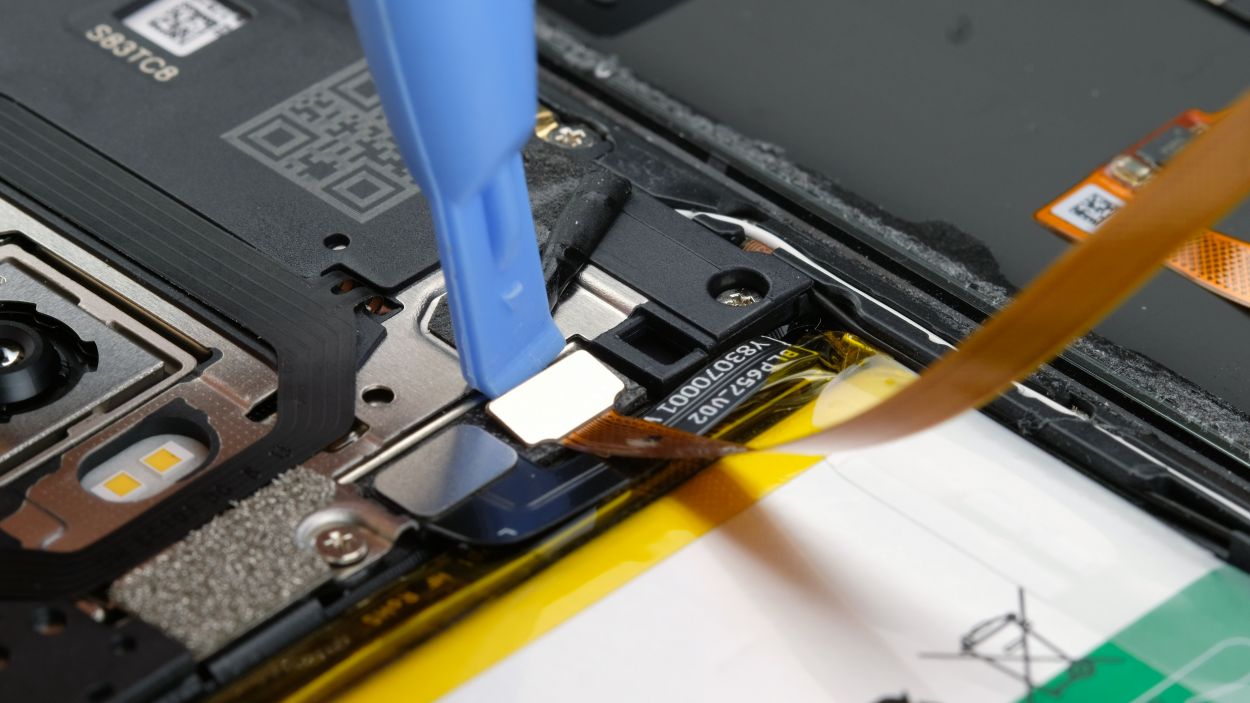
Fingerprint Connector
– Lay the back cover down beside your device – get it comfy!
– Gently guide the fingerprint sensor cable onto its spot on the mainboard. It’s like a tiny high-five!
– Pop on that cover with the red rubber piece. Then, give the black glue a little hug to reattach it.
Step 10
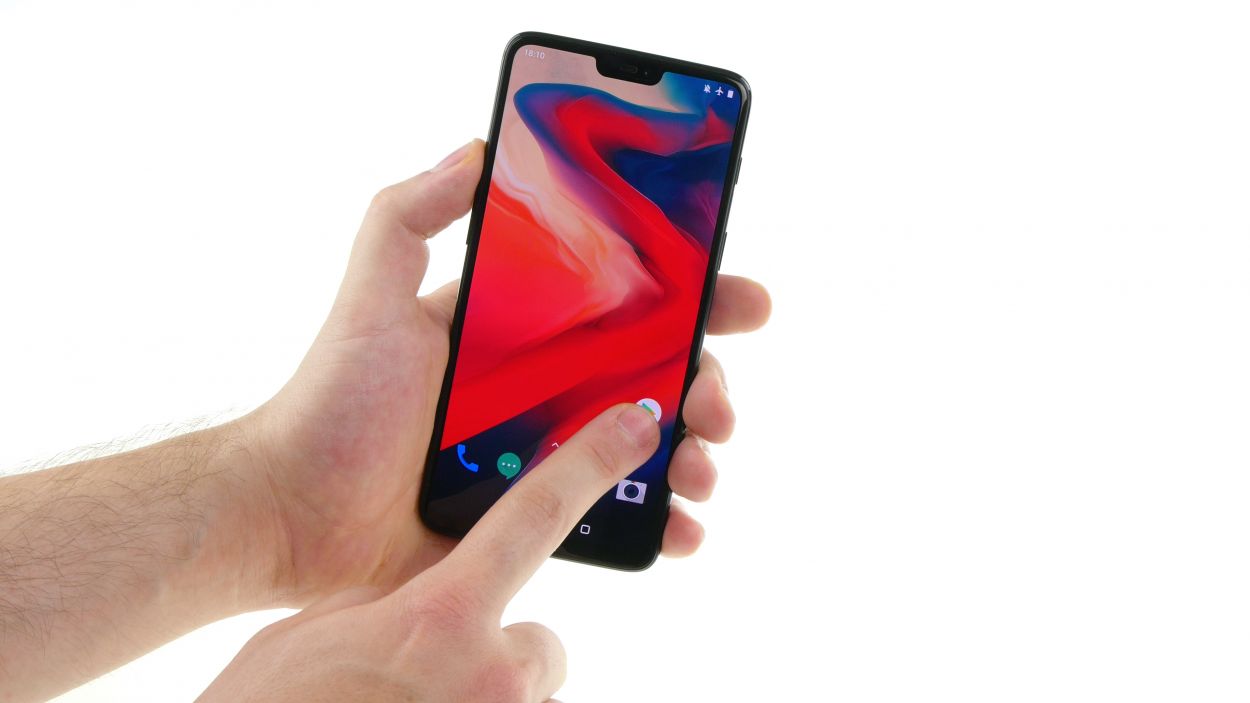
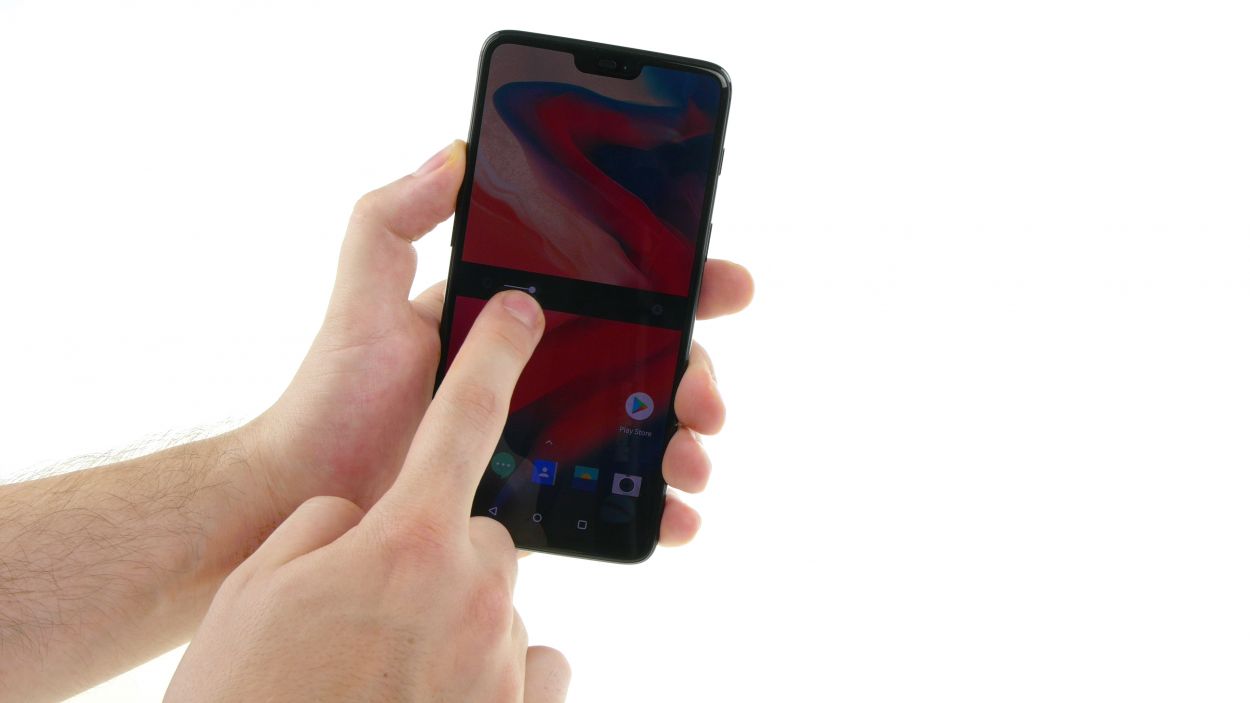

– Power up your device and give that screen a quick once-over!
– Swipe an app along the edges and do a little zigzag dance across the display to ensure that the touchscreen is on point everywhere.
– Don’t forget to check out both the lowest and highest brightness settings.
– Test those front and rear cameras along with the flash to make sure they’re ready for a selfie or two.
– Give someone a call to check if the microphone and earcup are functioning like champs.
– Put your phone on mute and see if the vibration motor kicks in with a little buzz.
Step 11

Give your device a cozy little break by sandwiching it between a few books, and let that glue take its sweet time—about an hour should do the trick!
– Give your device a little heat therapy to loosen up that stubborn glue on the back cover.
– Once it’s nice and warm, press the back cover snugly onto the device frame for a secure fit.