How to Replace OnePlus 6 Vibration Motor Tutorial
Duration: 60 min.
Steps: 16 Steps
Let’s get that OnePlus 6 vibin’ again! This guide’s got you covered on replacing a wonky vibration motor. No more ghost taps – we’ll bring back the haptic feedback! Heads up: Opening this phone needs a bit of finesse since it involves the glass back. Before you dive in, back up your data, grab a clean workspace, and take your time. Feeling a bit overwhelmed? No worries! If you need help, you can always schedule a repair.
Step 1

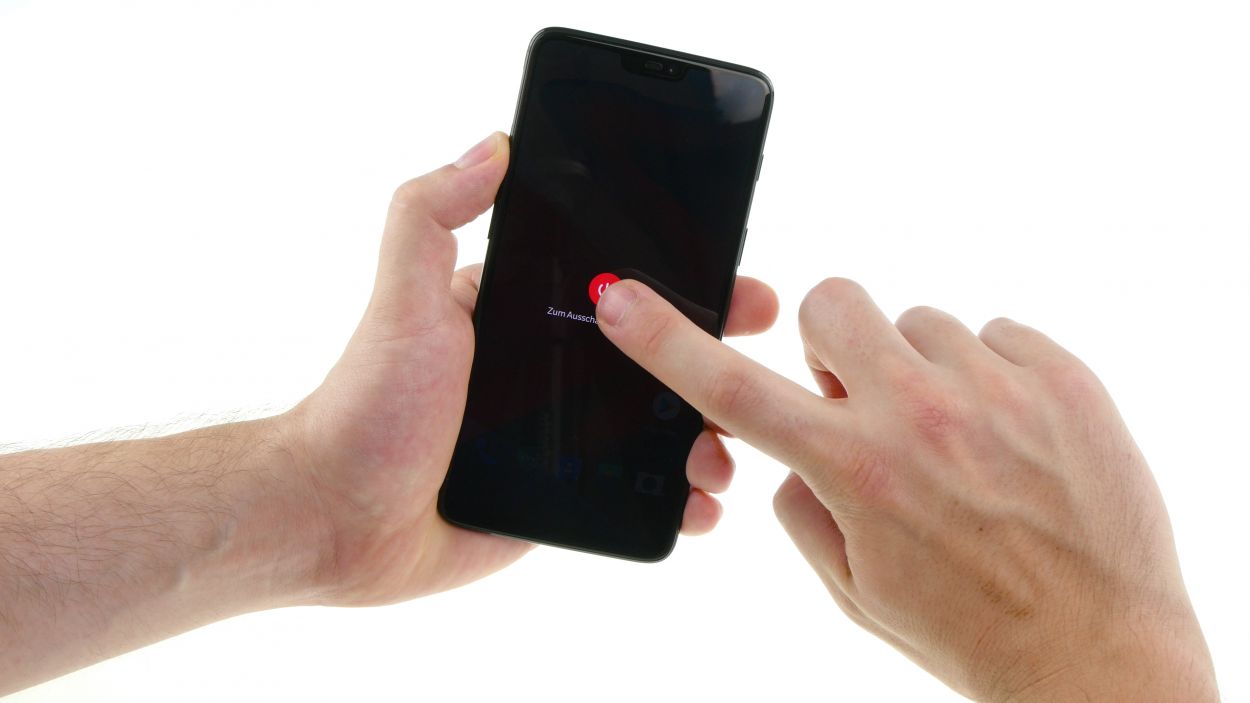
– Give that standby button a good press and hold until you see the “Turn off” option pop up.
– Once you see it, just tap it again to confirm and power down like a pro!
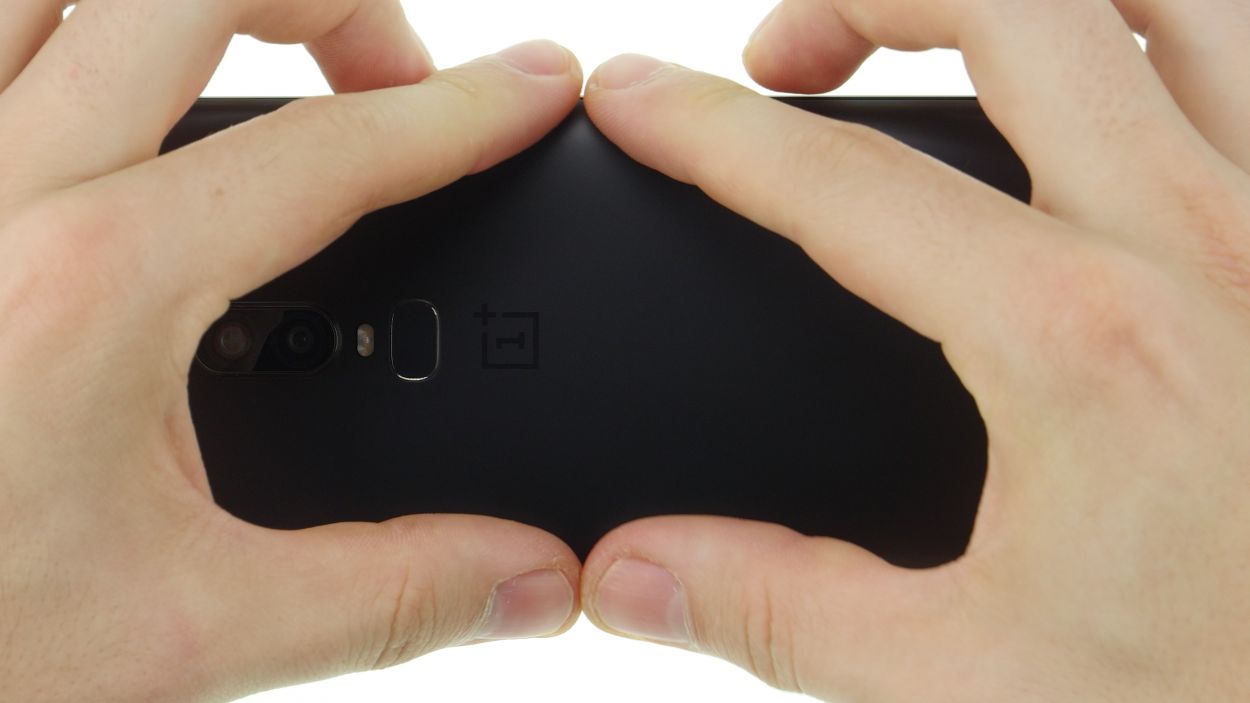
Step 2
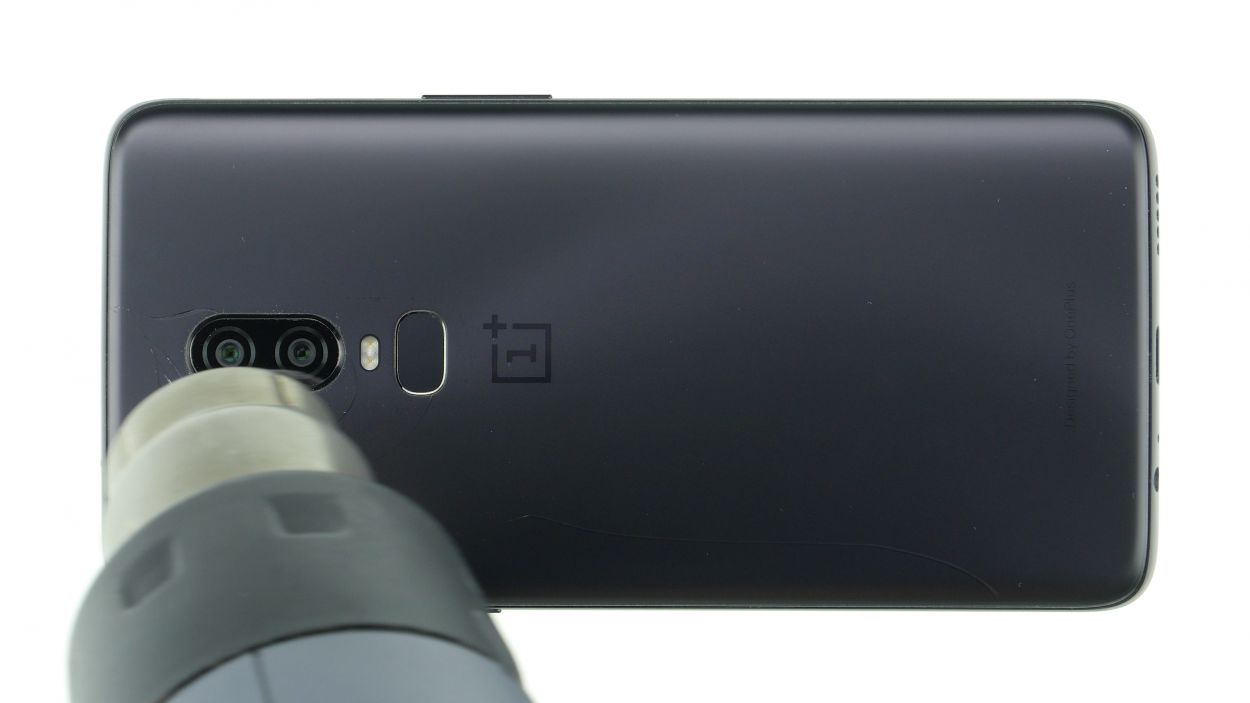
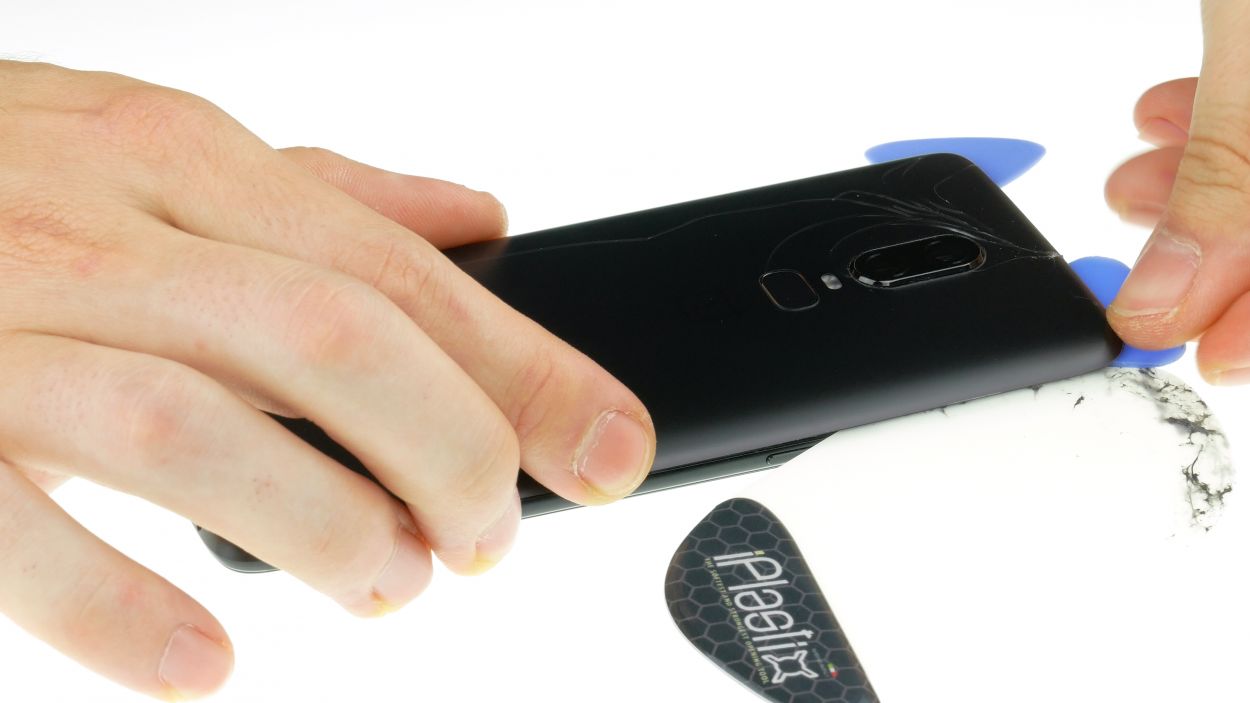
– Warm up the area where you’ll start working your magic.
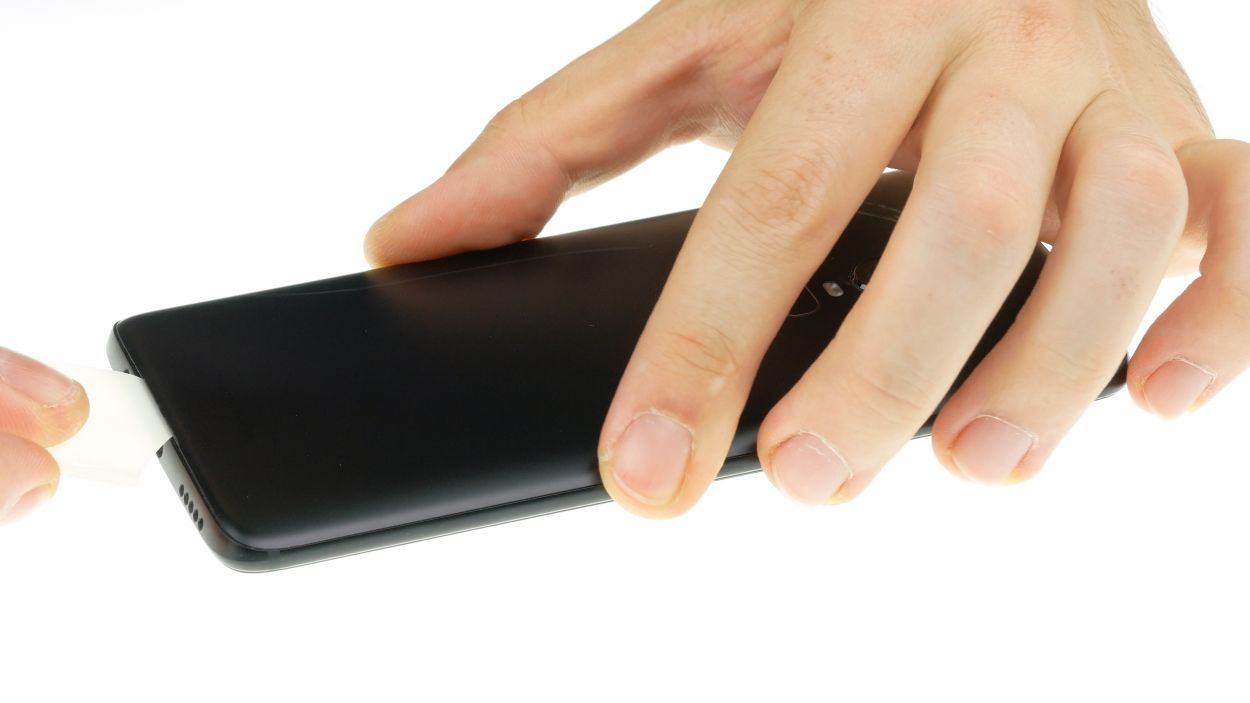
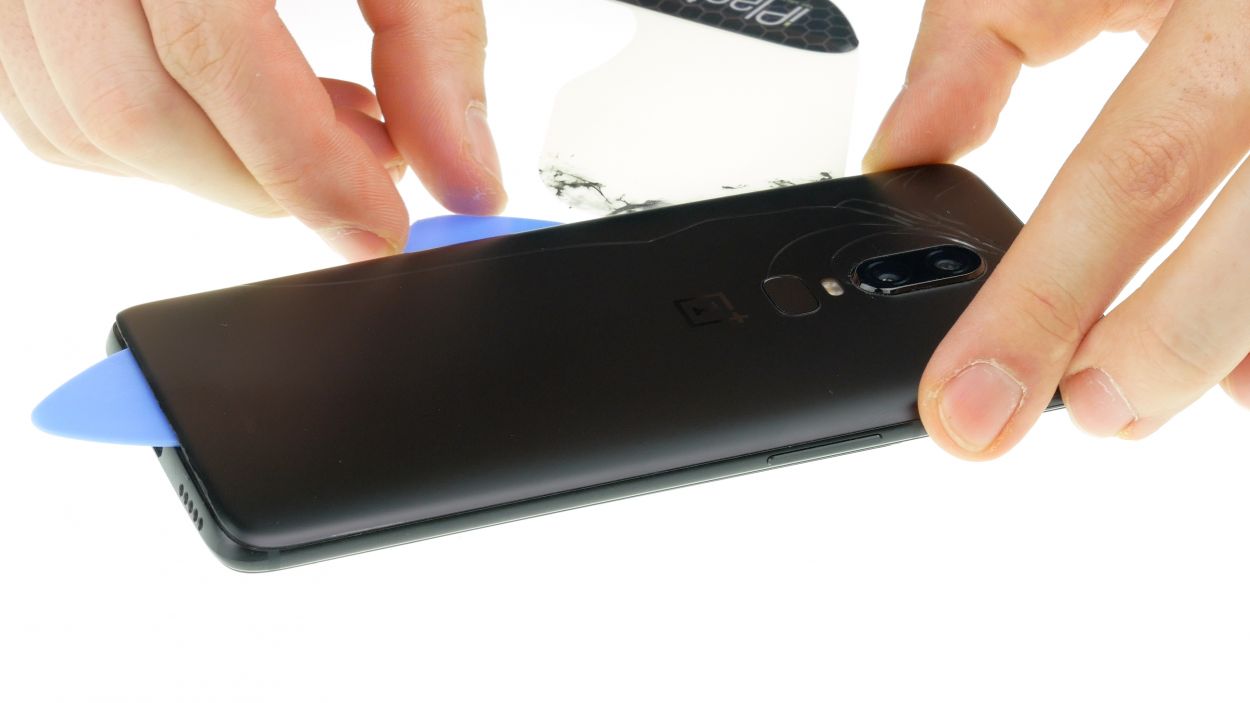
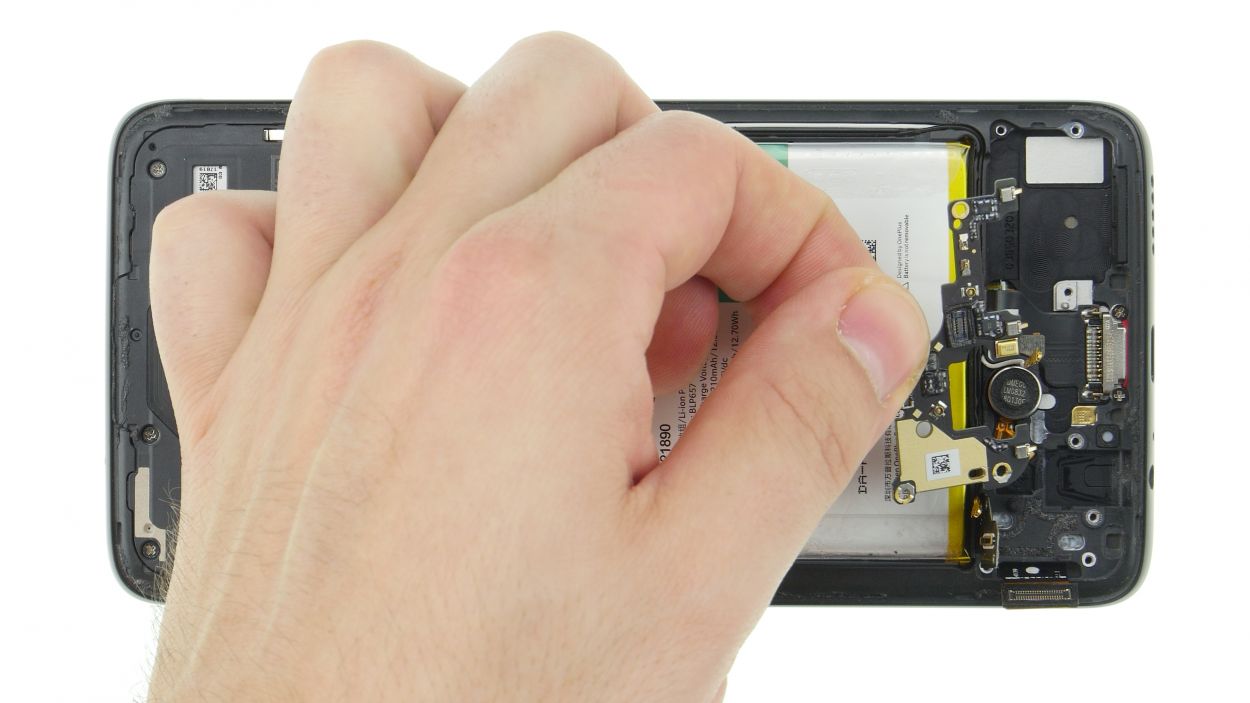
– Gently slide a flat tool between the back cover and the frame to get the party started.
Hey there! Just a heads up – the back cover is a bit delicate, so treat it gently. If you’re having trouble, feel free to warm it up a few times and give it another go. It might take around half an hour to get that cover off, but taking your time will pay off. Work carefully to avoid any mishaps. And remember, if you need help, you can always schedule a repair!
The iPlastix is crafted from plastic, so it’s gentle on your device and won’t leave any scratches. However, it’s a bit on the soft side and can be a little tricky to get in place. If you need help, you can always schedule a repair.
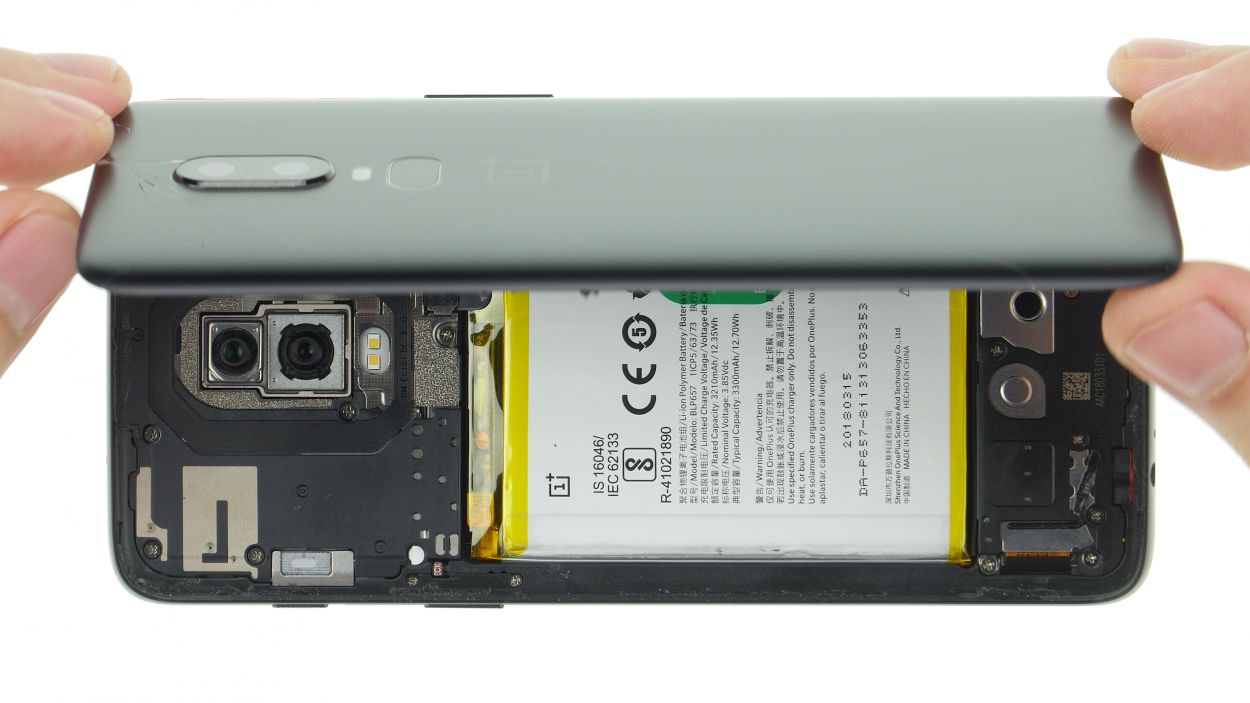
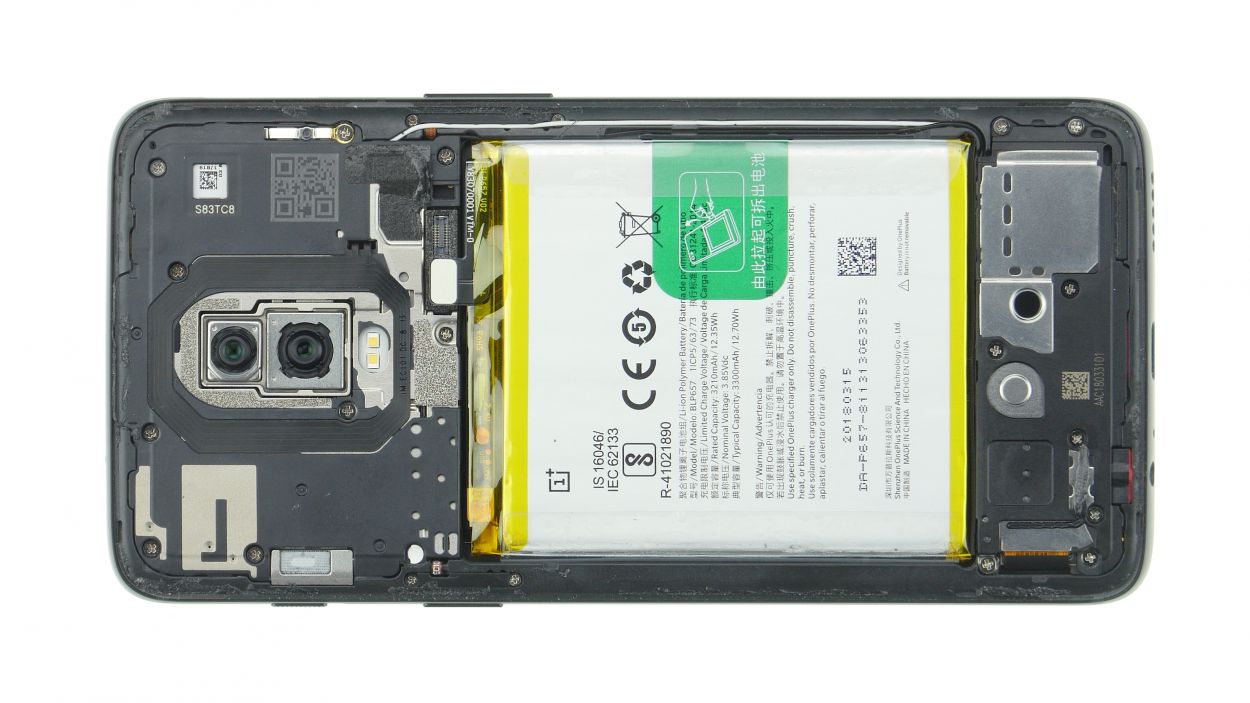
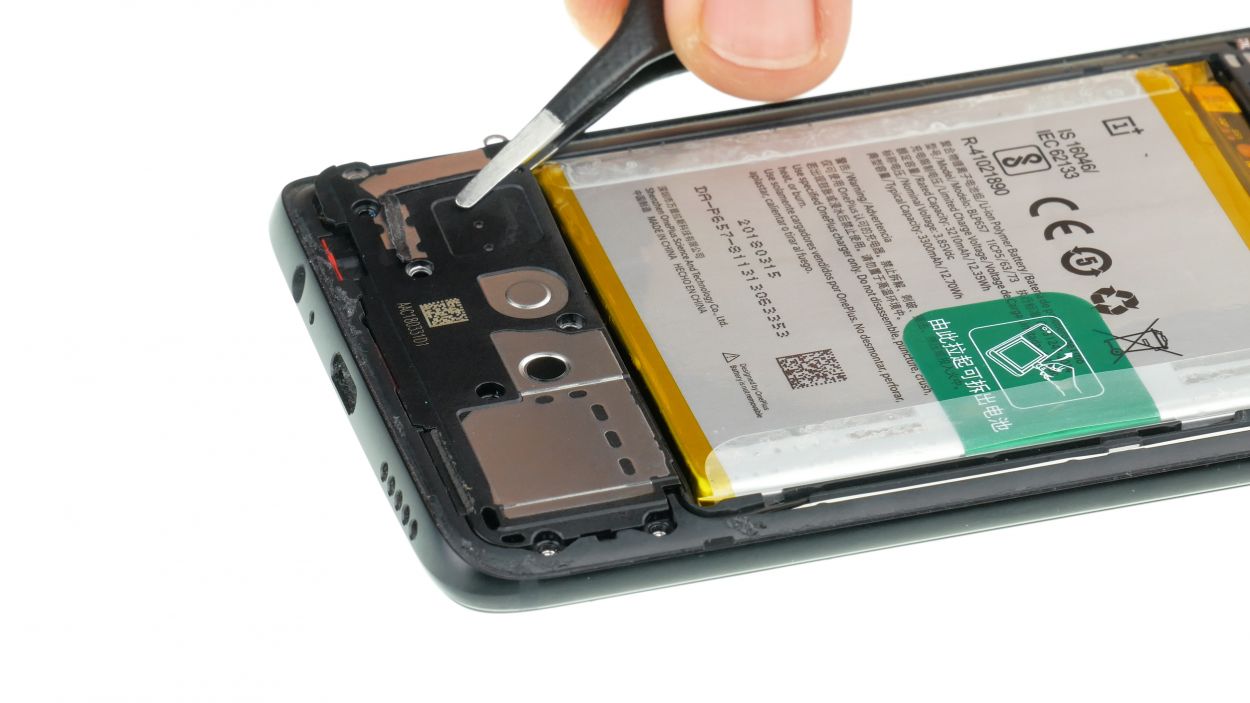
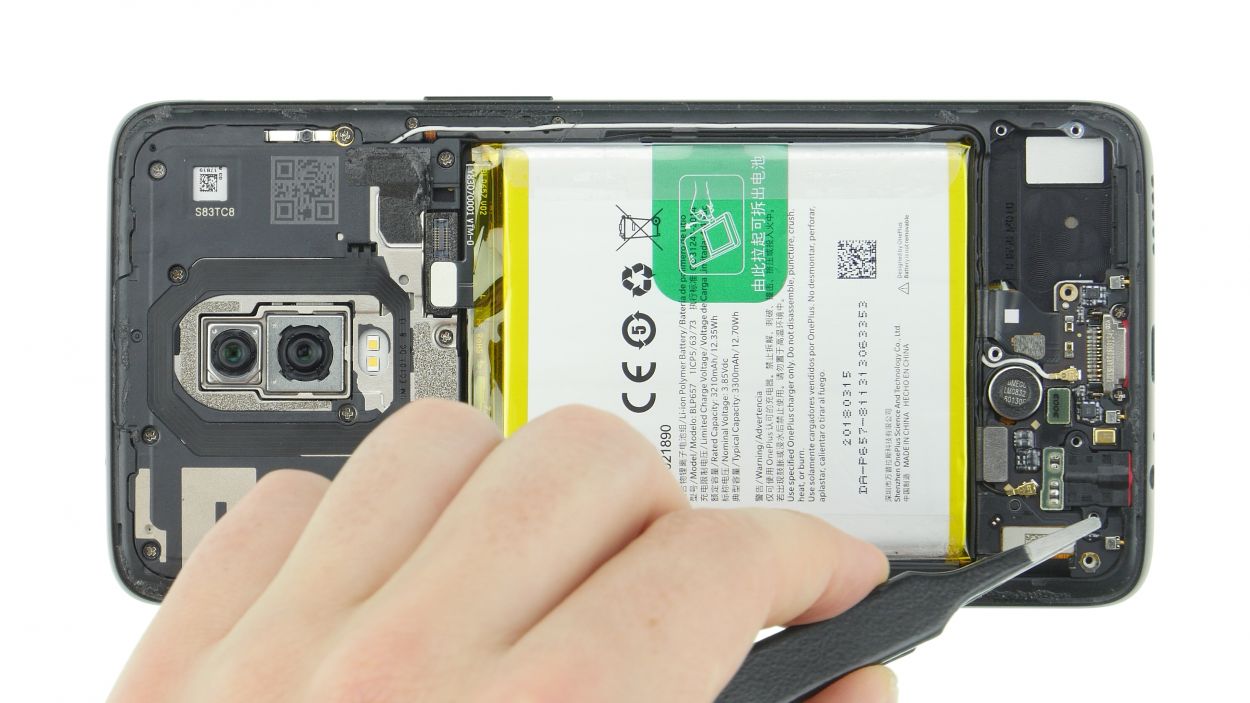
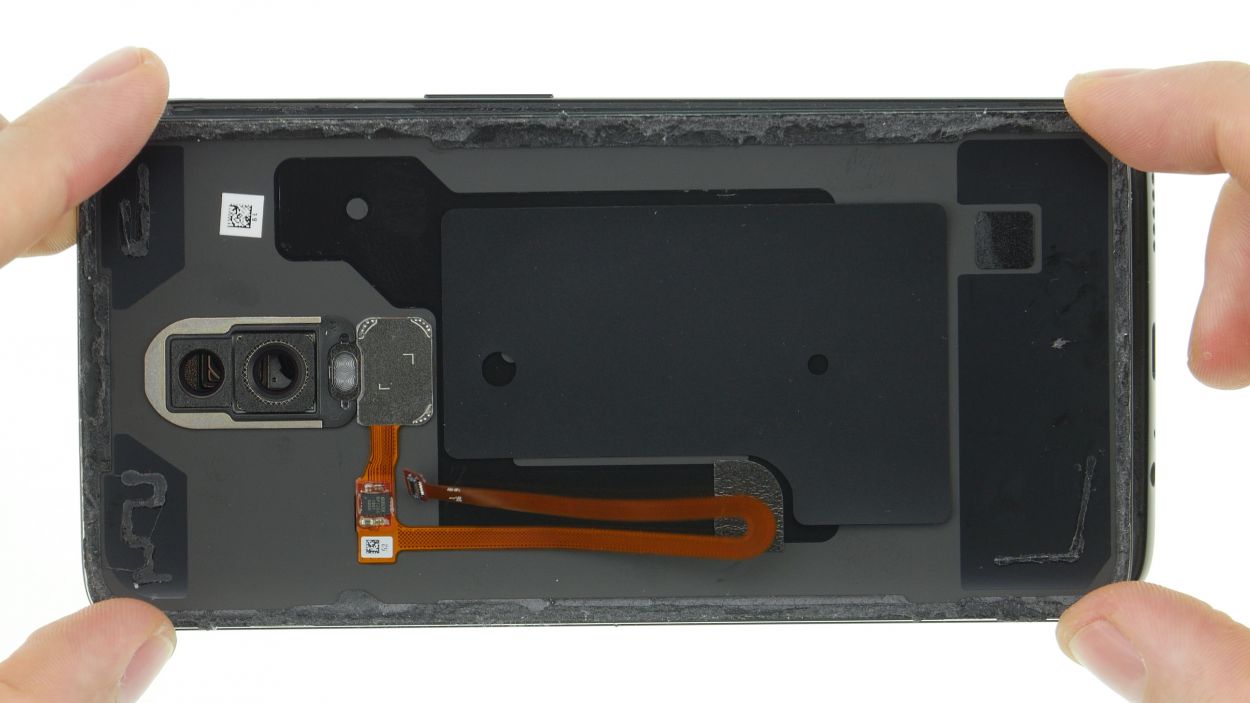
Step 3
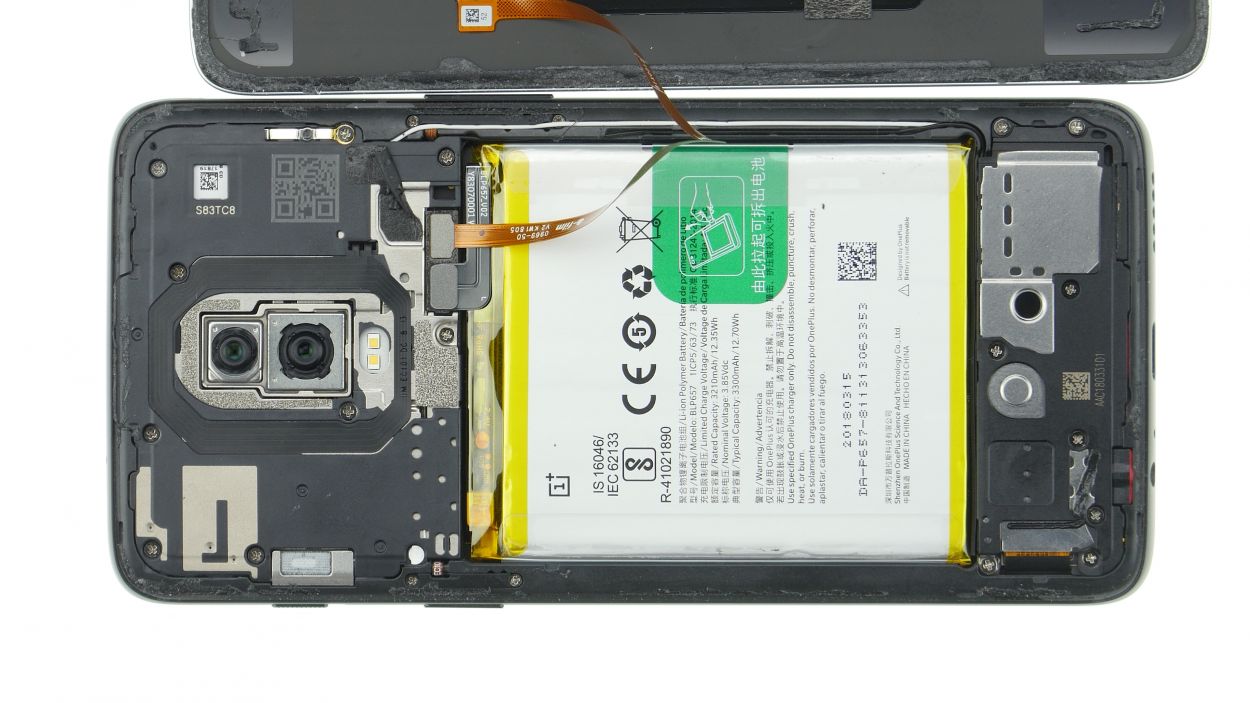
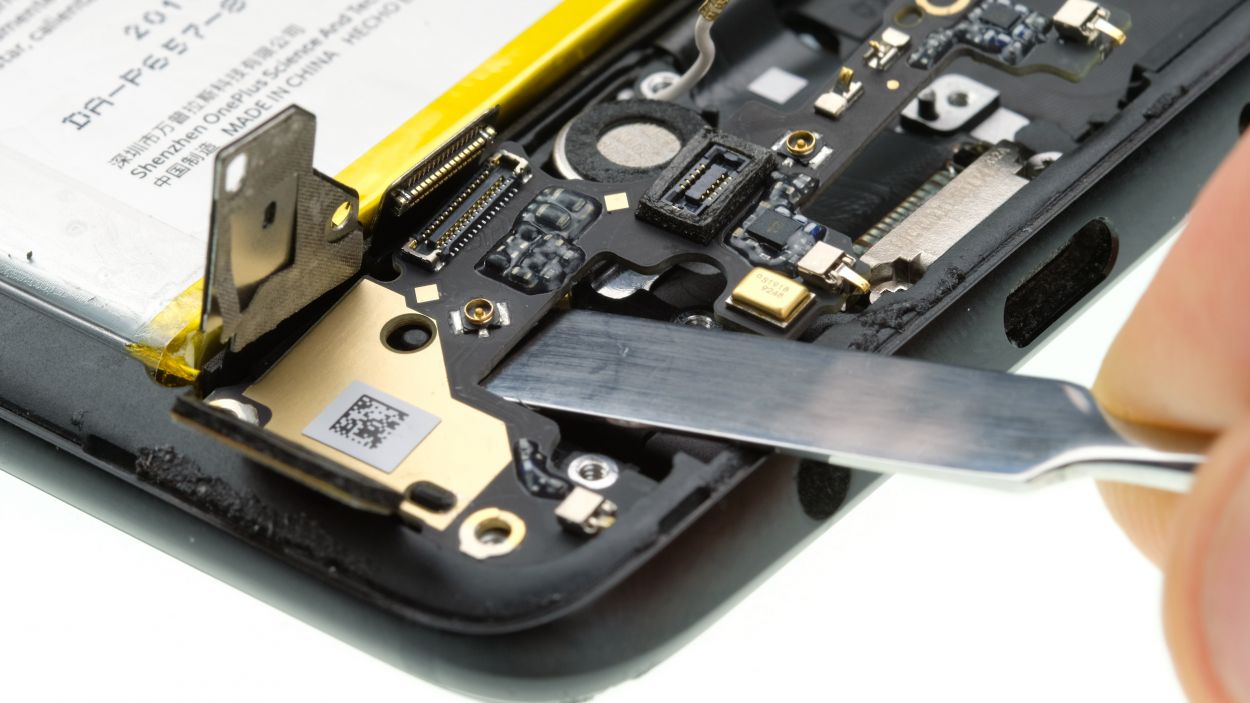
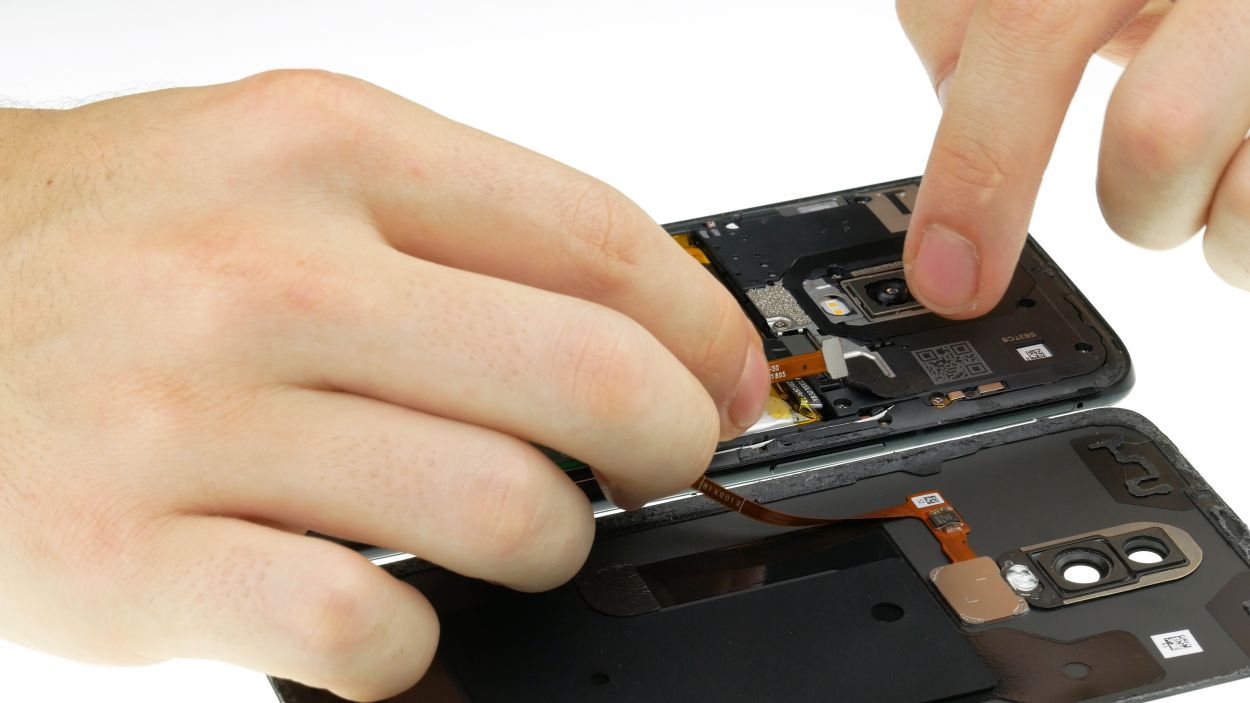
Fingerprint Connector
– Gently lift the loosened back cover and fold it back – easy peasy!
– Time to loosen that adhesive strip on the cover plate. Piece of cake!
– Use tweezers or your fingers to remove the connector cover. You got this!
– Now, carefully disconnect that connector using a spudger or your fingernail. Almost done! Then, remove the back cover. High five!

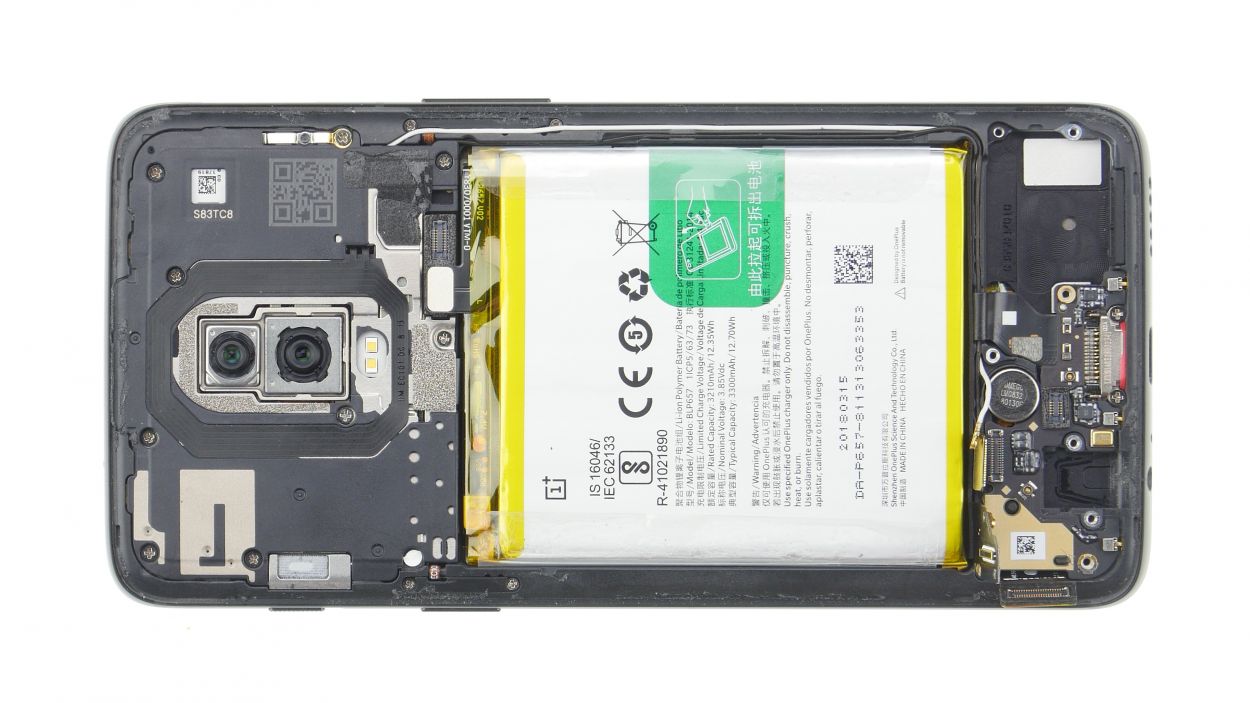
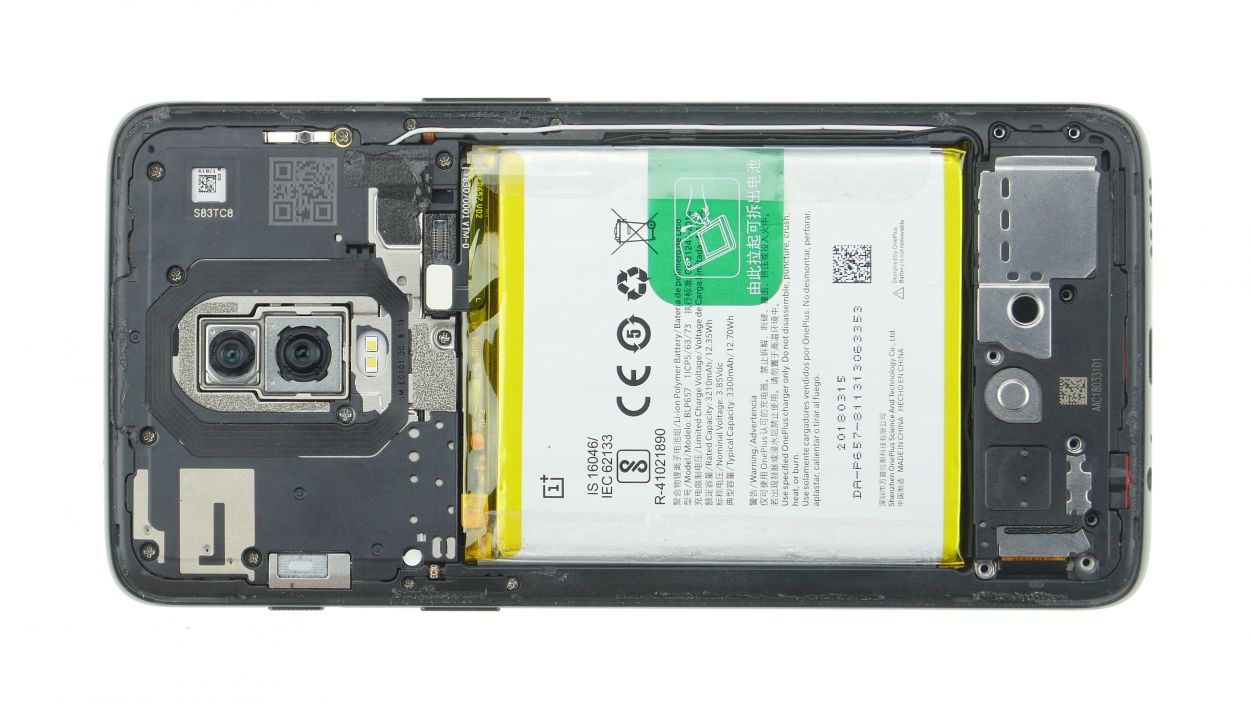
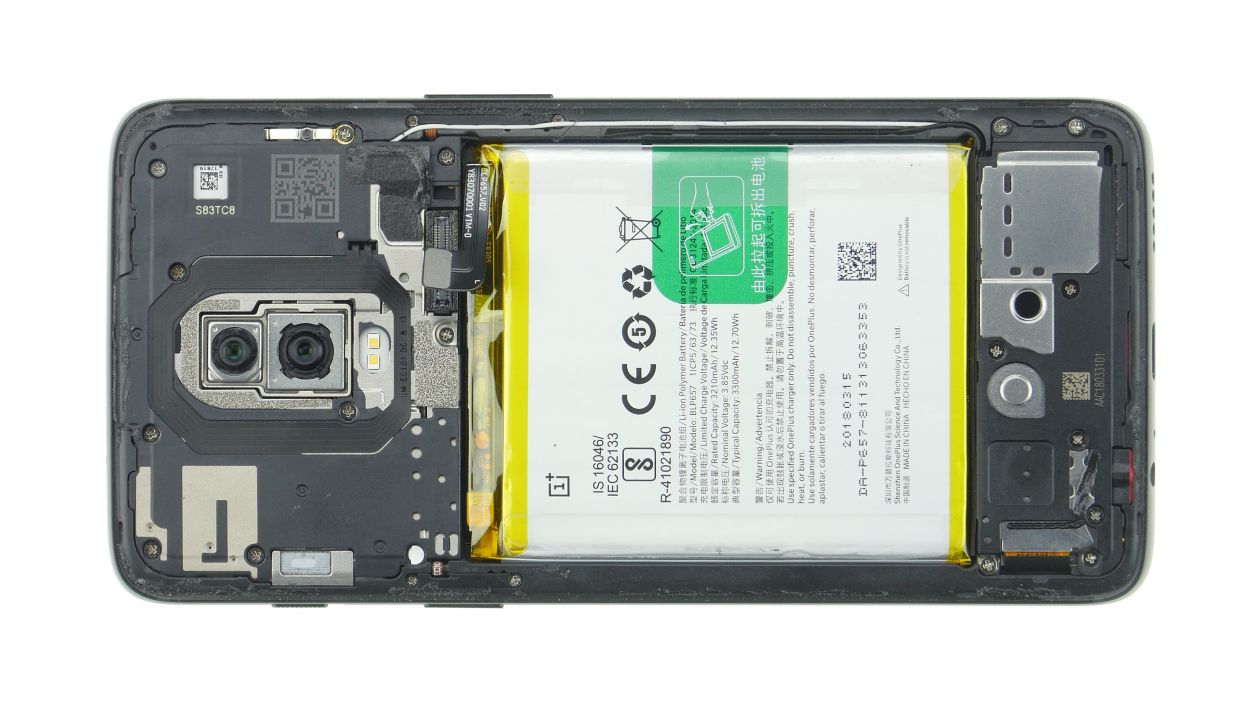
Step 5
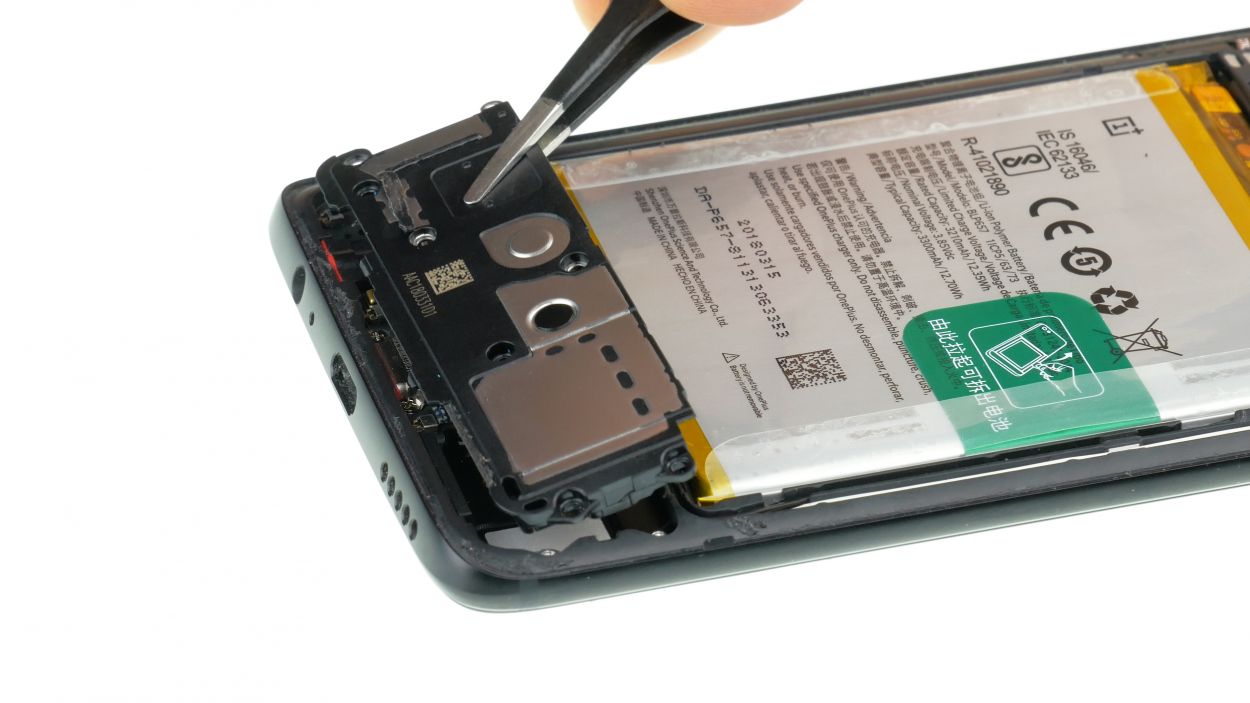
8 × 3,0 mm Phillips
– Alright, let’s loosen those screws and give ’em the boot!
– Next, grab your tweezers and gently remove the cover – the speaker’s chilling on it, so be nice! If you need help, you can always schedule a repair
Step 6
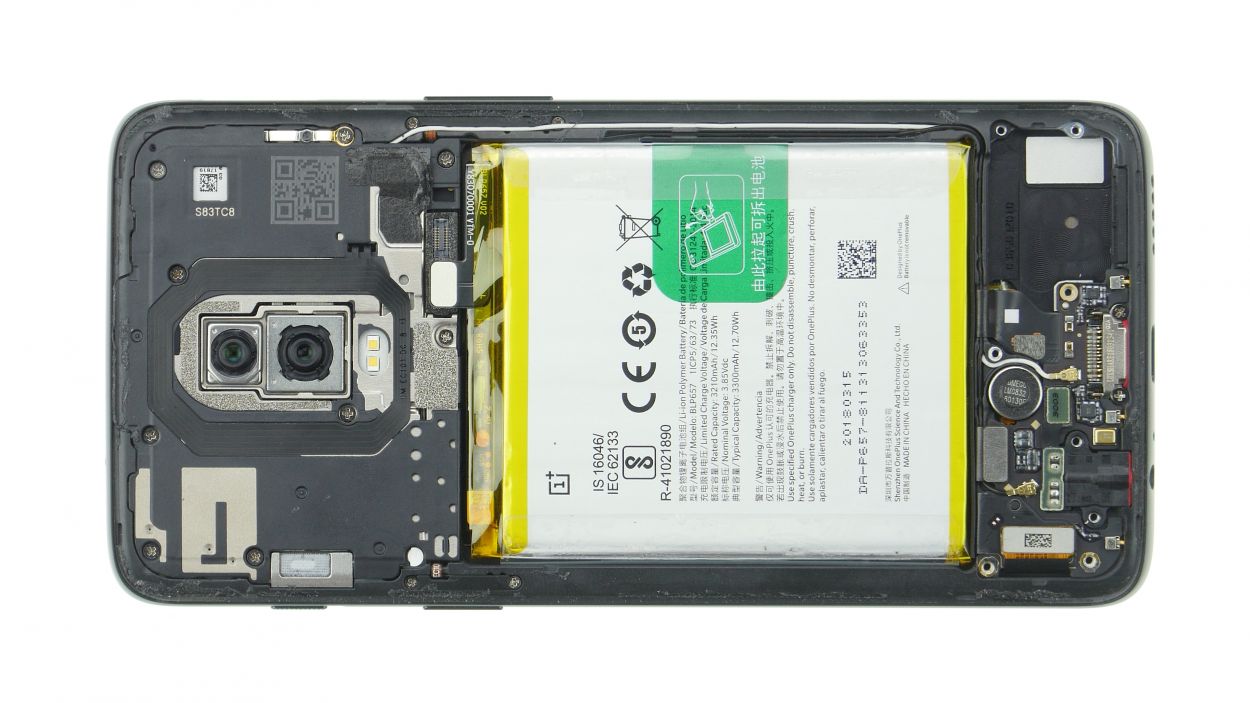
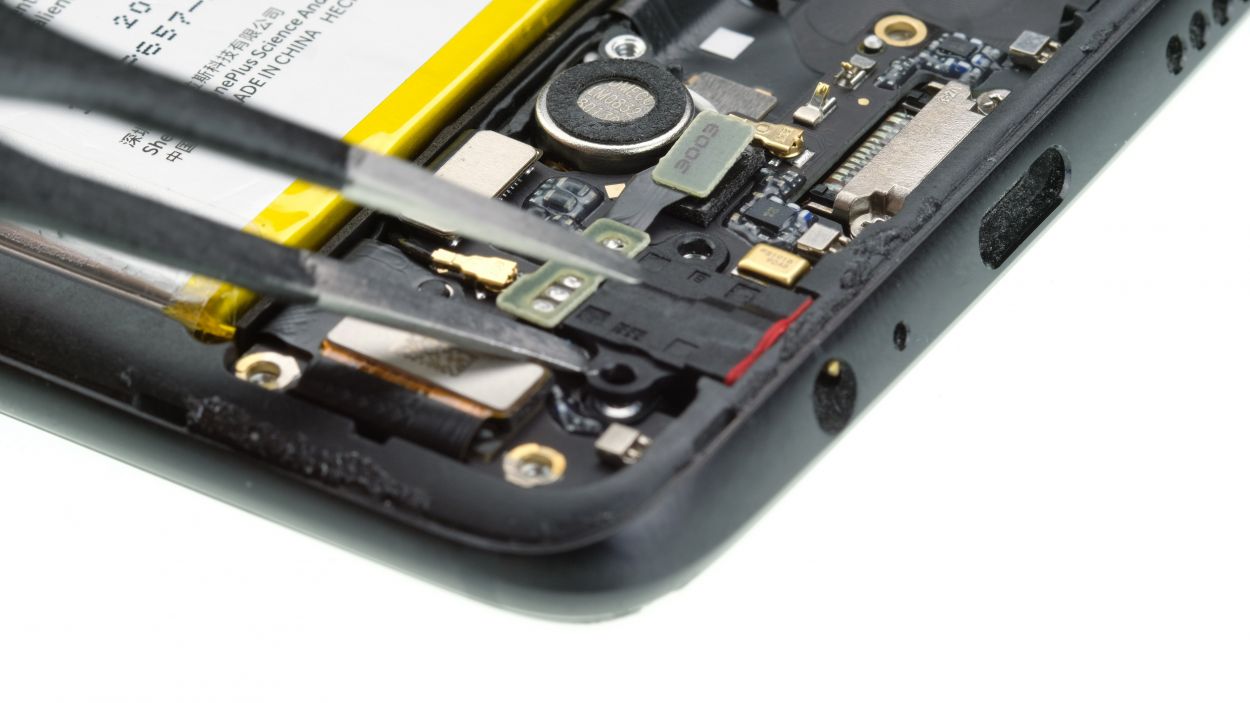
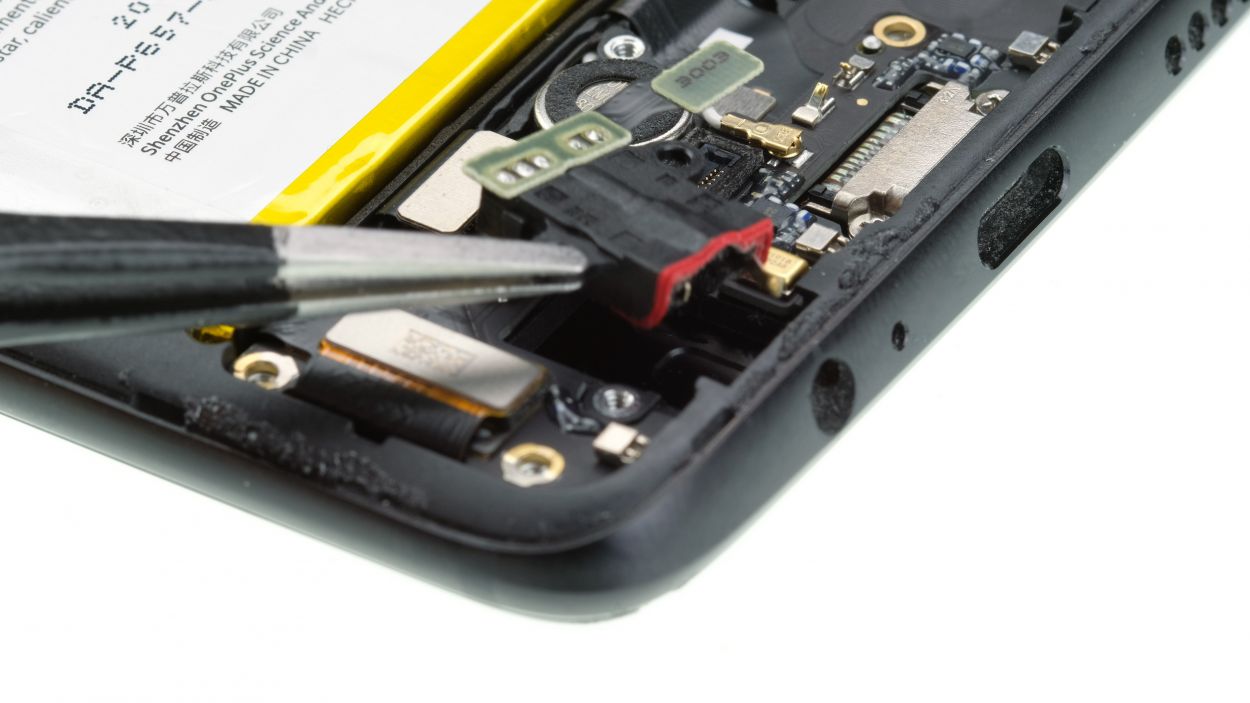
– Gently wiggle the headphone jack connector loose with your trusty spudger.
– Once it’s free, grab those tweezers and carefully lift out the headphone jack!
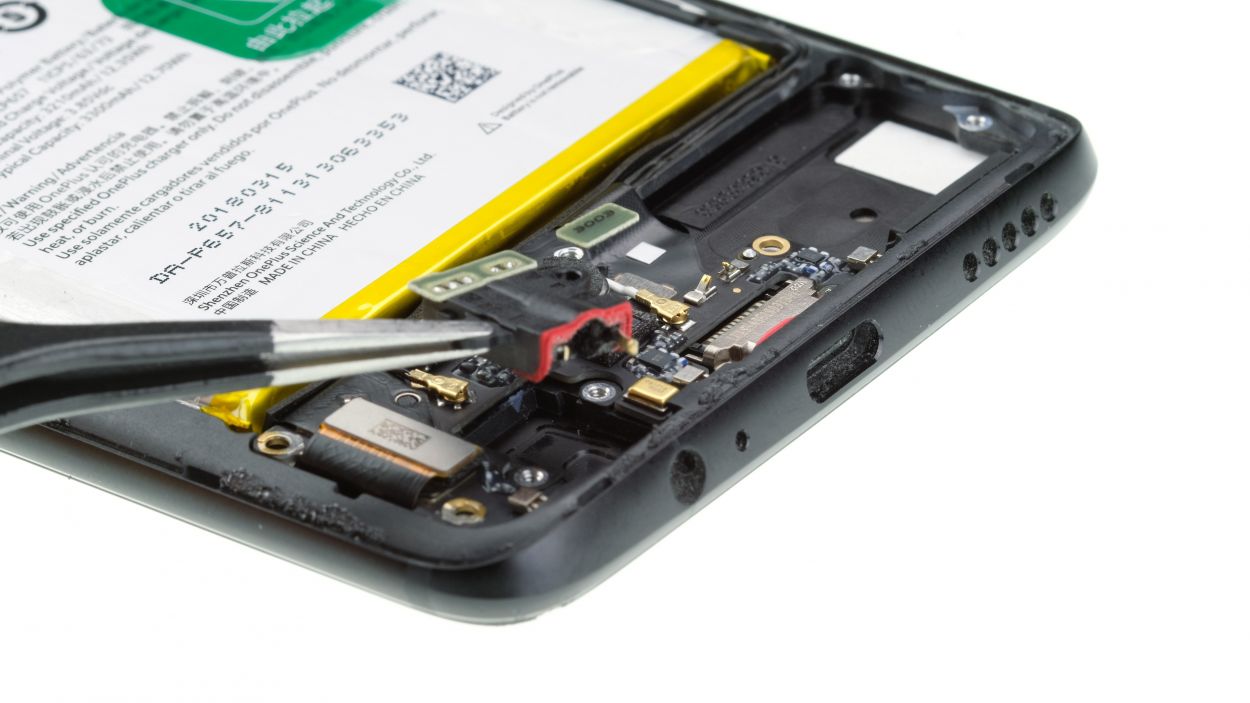
Step 7


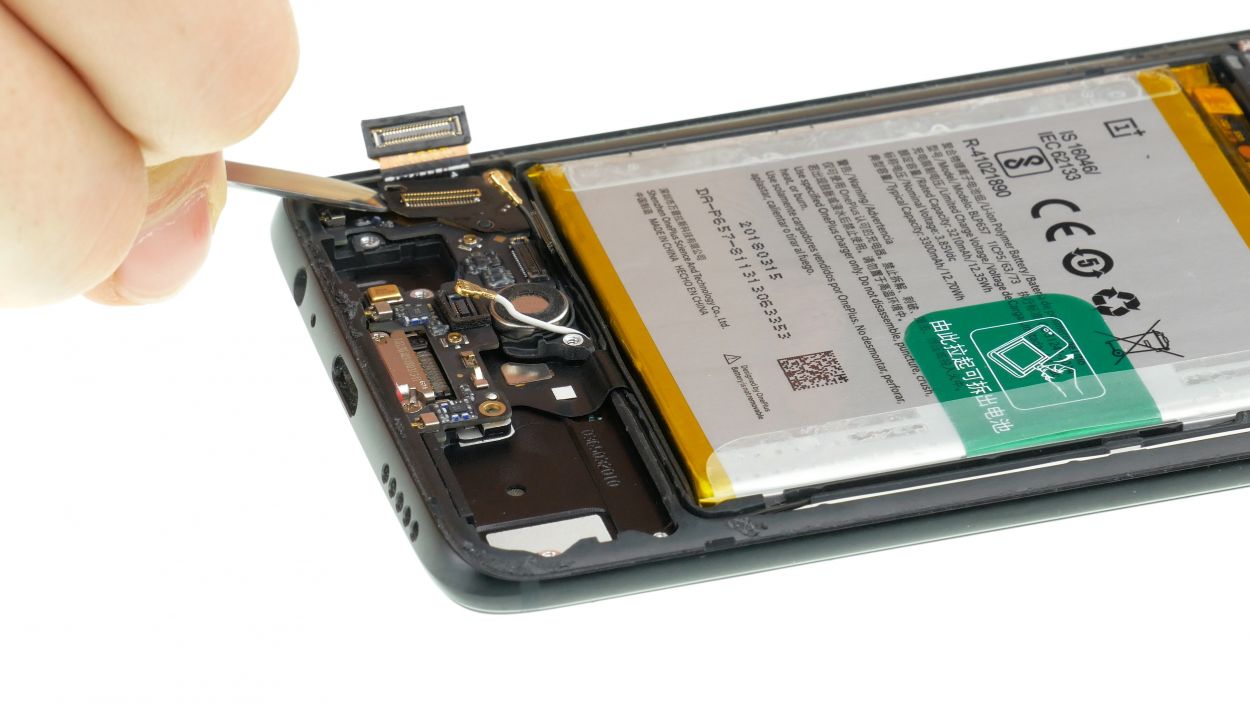
Gently twist those antennas apart with your tweezers – think of it as a delicate dance! Be super careful not to scratch those tiny sockets on the board. If you need a hand, you can always schedule a repair
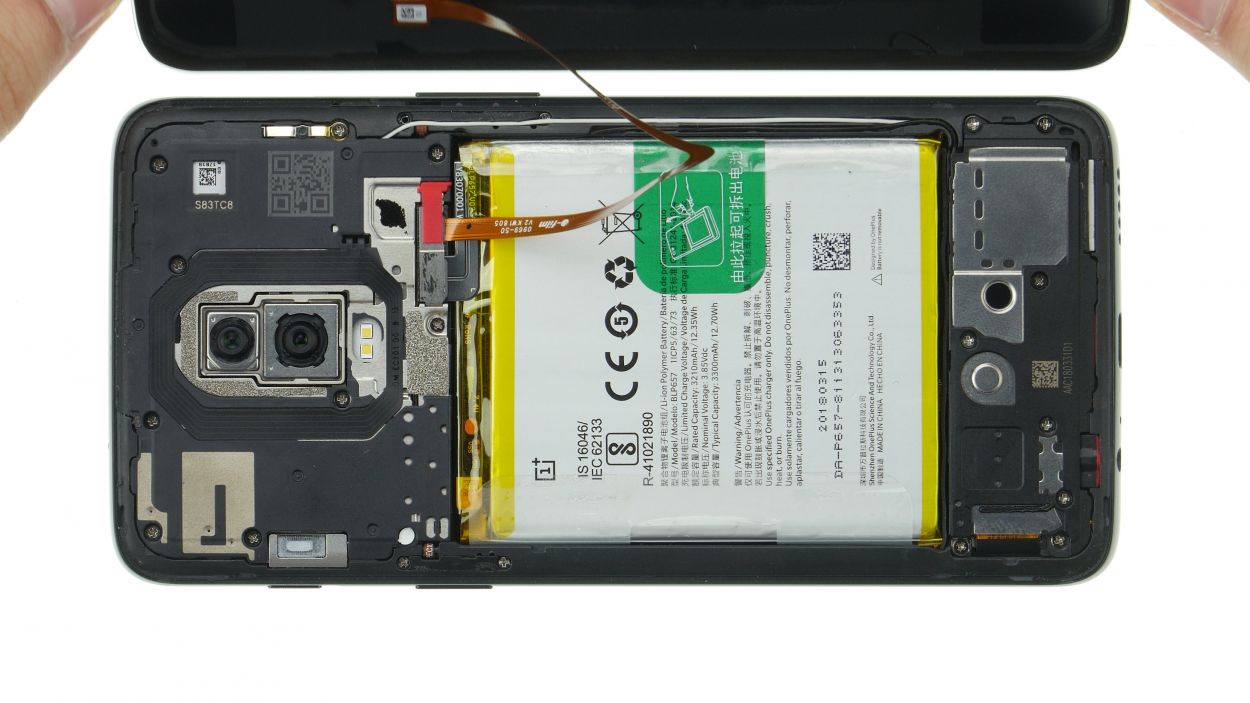
– Ease those connectors for the display and main board apart with your trusty spudger. It’s like giving them a gentle nudge!
– Next up, disconnect those antenna cables from their cozy little slots that are clearly marked. They’re ready to come out and play!
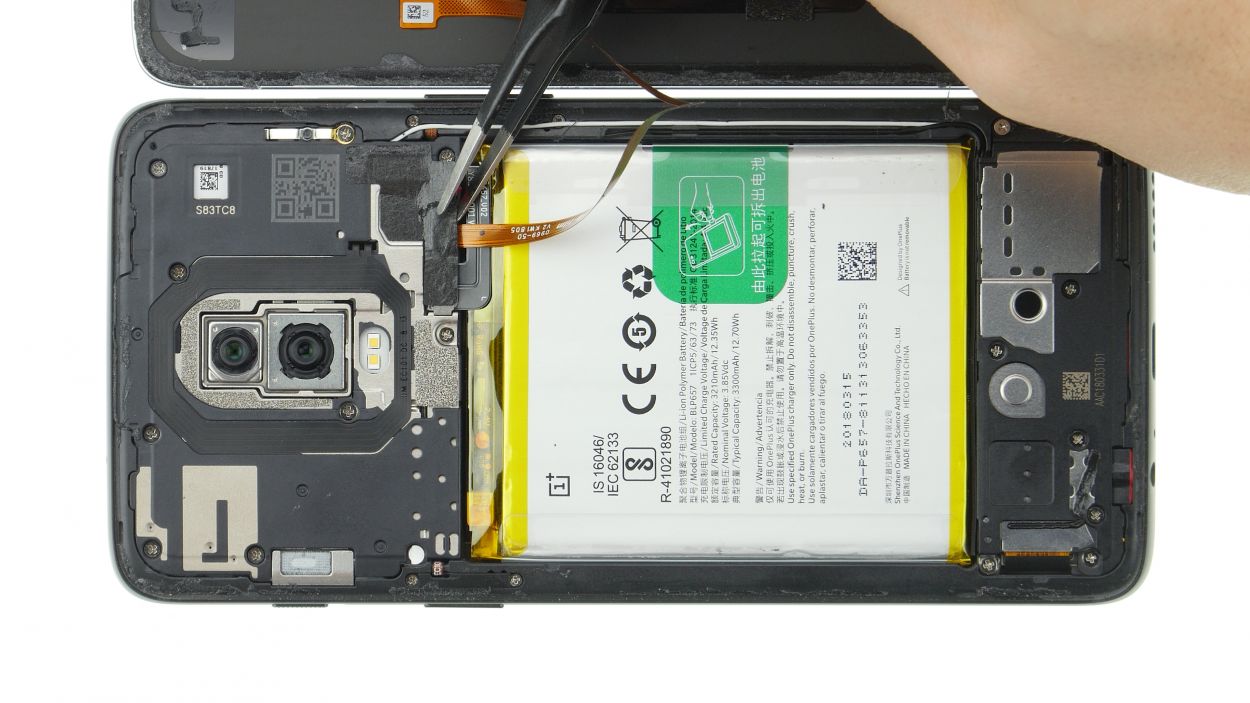
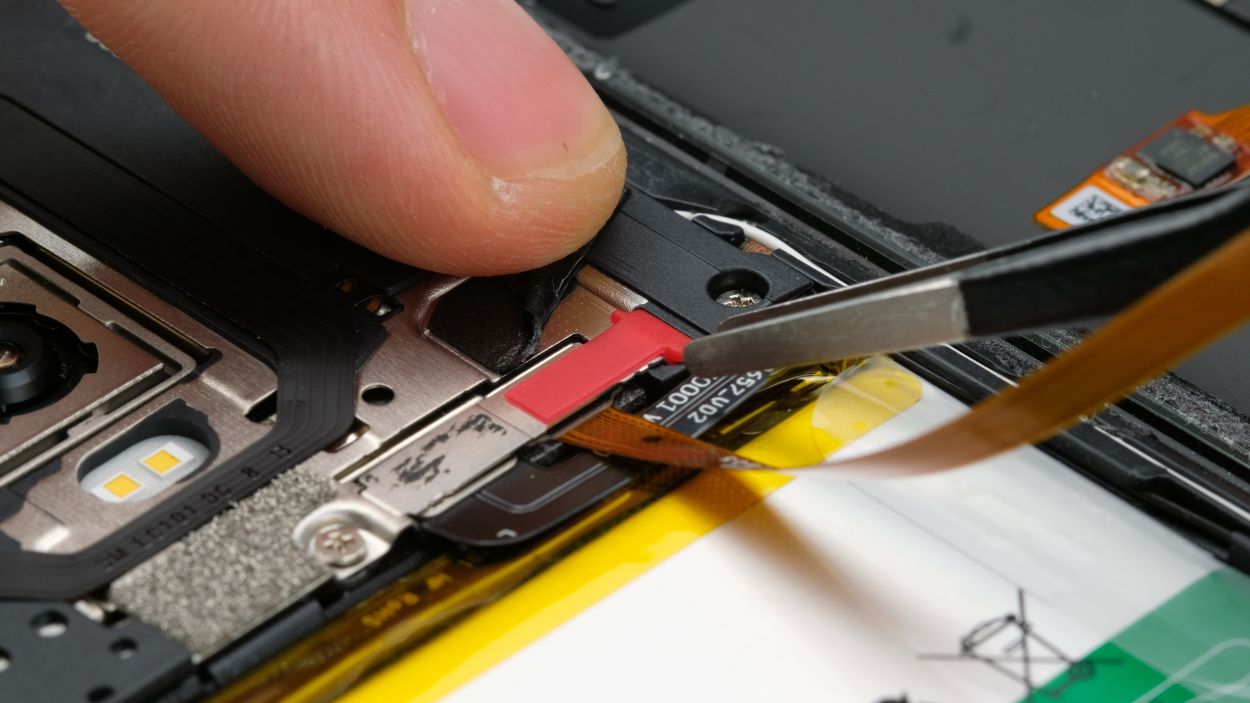
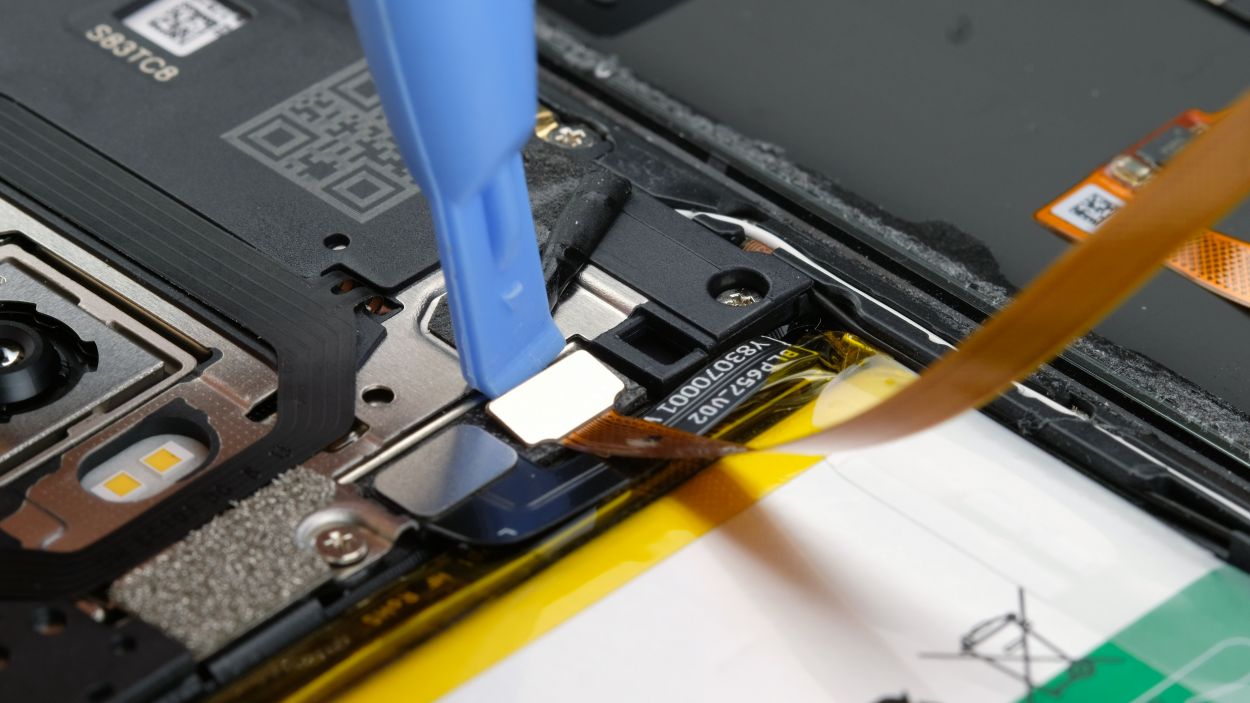
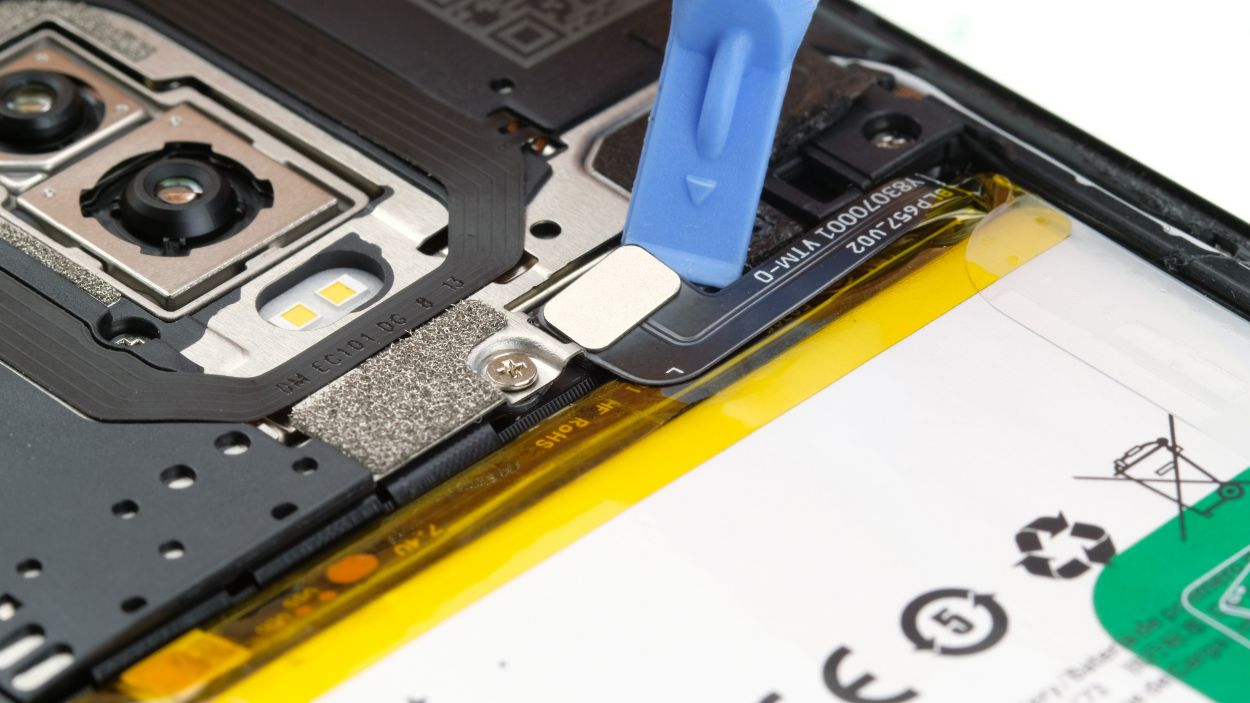
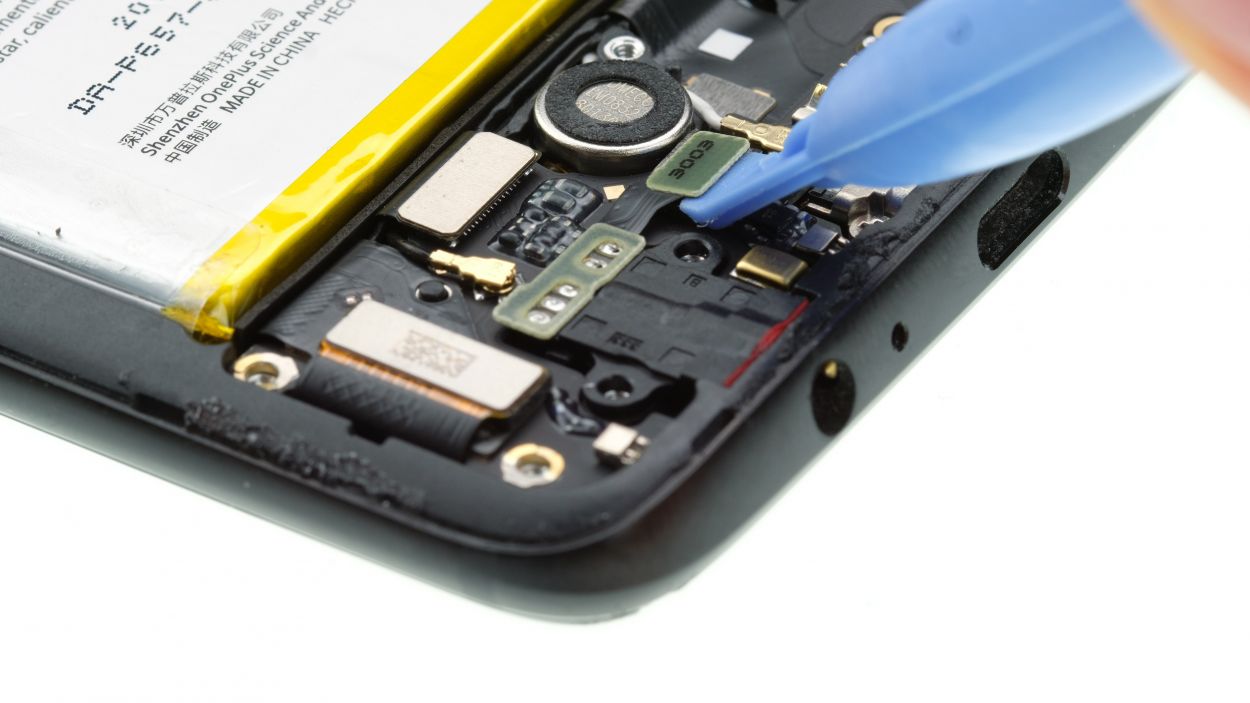
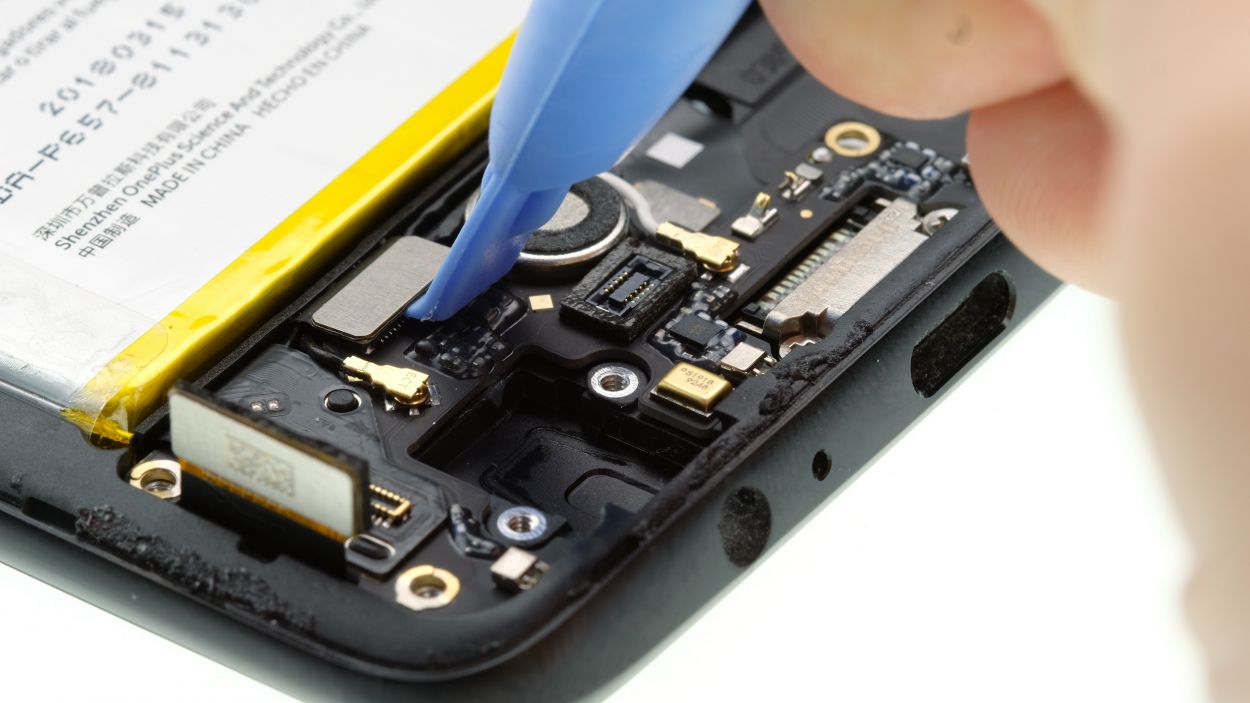
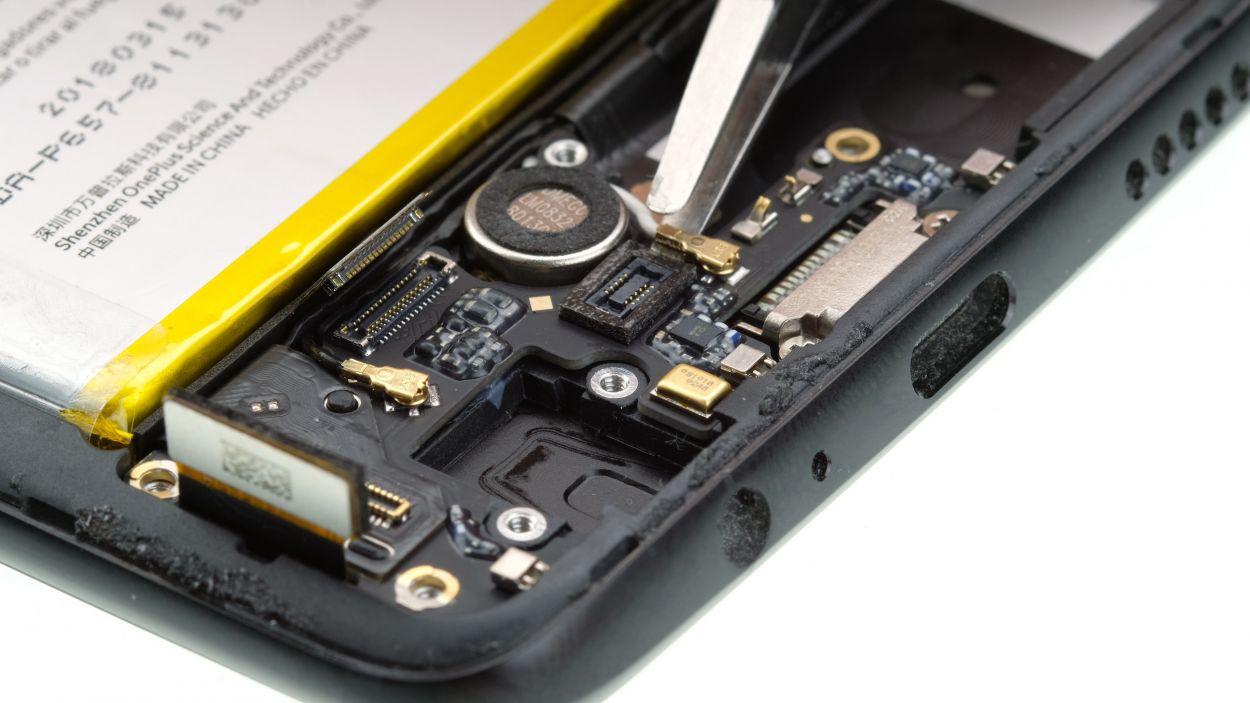
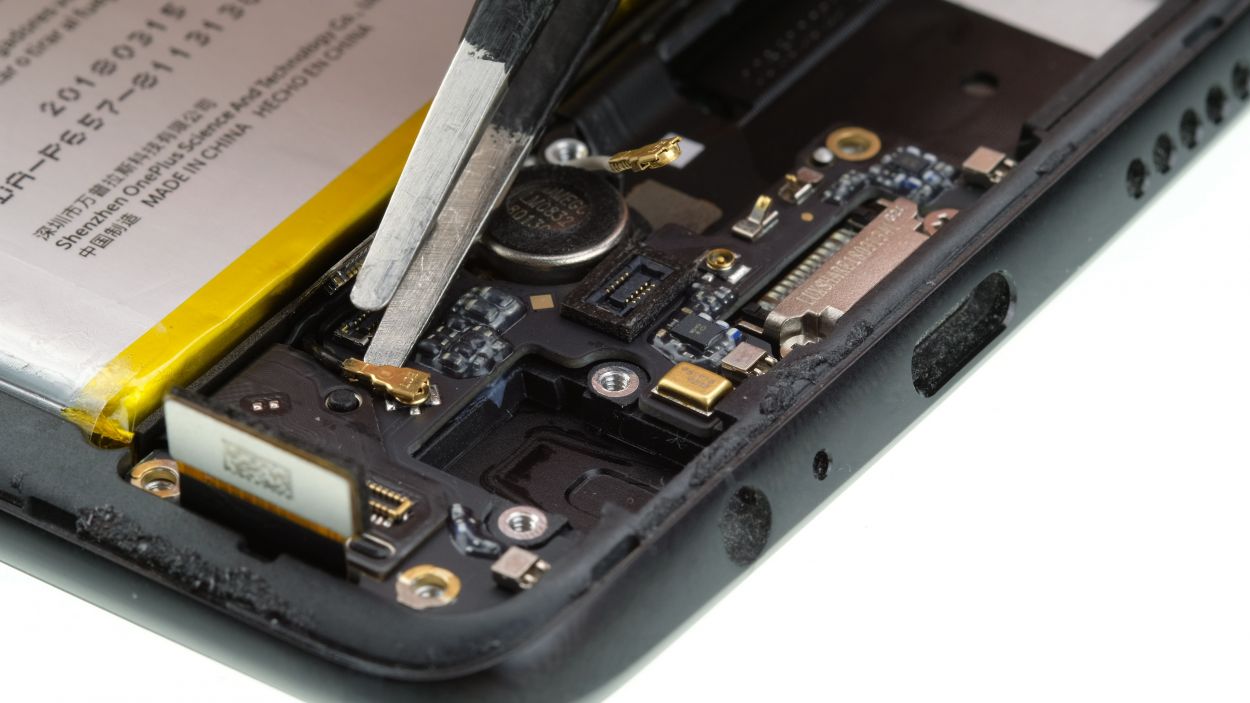
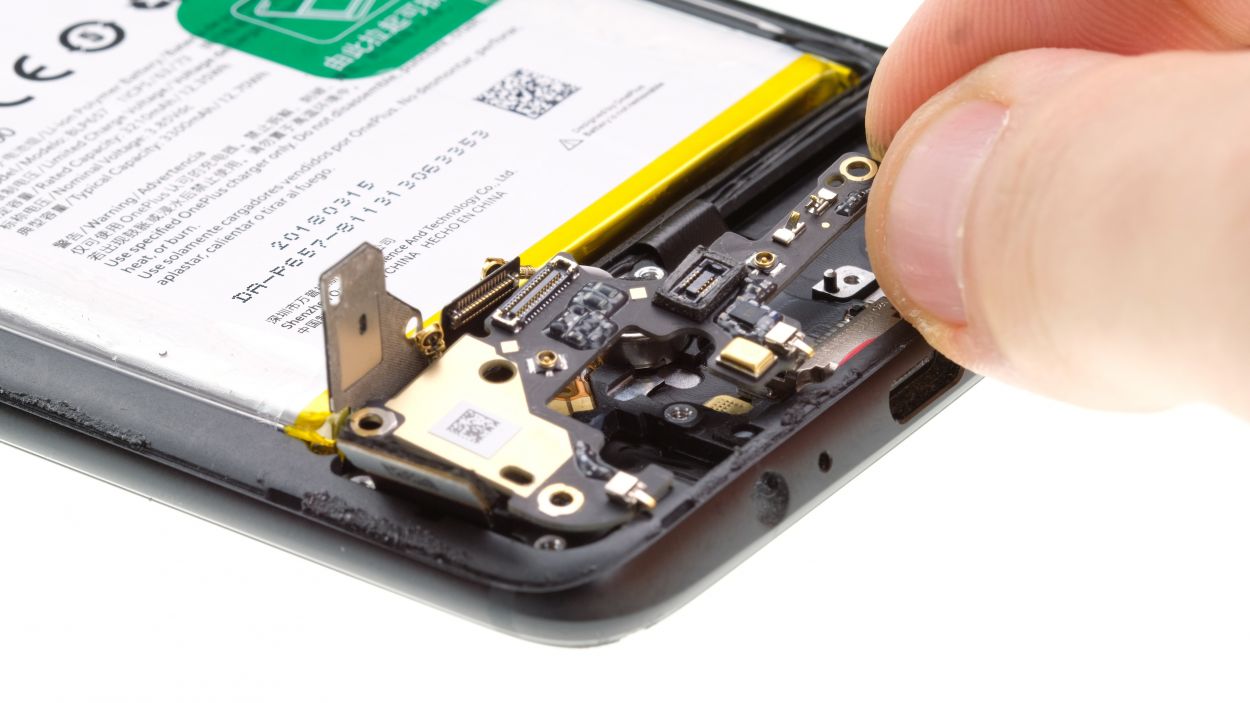
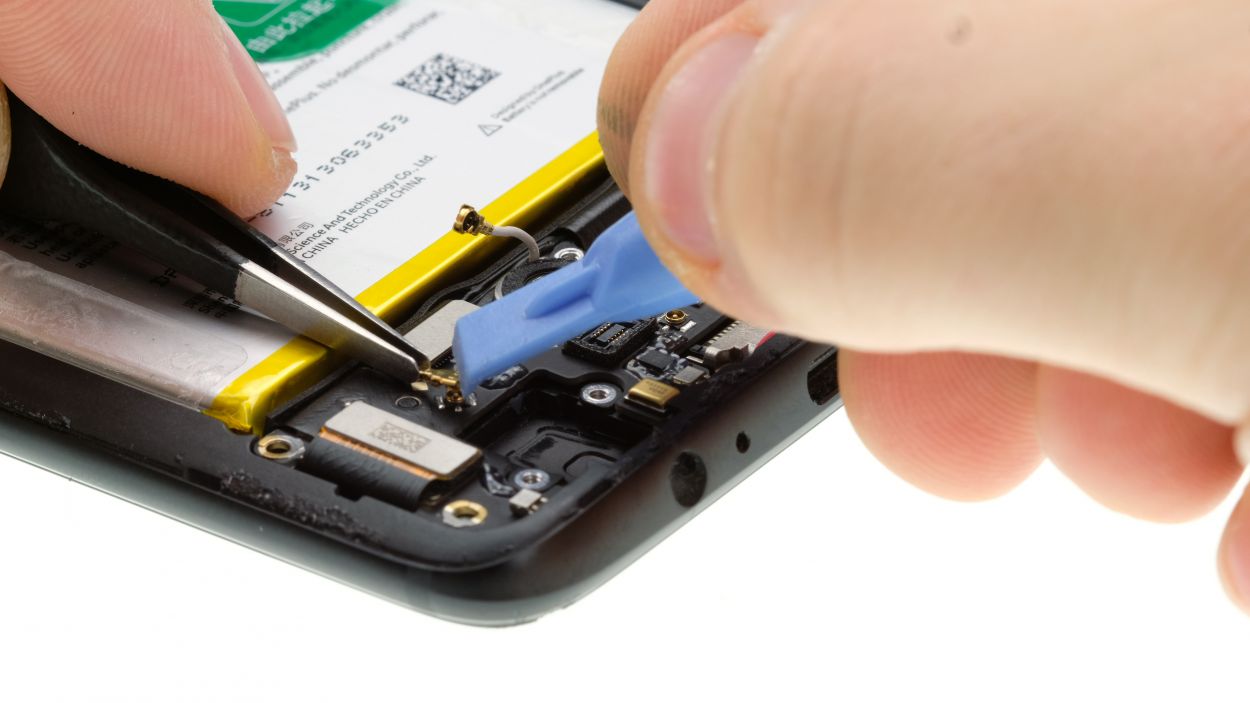
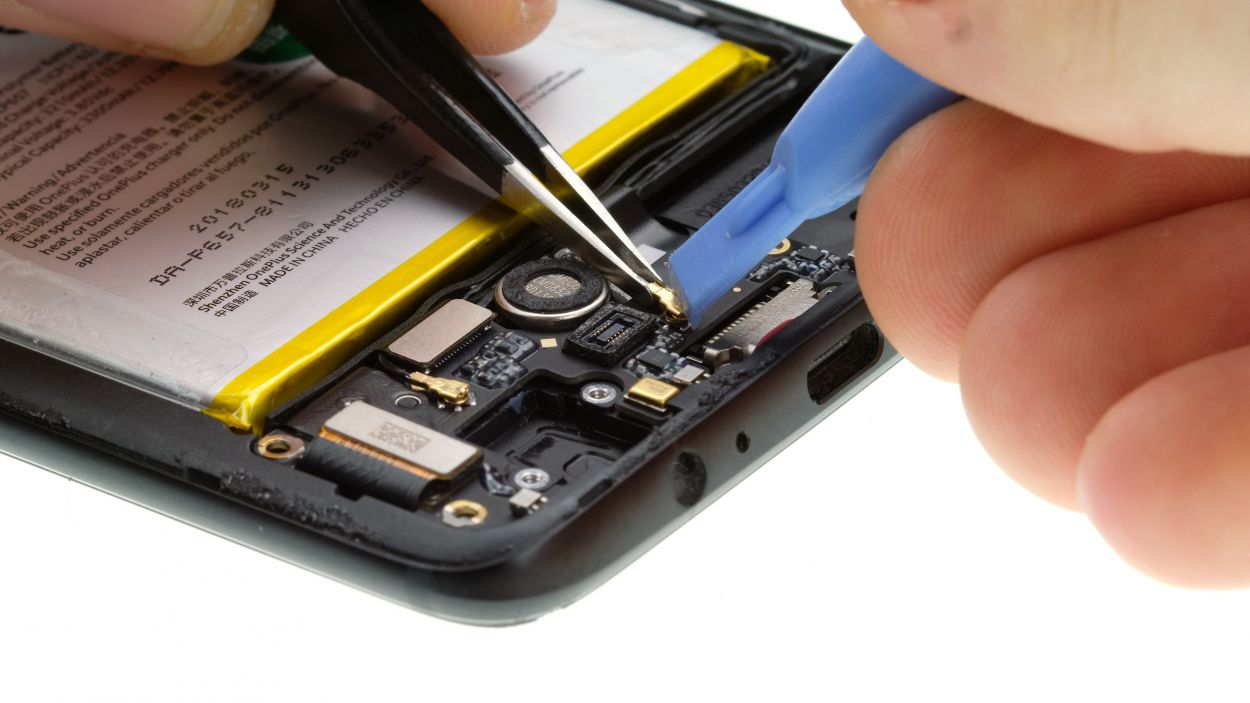
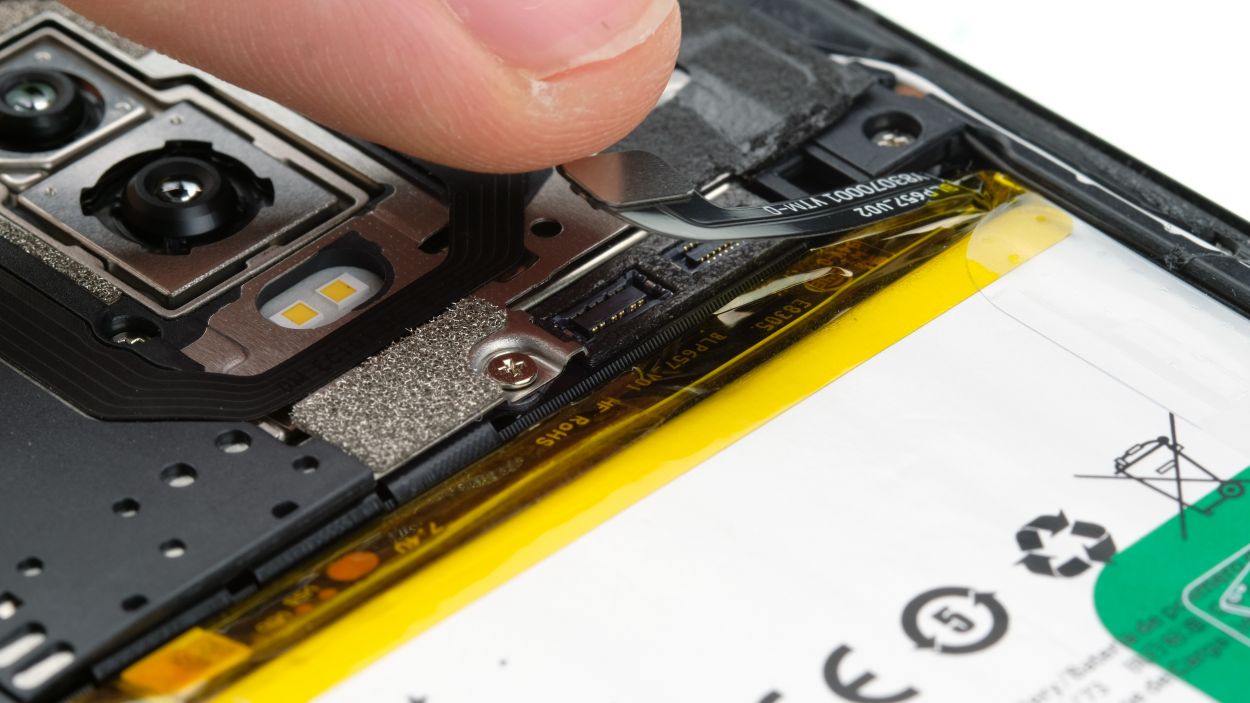
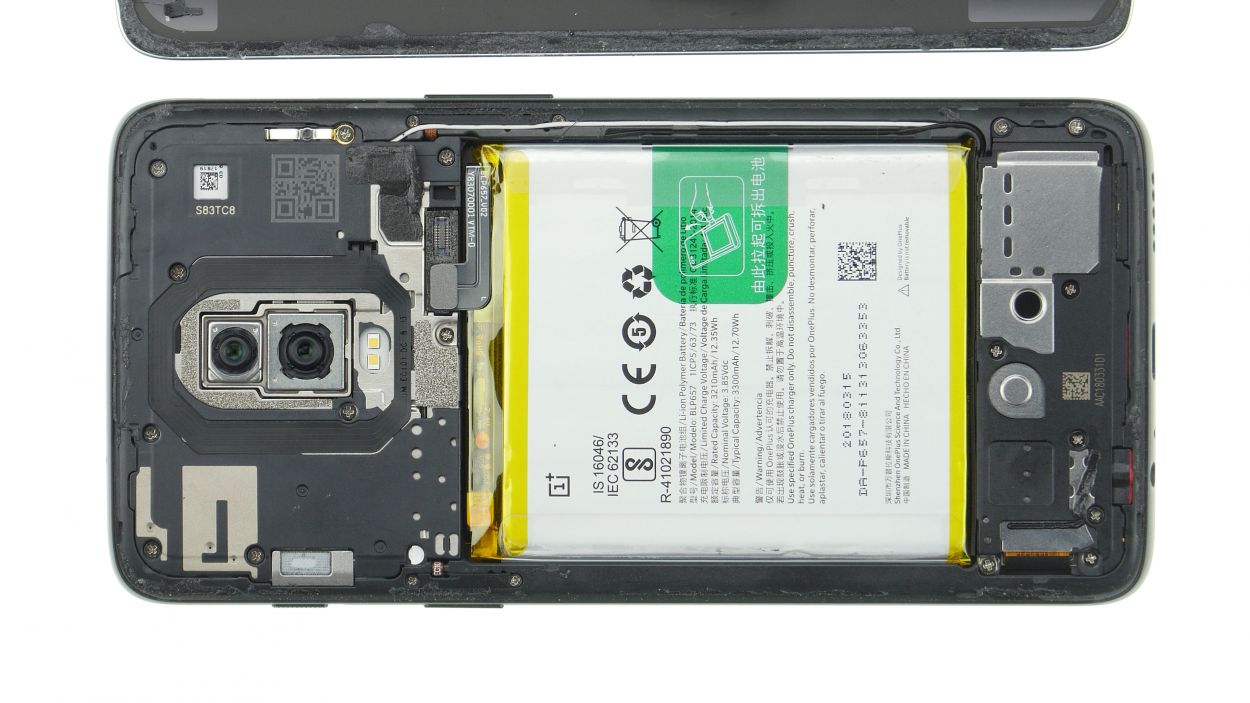
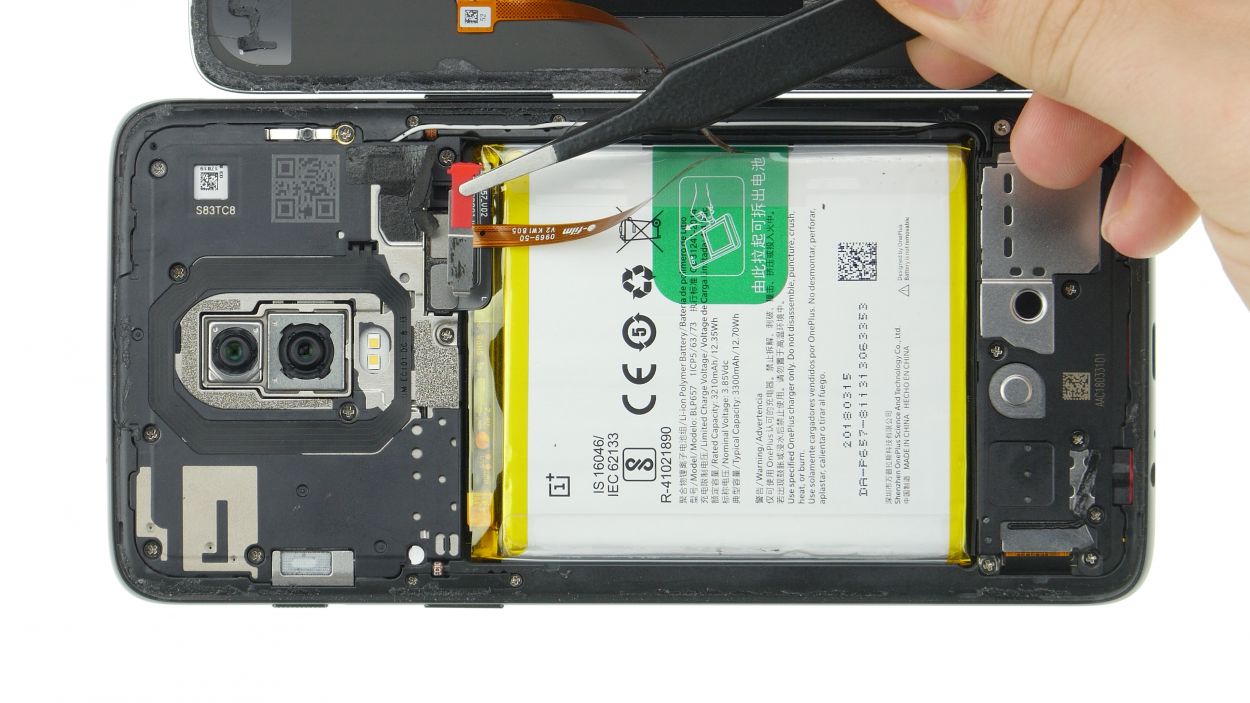
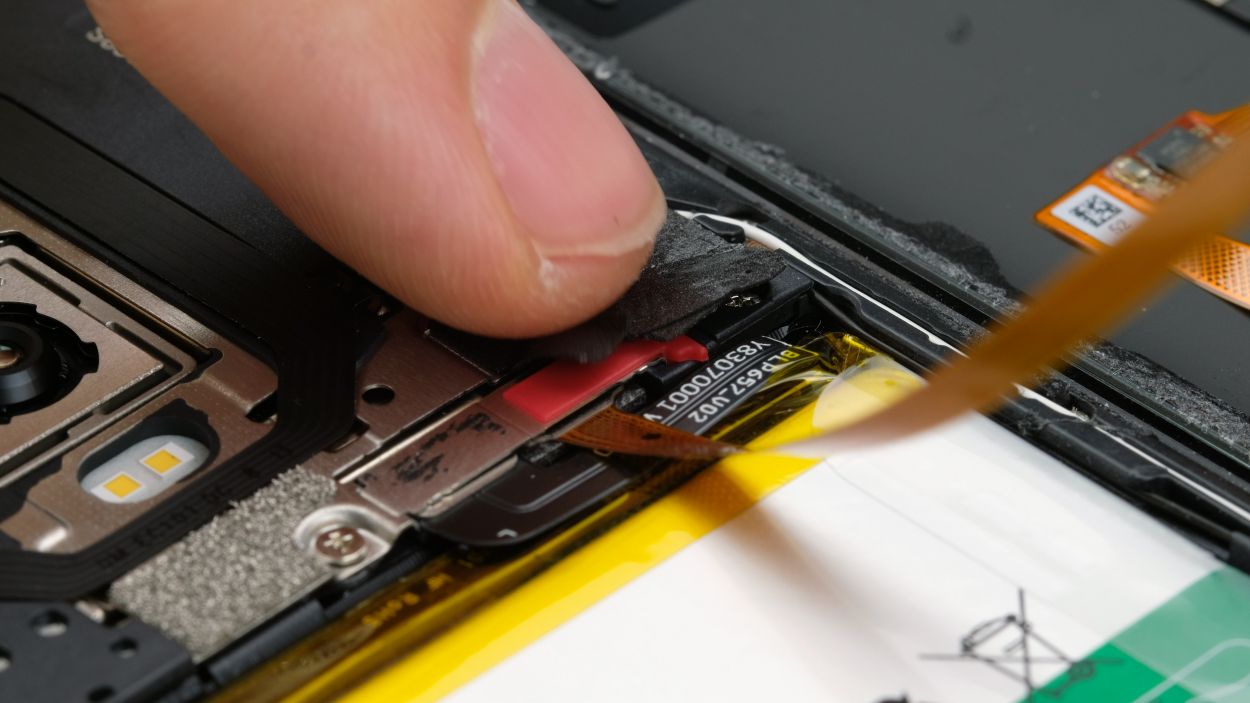
Step 8
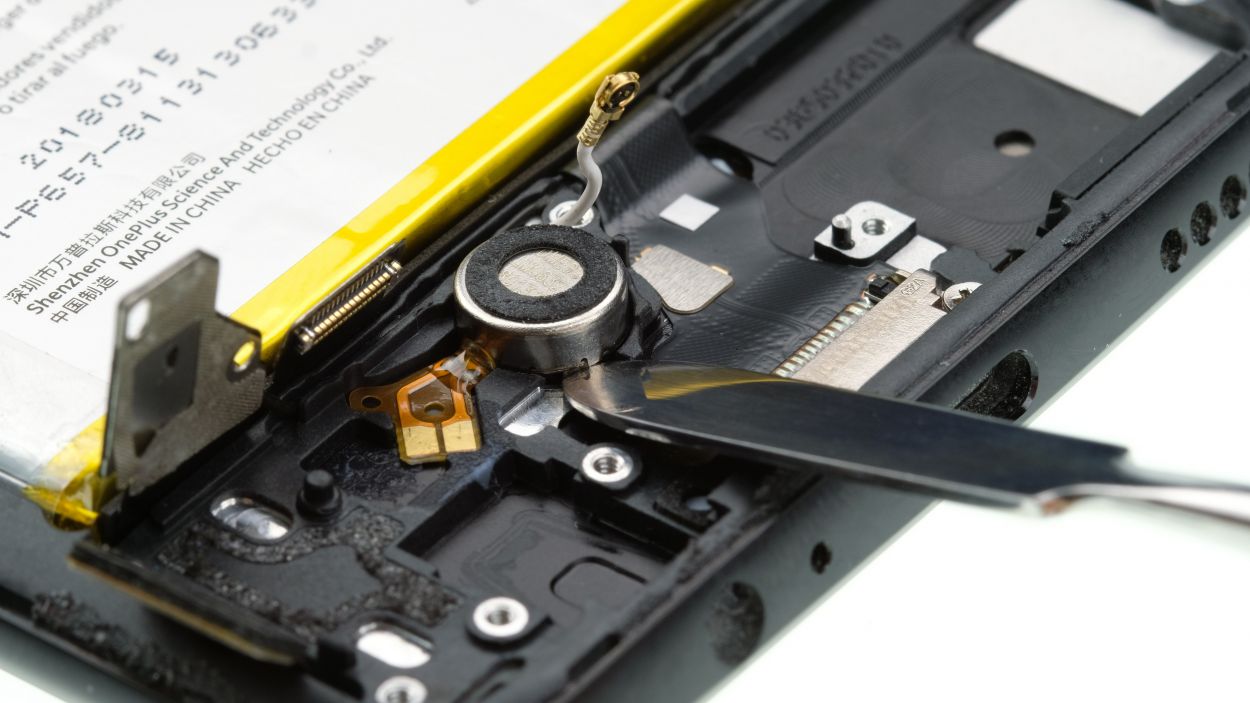
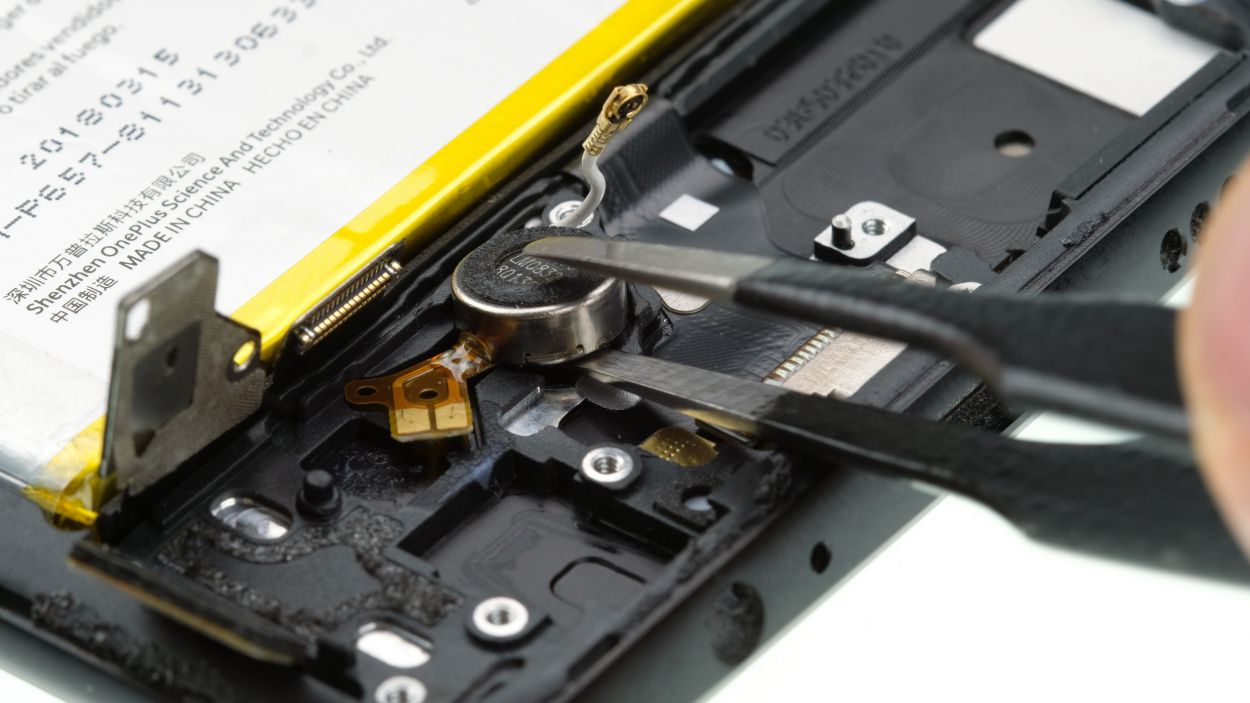
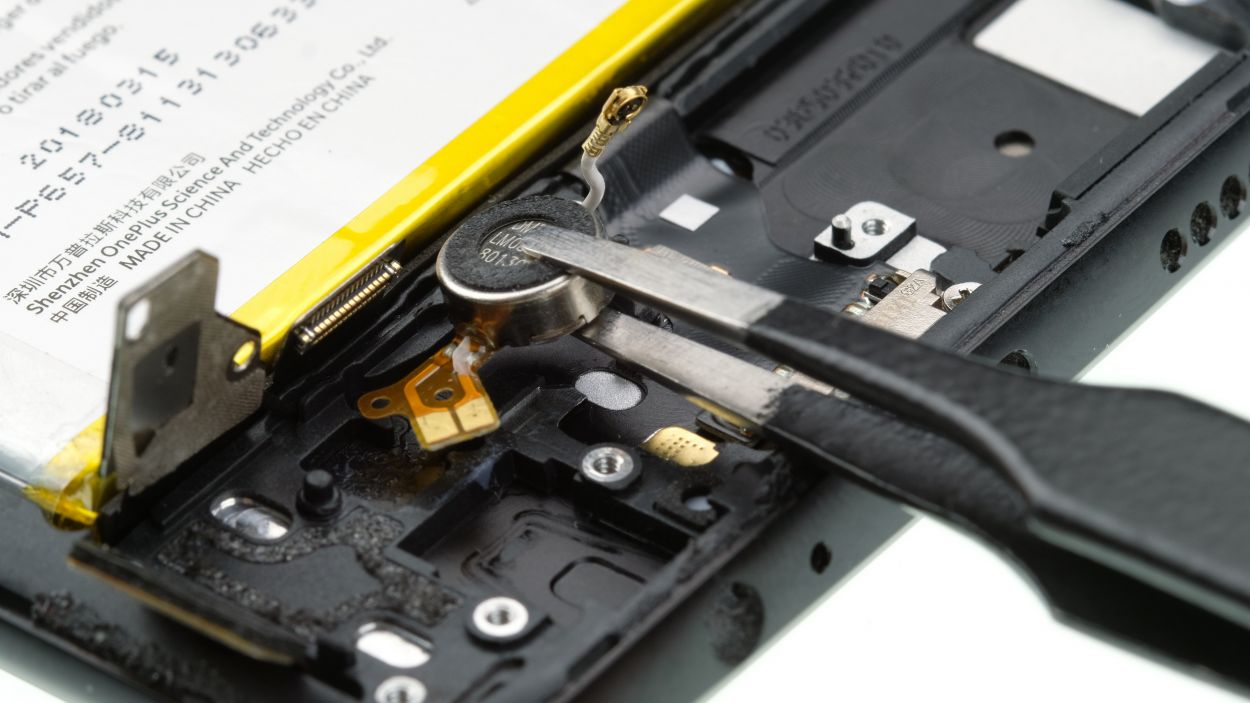
– Carefully loosen the vibration motor with a flat tool and take it out.
Step 9


– Slide that vibration motor right into its cozy little spot.
– Double-check that the contacts are sitting pretty where they belong.
– Give the vibration motor and contacts a nice firm push so they stick together like best buddies.
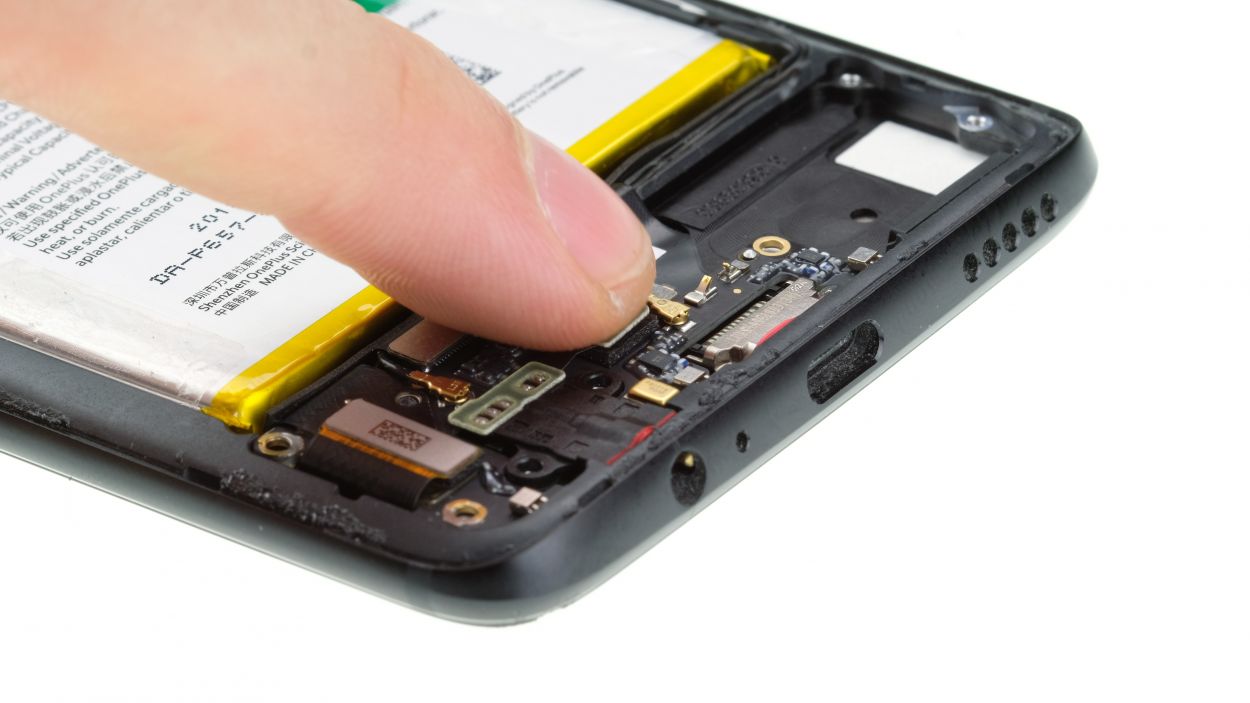
Step 10
Ensure those antenna cables are cruising along their designated paths like they own the place!
– Gently place the lower board back in its cozy spot. Make sure it sits snugly all around, with those tiny openings hovering right above the device’s little noses.
– Carefully attach the display cable plug to the board. The round opening is your trusty guide for perfect positioning.
– Connect the display connector and the cable to the mainboard—it’s like a little handshake to get everything talking!
– Grab your tweezers and connect those antenna connectors. Line up the plugs just above their sockets and give them a firm press with a spudger to lock them in place.
Step 11

– Gently slide the headphone jack into its cozy spot. Make sure that shiny golden pin makes its way through the opening.
– Give the jack a nice, firm press and connect that connector like a pro!
Step 12


8 × 3,0 mm Phillips
– Give that speaker a super-snug hug on the bottom edge. Press down until it won’t budge!
– Let’s lock that speaker in with some rocking Phillips screws.
Step 14

Fingerprint Connector
– Nestle the back cover close to your device for easy access.
– Guide the fingerprint sensor cable carefully over to its mainboard buddy and make that connection!
– Cap it off with the cover, making sure the red rubber piece finds its spot, and seal it back up with the black glue.
Step 15

– First things first, power up your device and give that screen a good look!
– Next, slide an app along the edge and zigzag it across the display to ensure the touchscreen is responding like a champ at every spot.
– Don’t forget to check out the brightness levels—test both the dimmest and the brightest settings.
– Time to put those cameras to the test! Check out the front and rear cameras along with the flash.
– Make a call to test out the microphone and earcup—let’s make sure you can hear and be heard!
– Finally, mute your phone and give that vibration motor a whirl to see if it’s buzzing just right.
Step 16

Give your device a cozy little break by clamping it between a couple of books. Let that glue work its magic for about an hour!
– Heat the device again to soften the glue of the back cover.
– Press the back cover firmly onto the frame of the device.


