How to Replace OnePlus One Battery – DIY Guide
Duration: 15 min.
Steps: 7 Steps
In this handy repair guide, we’re here to walk you through the fun process of swapping out that tired battery in your OnePlus One! If you’re finding your phone acting a bit moody during intense usage, refusing to charge, or just generally lacking energy, this guide is for you. Let’s bring that spark back to life!
Step 1
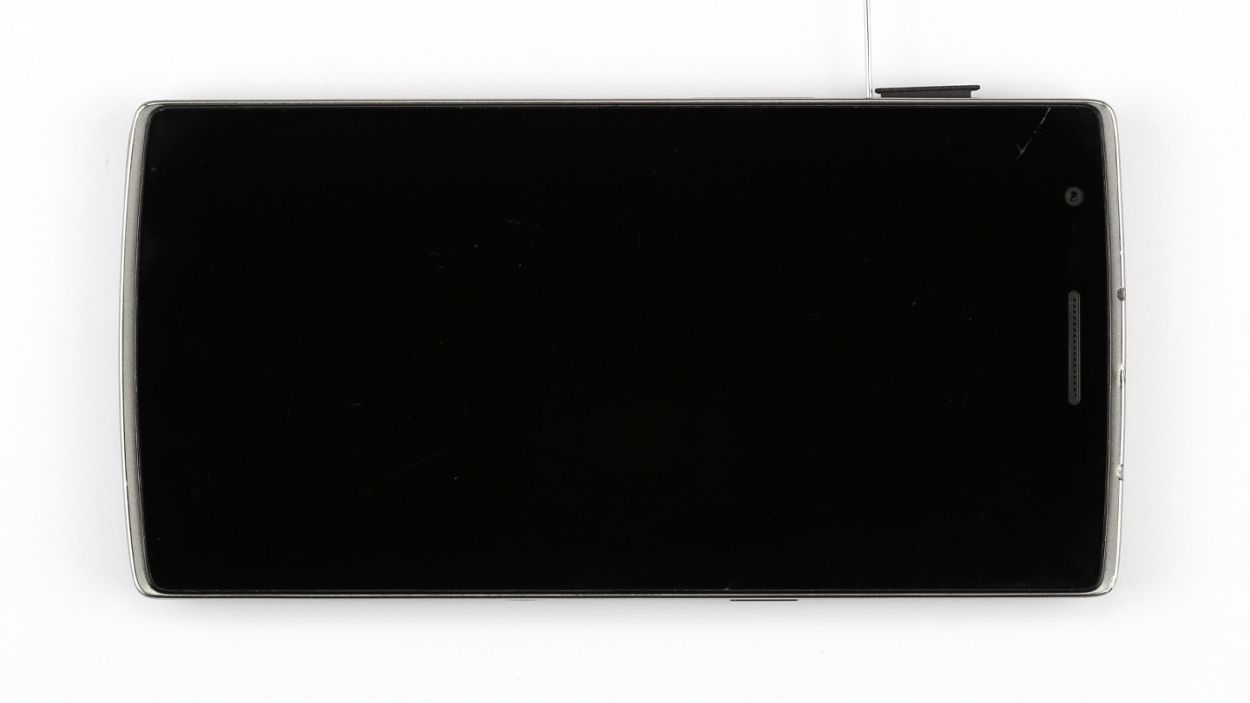
– First, let’s power down your OnePlus One. Safety first, right?
– Grab your trusty SIM Tool or a paperclip and get ready to pop that SIM card tray out. Just press the tool into the tiny hole on the tray, and voilà, it’s out!
Step 2

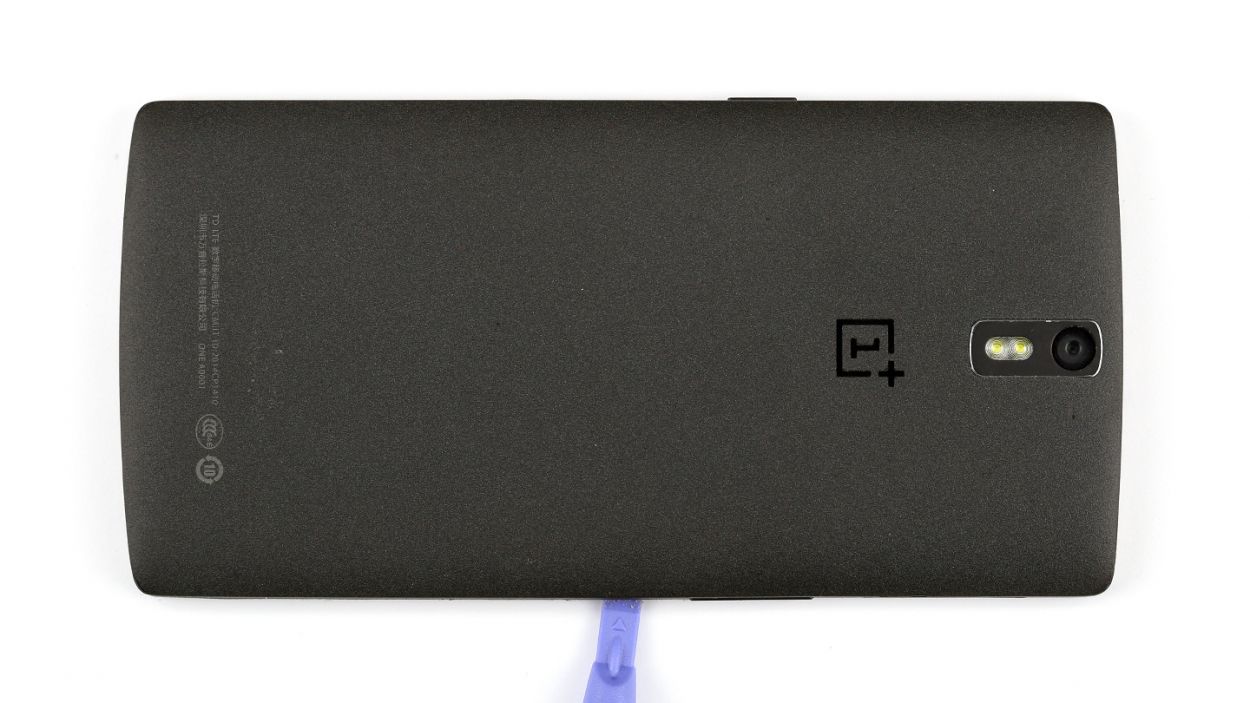
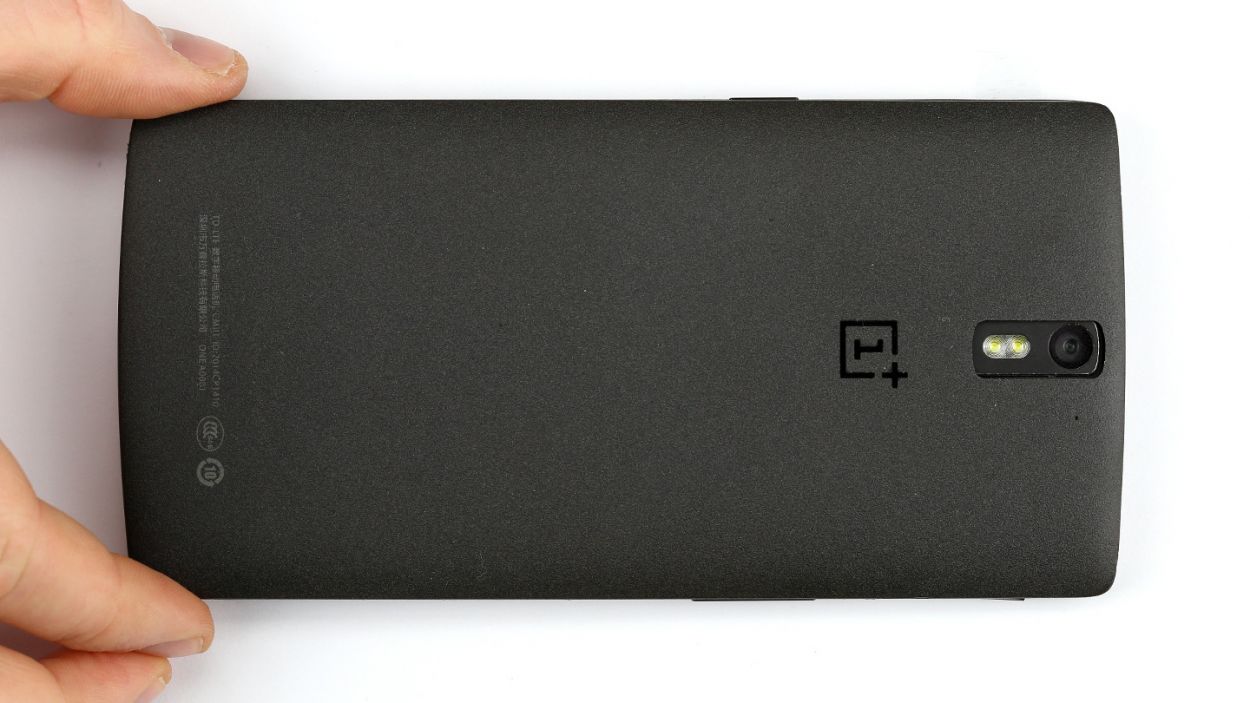
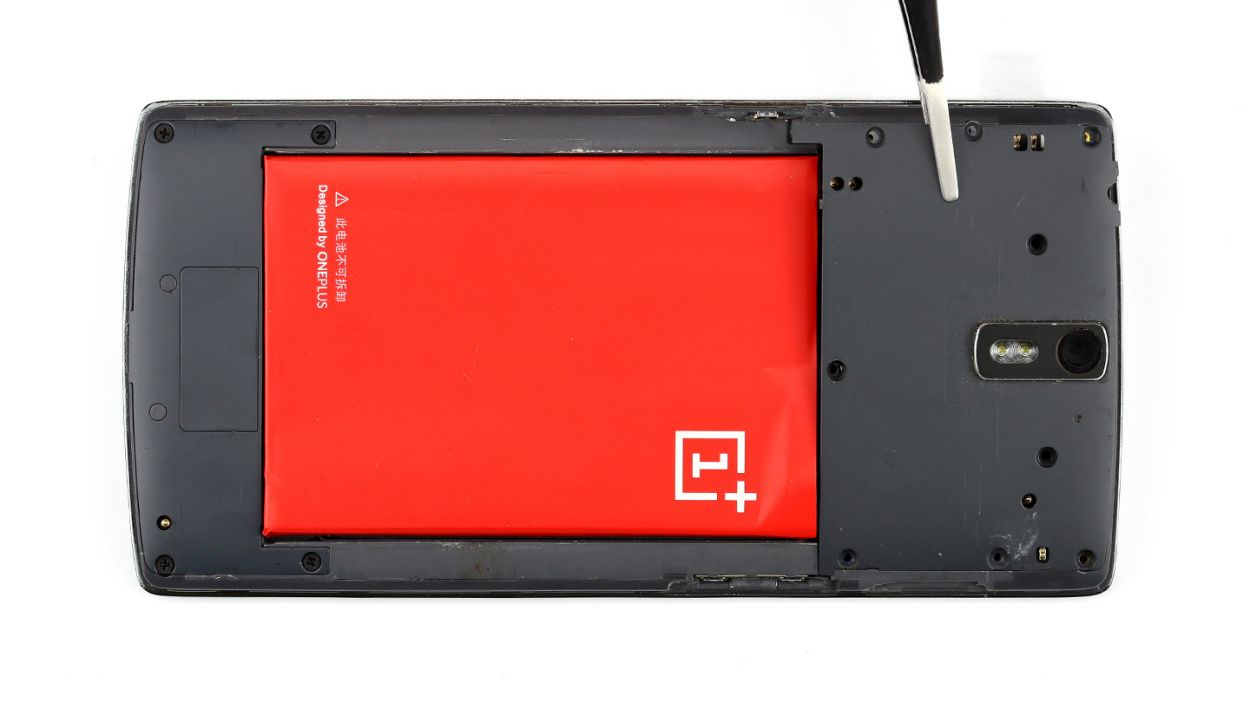
– Grab a thin, flat, tapered spudger and gently slide it into the corner gap of your smartphone. You’ll find some sneaky clips hiding under the back cover that need to be disconnected. Just run that spudger around the smartphone once to free them up! If you’re feeling adventurous, you can also use your trusty fingernails to pop off the back cover.
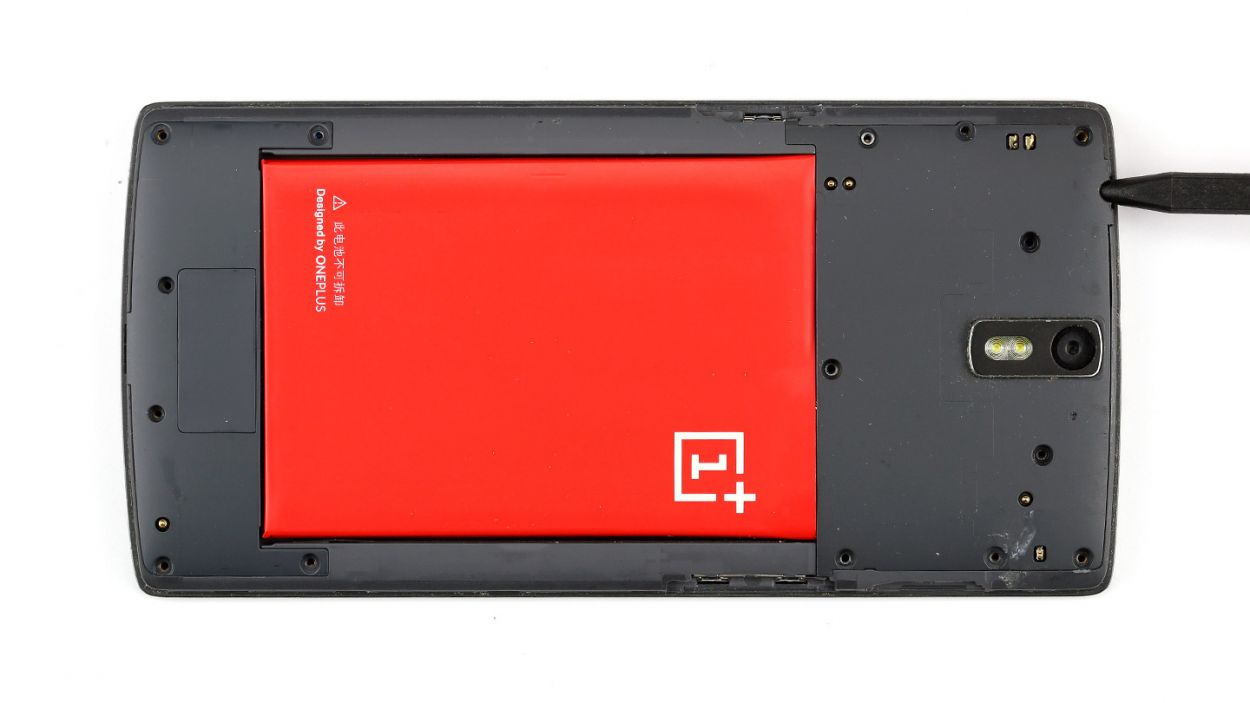
– Once you’ve done that, go ahead and lift off the back cover!
Step 3


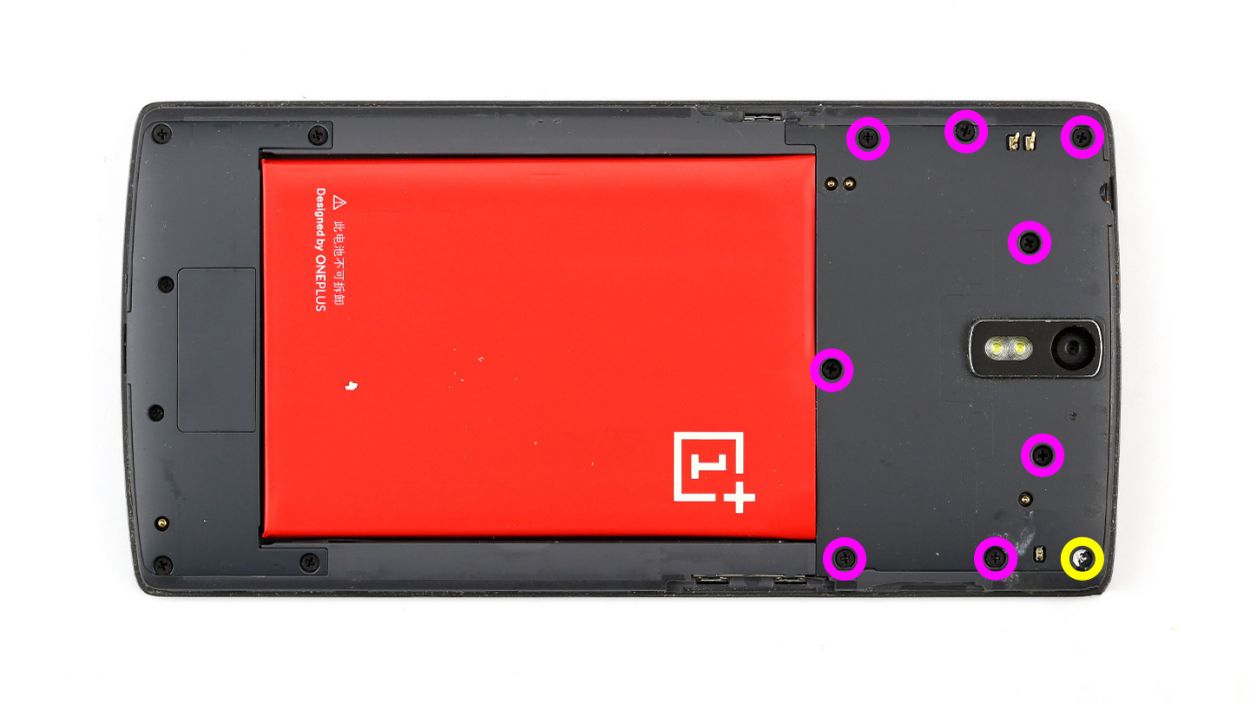
– Time to tackle those 15 Phillips screws holding the plastic cover snugly in place. Let’s get to it!
– Keep an eye out for 5 sneaky Phillips screws hiding under a rubber cover. Grab a sharp object to gently lift that cover off and reveal the treasures beneath. We’re looking for 12 x 3.1 mm Phillips screws here.
– Next up, let’s uncover some more screws! You’ll find 8 x 3.1 mm Phillips screws and 1 x 3.1 mm Phillips screw waiting for you to remove them.
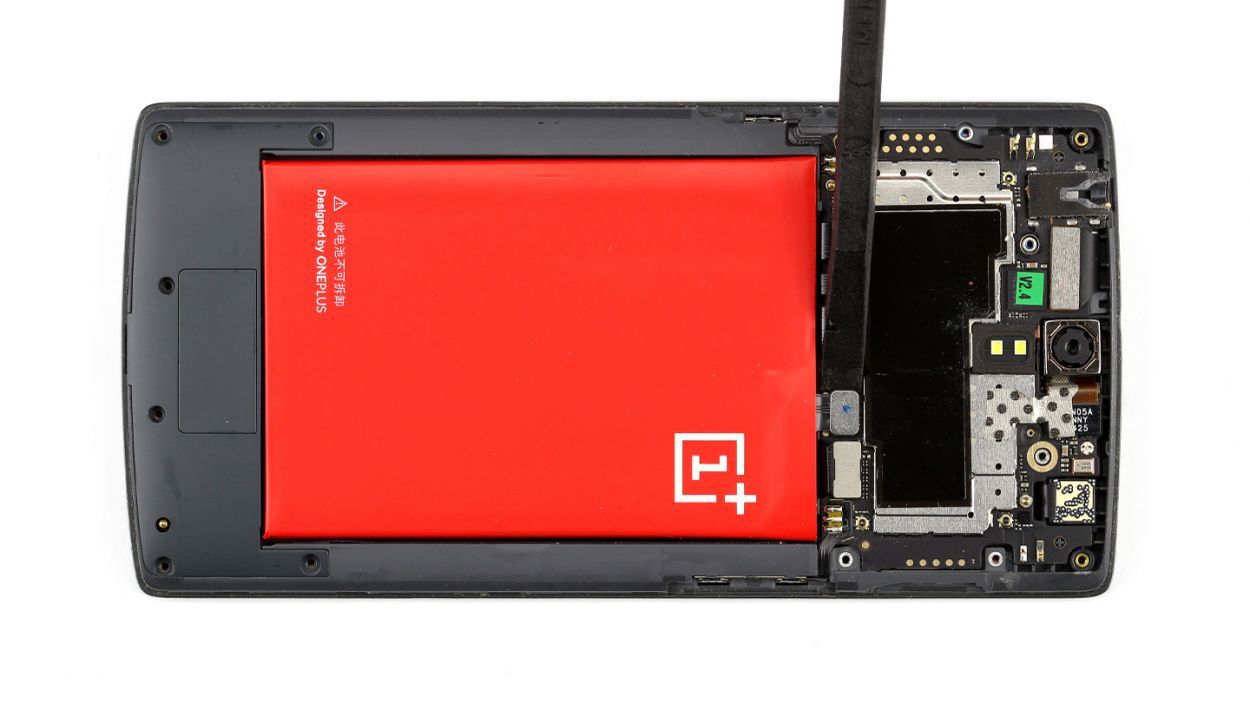
– Now, let’s lift off the logic board cover. Carefully slide the pointed tip of your ESD spudger into the headphone jack and give that black cover a little lift. Don’t forget to pry it out at other spots too. You’re doing great!
Step 4
– Alright, let’s get your device back in tip-top shape! First, if your OnePlus One is still powered on, go ahead and hold down that standby button for about three seconds. Follow the instructions on the display, and you’ll have that baby turned off in no time.
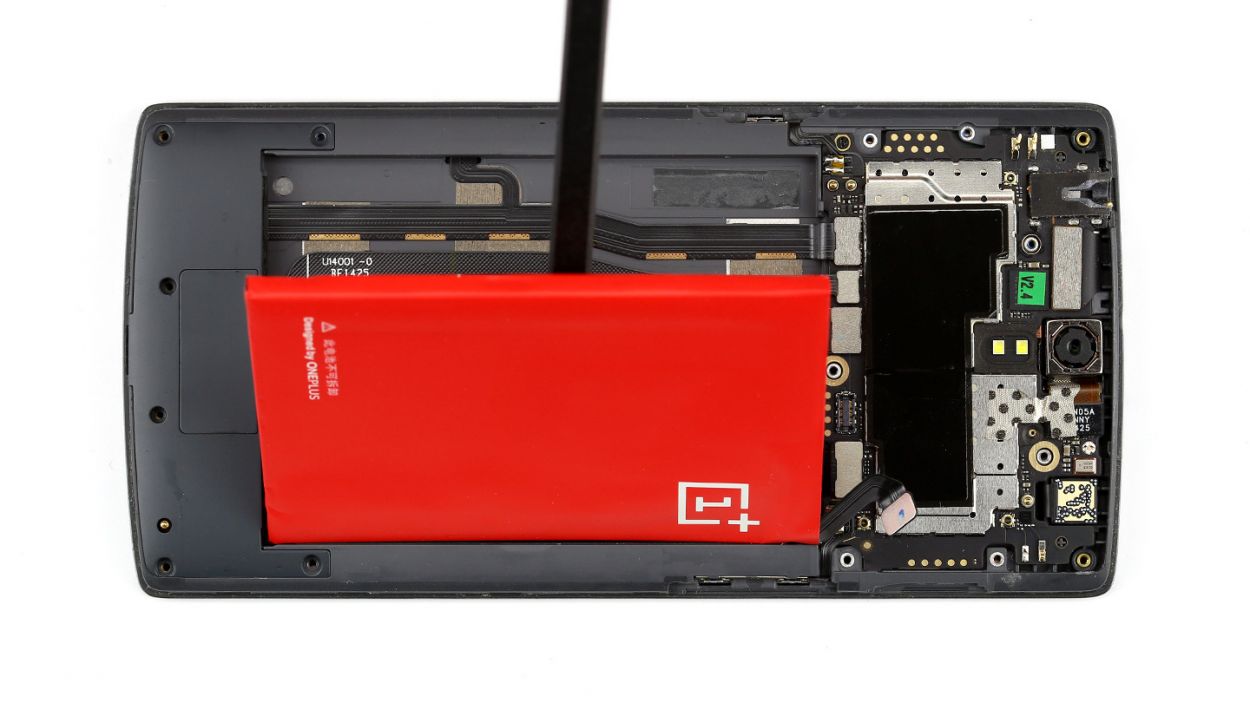
– Next up, we’re going to detach the battery connector. Now, be super careful here – you don’t want to damage anything. Gently slide that spudger tool just below the contact, and lift it up nice and easy. The pictures show you exactly where to place that spudger, so you can avoid any mishaps.
– Finally, use that spudger to lift the battery out. Easy peasy! If you need any help along the way, you can always schedule a repair with the friendly folks at Salvation Repair.
Step 6

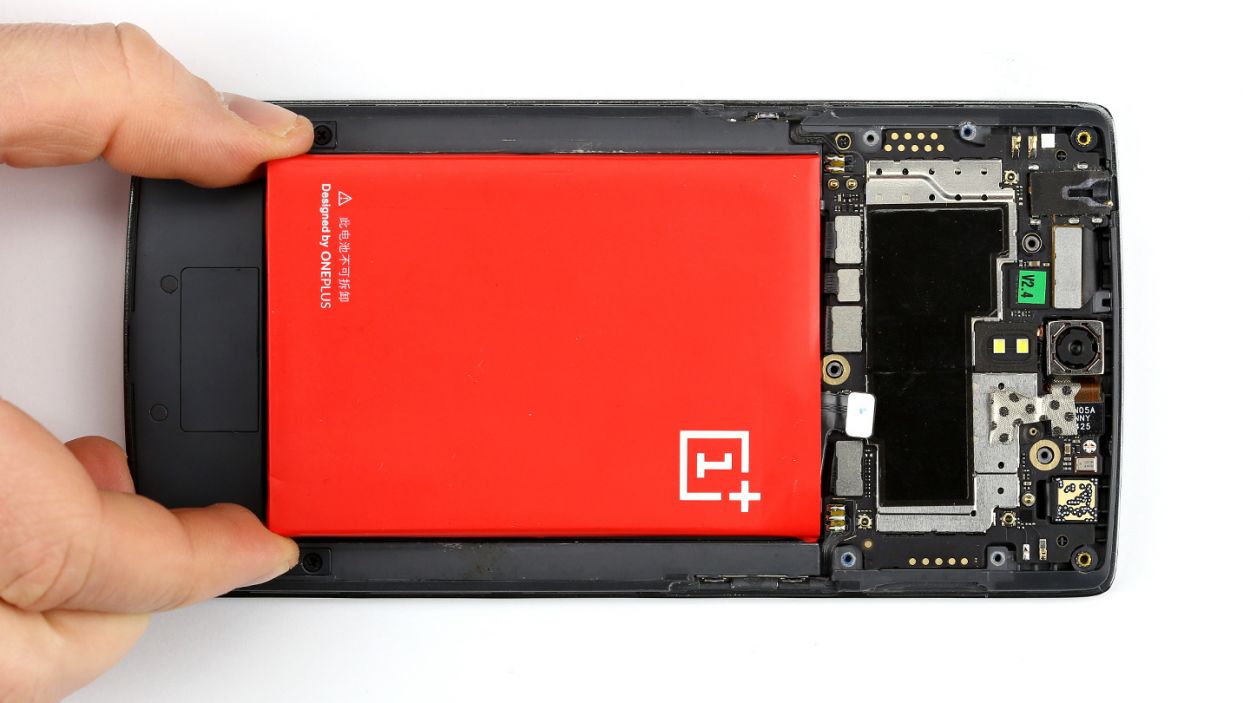
– Time to put everything back together – start by replacing the cover.
– Next, grab your trusty screwdriver and secure all the Phillips screws again. Don’t forget the 8 x 3.1 mm ones and that single 3.1 mm screw.
– Last but not least, pop those little rubber plugs back into place. If you need help, you can always schedule a repair.
Step 7

– It’s very easy to put the back cover back on. Put it on in the correct position and press it on all the way around the phone until it’s completely clicked into place.