How to Replace Optical Drive Asus A53U-ES21 Tutorial
Duration: 45 minutes
Steps: 4 Steps
Hey there! Just a heads up: tackling this repair can be a bit tricky, so make sure you’re ready to roll. If you hit a snag or need a hand, don’t hesitate to schedule a repair with our team. You’ve got this!
Having a tough time with your computer reading or writing those shiny optical discs like CDs and DVDs? If you’ve already checked for software hiccups, don’t worry! This guide will walk you through the steps to swap out your optical drive and get back to business. If you need help, you can always schedule a repair.
Step 1


Make sure your trusty laptop is taking a nice power nap.
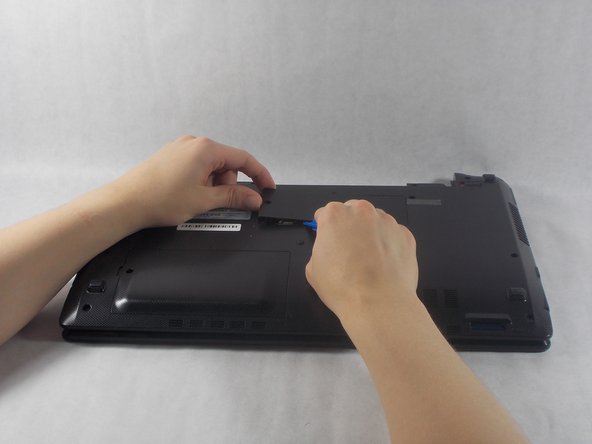
– Turn your laptop over so the battery is looking right at you!
Step 2


– Gently slide both sliders towards the edge of the laptop, just like you’re opening a treasure chest!
– Now, with your left hand, give the battery a little tug while keeping the right slider in place. Easy peasy!
Step 3


– Time to tackle that pesky 5mm screw! Grab your trusty Phillips #1 screwdriver and give it a twist.
– Now, let’s move on to the RAM panel. Use those handy iFixit opening tools to pop it off like a pro!
Tools Used


Step 4


– Loosen the 7mm screw with your trusty Phillips #1 screwdriver.
– Gently slide out the optical drive from the side of the laptop.
Tools Used