How to Replace Outer Screen Adhesive Google Pixel Fold
Duration: 45 minutes
Steps: 12 Steps
Hey there! This repair guide is here to help you fix your tech. It was created by the Salvation Repair team. Need a little extra help? You can always schedule a repair.
Get ready to tackle that outer screen adhesive replacement for your Pixel Fold! This handy guide will walk you through the steps to remove the outer screen like a pro. If you haven’t taken the plunge yet, don’t worry—you’re in the right place to start. And remember, if you need help, you can always schedule a repair.
Step 1


If you’re planning to reuse that nifty small adhesive in the top right corner, feel free to breeze past any steps that involve it.
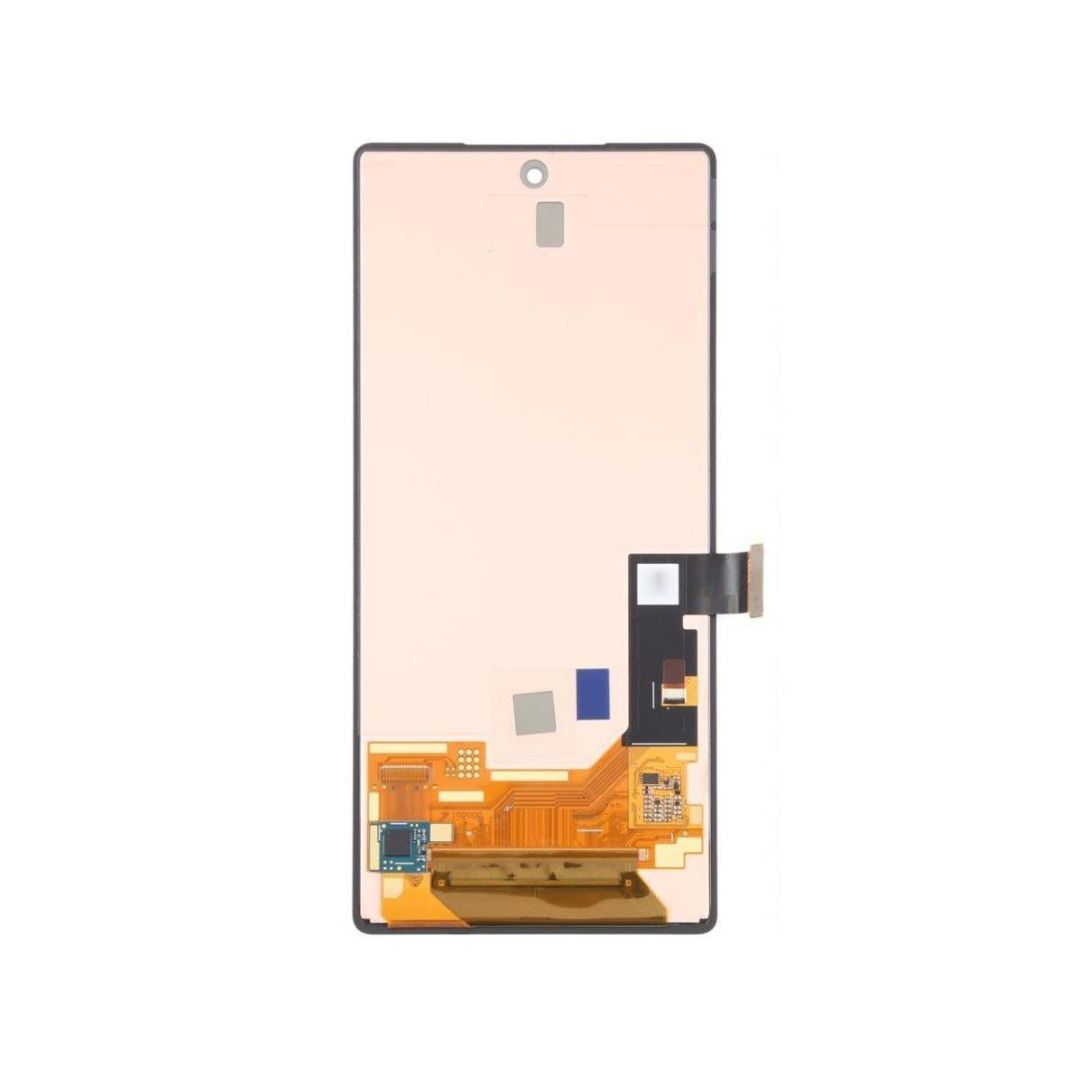
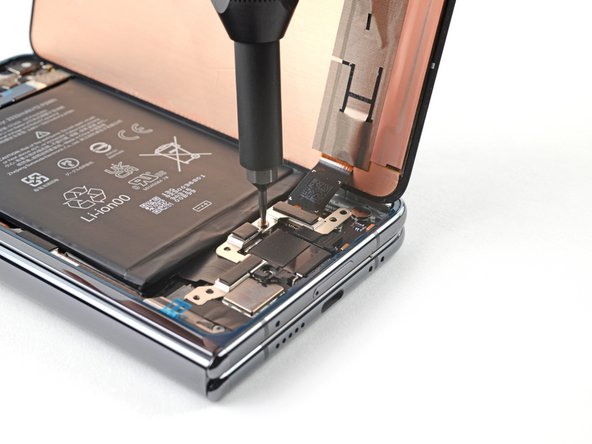
– Gently peel off the tiny adhesive strip from the clear liner in the top right corner. It’s like unwrapping a little gift!
– Now, stick that new adhesive right onto the top right bracket of the frame. It’s time to secure things up!
– With a spudger or just your fingers, give that adhesive a nice press down to make sure it sticks. You’ve got this!
Tools Used

Step 2


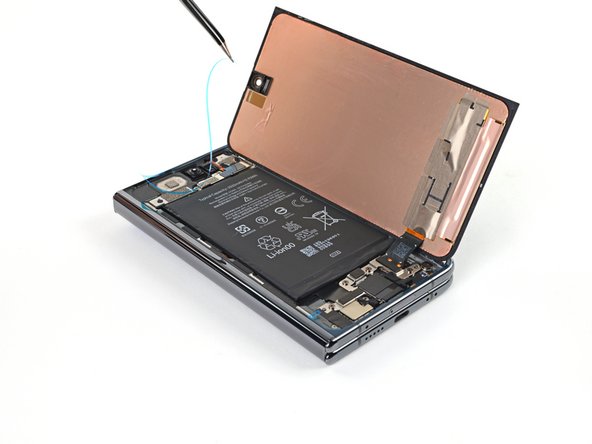
– Before diving into the sticky stuff, take a moment to ensure that the large perimeter adhesive aligns perfectly with the frame. It’s a small step that makes a big difference!
– Check for those nifty cutouts in the liner—they’re like little guides to help you get the adhesive exactly where it needs to be. You’ve got this!
Step 3

No worries! This step’s a bit tricky, so take your time and make sure the adhesive is in the right spot. We’ve got your back!
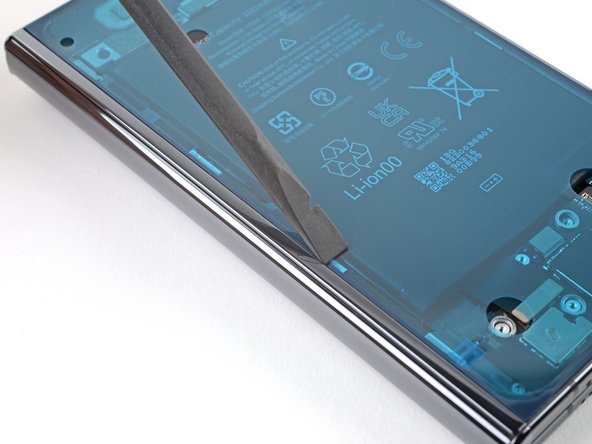
– Start by gently peeling off the new adhesive strip from its clear backing. Easy peasy!
– Next, let’s get that adhesive lined up just right! Begin with the top left corner and then tackle the bottom left edge.
– Now, carefully place the adhesive all around the perimeter of the frame. You’ve got this!

Step 5

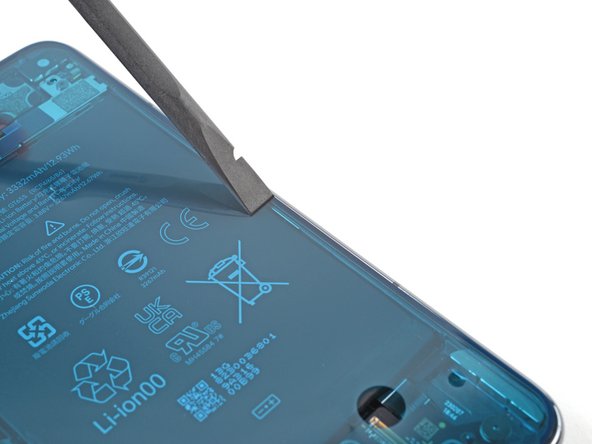
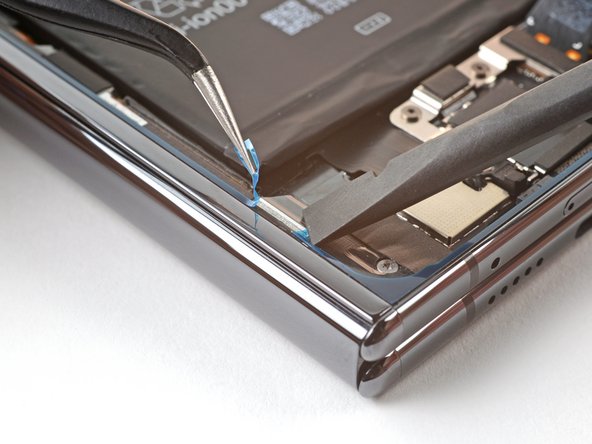
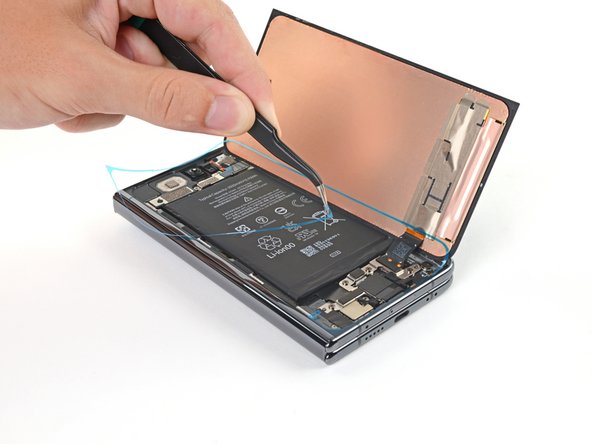
– Lift up the segmented tab at the bottom left corner of the large blue liner.
Step 6

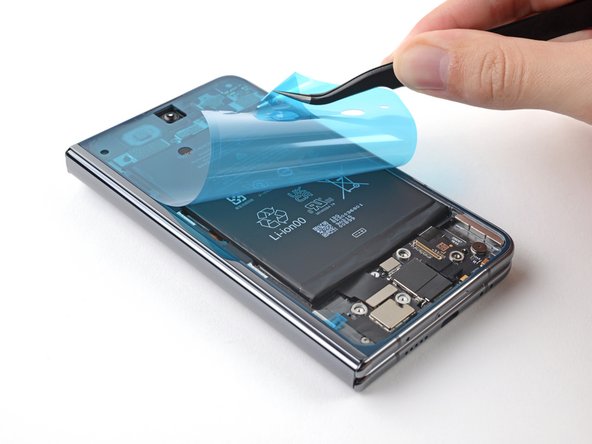
– Gently lift the tab and carefully peel away the sizable blue liner to unveil the secondary liner beneath it.


Step 10
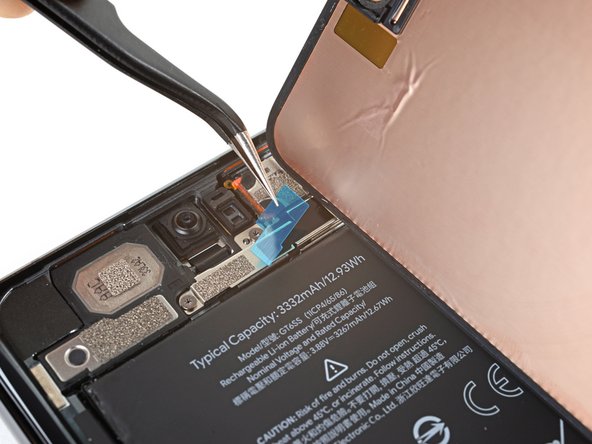

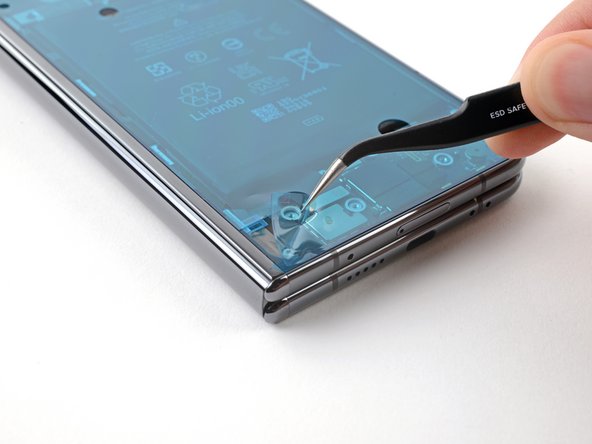
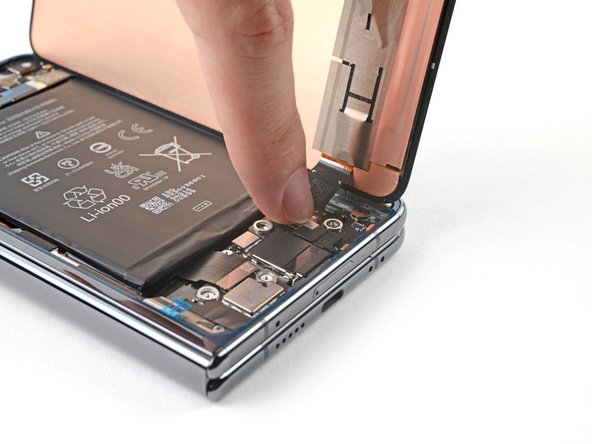
– Time to get rid of that blue liner on the top right adhesive strip! It’s like peeling off a sticker, but way cooler.
Step 11
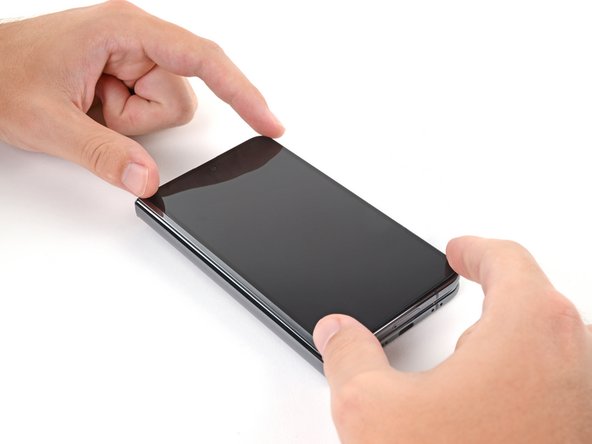

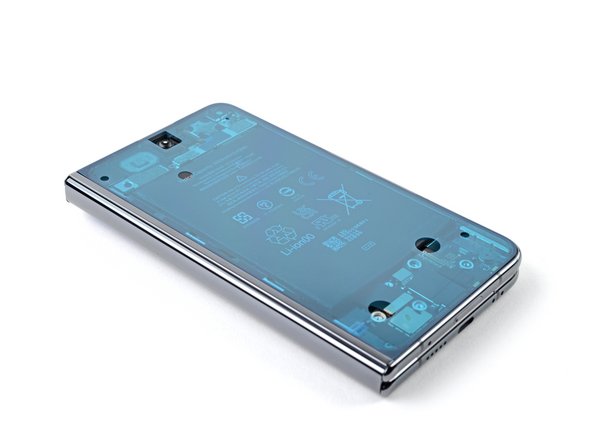
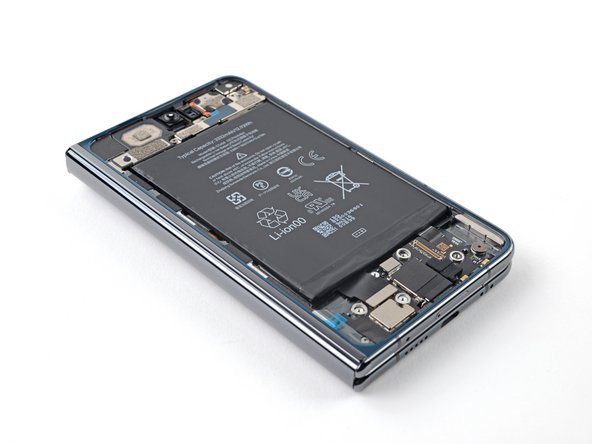
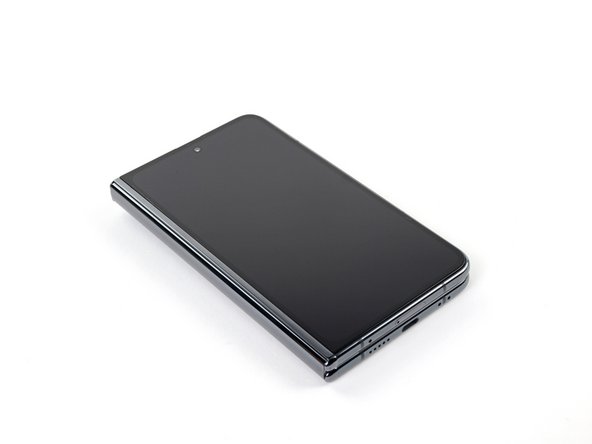
– Gently position the screen right over its cozy little cutout in the frame.
– Carefully set the right edge of the screen onto the frame, ensuring everything fits snugly without any pesky gaps or exposed adhesive.
– Now, bring the left edge of the screen into place on the frame, just like a puzzle piece finding its perfect spot.
Step 12
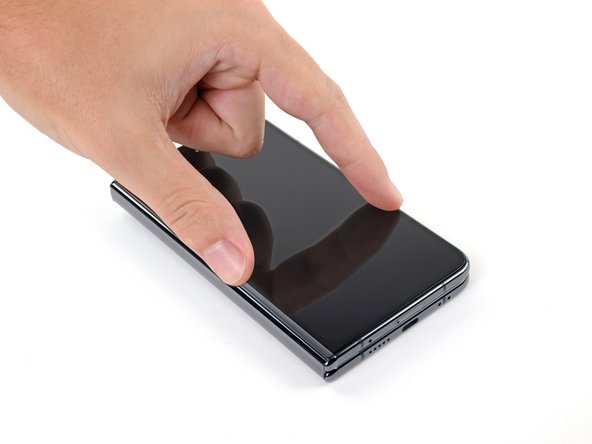

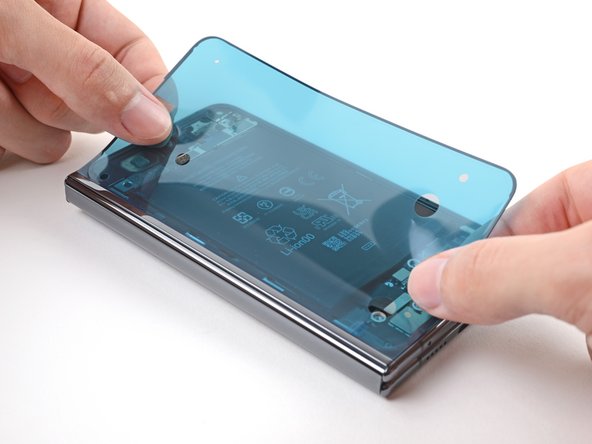
– Give that screen a good, firm press all around to make sure it’s snug as a bug in a rug.
– Let the phone chill out for a few hours so the glue can get all cozy and secure.
Success!