How to Replace PlayStation 2 Fan: Step-by-Step Guide
Duration: 45 minutes
Steps: 17 Steps
Swap out your PlayStation 2’s fan. Time to tackle this fix with confidence and a bit of fun! Follow these steps to get your console cool and quiet again.
Step 1


– Alright, let’s get this PlayStation 2 flipped over so the bottom is facing up, just like a turtle on its back!
– Grab your trusty metal spudger and gently pry out those eight flat screw covers. They’re just waiting to be freed!
– Now, it’s time to tackle the screws holding the top cover to the bottom case. Here’s what you need to remove:
– Four Philips screws, each measuring 55.4 mm – they’re the longer ones!
– And don’t forget the four shorter Philips screws, measuring 18.0 mm. They’re just as important!
Tools Used

Step 2

– Get ready to tackle those screws! Some models have a different number, so make sure to remove all the feet and screws from the bottom of the case – every single one of them.
– Now, if you’ve got the 10 screw model, you’ll find 6 screws hanging out in the bottom-most portion, and 4 more chillin’ in the upper tray. Take ’em all out!
Step 3

To keep that pesky VOID from making an appearance, gently warm it up before you remove and replace it with care!
– Gently peel off the warranty sticker (it’s hanging out right next to the main power switch) and set it aside like a pro.
Step 4


For an easier time getting things started, try prying open the side near the power switch first, while gently rocking the top cover towards the front of the bottom case. You’ve got this!
– Turn the PlayStation 2 back to its usual upright position.
– Take the top cover off the bottom case.
– Gently disconnect the power cord that links the top and bottom halves by detaching it from the top case.
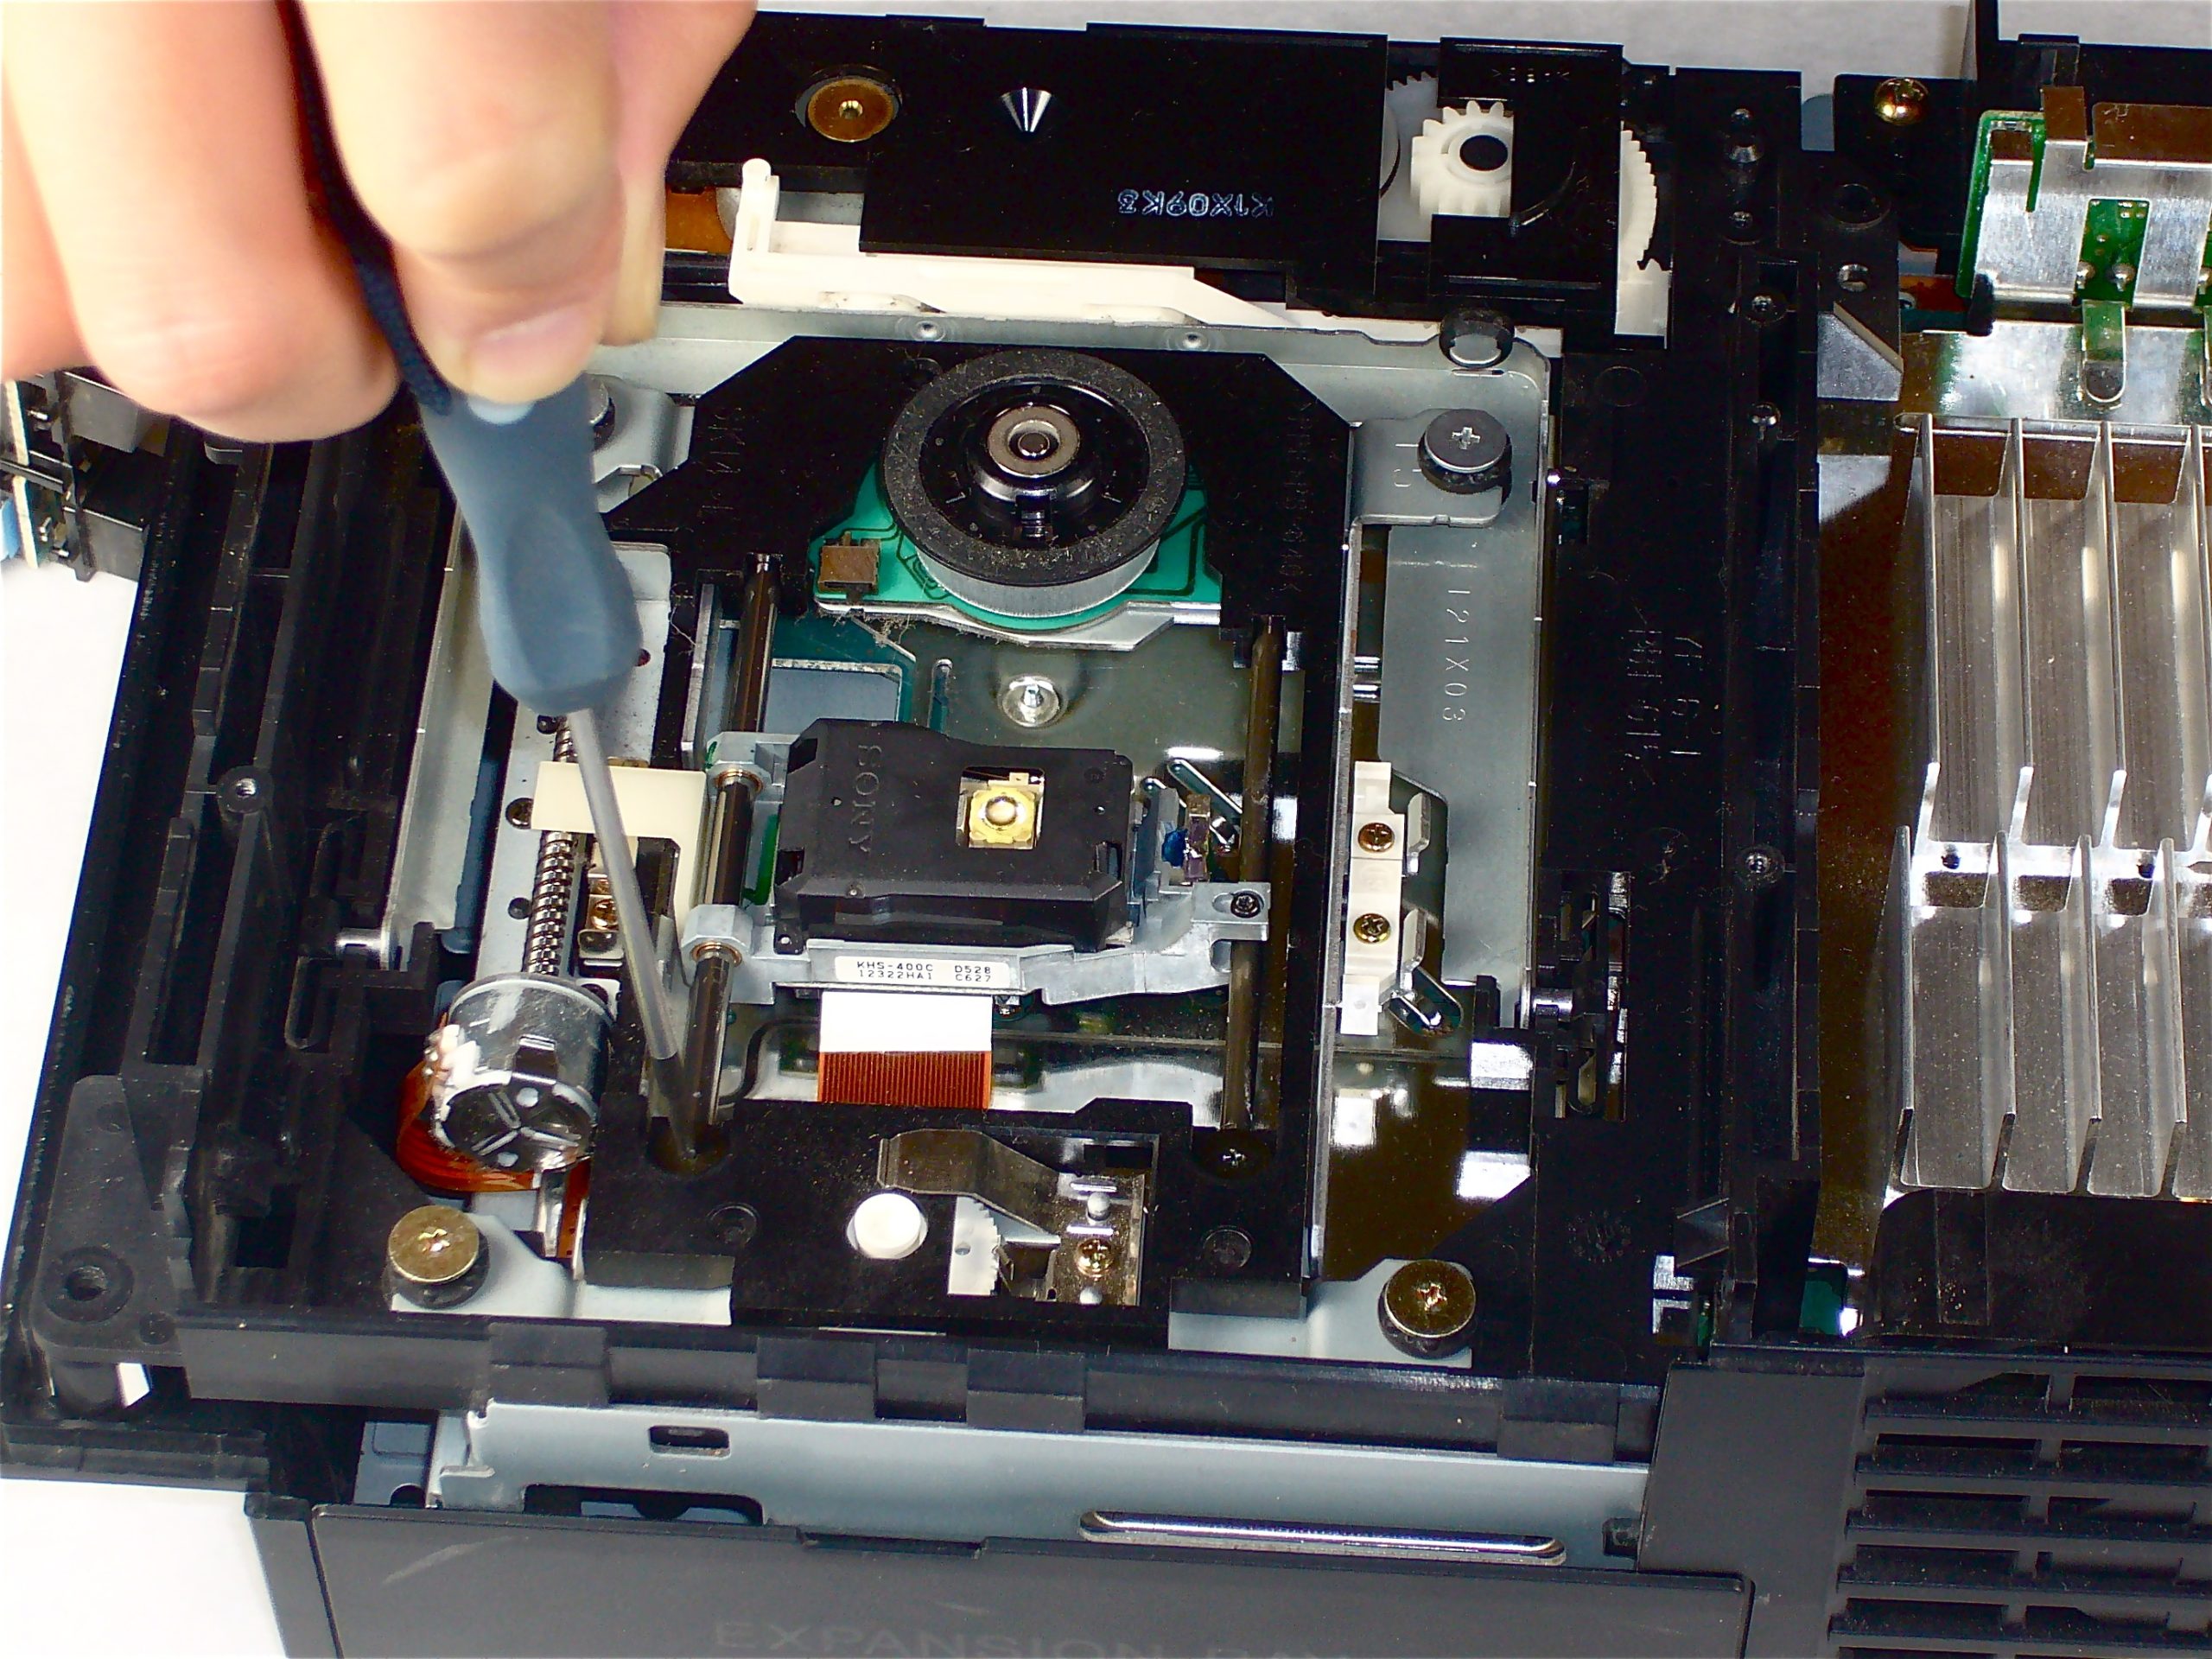
Step 5


– Time to set that optical disc drive free! Start by removing the two 6.4 mm black Phillips screws that are holding it in place at the bottom of the case.
– Now, gently lift the optical disc drive straight up and out of the bottom case – it’s like a mini liberation!
Step 6


– Take out those two shiny 14.6 mm gold-headed Phillips that are keeping the controller ports attached to the bottom case. No sweat!
Step 7


Keep the controller port board snug! It’s still connected by a ribbon cable, so let’s not let it go solo.
– Carefully lift the controller port board out from its cozy spot in the bottom case—no rush, take it slow!
– Gently pull the controller port ribbon cable straight out from its socket on the controller port board. A firm but delicate touch does the trick here.
– Slide the controller port board out of the bottom case, and you’re good to go!
Step 8

– Unscrew the two 14.6 mm gold Phillips screws that are holding the fan in place on the bottom case.
Step 9

Before diving in, make sure to clear out the expansion bay! If there’s a device hanging out in there, give it a gentle nudge and remove it. We want that expansion base to be nice and empty for the next steps!
– Gently pry and lift the expansion bay cover away from its posts on the bottom case. You’re doing great!
Step 10

– Carefully tilt up the motherboard assembly from the front edge and take it out of the lower case.
Step 11

Now that we’ve cleared out the bulky plastic, it’s time to dive into the exciting part – the electronics!
– Alright, grab your trusty Phillips screwdriver and unscrew those four 7.6 mm gold-head screws holding the power supply to the motherboard assembly. Let’s get this show on the road!

Step 13


Hold off on removing the power board for now! It’s still connected to the motherboard via the power board connector (highlighted in the first picture) right next to the main power switch. Patience, it’s almost time!
Gently lift the power board to reveal the power board connector snugly attached to it. You’ve got this!
– Gently tug the power board connector straight out to free it from its cozy spot on the power board.
Step 14

Beneath the power supply nook in the motherboard assembly, you’ll find a clear plastic gem known as the heat shield.
– Gently take off the heat shield from the motherboard assembly.
– Getting that heat shield off can be a little stubborn, so don’t worry if it takes a bit of finesse to set it free!
Step 15


Time to pop out the fan and the main power switch assembly—smooth sailing from here!
The fan and power switch are officially free from the rest of the PlayStation 2. Nice work!
– Time to get that fan cable loose! Gently peel away the little white tape (it’s the one highlighted in red) that’s keeping the fan cable snug with the fan.
– Now, give the fan cable a nice, straight pull upwards to release it from its cozy home on the motherboard.
– With the cable free, it’s time to liberate the fan and power switch assembly! Just pull it out from the bottom case like you’re freeing a trapped treasure.


Success!