How To Replace PlayStation 3 Super Slim Power Supply | Guide
Duration: 45 minutes
Steps: 9 Steps
So, you’re gearing up to swap out the power supply unit! That usually means your device isn’t getting the juice it needs to function properly. Before diving in, ensure you’ve got your trusty tools (listed below), some time to spare, and a tidy workspace ready for action. As you tackle the steps in this guide, remember to be gentle with the various panels and components—they can be a bit delicate and might bend or break with too much force. Take your time, read each step with care, and enjoy the journey of replacing that power supply! And if you find yourself in a pickle, feel free to schedule a repair for some extra help!
Step 1


The bay cover is located on the right side of your device. Keep an eye out for it!
– Slide that side HDD bay cover off with style—just push the panel toward the back of the device and let it glide off like butter!
Step 2


– Let’s get started by unscrewing those three black screws that are 9.8mm long using your trusty T-8 security screwdriver. You’ve got this!
– Next up, grab your Phillips #1 screwdriver and remove the blue screw that’s 7.9mm long. Easy peasy!
Tools Used

Step 3


Carefully take out the HDD and keep it safe to ensure your data stays intact and happy.
– Give that tab a gentle tug to slide out the HDD.
Step 4


One sneaky little screw is hiding under the warranty sticker! You can either peel it off like a pro or give it a little poke with your screwdriver. Let’s get that sticker out of the way and keep moving forward!
– Flip your device over and, with a trusty metal spudger, pop out those three rubber feet like a pro.
– Now grab a Phillips #1 screwdriver and unscrew the four black screws (36.3mm long) hiding underneath. Easy peasy!
Tools Used
Step 5


Alright, this part’s a bit of a challenge! If that front panel hook is being stubborn, you can try popping all the hooks off instead. Just a heads-up though—these little guys are pretty fragile, so go slow and steady. You’ve got this!
– At the top of your device, pop the hook on the far right under the front panel, give the panel a gentle lift, and press.
– Unhook the second right-side latch by sliding a plastic opening tool into the marked spot.
– Slide the panel left to release the rest of the hooks.
Step 6

– To get started, gently press down on the tab located on the right side of your device and slide that back panel to the left. Easy peasy!
Step 7


– Alright, grab your Phillips #1 screwdriver and tackle those five shiny silver screws, each standing tall at 20.8mm. They’re coming out first!
– Switch gears to your T-8 security screwdriver and evict the two little black screws (9.9mm each) hiding in the disc reader. They’re next on the list!
– Now, with the screws out of the way, gently lift off the top black plastic shell. It’s like peeling back the lid on a treasure chest—careful and steady does the trick!
Tools Used
Step 8


– Slide the optical drive gently to the side to uncover one of those shiny silver 8.8mm screws just chilling there.
– Grab your trusty Phillips #1 screwdriver and unscrew the two silver 8.8mm screws hanging out on either side.
Tools Used
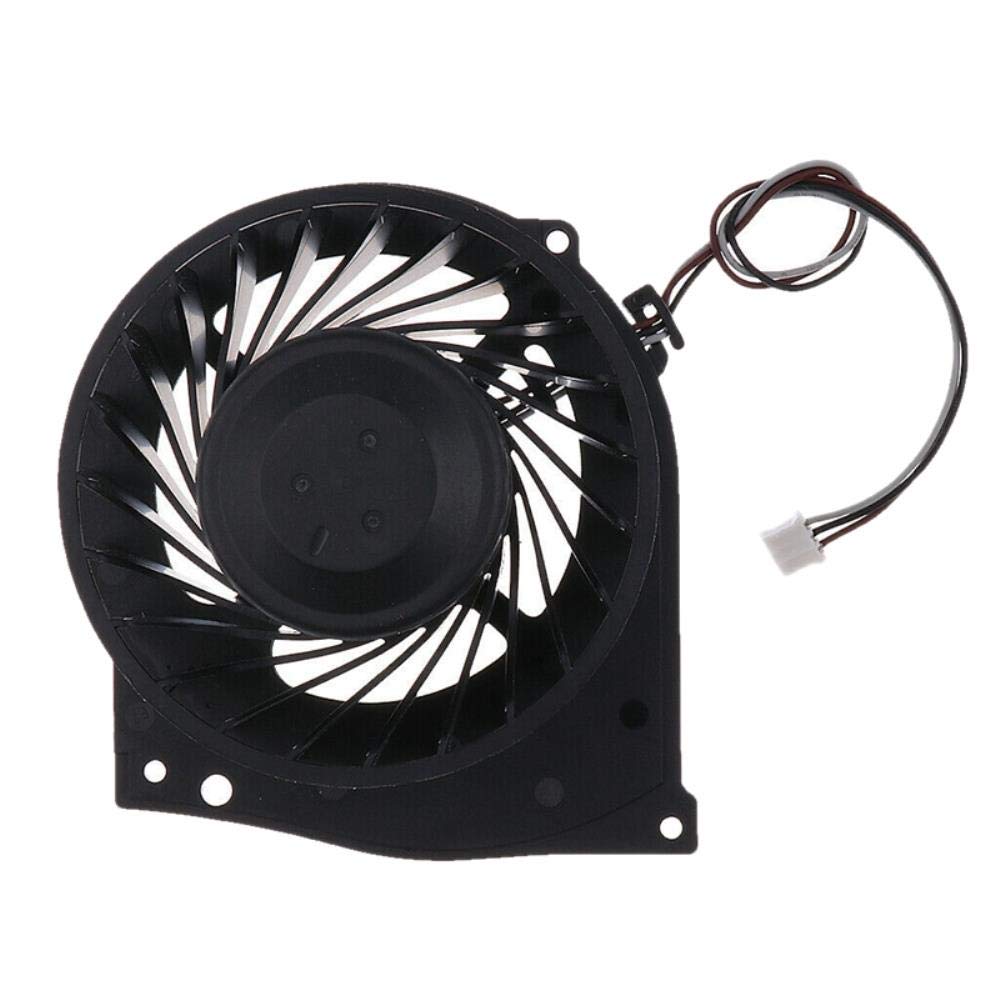
Step 9


When you’re unplugging that cable, give a gentle tug on the plastic connector, not the wires. Treat it like a delicate dance, and you’ll keep everything in tip-top shape!
– Unplug the cable from the socket and gently detach the wires from those two plastic hooks.
– Now, let’s take out the power supply unit.