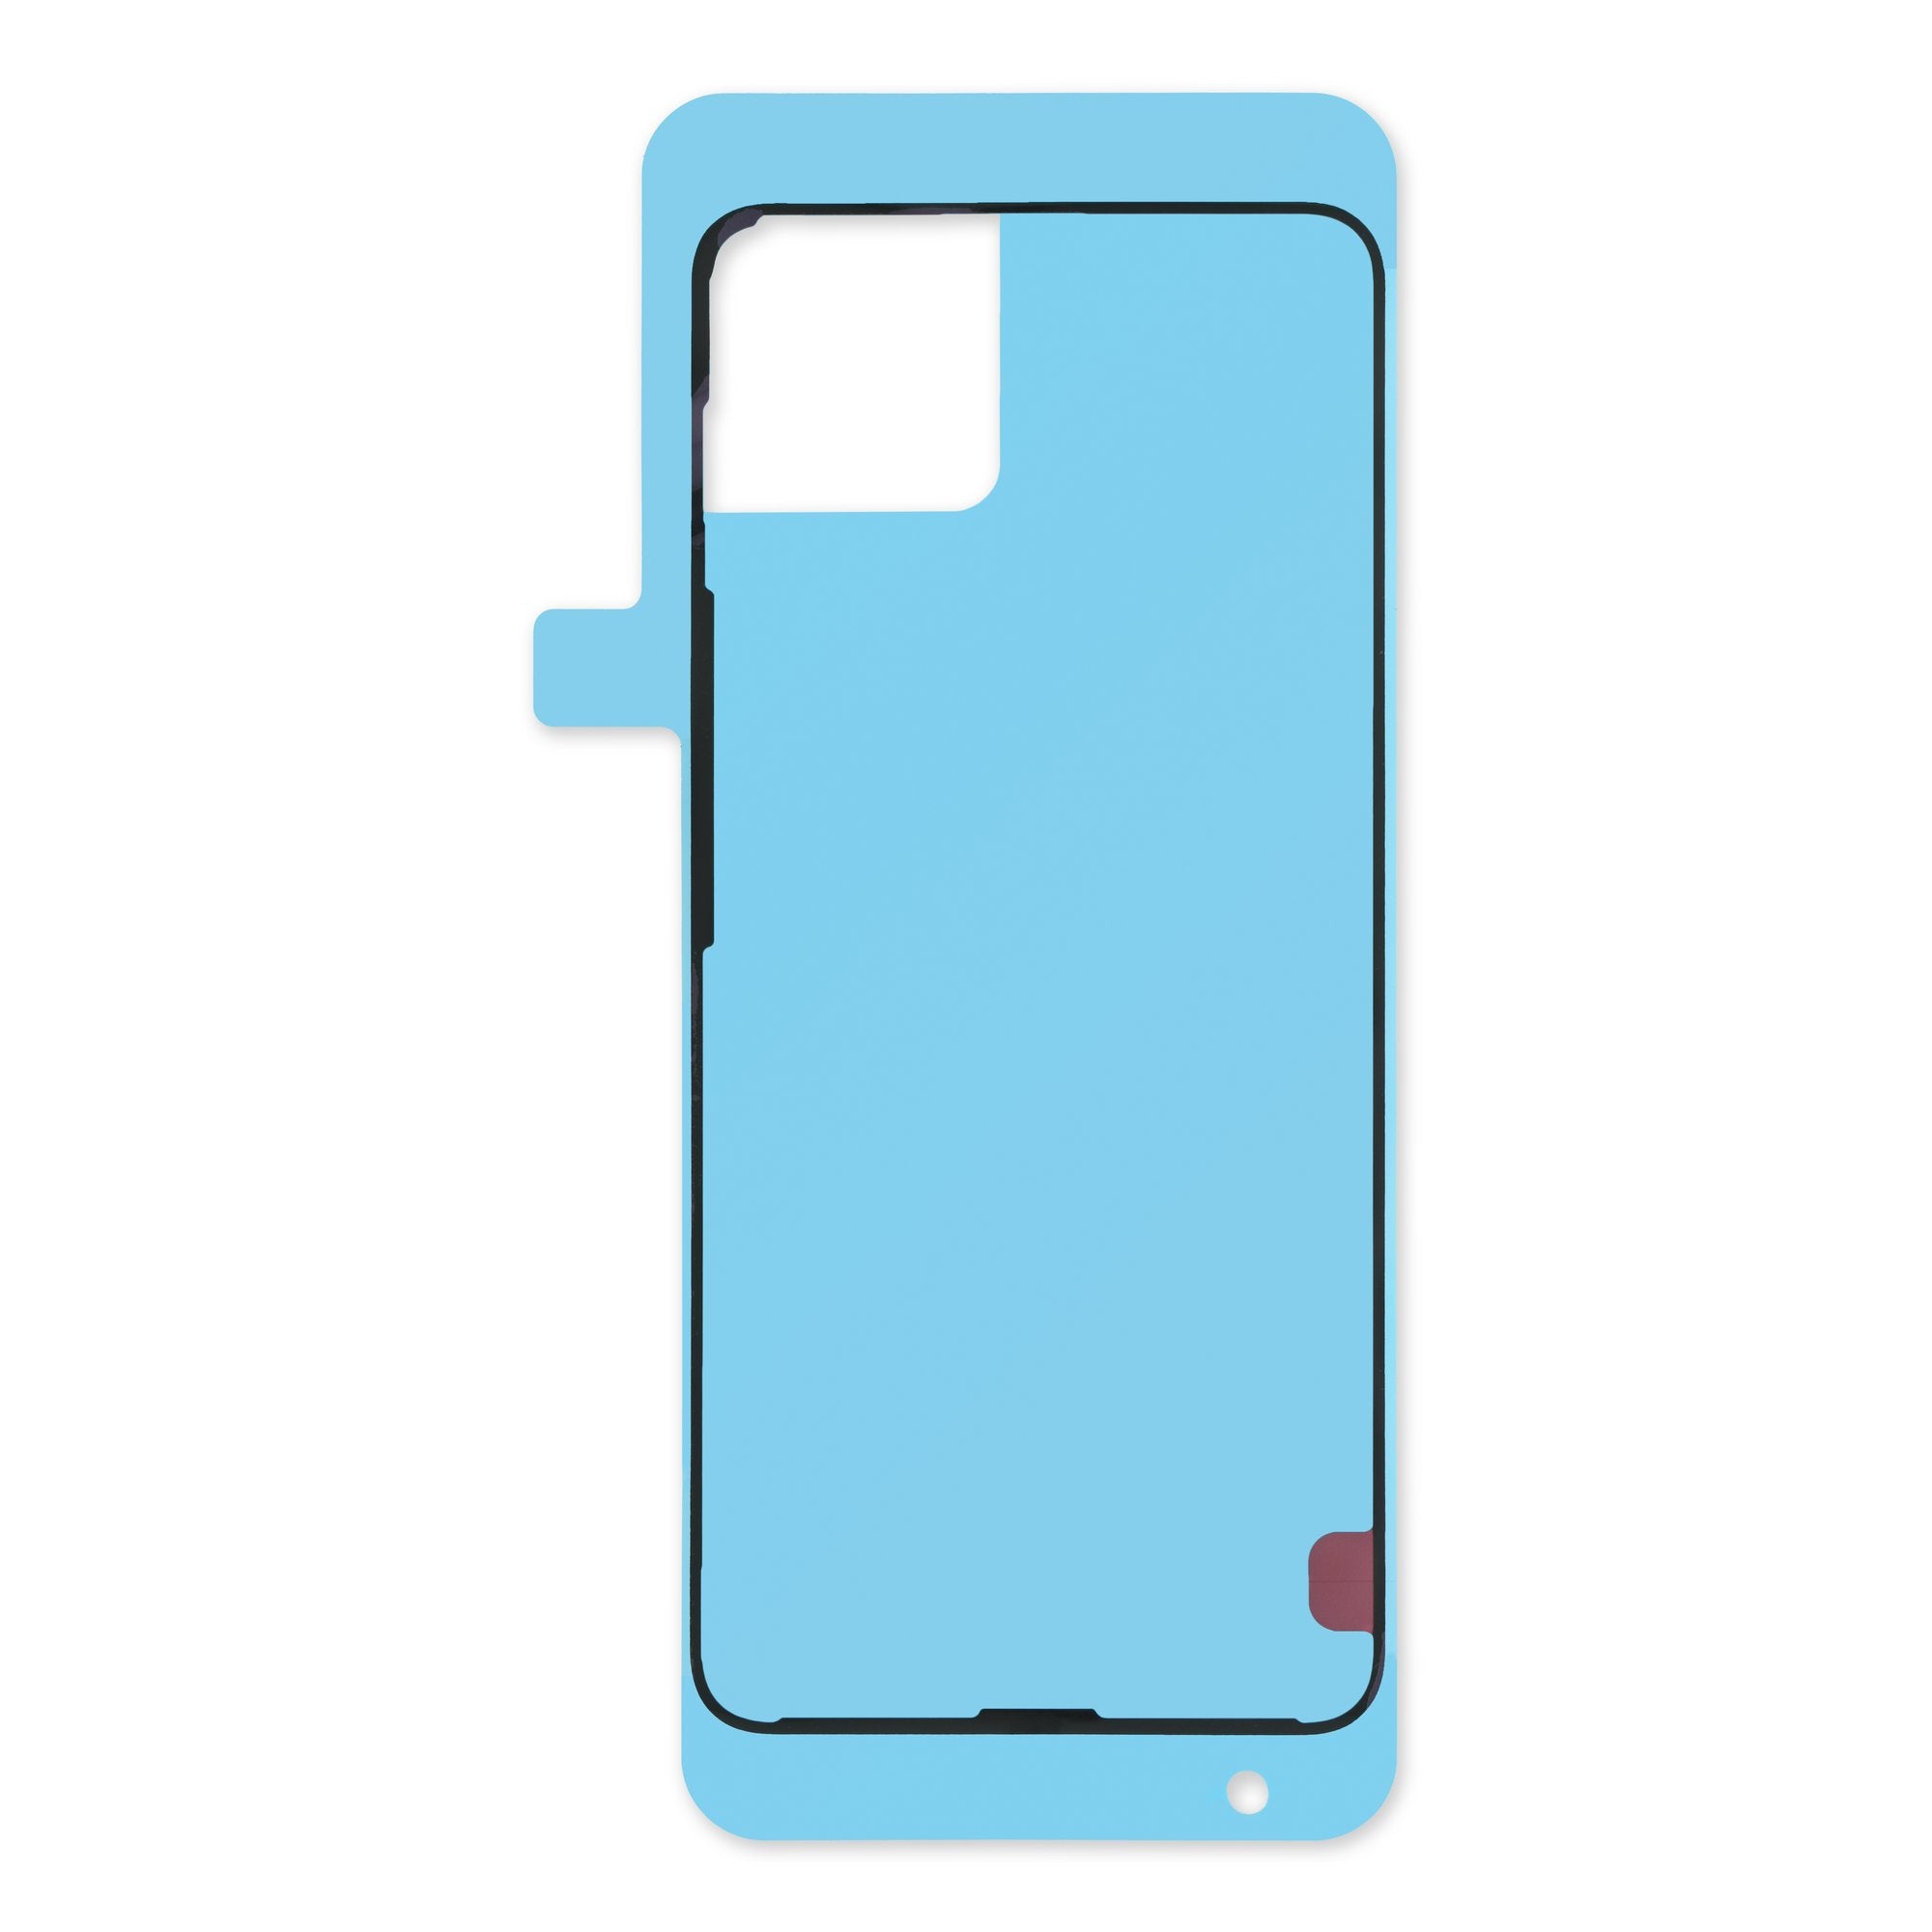
How to Replace Rear Cover Adhesive Google Pixel 9 Pro
Duration: 45 minutes
Steps: 14 Steps
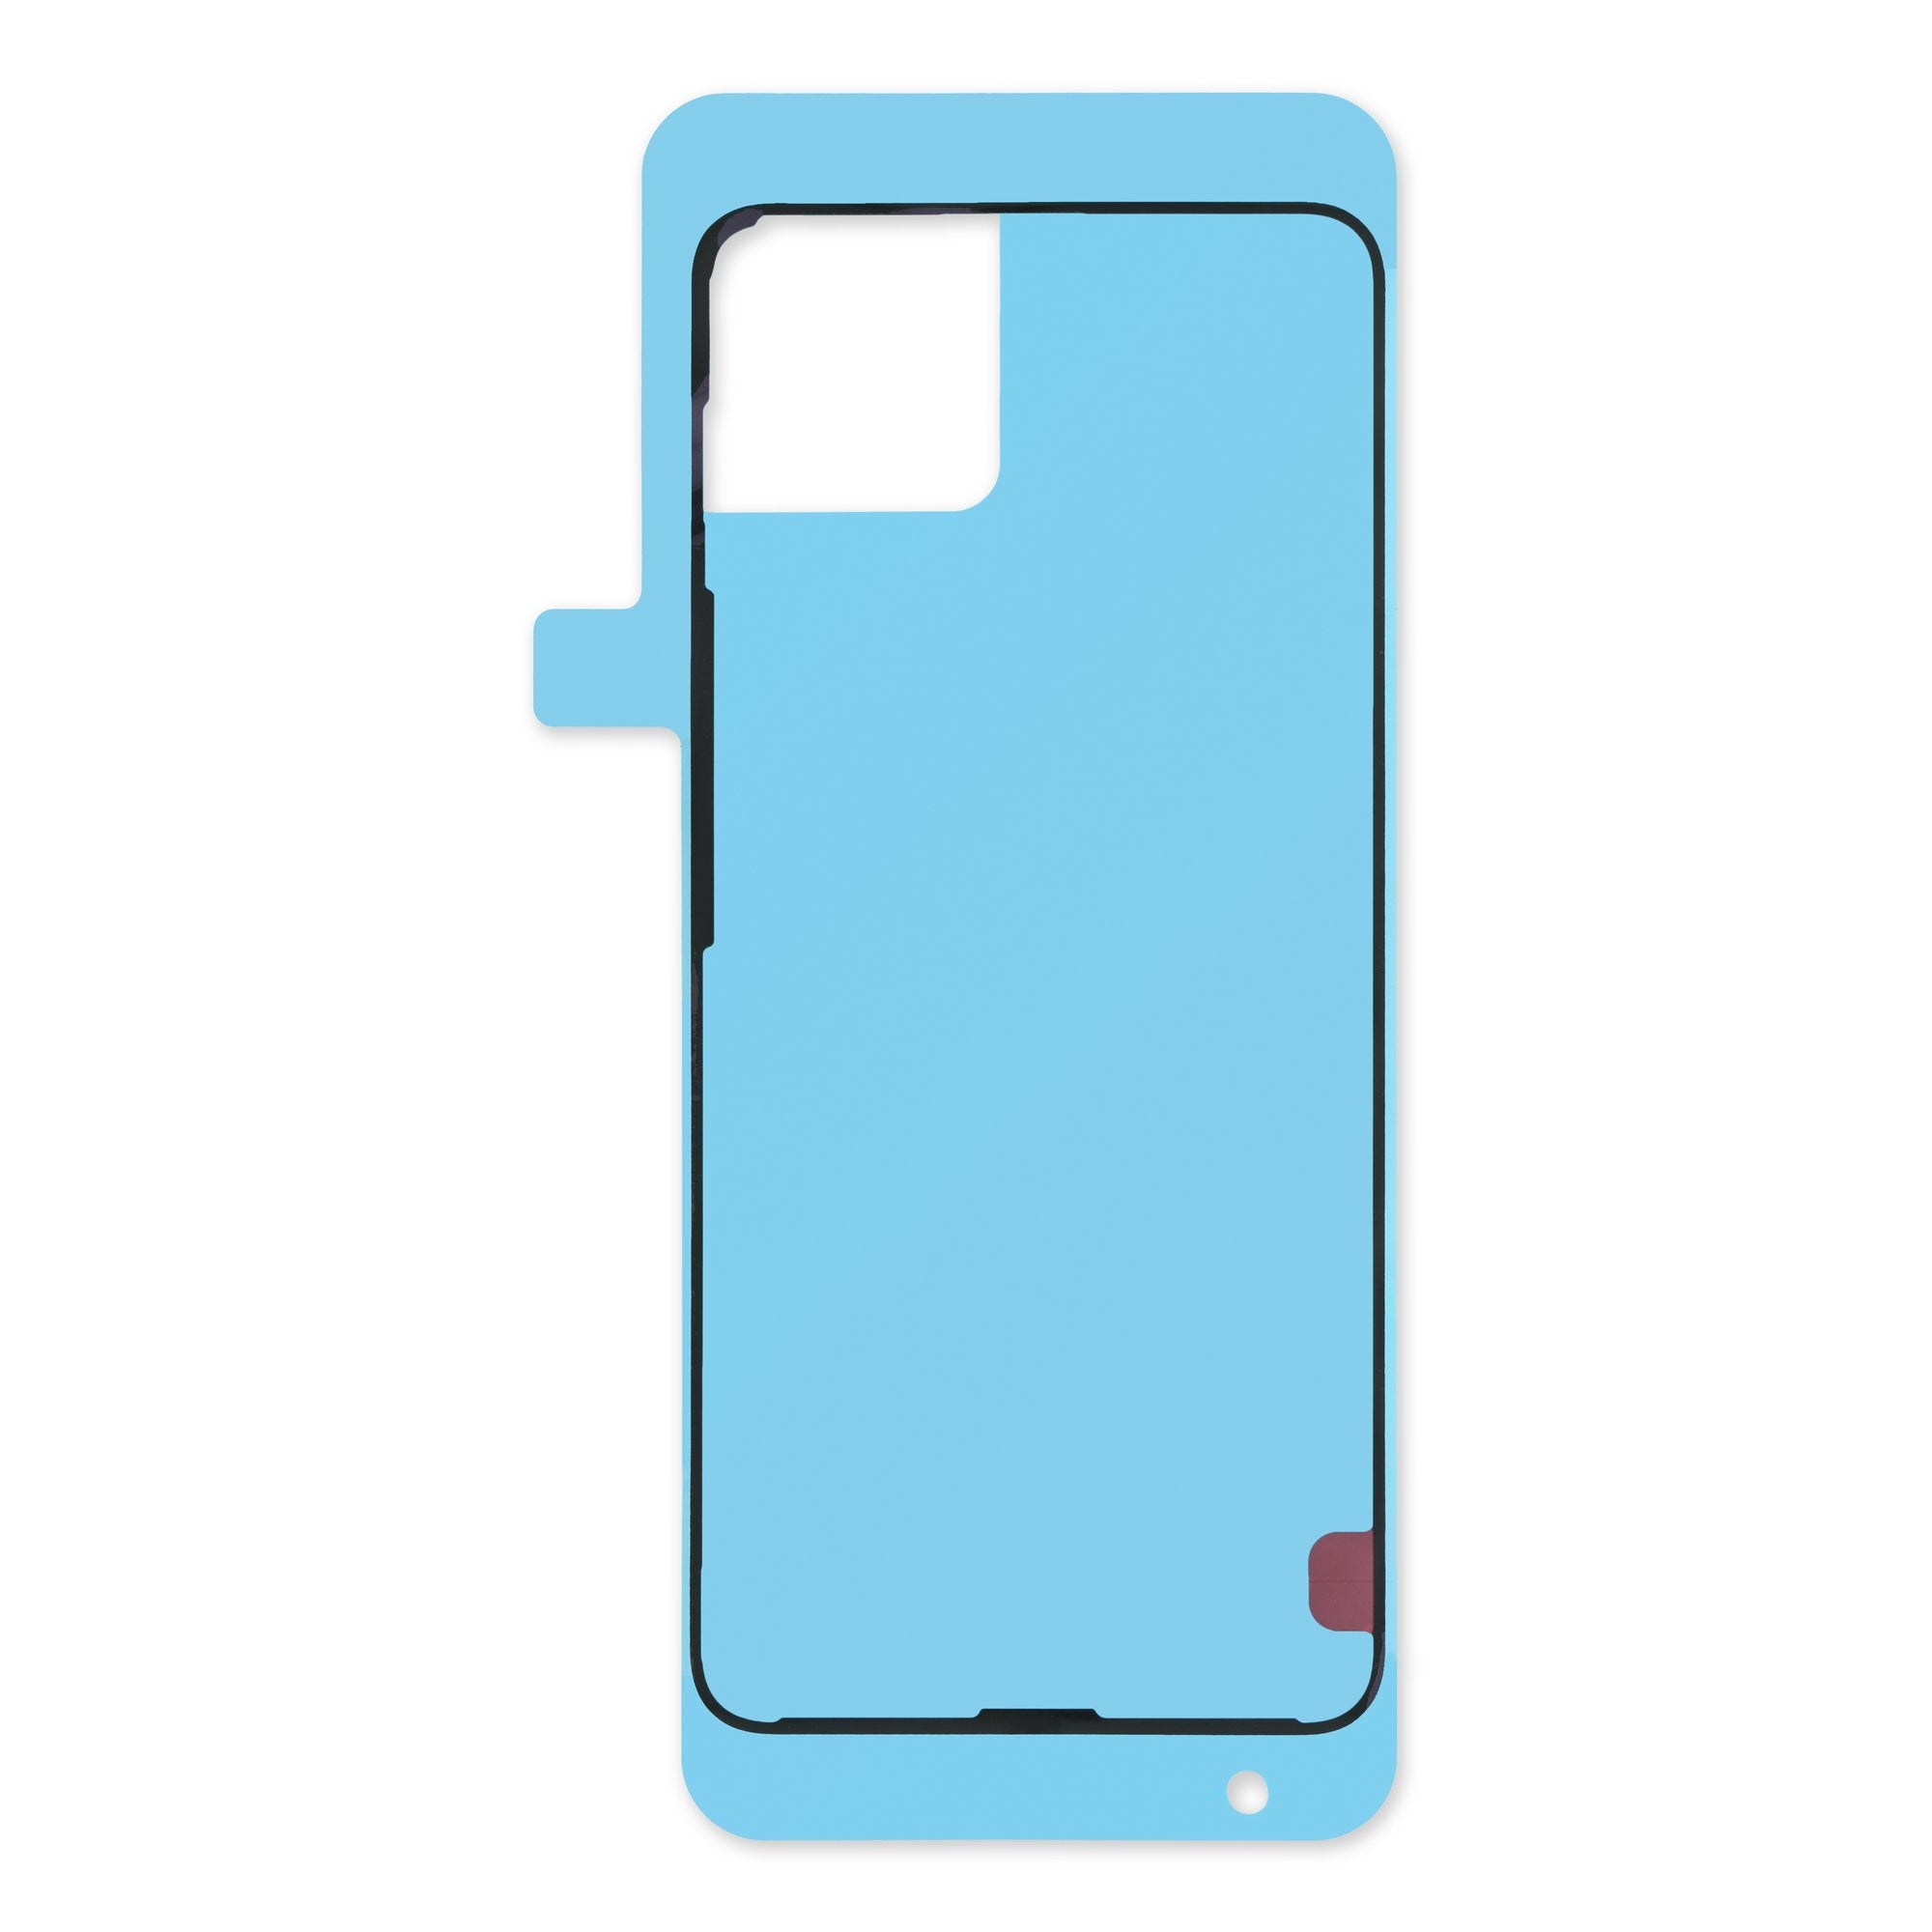
Follow this guide to replace the rear cover adhesive in your Pixel 9 Pro. Note: This guide is for reassembly, after your repair is done and you’re ready to reattach the rear cover.
Step 1
As you tackle the rear cover adhesive, keep a watchful eye and handle with care! Those delicate components around the edge are just waiting to be accidentally harmed, and we don’t want that!
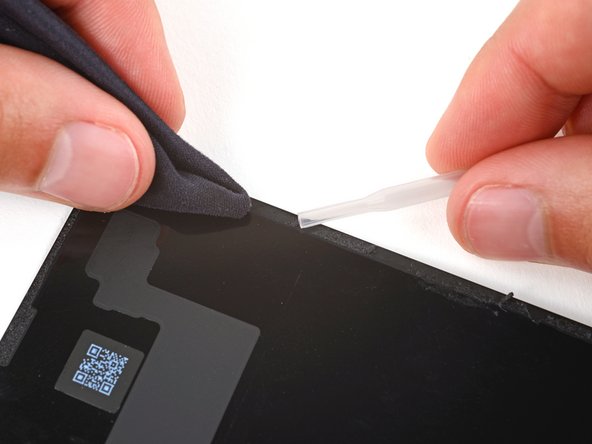
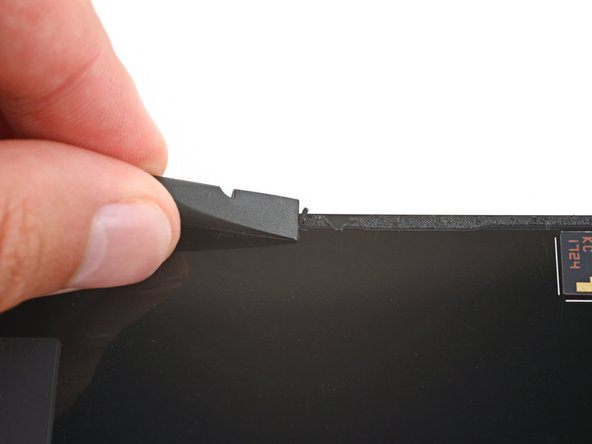
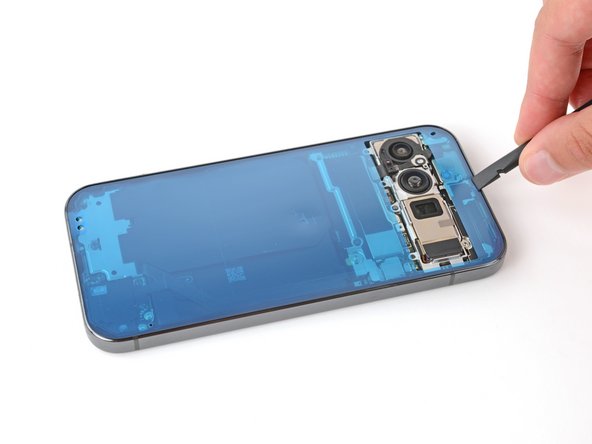
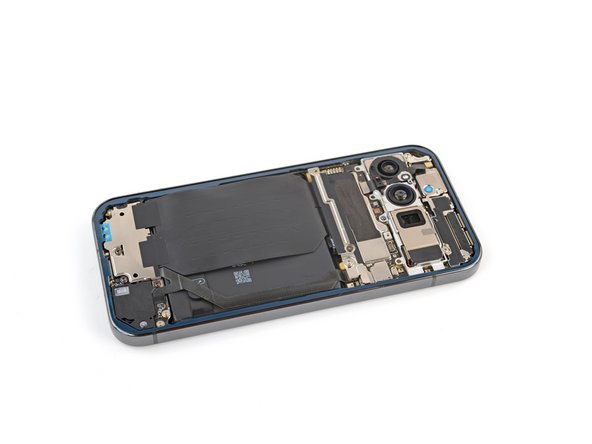
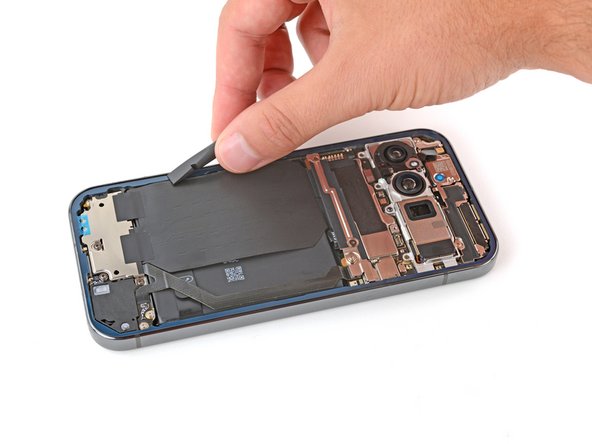
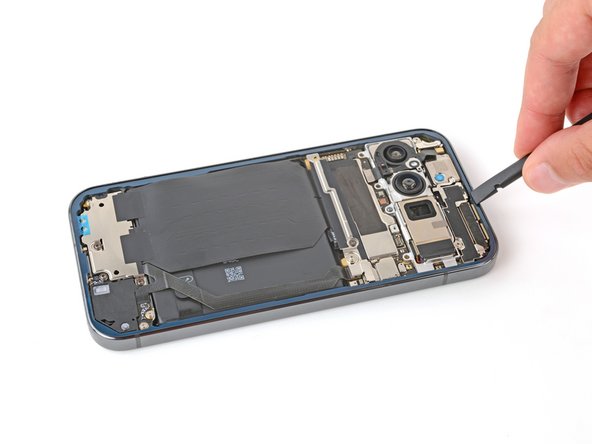
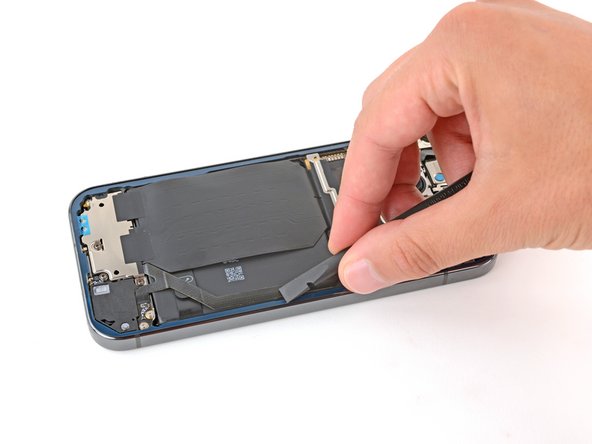
– Grab your trusty spudger and put on your best scraping face as you gently pry up and wipe away all that stubborn old rear cover adhesive from the edges of the frame. Say goodbye to that sticky mess!
– Once you’ve tackled the old adhesive, take a little time to pamper your device. Use some isopropyl alcohol on a microfiber cloth to wipe away any remaining residue, leaving the perimeter of the frame nice and clean.
Tools Used
Step 2
If you’re popping on a shiny new rear cover, feel free to breeze right past this step.
– Go ahead and give that rear cover a little extra love by repeating the last step! Make sure to clear away all the adhesive and any leftover residue from the underside of the rear cover. You’ve got this!
Step 4
Step 6
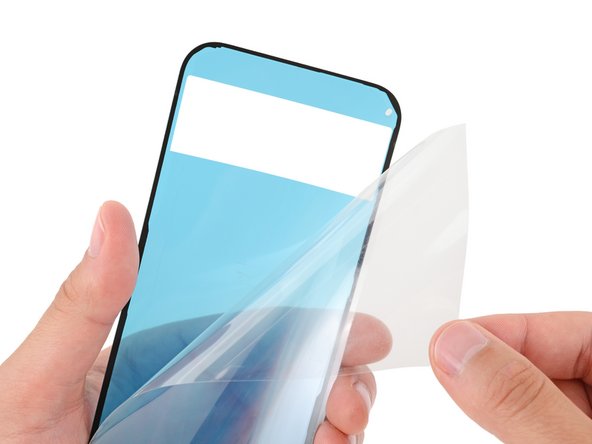
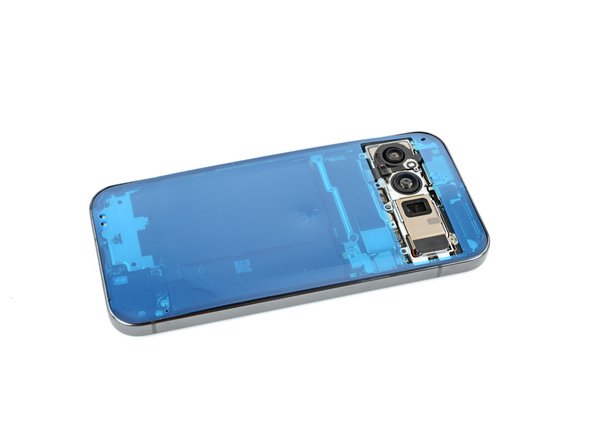
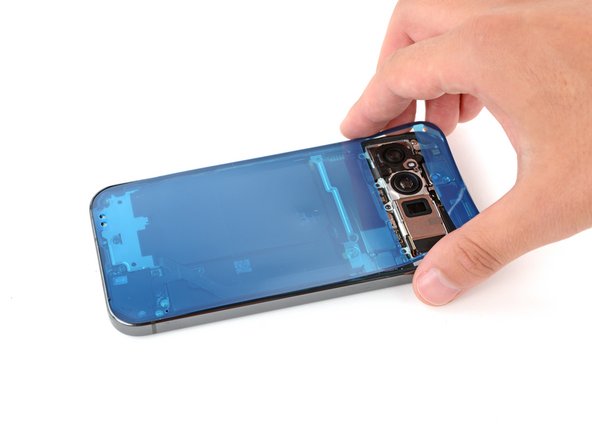
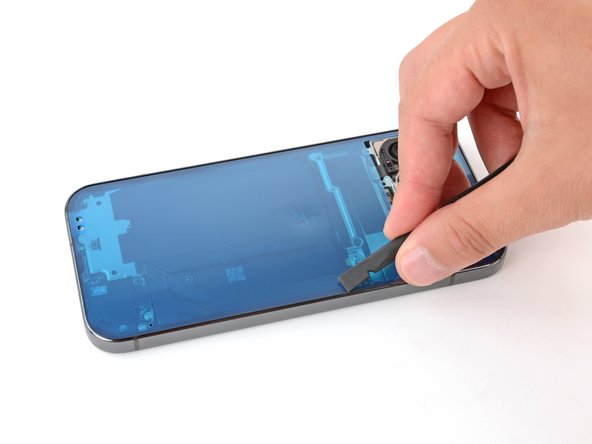
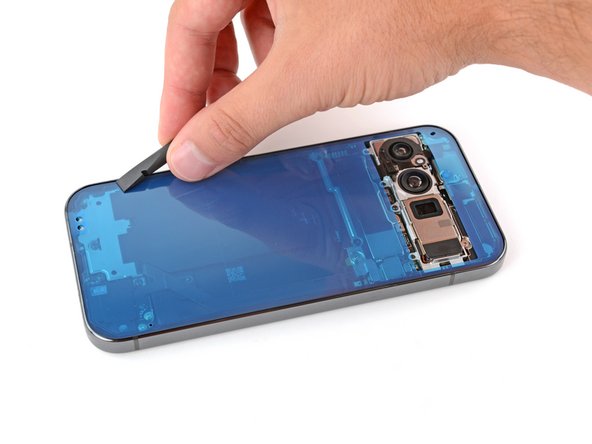
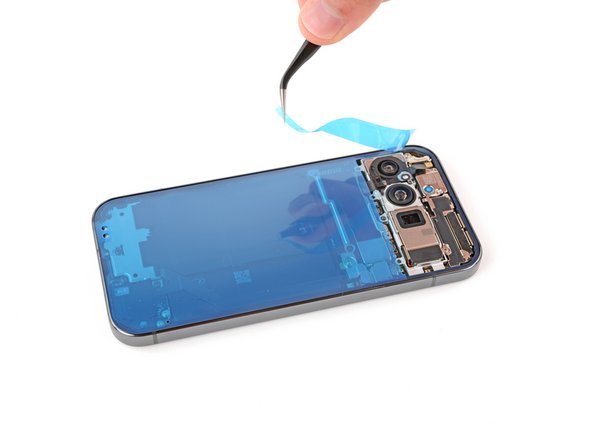
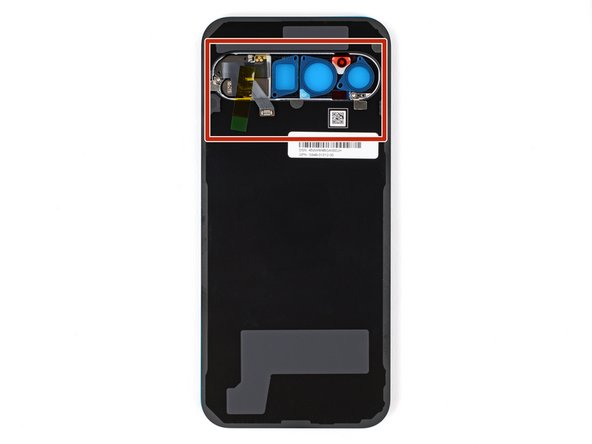
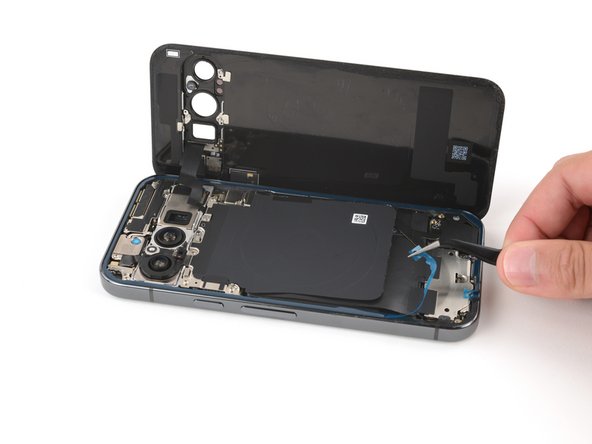
– Carefully grab the top right corner of that big blue liner using tweezers or your fingers and gently pull it away. You’ve got this!
Step 8
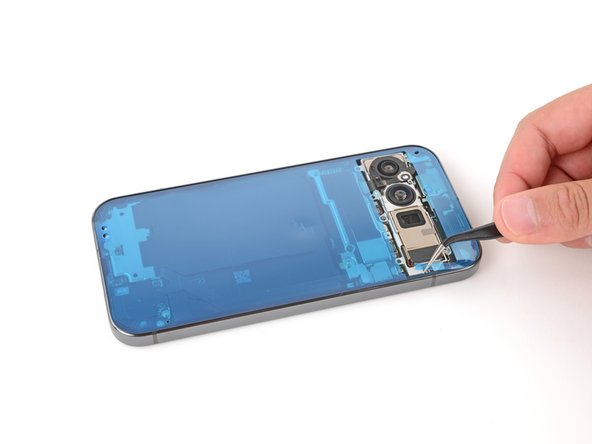
– Let’s kick things off by peeling off any liners hiding under the rear cover, especially around that camera cutout area. No peeking allowed!
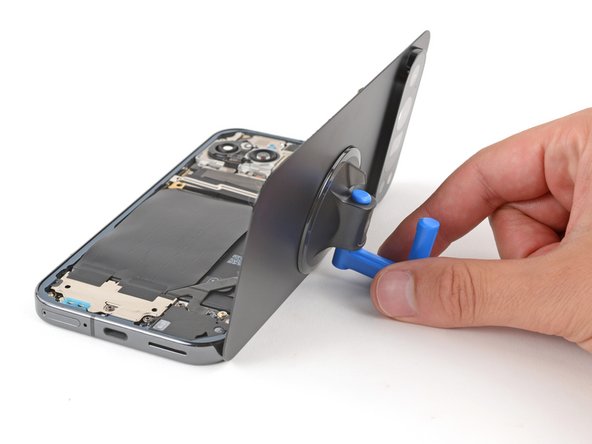
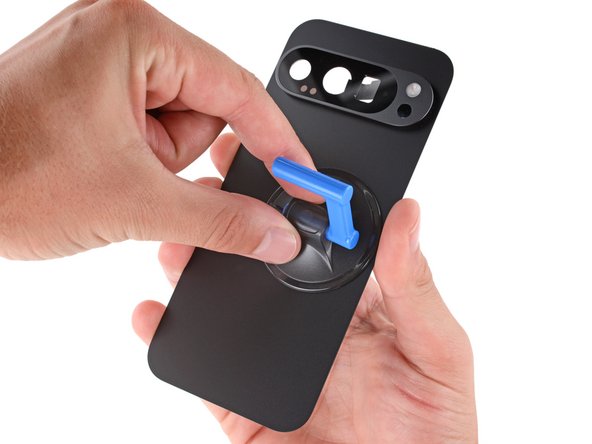
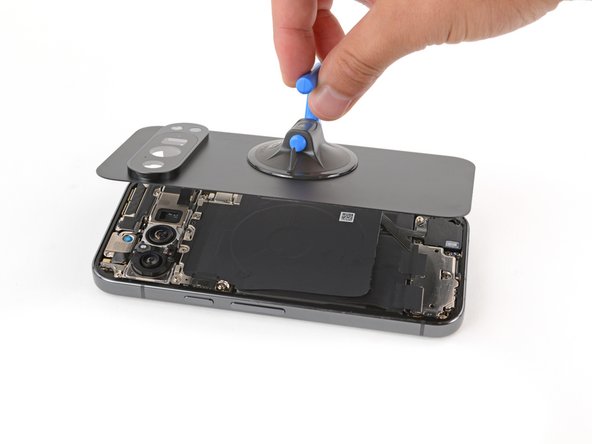
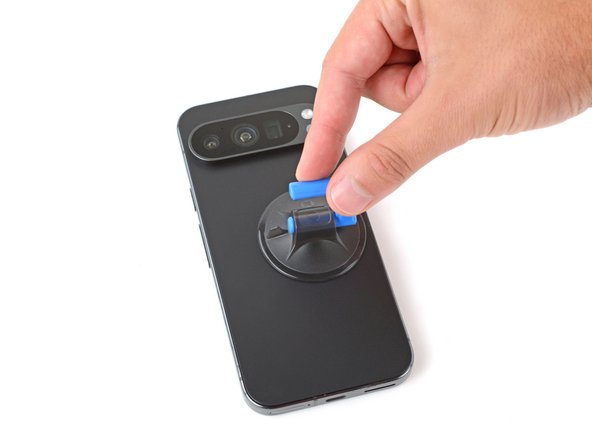
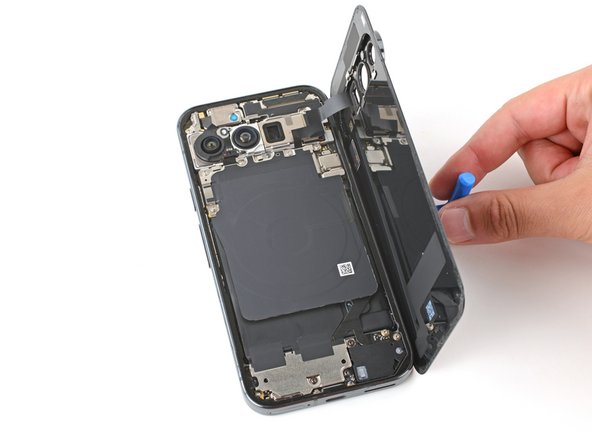
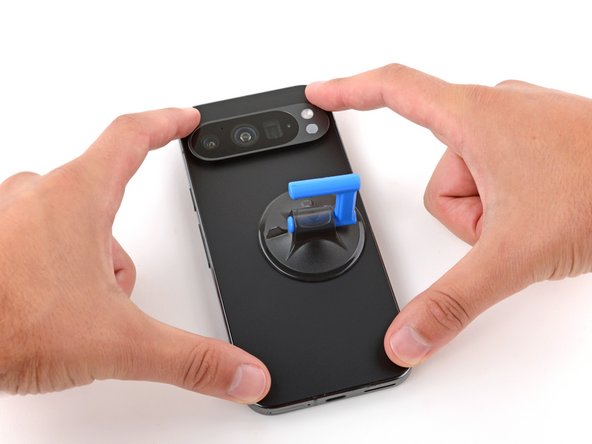
– Next up, grab a suction handle and stick it to the back of the rear cover, aiming for the sweet spot near the center of the right edge.
– Now, gently lift the rear cover and prop it up just to the right of your phone. You’re doing great!
Step 9
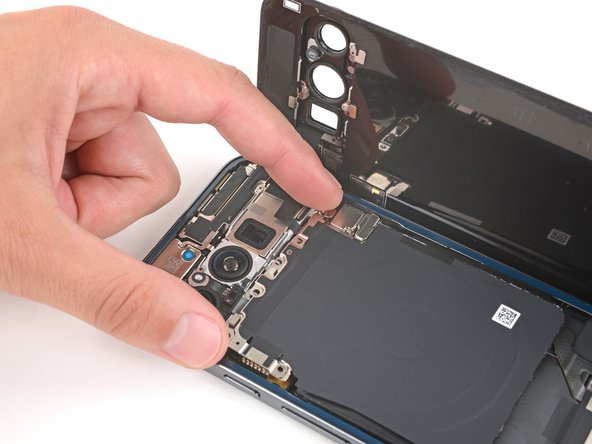
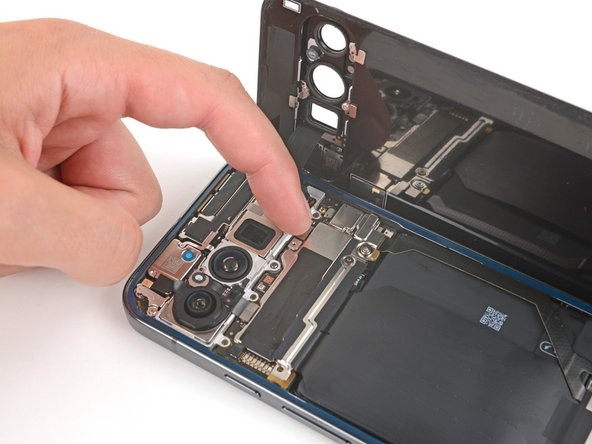
– Time to reattach that rear cover press connector to the logic board! You’re almost there!
– Now, gently place the wireless charging assembly right where it belongs.
Step 10
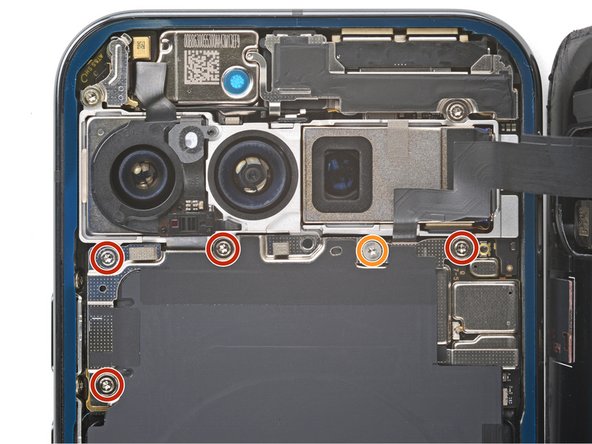
This screw is a bit of a free spirit—you might need to use tweezers to keep it in place.
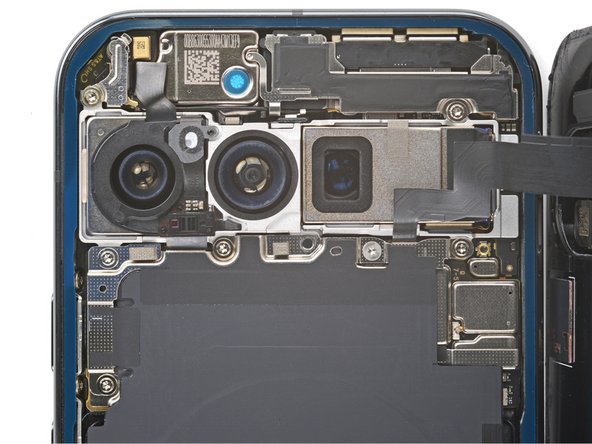
– Grab your trusty Torx Plus 3IP screwdriver and let’s get those five screws in place to secure the wireless charging assembly. You’ve got this!
– Before we put everything back together, let’s power up your phone and give it a quick test. Make sure it’s working like a champ! Once you’ve confirmed it’s all good, power it down so we can continue the reassembly.
– Don’t forget, you’ll need four screws that are 5.4 mm long.
– And we can’t overlook that one little 1.5 mm long screw—it’s just as important!
Tools Used
Step 11
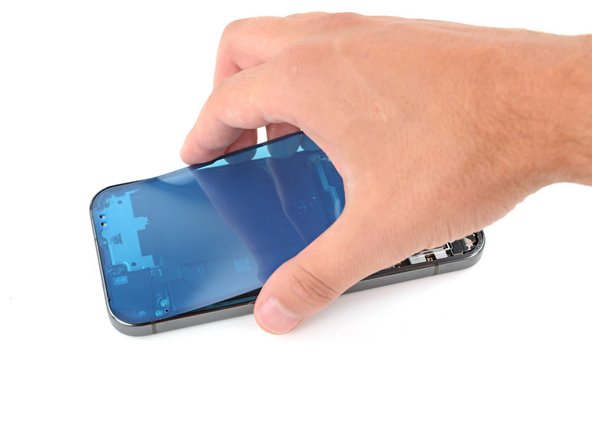
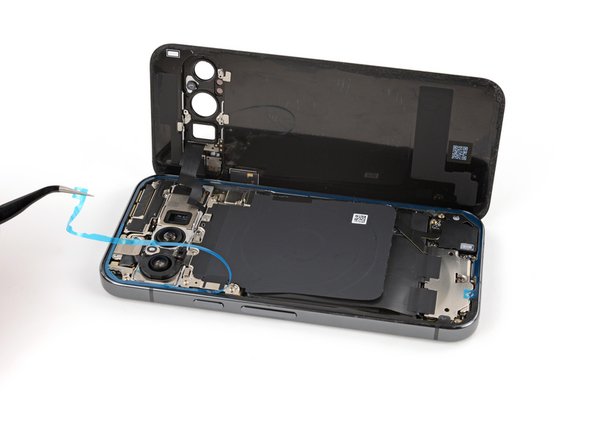
– Give that left pull tab a gentle tug at the bottom edge of the frame and peel away the blue liner from the left side of your phone like you’re unwrapping a gift. Look at you go!
Tools Used
Step 12
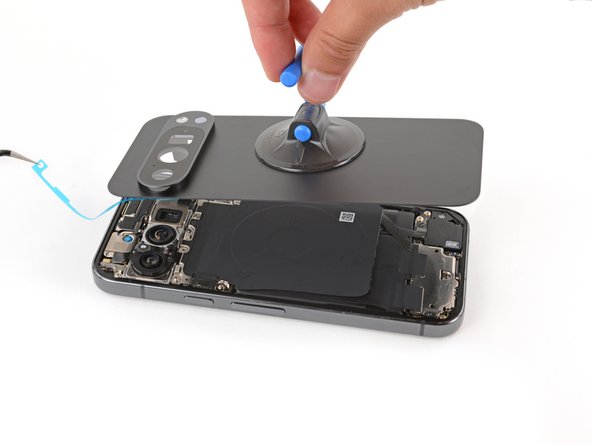
– With one hand, grab the suction handle and gently lift the rear cover from your phone. Just a heads up, that rear cover is snugly attached with a delicate cable, so handle it with care!
– Now, with your other hand, use those trusty tweezers or just your fingers to peel away the last of the blue liner. This will reveal the adhesive holding the rear cover in place. Almost there!
Tools Used
Step 13
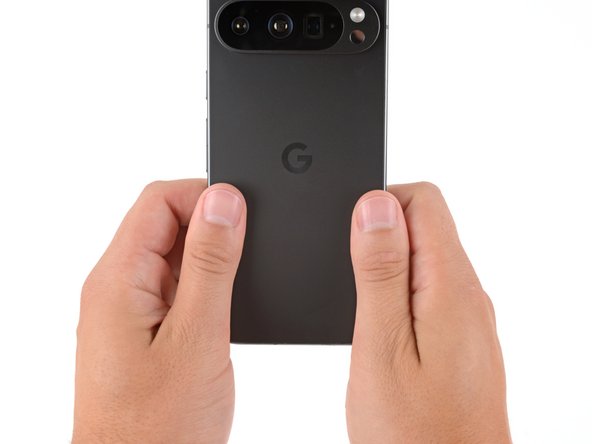
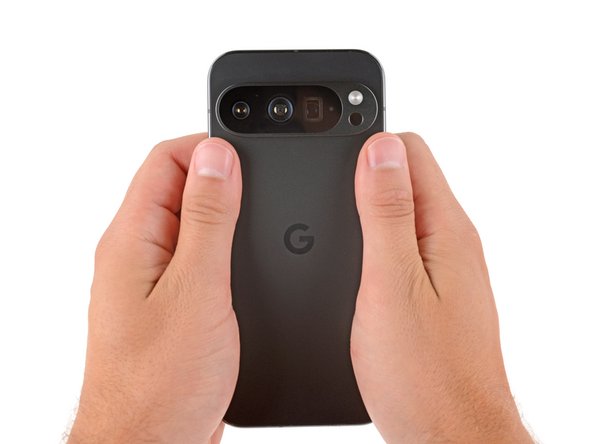
– Alright, take that back cover and gently lay it down on the frame. Now, give it a little love – press it firmly into place. You got this!
Step 14
– You did it! You totally fixed it! You rock!
– If you’re feeling like your phone’s still acting up, you can run some tests with the built-in Pixel Diagnostic tool – just click here.
– When you’re done with your old parts, be sure to take them to an R2 or e-Stewards certified recycler.
– If you need help, you can always schedule a repair.
– Cancel: I did not complete this guide.
–
Success!
