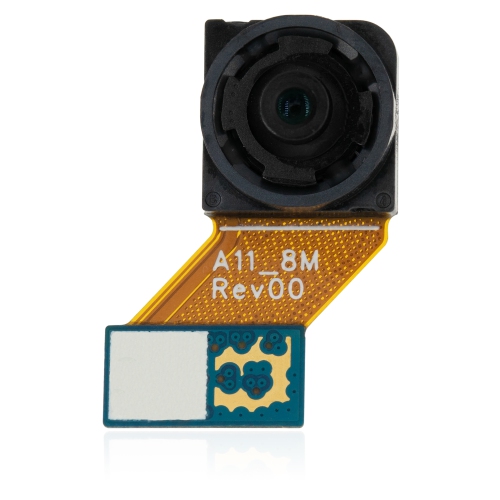
How to Replace Samsung Galaxy A11 Front Facing Camera
Duration: 45 minutes
Steps: 12 Steps
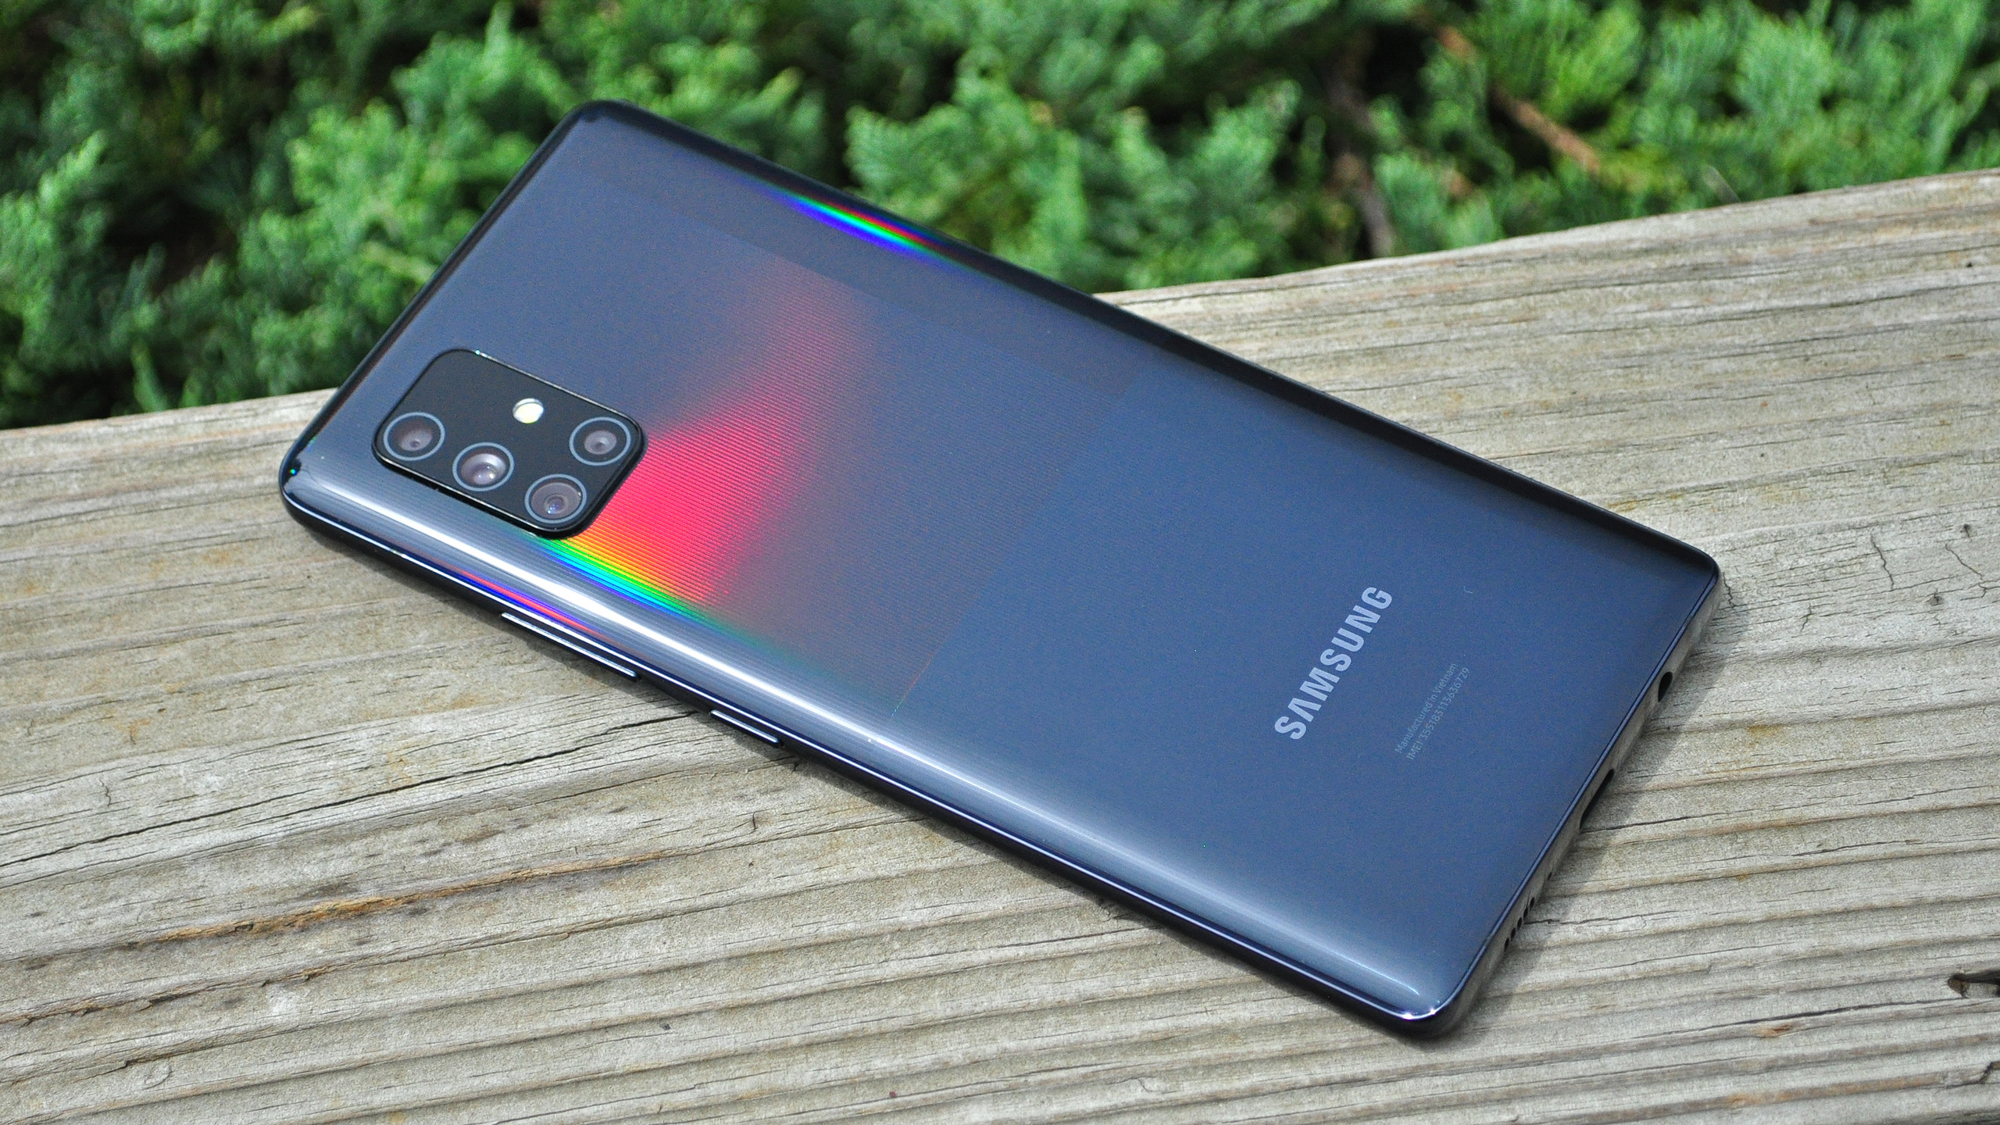
The front-facing camera is your go-to for snapping selfies and recording videos from your side of the phone. If your front-facing camera is acting up, damaged, or just not doing its job, don’t worry! This guide will walk you through the steps to safely remove and replace the front-facing camera on your Samsung Galaxy A11. For your safety, we’ll kick things off by showing you how to remove the battery before diving into the camera replacement. We’ll also help you spot a swollen battery and guide you on how to remove and recycle it to keep your device in tip-top shape. If you’re swapping out your front-facing camera and need to dispose of the old one, we’ve got you covered with easy instructions. If you need help, you can always schedule a repair.


Step 2


If you can, grab a few picks to keep that back cover from snapping shut on you.
– Carefully pop open the section of the back cover by the SIM tray with your trusty iFixit opening pick.
– Smoothly glide the pick along the seam and gently nudge the clips apart that are keeping it snugly in place.
Step 3


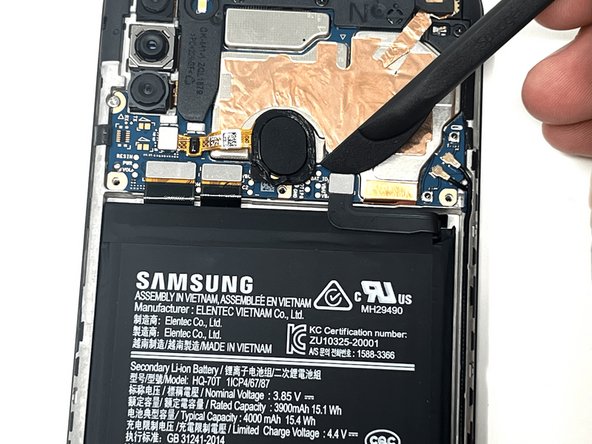
If necessary, gently pop that stubborn button out from the bottom of your device. You’ve got this!
– Give that fingerprint sensor a little love! Use a hair dryer on a low heat setting, and warm it up in 30-second bursts to help loosen the adhesive holding it in place.
– Once it’s feeling cozy, gently push on the fingerprint sensor until it pops off from the back cover.
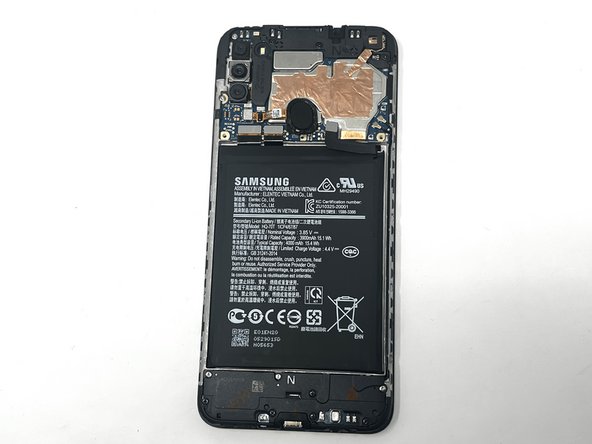
Step 4


– Grab your trusty Phillips #000 screwdriver and take out those three little 3 mm screws from the shield.
– Once the screws are off, gently lift the shield away from the phone. You’re doing great!
Tools Used


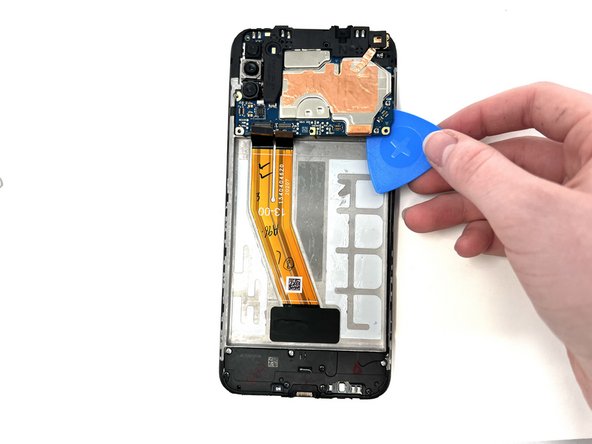
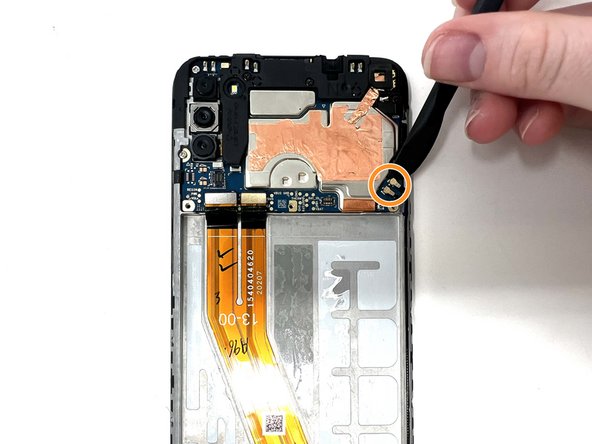
Step 7
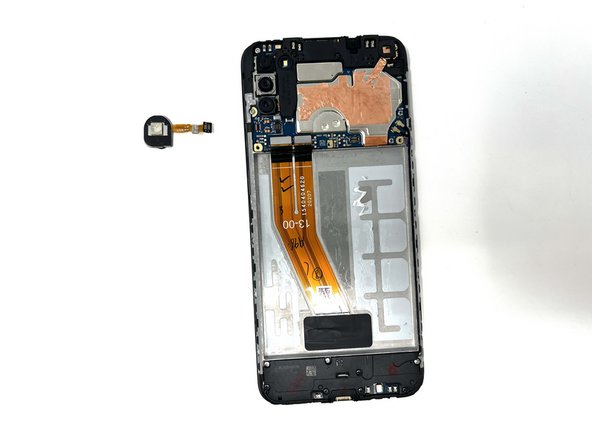


– Grab your trusty spudger and gently pry away the ribbon cable linking to the fingerprint sensor. Easy peasy!
– Now, go ahead and lift that fingerprint sensor out of the device. You got this!
Tools Used
Step 8

– Using a Phillips #000 screwdriver, carefully take out the five 3 mm silver and black screws located at the top of the device. You’ve got this!
Tools Used
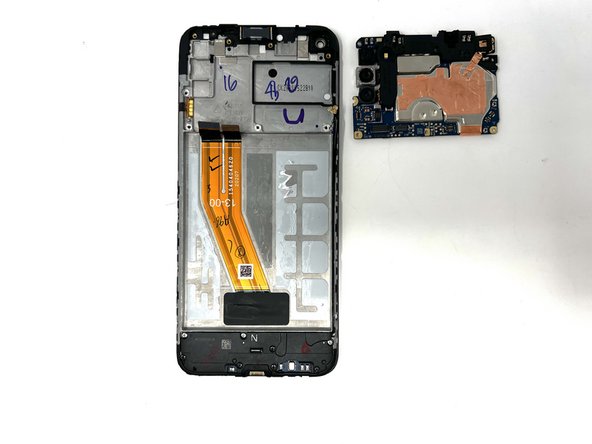
Step 9

– Grab your trusty spudger and gently detach the two ribbon cables connecting the battery slot to the motherboard.
– Next up, disconnect those two longer ribbon cables hanging out near the bottom right corner of the motherboard.
– Now, give those cables a little lift to create a tiny gap. You’ve got this!
Tools Used