How to Replace Samsung Galaxy Note Edge vibration motor – DIY Guide
Duration: 45 minutes
Steps: 9 Steps
The vibration motor is what makes your phone buzz and gives you that sweet haptic feedback when you’re using it. If you’re having trouble with vibrations, don’t worry – we’ve got you covered. If you need help, you can always schedule a repair with Salvation Repair.
Step 1

– First, shut down your device completely to ensure it’s safe to work on.
– Next, place your phone screen-down on a flat, clean surface – a great starting point for your repair journey. If you need help, you can always schedule a repair
Step 2


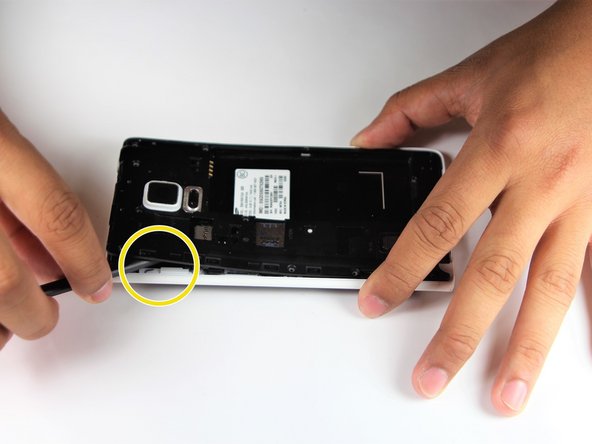
– Let’s get started by using your trusty Supdger to carefully pry off the back cover of the phone – just locate the notch at the top left corner and you’re all set.
– Next, use your Supdger again to release the battery by applying some gentle pressure on the notch right underneath the battery compartment. If you need help, you can always schedule a repair
Hey, we’re stoked to help you out with your tech troubles! We’re working on making this guide as comprehensive as possible, but sometimes things happen, like not having a battery on hand. No worries! If you run into any hiccups or need a little extra guidance, you can always schedule a repair with the pros at Salvation Repair.
Step 3

– Slide out the SIM Card from its cozy little home. It’s like giving it a mini vacation!
– Pull the stylus out of its perch – it’s ready to help you conquer the world (or at least your screen).
Step 4


– Grab your trusty Phillips #000 Screwdriver and remove the 15 tiny 4mm screws holding the rear chassis in place – you got this!
– Time to get a little tricky: insert your spudger into the stylus socket and gently pry the midframe away from the phone. Take your time, it’s easier than it sounds!
– Work your way around the edge of the phone with your spudger, carefully loosening the midframe until it’s completely separated. If you need help, you can always schedule a repair with the pros at Salvation Repair.
Tools Used


Step 5


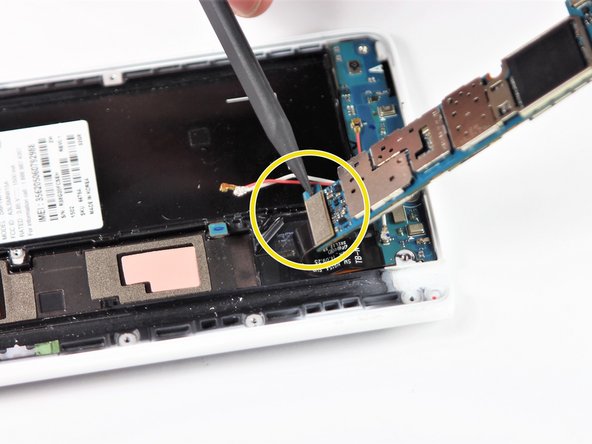
– Grab your trusty spudger and use its pointed end to gently disconnect the two wires (the pink and white ones) snuggled near the bottom of the phone.
– Next up, employ that same spudger to disconnect the fingerprint scanner cable—it’s hanging out just above those pink and white wires.
Tools Used
Step 6


– Grab your trusty Spudger and use its pointed end to gently pry off these leads that connect to the logic board in the top left corner:
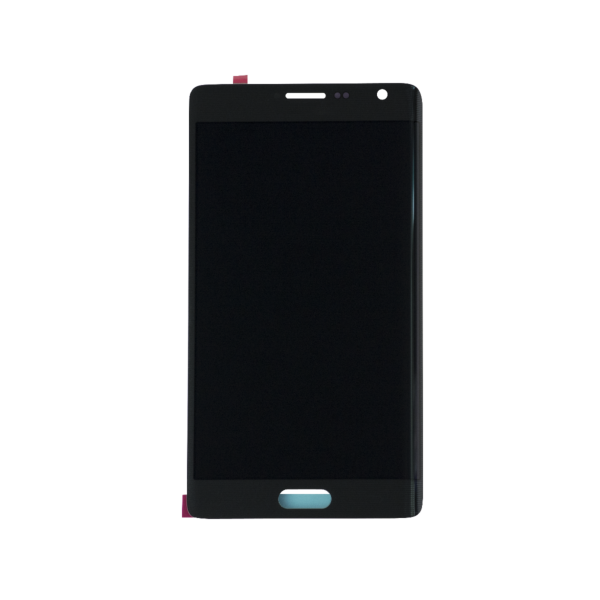
– Front Facing Camera
– AMOLED Display Screen
– AMOLED Capacitive Screen
Tools Used
Step 7


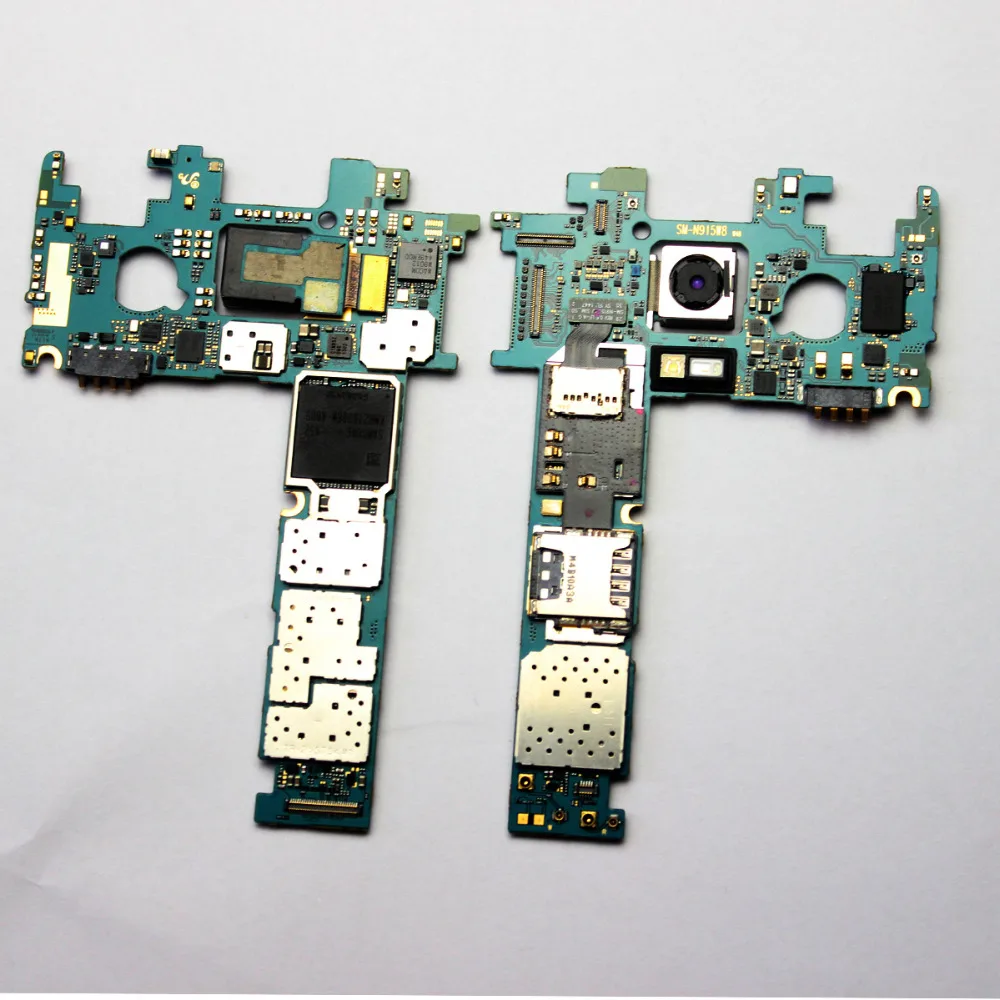
– Alright, let’s get this motherboard out! At the top end, gently slide the pointed end of your spudger underneath the motherboard.
– Now, lift the motherboard up carefully. You’ll see a cable connecting the daughter board, attached to the underside of the motherboard. Just give it a gentle disconnect.
– And there you have it! The motherboard is ready to be removed. You’re doing great! If you need help, you can always schedule a repair.
Tools Used

Step 9

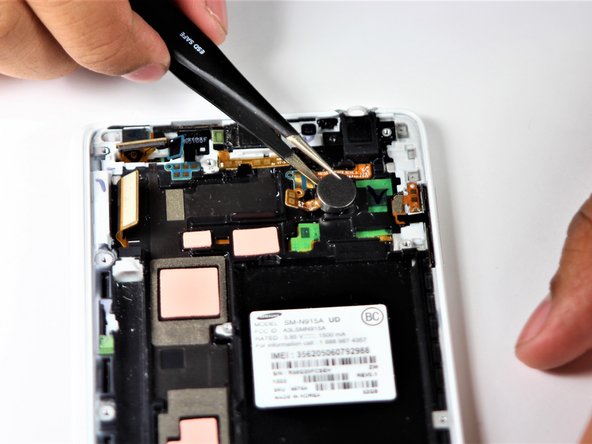
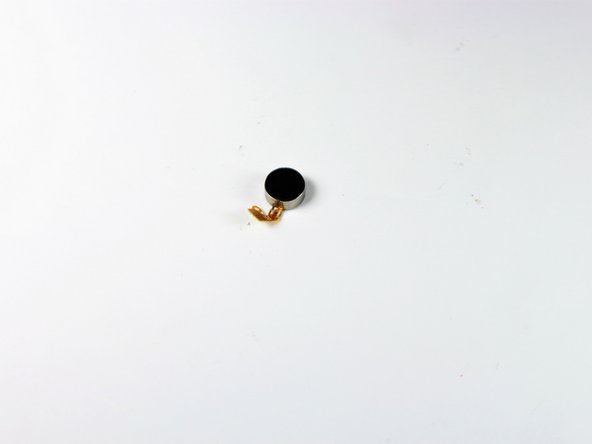
The motor’s glued tight, so get ready to use some muscle to break that bond. If you need help, you can always schedule a repair
– Time to get a little handy. Insert one end of your trusty Tweezers into that notch, then gently pry upwards and grab the round piece to remove the vibration motor. If you need help, you can always schedule a repair