How to Replace Samsung Galaxy Note vibration motor: Step-by-Step Guide
Duration: 45 minutes
Steps: 21 Steps
Restore those lively rings to your Samsung Galaxy Note by replacing the vibration motor. If you need help, you can always schedule a repair.
Step 1


– Alrighty, tech buddy! Time to have some fun and rock that stylus cap removal. Look for that little slot hiding in your device’s midframe and then unleash your cap’s captors by grasping firmly and giving it a nice, gentle pull. Save the high fives for when you’re done! Need help? You can always schedule a repair.
Step 2


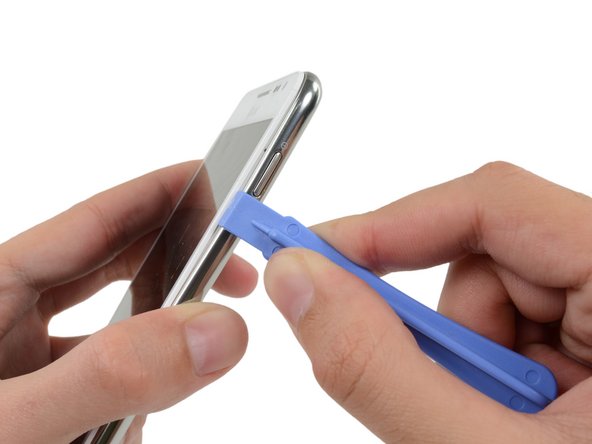
– Let’s get started by carefully prying with a plastic opening tool, or even your trusty fingernail, in the divot to the right of the rear-facing camera, near the volume rocker. If you need help, you can always schedule a repair


Step 5


– Time to set that microSD card free. Use a spudger or your trusty fingernail to gently nudge the card into its slot until you hear the satisfying click.
– Once you’ve heard the click, let the card go and it should pop out of its slot – easy peasy.
– For reassembly, simply push the microSD card into the slot until it clicks into place. If you need help or get stuck, you can always schedule a repair with Salvation Repair.
Tools Used

Step 6

– Pop that microSD card out from the midframe slot.
Step 7


– Grab a plastic opening tool or use your trusty fingernail to nudge that SIM card right out of its cozy little home.
Step 8


– Give that SIM card a gentle nudge with your thumb and slide it on out! You’ve got this! Remove it from the device and you’re ready for the next step.
Step 9

– Let’s get started by removing the nine 3.4 mm Phillips #00 screws that hold the midframe in place on the display assembly. If you need help, you can always schedule a repair
Step 10

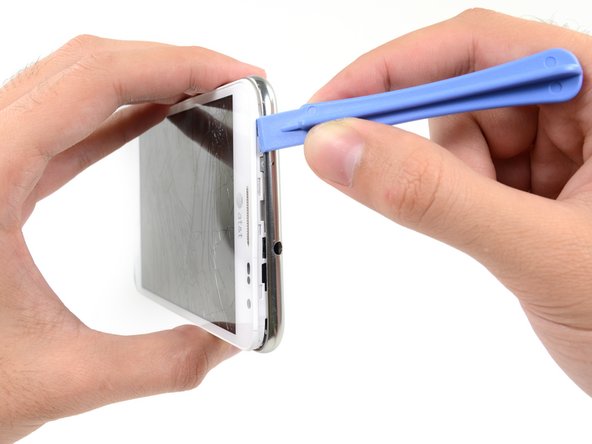
– Slide your trusty plastic opening tool to the left of the power button, sneaking it between the midframe and the front panel assembly, and give it a gentle pry. You’ve got this!
Step 11


– Now it’s time to get this repair started – slide that plastic opening tool down the seam and let’s get this fixed!
Step 12
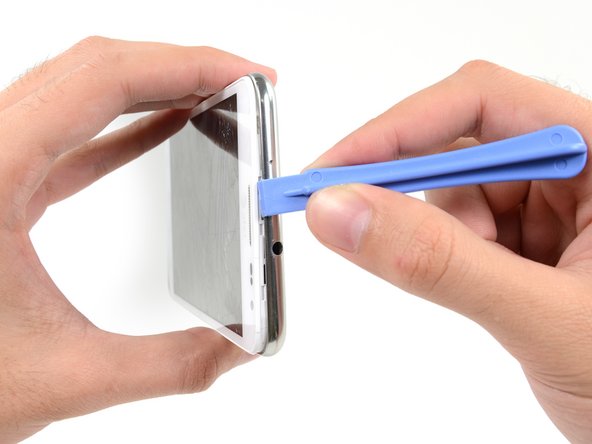

– Gently slide your trusty plastic opening tool to the left of the headphone jack, finding that sweet spot between the midframe and the display assembly.
– Now, glide that tool along the top edge of the phone like a pro!
– Keep that plastic opening tool moving around the entire perimeter of the phone until the midframe decides to part ways. You’re doing great!
Step 13
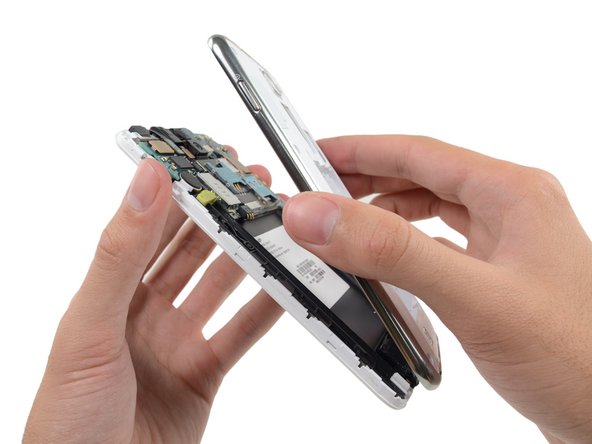

– Take out the midframe from the display assembly. If you need help, you can always schedule a repair


Step 15


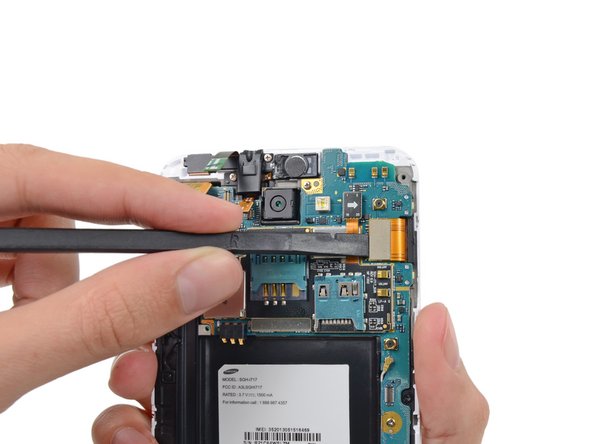
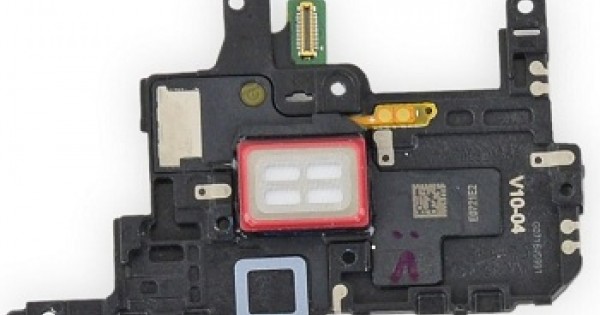
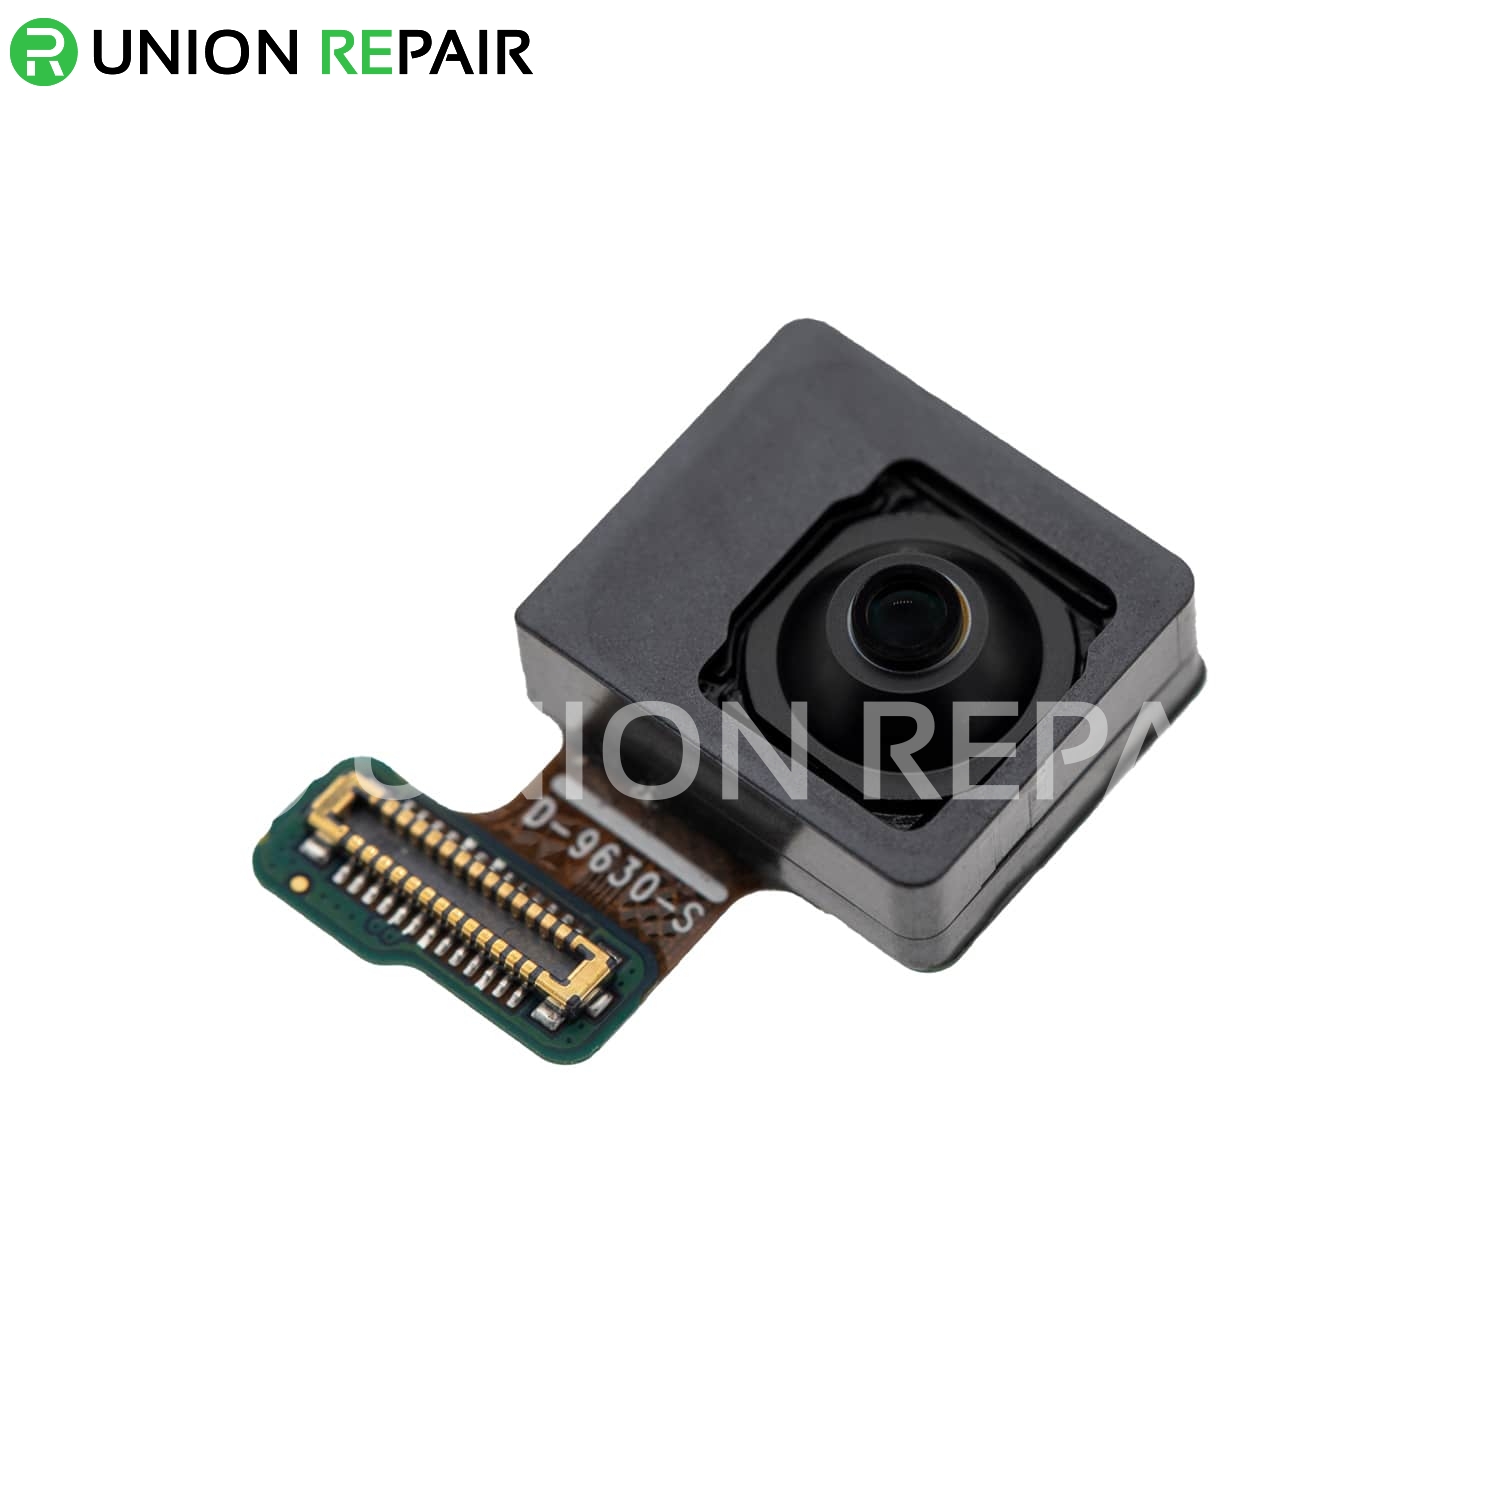
– Let’s get started by using a spudger to carefully disconnect the front-facing camera assembly cable connector – take your time, you got this!
– Next up, disconnect the headphone jack/earpiece speaker assembly cable connector. Easy does it!
– Now, gently disconnect the digitizer cable connector. You’re making great progress! If you need help, you can always schedule a repair
Tools Used

Step 17

– Let’s get started by removing the two 3.4 mm Phillips #00 screws that hold the motherboard in place within the display assembly. If you need help, you can always schedule a repair
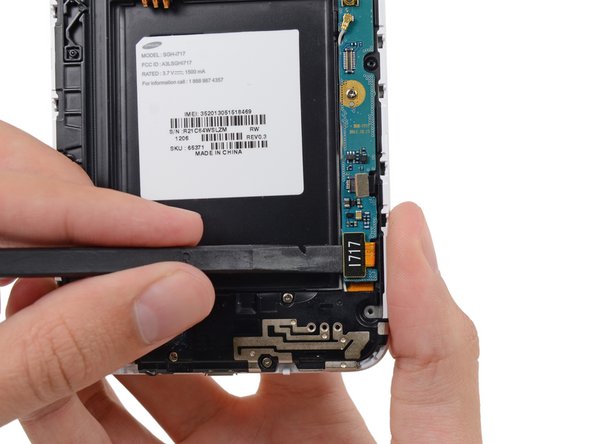
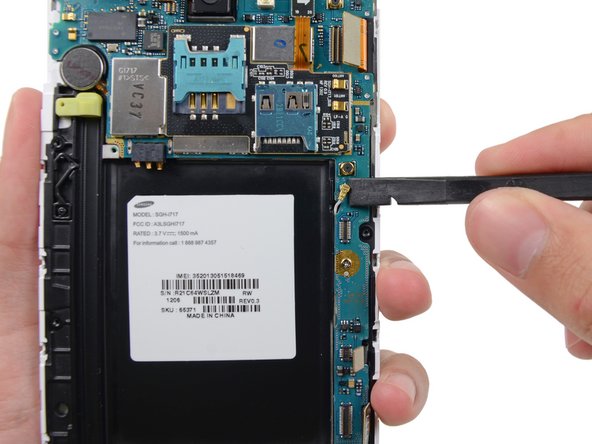
Step 18


– Let’s get started by carefully removing the motherboard assembly from the display assembly. Take your time and make sure everything is properly disconnected before pulling it apart. If you need help, you can always schedule a repair
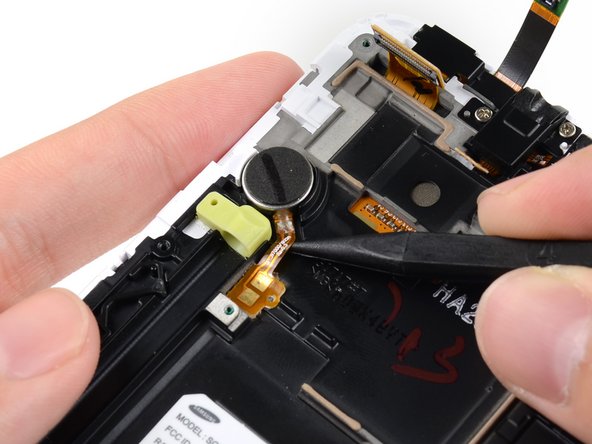
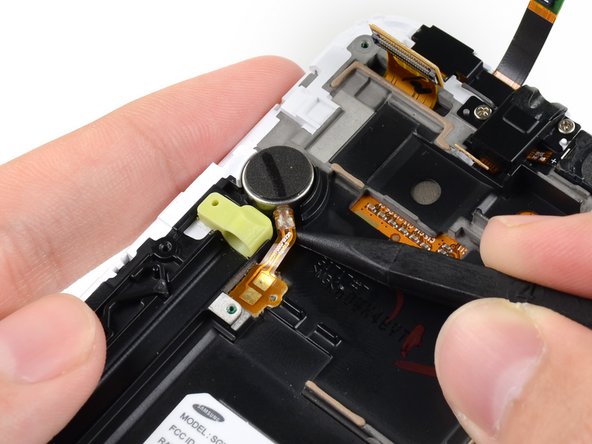

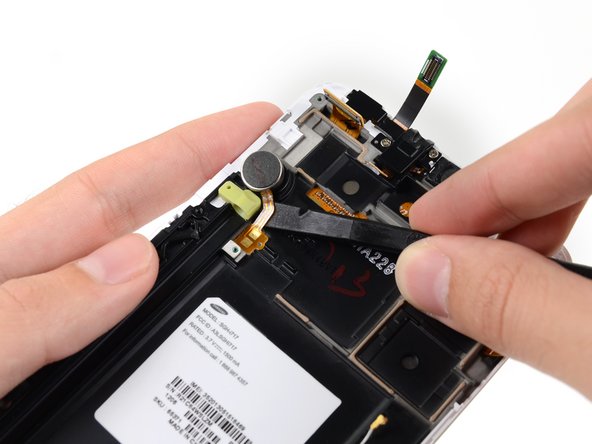

Step 21

– Let’s get started by carefully removing the vibration motor from the display assembly. Take your time and make sure it’s completely detached before moving on to the next step. If you need help, you can always schedule a repair