How to Replace Samsung Galaxy Note20 Ultra Camera – DIY Guide
Duration: 45 minutes
Steps: 19 Steps
Hey there, safety first! Before you start taking things apart, give your phone’s battery a little rest. Let it cool down to below 25% charge. You’ll be a repair rockstar in no time!
Ready to give your Samsung Galaxy Note20 Ultra a fresh face? This guide will walk you through removing or replacing that front-facing camera. Before you get started, make sure your battery is chillin’ at 25% or lower. Safety first, right? This helps keep things cool and avoids any unexpected surprises during your repair journey. And hey, if your battery is looking a little puffy, take extra care, just to be safe. If you need help, you can always schedule a repair.
Step 1

Hey there, before we get started with this phone disassembly, make sure the power is totally off. You wouldn’t want any surprises, right?
You can use a hairdryer, heat gun, or hot plate to warm things up if needed. But be careful! We don’t want to fry your phone. Overheating the screen or battery is a big no-no! If you need help, you can always schedule a repair.
– Let’s get started by heating up an iOpener and applying it to the left side of the rear cover for about a minute. If you need help along the way, you can always schedule a repair
Tools Used

Step 2


Keep that opening pick to a maximum of 5 mm inside the phone, or you might accidentally poke something you shouldn’t!
Got a badly cracked back glass? No worries, just cover it with some clear packing tape and your suction cup should stick nicely. Or, if you’re feeling extra handy, you can use some super strong tape instead. And if all else fails, a little superglue can work wonders to get that suction cup to stick to the broken panel.
Having trouble with this step? Don’t sweat it, it can be a bit tricky depending on your phone’s age. Just apply some extra heat to the edge and try again. If you’re still stuck, remember that you can always schedule a repair with the pros at Salvation Repair.
– First, attach a suction cup to the heated edge of the rear cover – get it as close to the edge as you can.
– Now, pull up on the suction cup with some strong, steady force. You’re aiming to create a gap between the rear cover and the frame, so don’t be shy!
– Next, take an opening pick and carefully insert it into the gap you just created. If you need help, you can always schedule a repair
Step 3


– Let’s slide that opening pick along the left edge, heading down towards the bottom left corner. We’re gonna cut through that adhesive like butter!
– Now, leave that pick chilling in the bottom left corner. We don’t want that adhesive getting all cozy and re-sealing itself.
Step 4


Be careful when cutting through the adhesive – don’t push the opening pick more than 5 mm into the phone, or you might accidentally damage the internal components. If you need help, you can always schedule a repair
Slide those opening picks in like a champ! Each new opening pick can snuggle right into the gaps left by the ones in the corners. You got this!
– Alright, let’s keep the momentum going! Repeat the heating and cutting process along the remaining three sides of the rear cover.
– As you work your way around, pop an opening pick into each corner to keep things from sticking back together. It’s like a little party for your phone!
– Now give that perimeter a good slide with your opening pick to make sure all the glue is gone. If you see any stubborn bits, just heat them up again. You got this!
Step 5


– Carefully lift the rear cover straight up – it’s time to set it free and get a glimpse of what’s inside.
Step 6


Be gentle when prying under the edge of the connector – you want to avoid damaging the socket or surrounding parts. If you’re not feeling confident, don’t worry, you can always schedule a repair
– Let’s pop that wireless charging coil press connector loose! Use the pointy end of your trusty spudger to gently pry it up.
– Time to put it back together! When reconnecting these types of connectors, align it carefully and press down on one side until you hear a click. Repeat on the other side. Avoid pressing in the middle – it’s like a game of connect the dots, but with less fun. If you get the connector out of whack, those tiny pins could bend and say goodbye to your device. If you need help, you can always schedule a repair.
Tools Used

Step 7


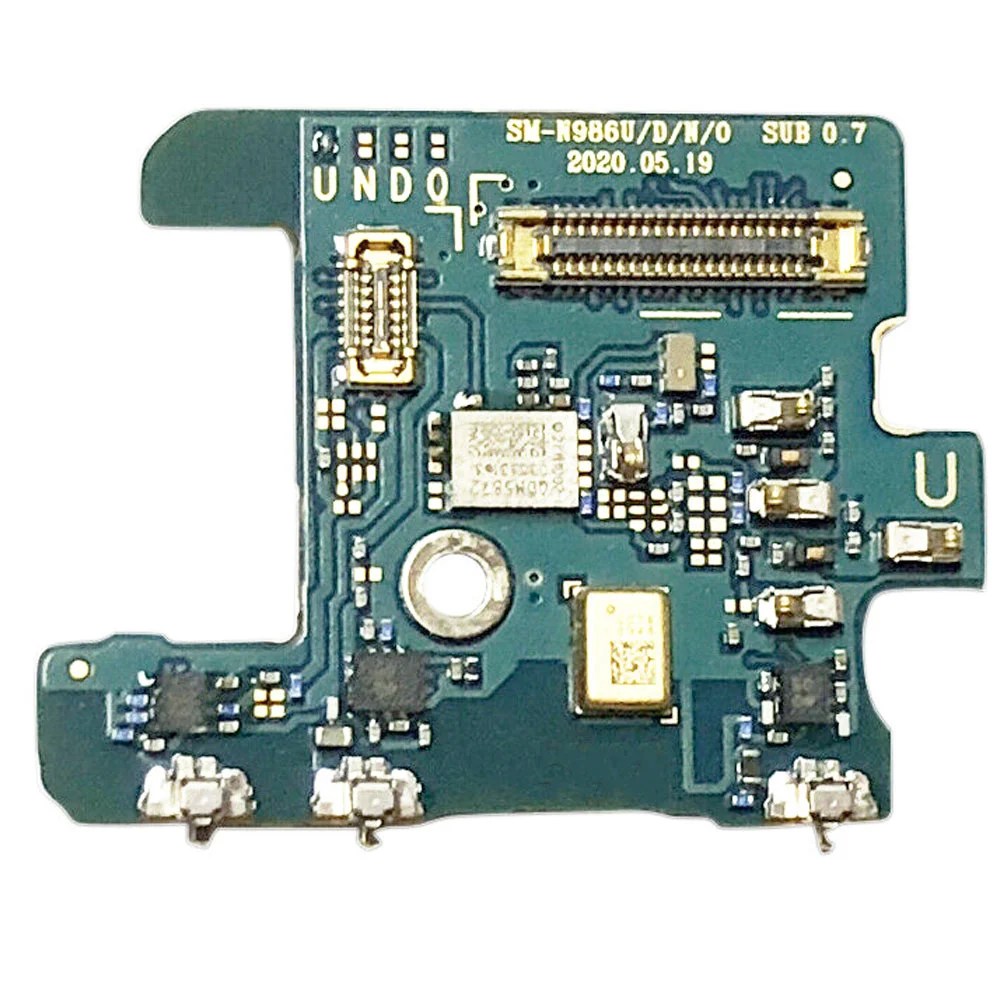
– Now, grab your spudger and gently pry up that white connector. It’s hanging out in the bottom right corner of the motherboard shield. Think of it like giving the connector a little high five! Just make sure to disconnect it completely.
Tools Used
Step 8

Oh snap! If these screws are still intact, they might put up a bit of a fight since they come coated with threadlocker. Don’t worry, you’ve got this!
As you tackle this repair, keep an eye on each screw and remember where it belonged. Let’s make sure they all find their way back home!
– Grab your trusty Phillips screwdriver and unscrew the six 4.0 mm screws that are keeping the motherboard shield snug and secure. You’re just one step closer to your repair victory!
Step 9


Hey, watch out for the motherboard shield, its edges are a little delicate. No need to worry though, just be careful and you’ll be good to go! If you need help, you can always schedule a repair.
– Grab a trusty pair of tweezers and gently lift that motherboard shield up like a pro!
– Now, use your fingers to give a good grip on the motherboard shield. You’re doing great!
Tools Used

Step 10


The wireless charging coil is gently held in place by a bit of light adhesive magic.
– Time to give that wireless charging coil a little TLC! Gently peel it up and away from the device – think of it like a friendly farewell.


Step 13

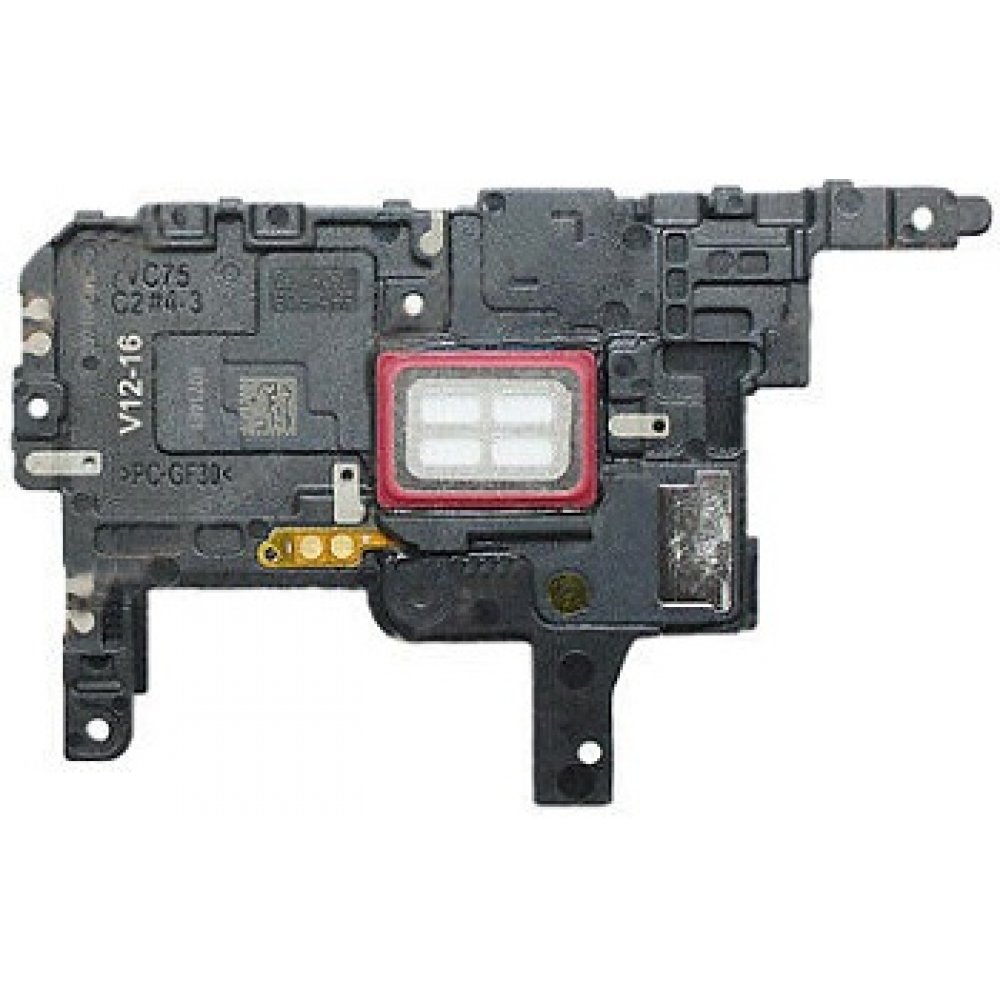
– Grab your trusty Phillips screwdriver and carefully unscrew those four 4.0 mm screws that are holding the earpiece speaker in place. You’ve got this!
Step 14


That earpiece speaker is hanging out, ready to party on the top edge of the frame. Just clip it in place and you’re good to go!
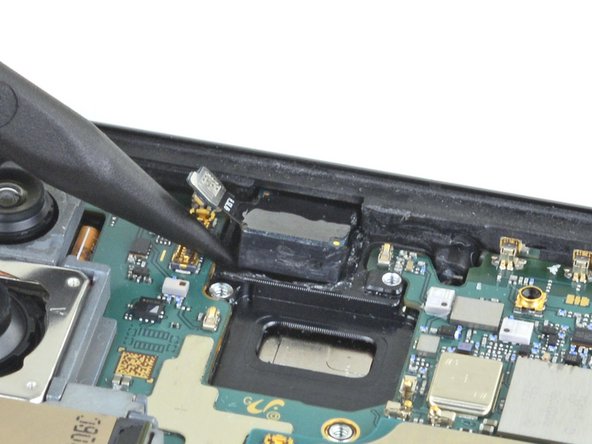
– Gently slide the pointed end of your trusty spudger into the little hole marked by a snazzy triangle on the right side of the earpiece speaker.
– With a little finesse, use the spudger to nudge and lift the earpiece speaker away from the frame. You’re doing great!
Tools Used
Step 15


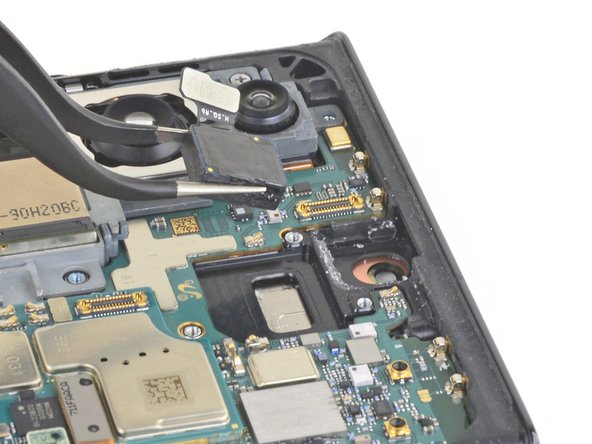
– Alright, time to give that earpiece speaker a little break! Gently lift it off and set it aside. You’re doing great!
Step 16

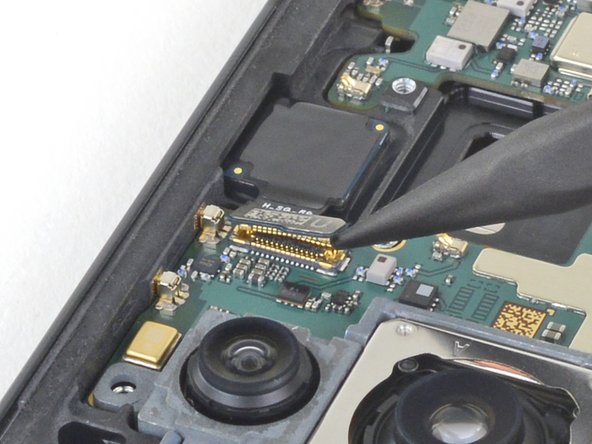
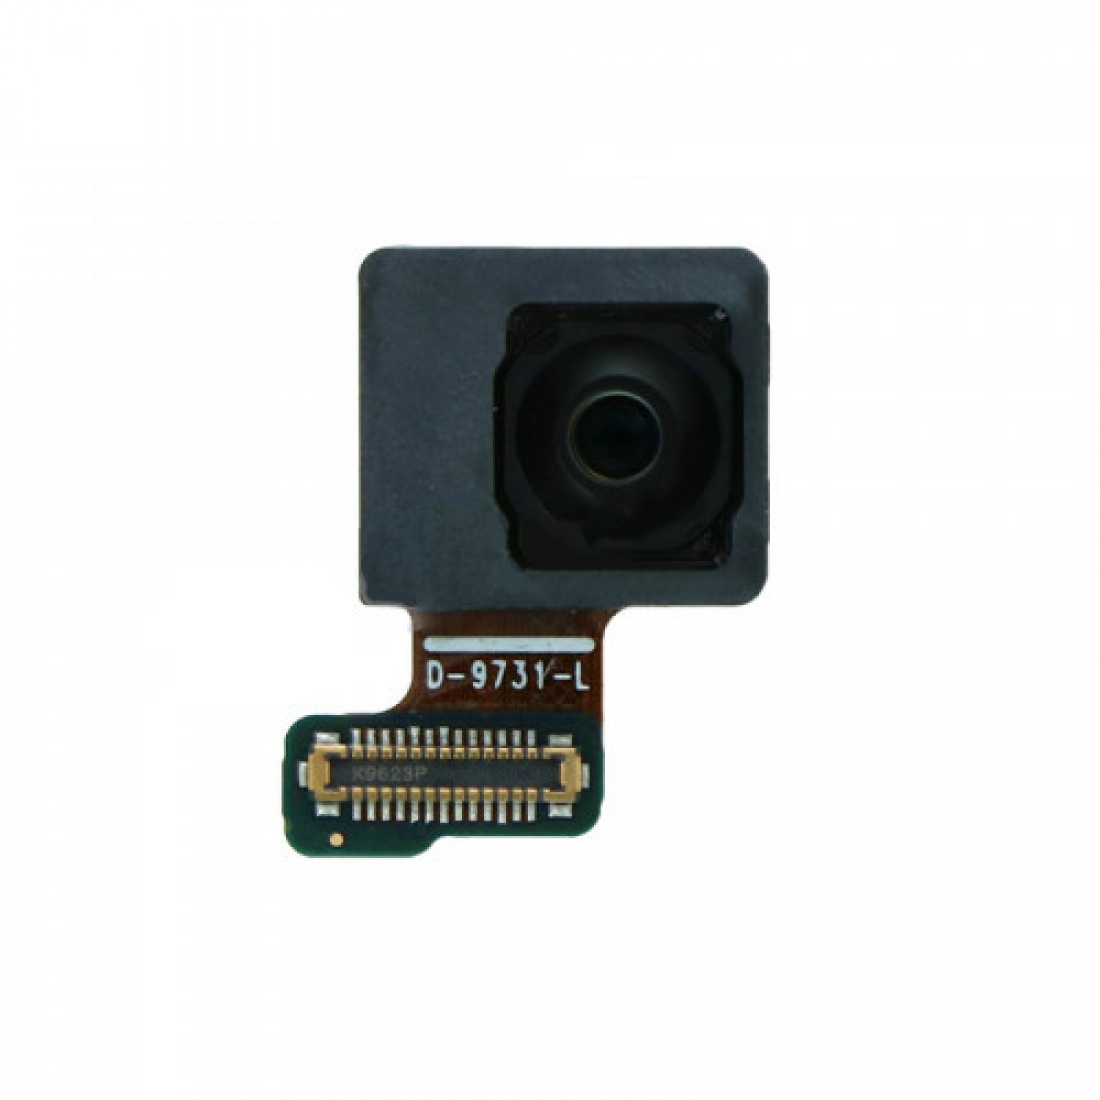
– Now, let’s give that front-facing camera cable a little break! Use the pointed end of your spudger to gently disconnect it from the motherboard.
Tools Used
Step 17


Hang on tight, the front-facing camera is glued to the frame. It’s like a party, and the camera’s the guest of honor, glued to the dance floor!
– Give that front-facing camera a little love! Dab a few drops of high-concentration (90% or higher) isopropyl alcohol onto the open space in the bottom left corner.
– Now, let’s give that alcohol a couple of minutes to loosen up the adhesive holding the camera in place. It’s like a mini spa treatment for your phone!
Step 18

– Time to get started – insert the pointed end of a spudger into the open space in the bottom left of the front-facing camera, it’s the perfect spot to begin.
– Now, gently push the pointed end of the spudger under the front-facing camera, you’re making great progress.
– Carefully pry up the front-facing camera to loosen it from the frame, don’t worry if it takes a little bit of effort – you’ve got this. If you need help, you can always schedule a repair
Tools Used
Step 19

– Grab your trusty tweezers and gently lift out the front-facing camera. You’ve got this!
– If there’s any leftover alcohol solution hanging around in your phone, go ahead and give it a gentle wipe or let it air dry before popping in your shiny new front-facing camera.
– When you’re putting everything back together, don’t forget to check out this guide if you’ve got a pre-cut adhesive card to keep that new front-facing camera snugly in place.