How to Replace Samsung Galaxy S II Front Glass Digitizer
Duration: 45 minutes
Steps: 15 Steps
Check out the video guide!
Got a Samsung GALAXY SII with a busted Touchscreen or LCD? Fear not! This guide’s here to walk you through replacing those pesky parts. Heads up, it’s a tough one, so bring your A-game. Or, for an easier ride, swap out the whole touchscreen and LCD frame together. Not too confident? No worries! Opt for the easier swap to keep things smooth. Need a visual? Check out our video tutorial to see how it’s done!
Step 1


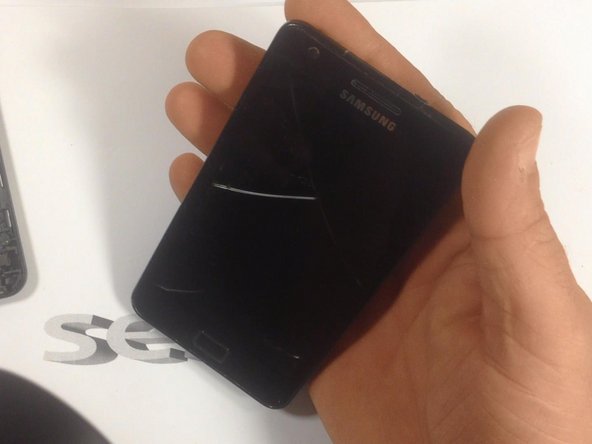
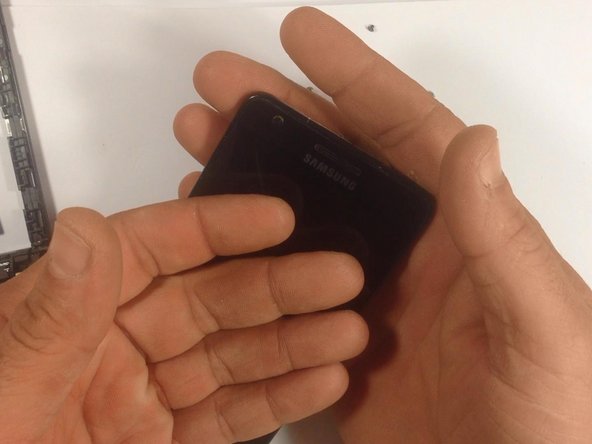
– Hey there, awesome human! Looks like your Samsung Galaxy S II is rockin’ a cracked screen. Let’s get that fixed in a jiffy!
Step 2


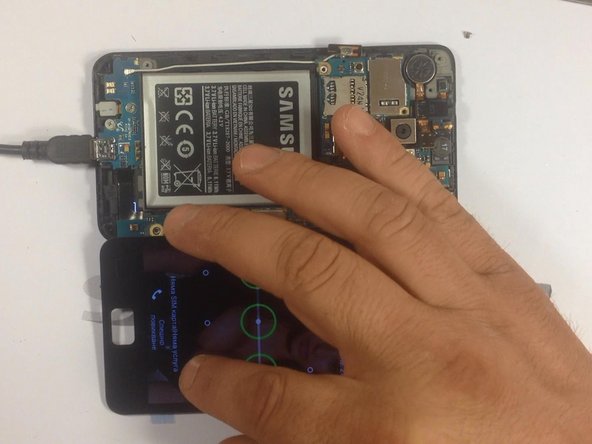
– Alright, let’s get this party started! First, pop out your battery, yank out the SIM card, and slide out the SD card.
– Now, let’s tackle those 7 sneaky screws highlighted in red. Show them who’s boss!
Step 3
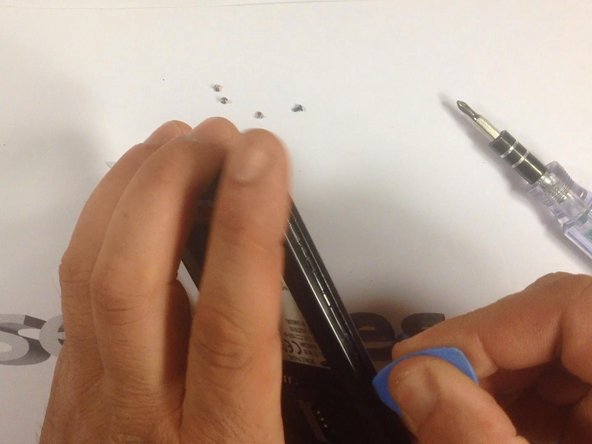
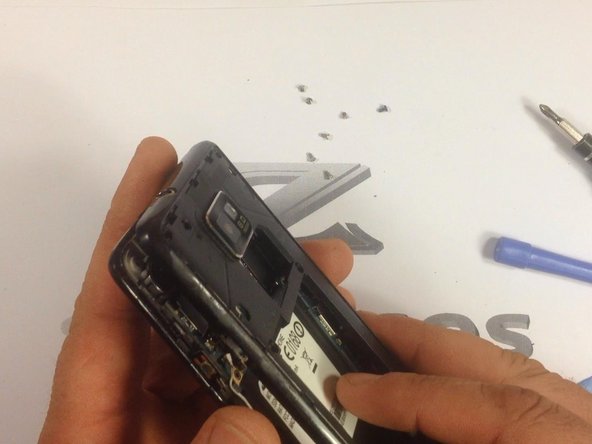

– Grab your trusty plastic tool and let’s pop off that rear housing like a pro!
Step 4
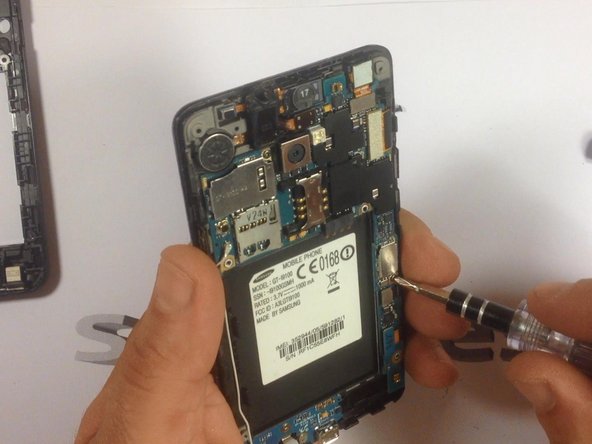

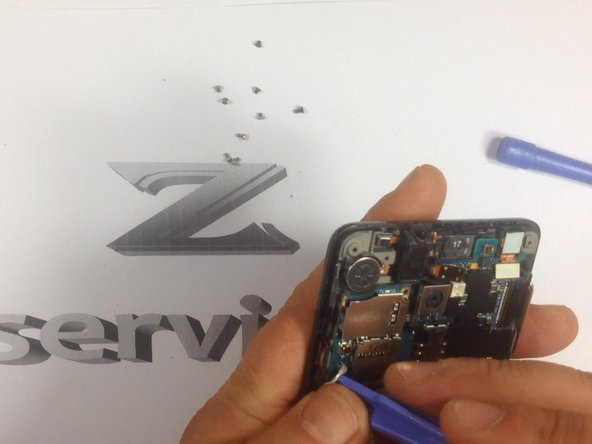
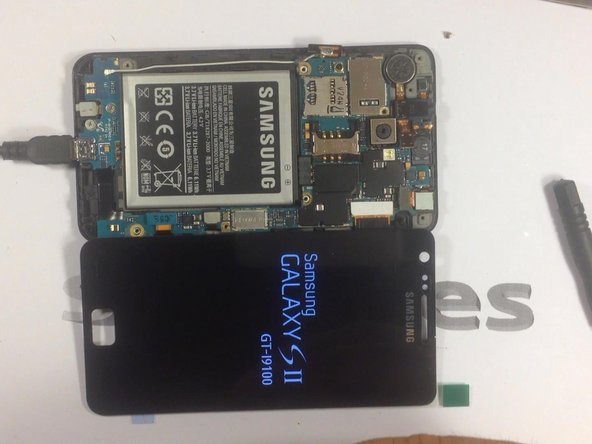
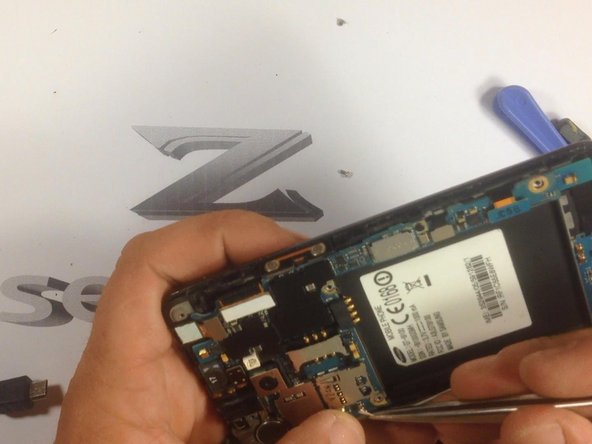
– Alright, let’s free the motherboard! It’s just hanging on with 2 screws. Unscrew those little rascals and let’s move on.
Step 5
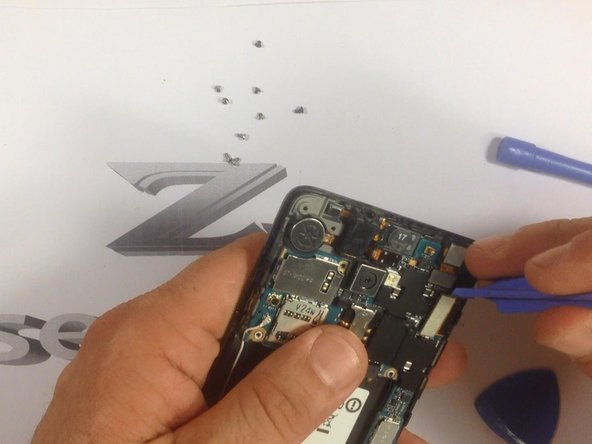

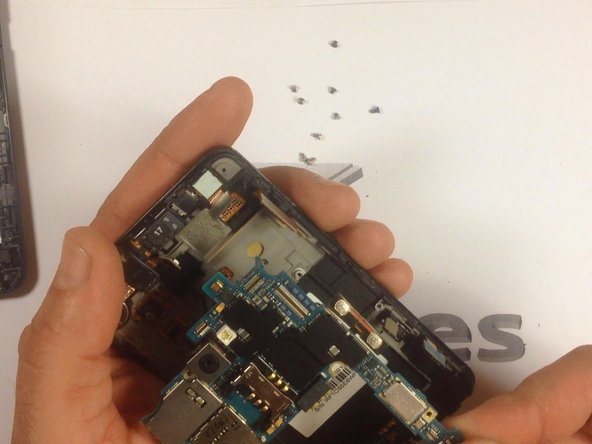
– Unhook those snazzy red cables before you jump to the screen step!
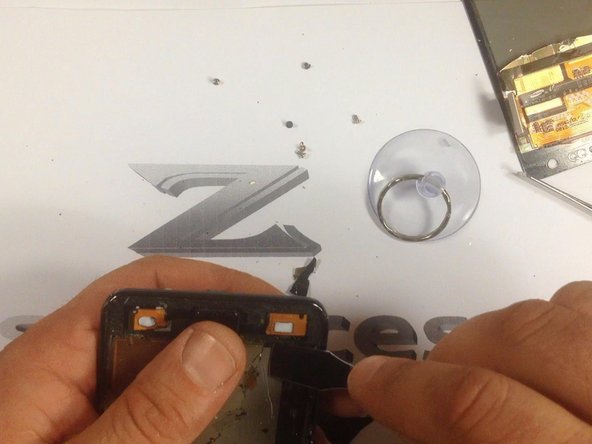
Step 6
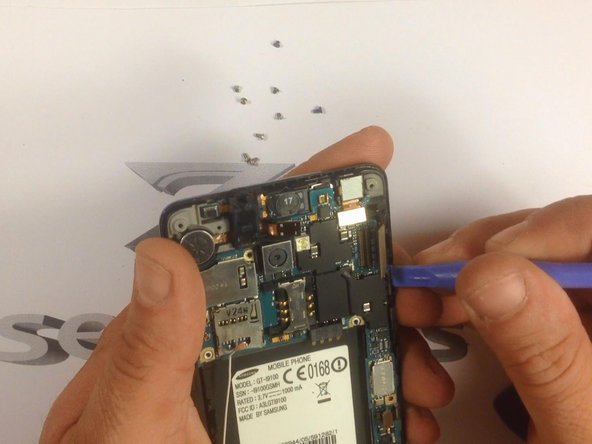


– Unhook those side buttons! Just follow where the arrows point to locate them.

Step 8
– If you’re rocking a touch screen with an LCD and frame as a single unit, you’re all set to swap it out!
– Let’s keep the ball rolling by separating the LCD and touch screen from the frame. Start by warming it up a bit!
– Crank up the heat with a hot air gun to loosen the adhesive, making it easier to lift off the glass.
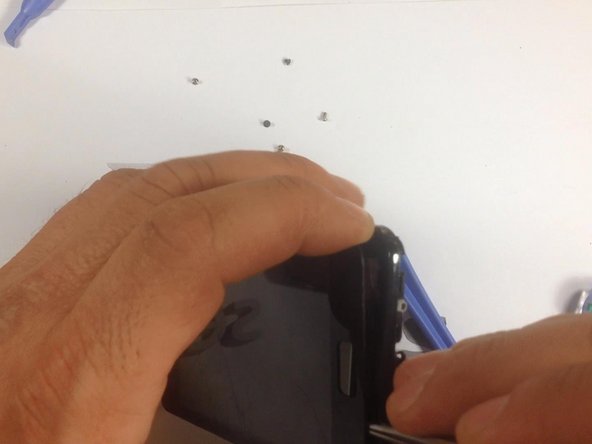
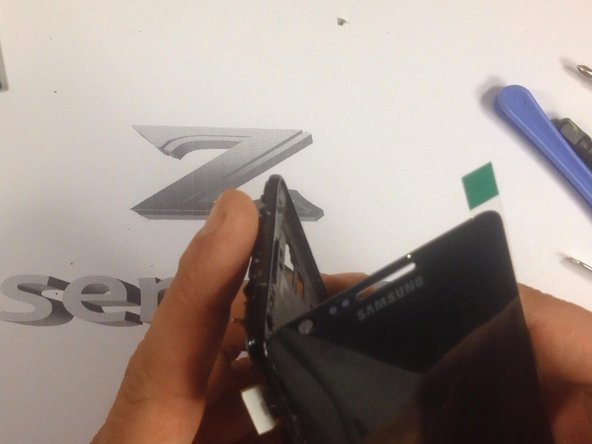
Step 9

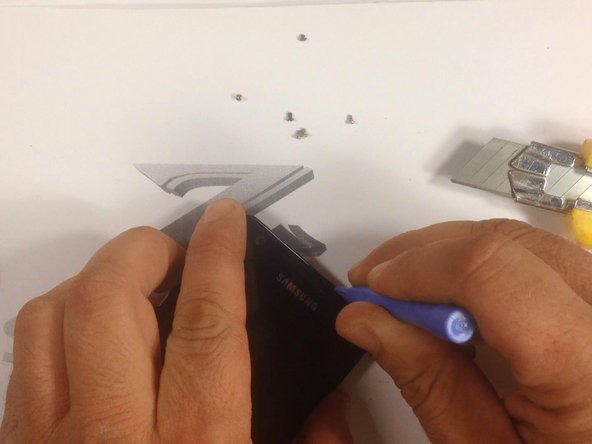
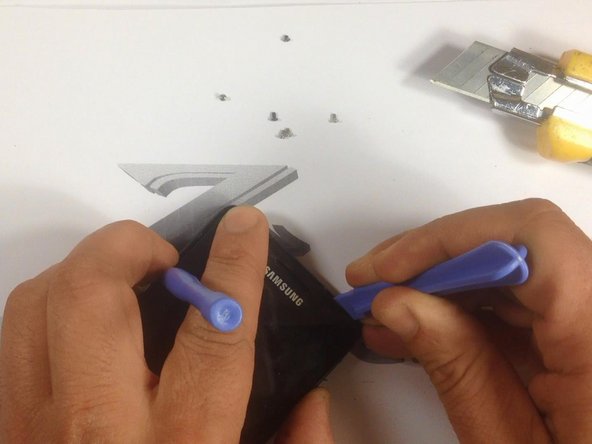
– Grab your cutter and make a little wiggle room for a plastic tool. Once you’ve got that space, go ahead and gently pry apart the Touchscreen & LCD Display from the frame. It’s like opening a treasure chest, but with tech goodies inside!
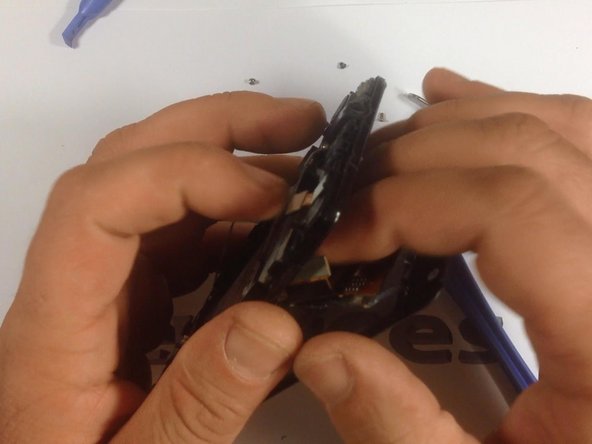
Step 10

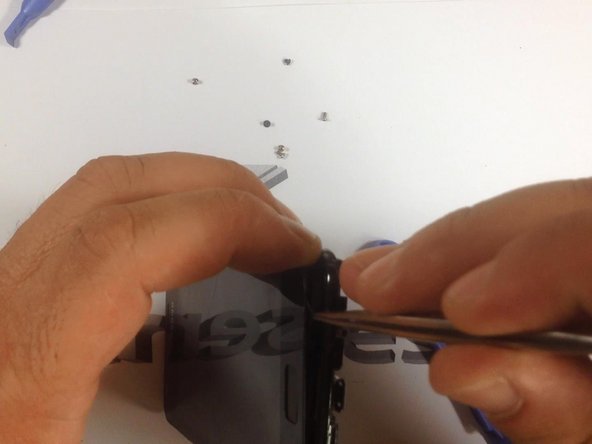
Watch out for that sneaky flex cable near the menu buttons at the bottom of the touchscreen! Make sure to unhook it before you and the digitizer part ways.
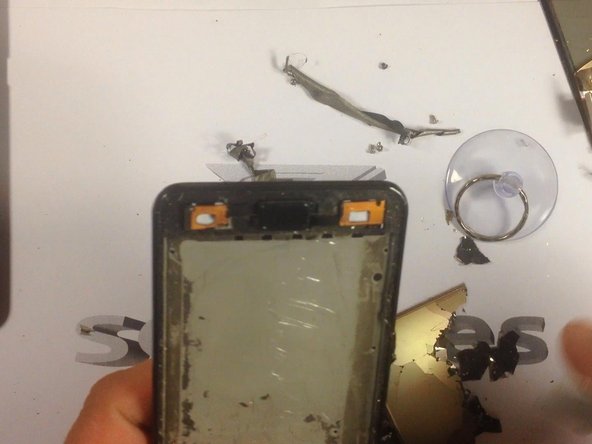
Step 11
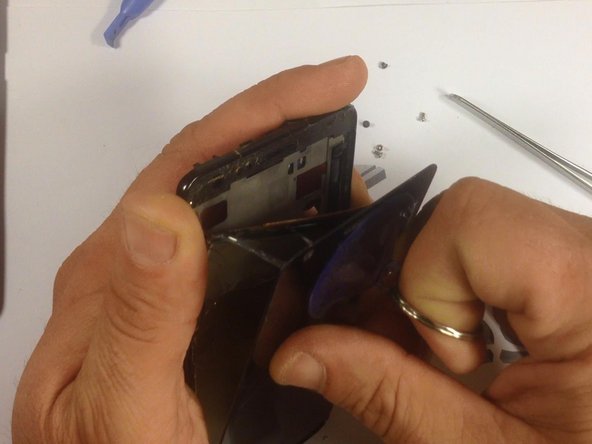

– Alright, grab your suction tool and let’s gently lift the screen out of its cozy home. Remember, easy does it—no need to rush and risk a boo-boo!

Step 13

– Give that shiny new part a quick whirl before you put everything back together!


Step 15


– To put your gadget back together, just flip these steps around and rock it in reverse order. You’ve got this!

