How to Replace Samsung Galaxy S One Camera Failed Step-by-Step Guide
Duration: 45 minutes
Steps: 7 Steps
________________________ Video Tutorial: ________________________
Ready to tackle that pesky ‘Camera failed’ message on your phone? We’ve got a breezy 5-step guide to get your camera back in action. Give each step a whirl and test your camera after each one. If it’s still giving you the cold shoulder, simply breeze on to the next step. And hey, don’t miss our snazzy video tutorial to guide you through!
Step 1


– Alright, let’s dive in! First, clear that data and cache and see if your camera decides to be a superstar again. If it’s still being shy, no worries, just hop on over to the next step.
Step 2


Heads up! This step will totally wipe your data!
– Hop to it:
– For a groovy hard reset using the trusty hardware keys, shimmy through this guide:
– Samsung Galaxy – Wipe data/Factory reset
Step 3
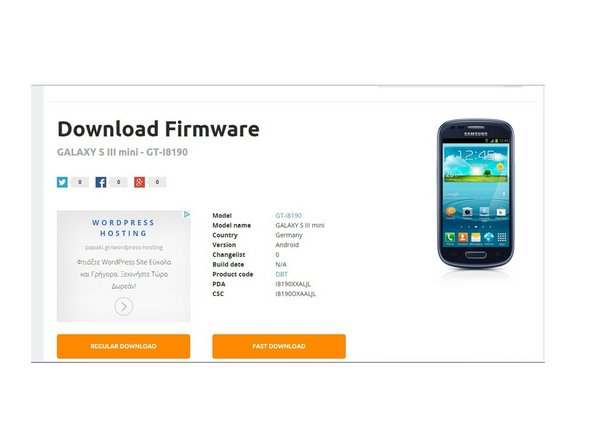


Spot your device’s variant by zipping over to Settings > About the device, or jazz things up by dialing *#1234# in your call app!
– Hop onto sammobile and sign yourself up!
– Dig around for the firmware that matches your model and snag the version that fits your phone like a glove.
– On the download page, you’ll find some handy instructions and a link to grab the Odin app.
Step 4


– Power down the device, remove the battery along with any SIM and memory cards.
– Take out the Midframe.
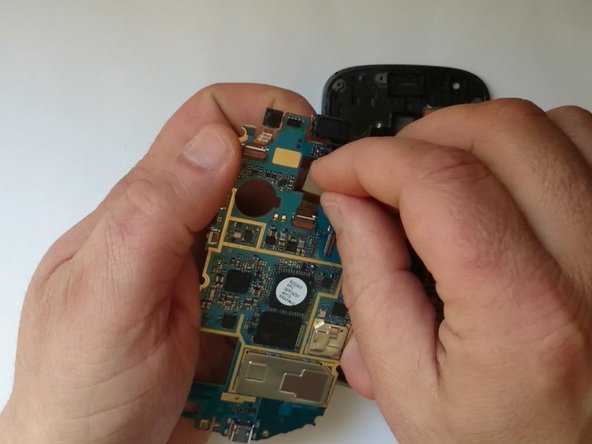
– Unplug the Menu buttons and the SD card reader flex cables.
– Carefully tilt the board to the left, watch out for the earpiece and the main camera as they are attached to the Display frame.
Step 5


– Unplug the LCD Display flex cable with a gentle tug.
– Pop open the camera flex cable connector and give that camera a quick reconnect.
Step 6

– If your camera is still giving you the silent treatment, it’s time to give it a fabulous makeover! Let’s replace that camera.
Step 7

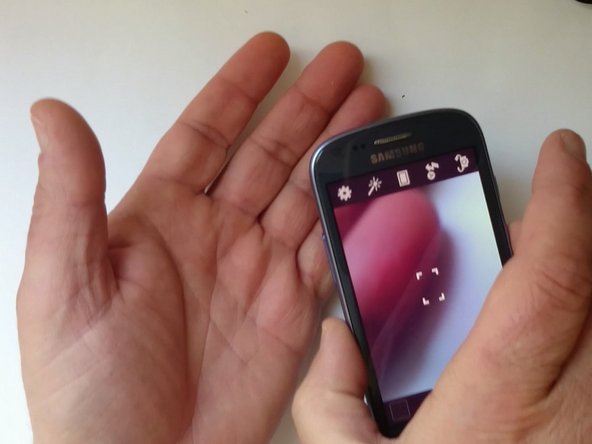
– Nailed it?

