How to Replace Samsung Galaxy S10+ Power Issue in 5 Steps Tutorial
Duration: 45 minutes
Steps: 5 Steps
Hey there! Before you dive into the repair world, remember to power down your device. It’s like giving it a little nap before you work your magic! Safety first, right? If you feel a bit overwhelmed, don’t hesitate to schedule a repair with the pros!
Get ready to bring your Samsung Galaxy S10+ back to life in a flash as we tackle the issue of it refusing to power on. Stay tuned and let’s get this device up and running in no time!
Step 1


– Alrighty, let’s dive into this phone saga. First, check out the motherboard’s condition – make sure those power and camera ICs are properly soldered. Then, give it a test by installing it and connecting up the display and power cable. Check for any funky current leakage (over 52 mA is a definite no-no). Now, hit that power button and see if the reading stays put. If it does, our main power supply line might be the culprit. Time to use your multimeter’s diode mode to measure up some power supply lines. Watch out for that inductor L5039 – if it’s shorting to the ground, we’ve got problems. If you need help, you can always schedule a repair.
Step 2


– Time to dive into the schematic! You’ll see that L5039 is the ultimate connector, linking the main power supply line VBAT and the power IC U8031 together like best pals.
Step 3
– Since the power IC U8031 has been soldered before, let’s double-check to see if it might be causing trouble.
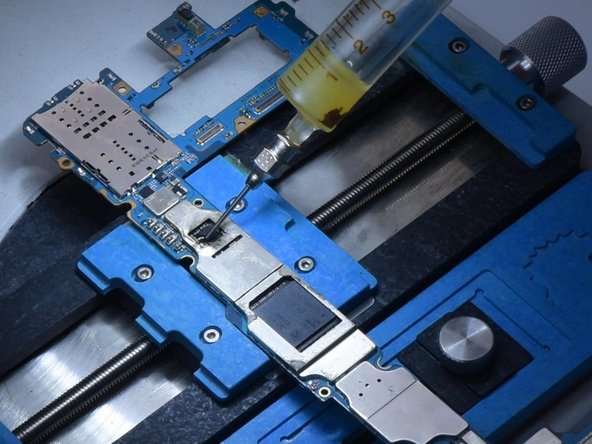
– Secure the motherboard in place on the holder, and don’t forget to add a touch of paste flux to the power IC.
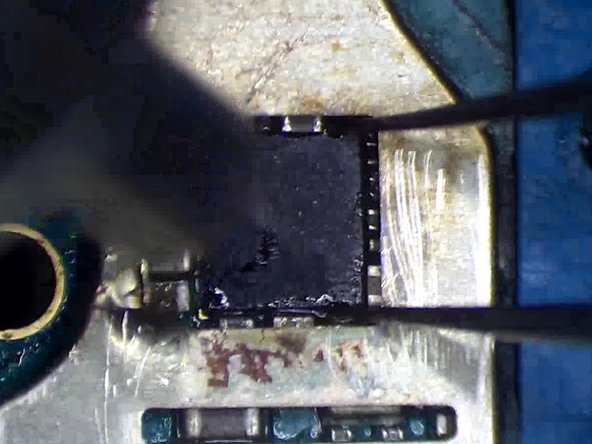
– Now, let’s warm things up using a hot air gun set at 340°C and airflow 3 to gently remove the IC.
Step 4
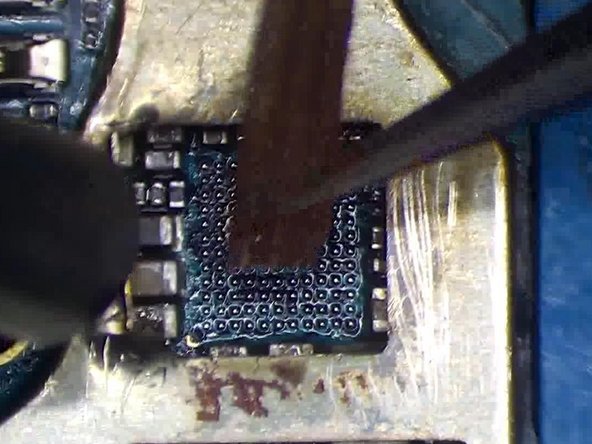
– Give the bonding pad a squeaky clean with some solder wick.
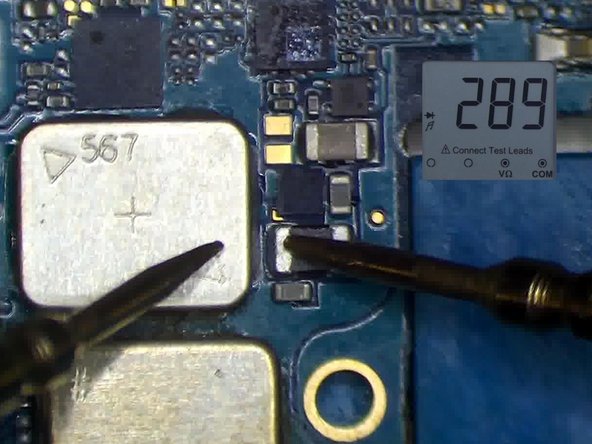
– Check out inductor L5039 using the multimeter’s diode mode.
– Clean up that bonding pad with PCB cleaner and dab on some paste flux. Need a hand? You can always schedule a repair.
Step 5
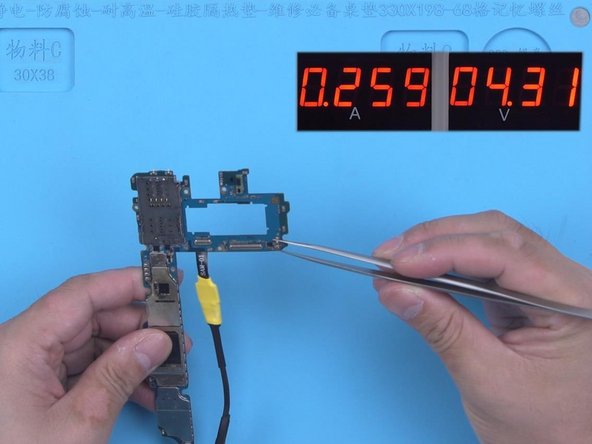


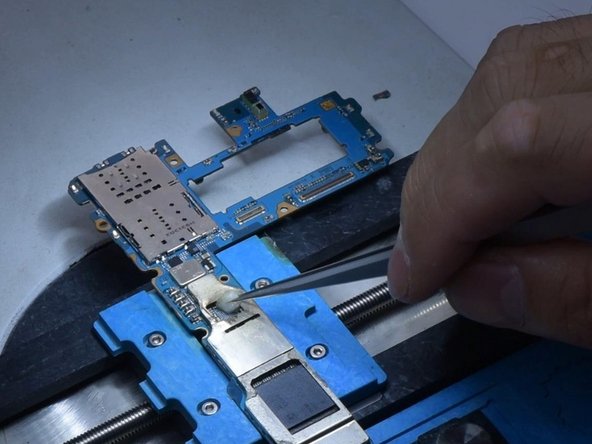
– Position the new IC in place. Fire up the hot air gun to 340°C with airflow at 2, and let that motherboard cool down before hooking up the power cable.
– Give that boot-up a nudge with tweezers. Boot current is back to normal—nice!
– Pop the motherboard back in. The phone powers up just like that. Problem solved! If you need help, you can always schedule a repair


