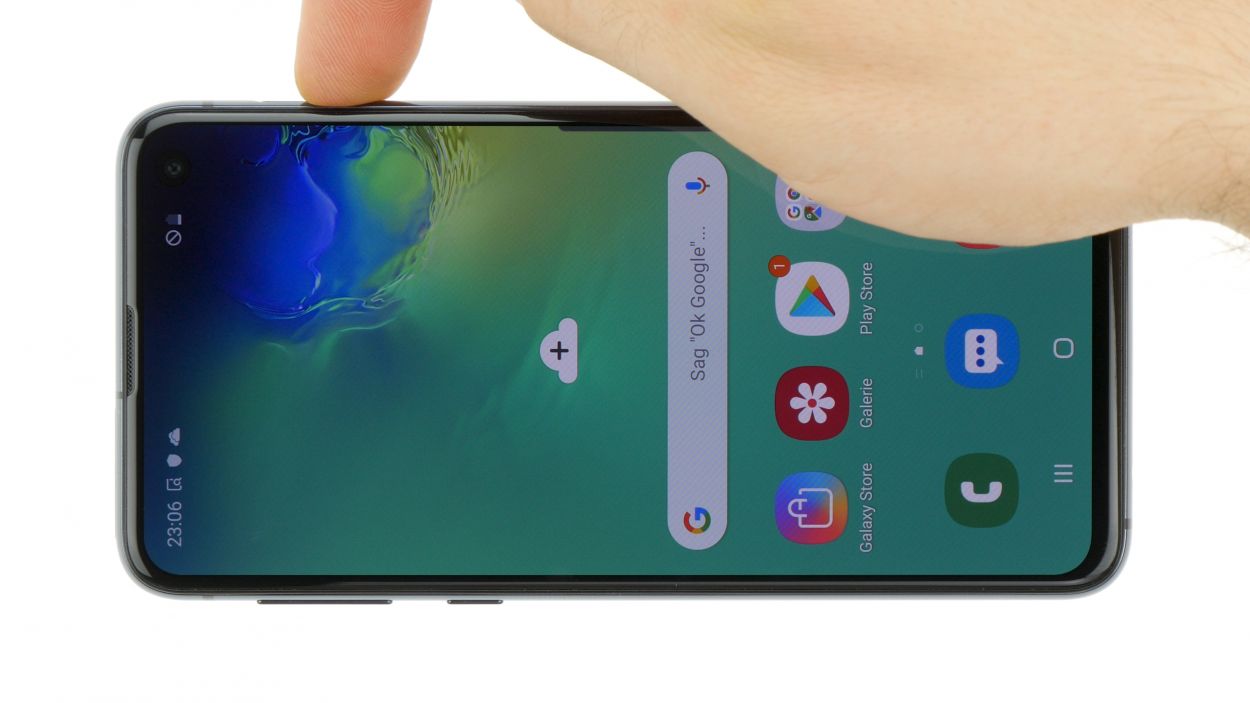
How to Replace Samsung Galaxy S10e Headphone Jack Guide
Duration: 45 minutes
Steps: 26 Steps
Hey there! Just a quick heads-up: make sure to follow these steps carefully to keep things running smoothly. If you hit a snag or feel a bit lost, no worries! You can always schedule a repair and get some expert help.
Ready to tackle your Samsung Galaxy S10e’s headphone jack? This guide is here to help you smoothly remove and replace it! If your wired headphones are giving you the silent treatment, don’t rush to swap out the jack just yet—try giving it a good clean first. If you need help, you can always schedule a repair.
Step 1

Opening up your phone means its waterproof superpowers go on break. Make sure to have new adhesive on standby before the grand opening or be a liquid ninja if your phone goes commando without it.
– Make sure to power down your device completely before diving into this fix.
– Grab an iOpener and gently warm up the back of your phone along the right side for roughly two minutes. This’ll make the sticky stuff holding the back cover in place nice and soft.
Tools Used

Step 2


The adhesive is positioned just like you see in the first image, showcasing the inside of the cover once it’s been taken off. You’re on the right track!
– Get ready to rock by slicing through the adhesive that’s keeping that back cover in place!
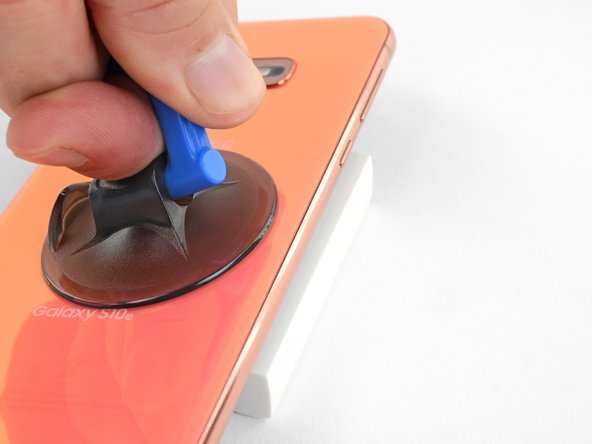
Step 3


– Grab a suction cup and stick it to the back cover, aiming for the heated edge that’s closest to the Bixby button where the glue is feeling a bit shy. Let’s get that cover off smoothly!
Step 4

Remember, gentle touch is the way to go when handling the rear glass. Avoid too much force or using metal tools to prevent any unwanted cracks or breaks.
– Prop up the warm edge of your phone on something that’s about 0.5 inches (13 mm) thick. This little angle will make it way easier to slide in that opening tool.
– Using your suction cup, gently lift the right edge of the back cover to create a tiny gap between the back cover and the frame.
– Now, slide the edge of your opening tool into that gap and get ready to work some magic!
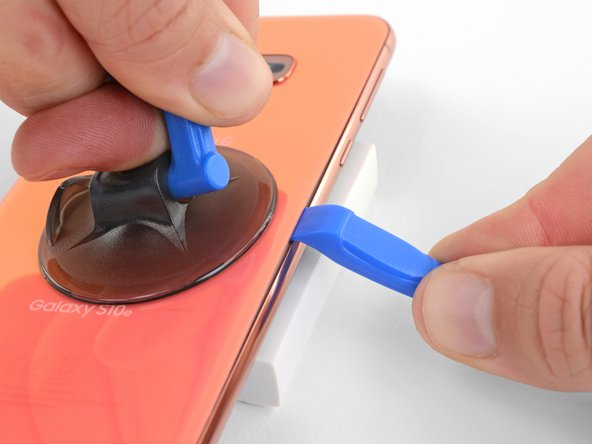
Step 5


– Glide the handy opening tool smoothly along the right edge of the device to effortlessly cut through the adhesive holding the back cover in place.
Step 6


– Slip an opening pick into the edge next to your opening tool. Leave it there to keep the glue from sticking again. If you need help, you can always schedule a repair
Step 7

– Get ready to warm up the top edge of your trusty device with a heated iOpener for a cool two minutes.
Tools Used
Step 8


– Pop in an opening pick near the top right corner of your phone and glide it around the edge, cruising across the top like a boss.
– Keep the pick in place to make sure that sneaky adhesive doesn’t re-stick itself. If you need help, you can always schedule a repair.
Step 9

– Grab a heated iOpener and show the left edge of your phone some love for a couple of minutes.
Tools Used
Step 10


– Time to slide a new opening pick near the top left corner and glide it stylishly along the left edge of the phone.
– Once again, keep that opening pick snug in the left edge of the phone to keep the adhesive from sealing back up.
Step 11

– Grab your heated iOpener and give the bottom edge of your phone a toasty treat for two minutes. If you need help, you can always schedule a repair
Tools Used
Step 12


– Place an opening pick at a bottom corner of your phone and slide it along the bottom edge to loosen the adhesive.
Step 13

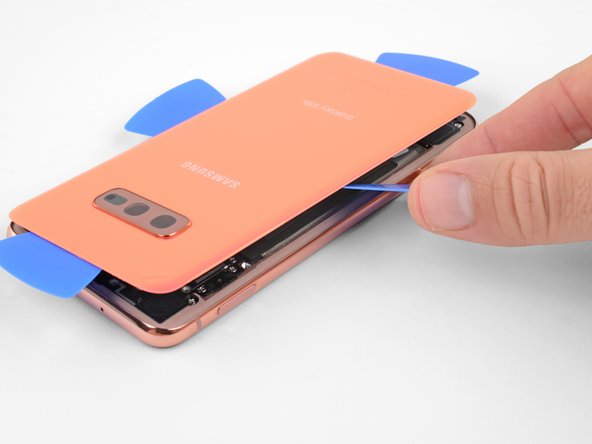

– Grab those opening picks and gently coax the back cover to lift up. Remember, patience is key!
– Once you’ve got it pried up, go ahead and remove the back cover with care.
Step 14

Feel free to pop the back cover back on without new adhesive if you like. Just get rid of any big adhesive chunks that might keep it from sitting nicely. After it’s in place, heat it up and give it a bit of pressure to secure it. It won’t be waterproof, but that leftover adhesive is usually plenty strong to keep things in place.
– Get ready to dive in and tackle the back cover reinstall and adhesive swap! You’ve got this!
Step 15

– Let’s get those eight 3.9 mm Phillips screws out of the upper midframe and free your phone!
Step 16
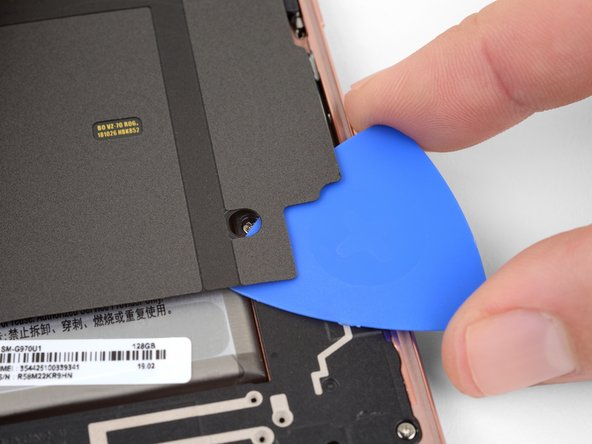

– Gently slide an opening pick under the bottom right corner of the upper midframe to break free the adhesive that’s keeping it snug against the lower midframe. You’re doing great!


Step 18

– Gently lift the midframe using the plastic section and pop it out of the phone. Easy peasy!
– When you’re ready to put it back together, start by tucking the top edge of the assembly into the phone’s frame. Then, give a gentle push on the rest of the assembly to click it back into place. You’ve got this!


Step 20

– Grab that Phillips driver and whip out the seven 3.9 mm screws holding the loudspeaker in place. If you need help, you can always schedule a repair


Step 22


– Get that loudspeaker moving and gently lift it out of there.
– When it’s time to put things back together, show that loudspeaker who’s boss and firmly press its edges until it clicks snugly into place.
Step 23


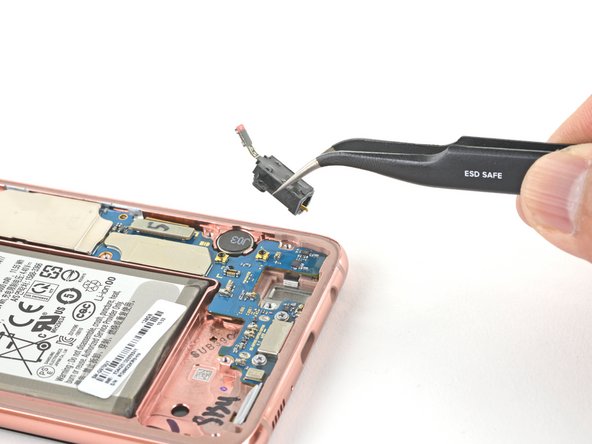
– Grab your trusty spudger and gently wiggle it in there to pop up and disconnect the headphone jack connector from its cozy home on the motherboard. You’re doing great!
Tools Used
Step 24


– Slip the tip of a spudger into the headphone jack port.
– Lift up firmly with the spudger until you hear the satisfying click of the headphone jack releasing from the frame. If you need help, you can always schedule a repair.
Tools Used

Step 26


– To put it all back together, gently tuck the headphone jack into its cozy little spot, and then give it a friendly push with your finger until you hear that satisfying click. You’re almost there!