How to Replace Samsung Galaxy S20 FE 5G Ultra Wide Camera Tutorial
Duration: 45 minutes
Steps: 27 Steps
Looking to swap out the ultra-wide camera on your Samsung Galaxy S20 FE 5G? This guide’s got your back! Whether the camera’s acting up, not focusing, or taking grainy pics, it might be time to replace it. Just make sure it’s not just the rear lens cover causing the issue. And hey, don’t sweat the small stuff – you’ll have to take off the motherboard first, but that’s totally doable. Check out our guide for replacing the back cover adhesive when you’re all done!
Step 2
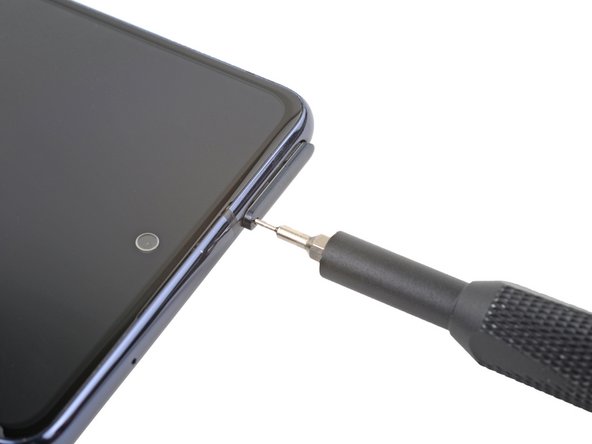

No worries if you accidentally poked the SIM eject tool into the microphone hole! It’s likely your microphone is just fine.
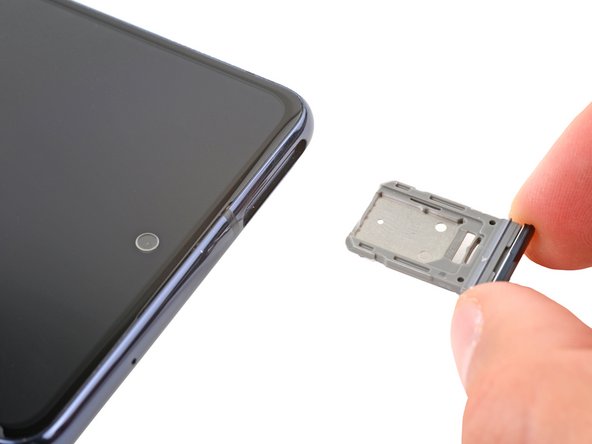
– Get ready to pop that SIM card tray out! Grab your trusty SIM eject tool, a screwdriver bit, or a straightened paper clip, and give it a firm press into the SIM card tray hole at the top edge of your phone. Keep pressing until the tray gives a little wiggle and pops out.
– Now, gently pull the SIM card tray out and set it aside.
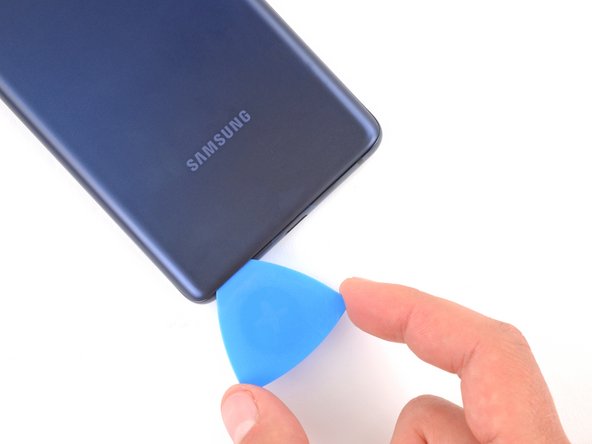
Step 3

– Get your iOpener ready and gently heat it up before placing it on the lower edge of the back cover. Let it work its magic for a good two minutes.
Tools Used

Step 4


– Grab a suction cup and place it right at the center of the bottom edge of the back cover, getting as close to the edge as you can. You’re doing great!
– Now, give that suction handle a solid, steady pull to work some magic and create a gap between the cover and the frame.
– Time to slide in an opening pick into that gap and keep things moving!
Tools Used

Step 5


– Gently slide the opening pick along the bottom edge to gracefully slice through the adhesive holding the back cover in place.
– Keep the opening pick snug in the bottom right corner to ensure the adhesive doesn’t sneakily reseal itself.
Step 6

– Grab your trusty iOpener and give it a warm-up! Apply it to the right edge of the back cover for a cozy two minutes. Your device will appreciate the extra love.
Tools Used
Step 7


– Gently slide the opening pick around the bottom right corner with finesse, making your way up the right edge to effortlessly slice through the adhesive.
– Keep the opening pick snug in the top right corner like a trusty sidekick.
Step 8

– Warm up your iOpener and press it gently against the top edge of the back cover for a cozy two minutes.
Tools Used
Step 9


– Gently glide that opening pick around the upper right corner and along the top edge to cut through the adhesive like a pro!
– Keep that pick nestled in the top left corner for now.
Step 10

– Gently apply a cozy iOpener to the left edge of the back cover for a couple of minutes.
Tools Used
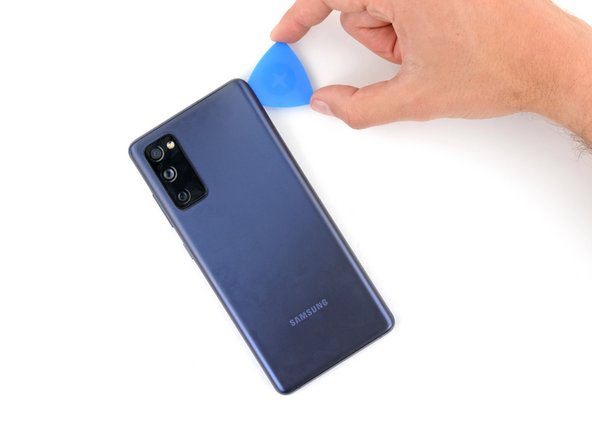
Step 11


– Gently glide the opening pick around the top left corner and down the left edge to carefully slice through the leftover adhesive. You’re doing great!


Step 13


– Now’s a great time to power up your device during reassembly! Give it a whirl and make sure everything’s functioning before you snap it all back together. Just remember, you’ll want to turn it off completely before you dive back in!
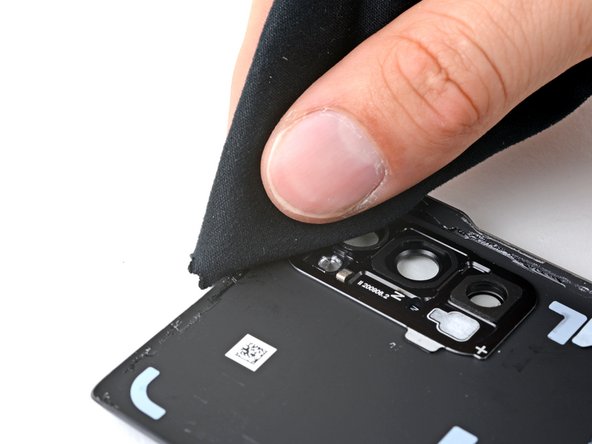
– Reinstalling your old back cover? Awesome! Just slide it back into place with care.
– If you’re putting on a new back cover, peel off those liners like you mean it and press firmly around the edges to make sure everything sticks nicely to the frame.
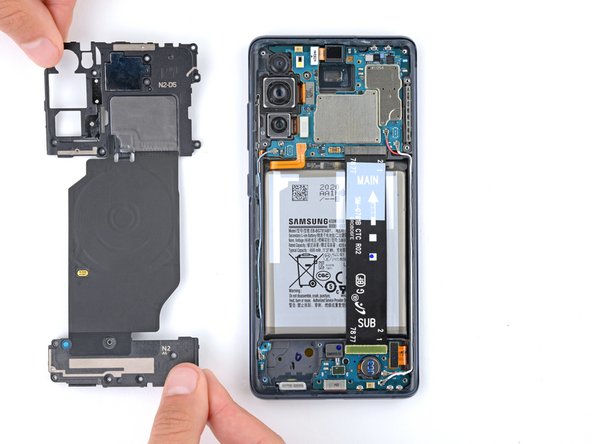
Step 14

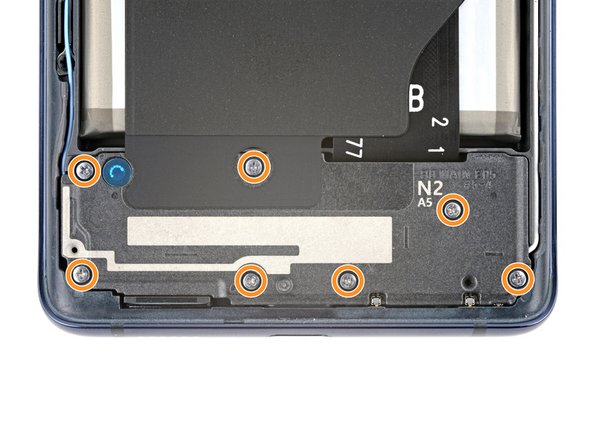
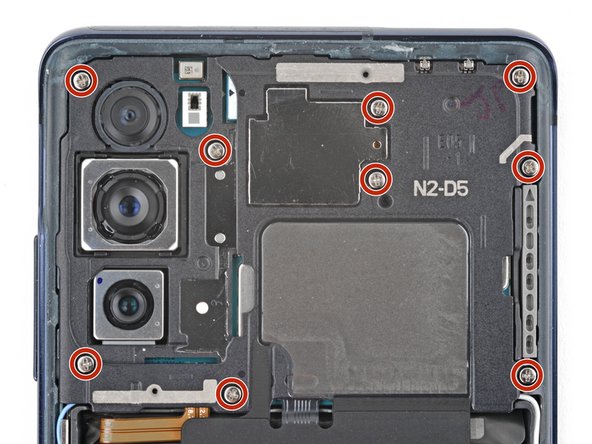
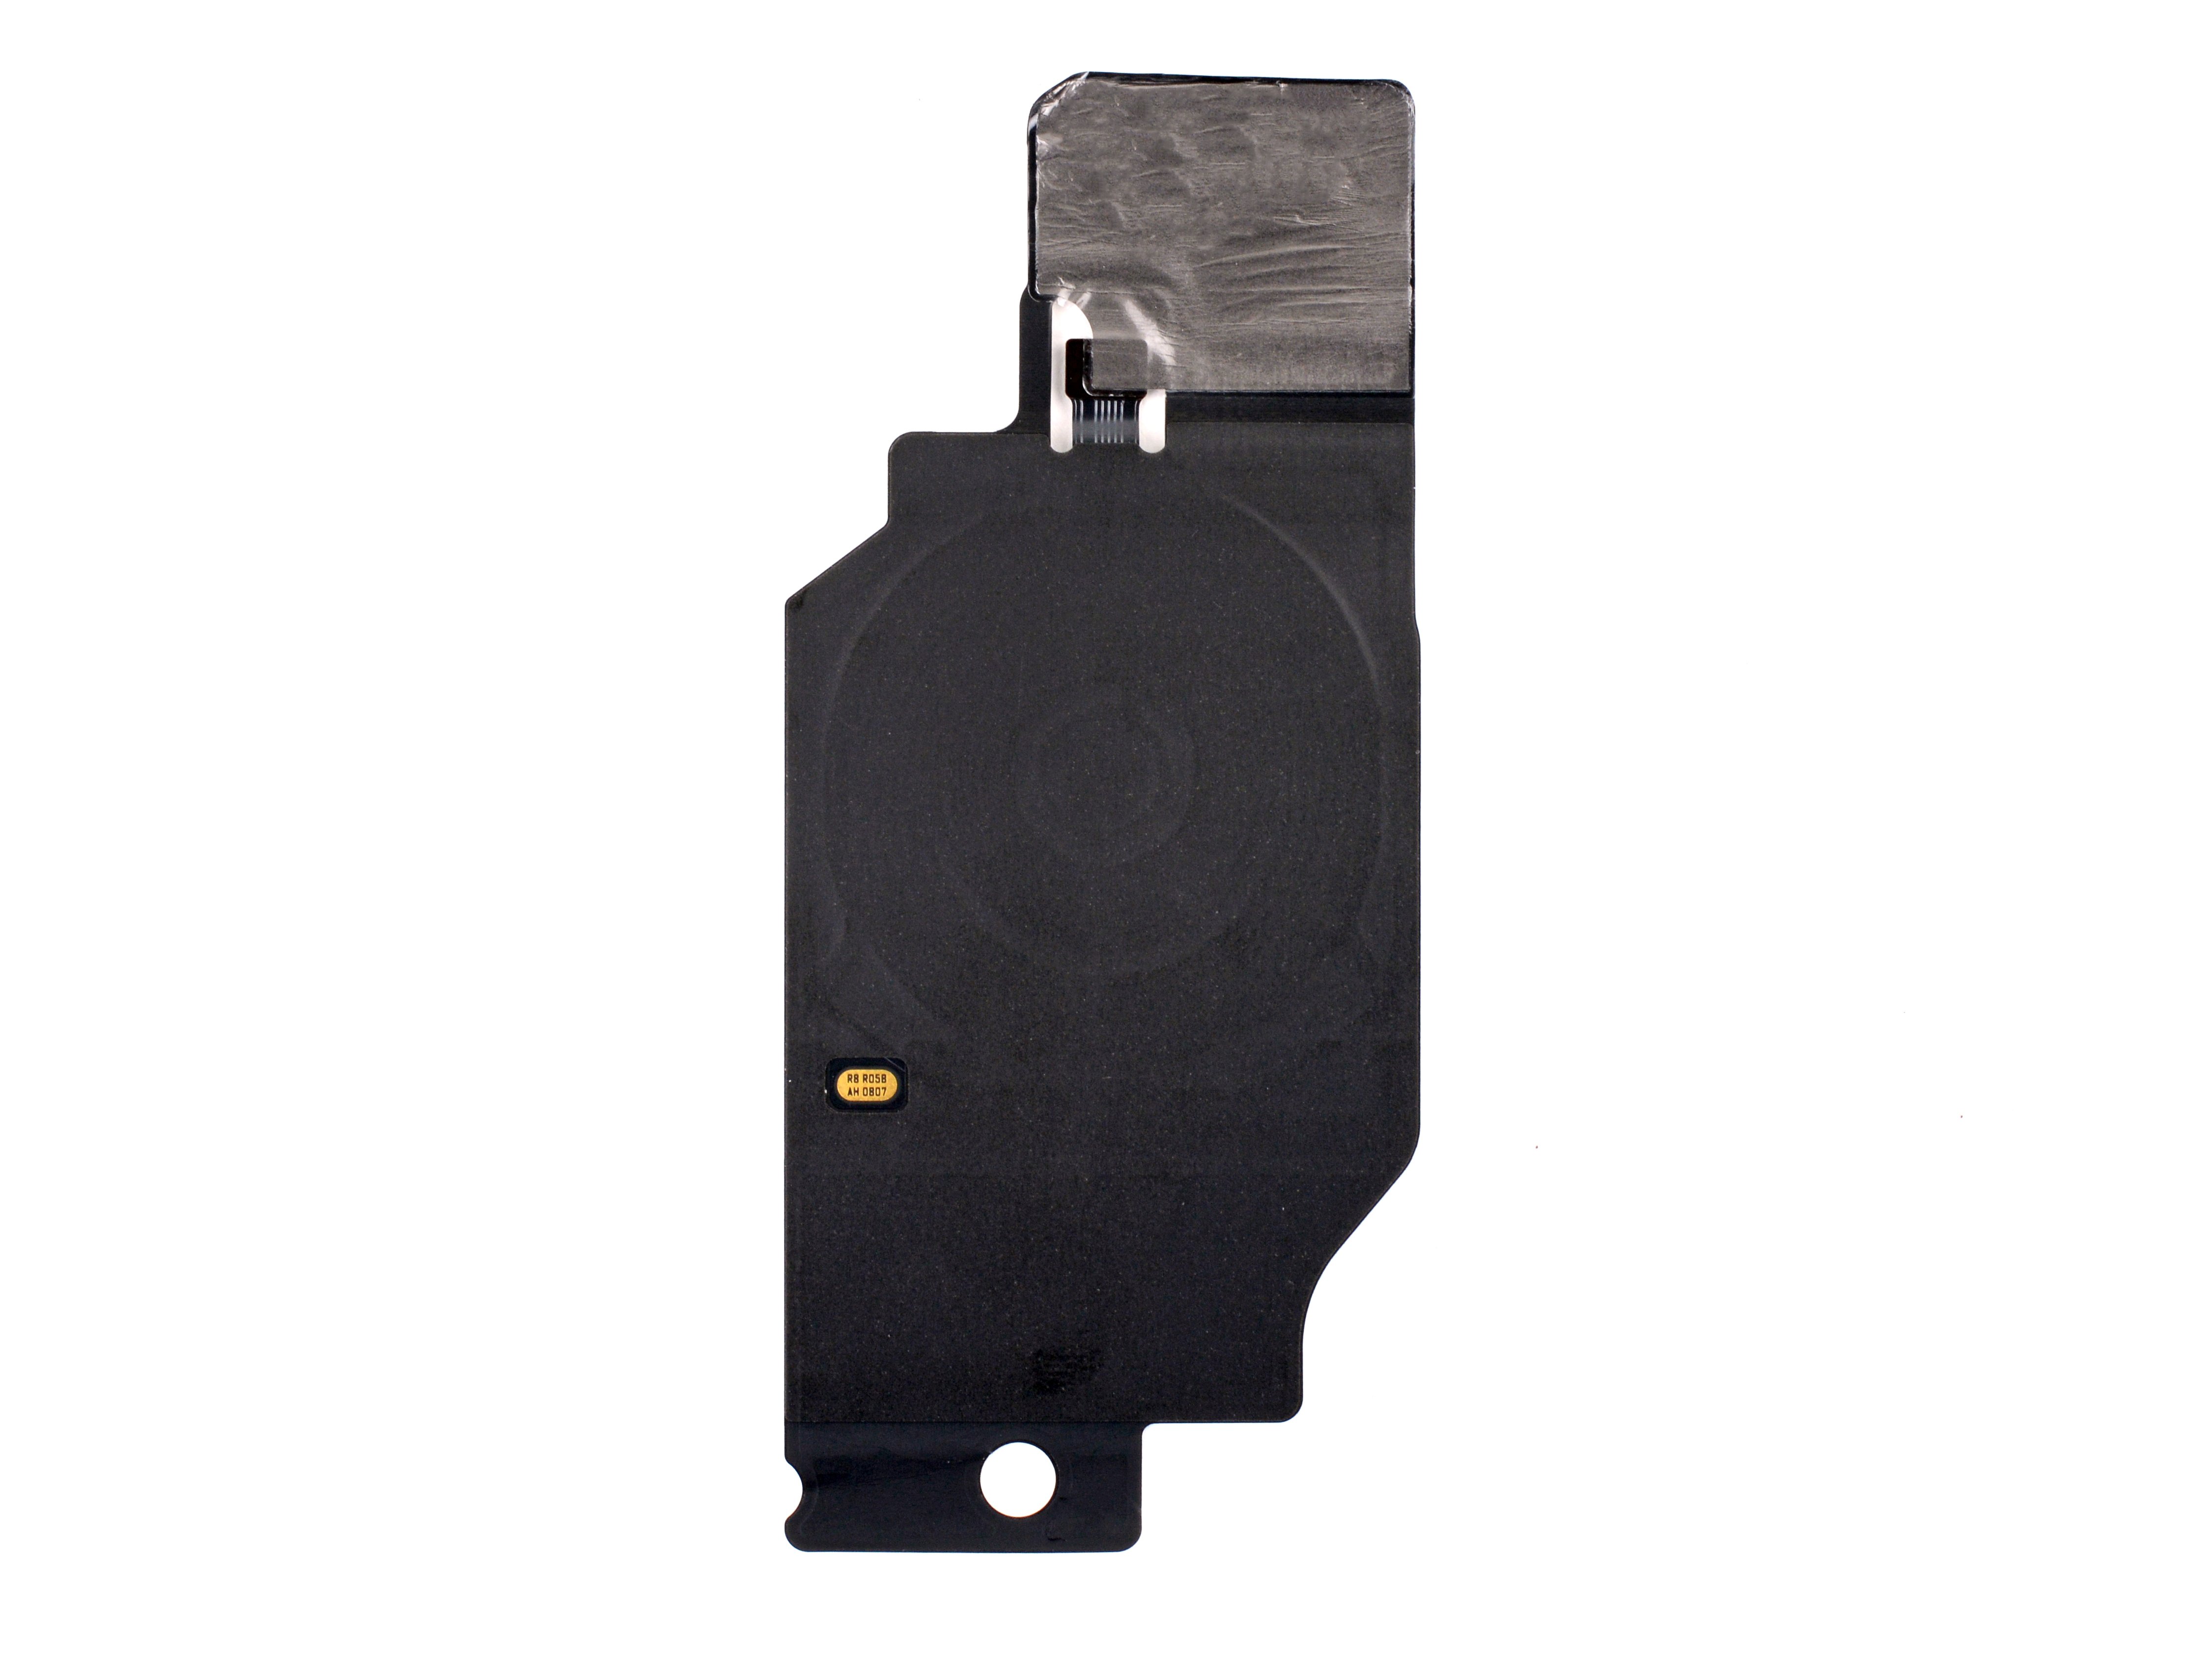
The wireless charging assembly is made up of the motherboard cover, wireless charging coil, and loudspeaker, all snuggled together with some trusty graphite tape. To keep things simple, just remove them as one happy bundle.
– Grab a trusty Phillips screwdriver and start by bidding adieu to the 16 screws holding tight the wireless charging assembly:
Step 15

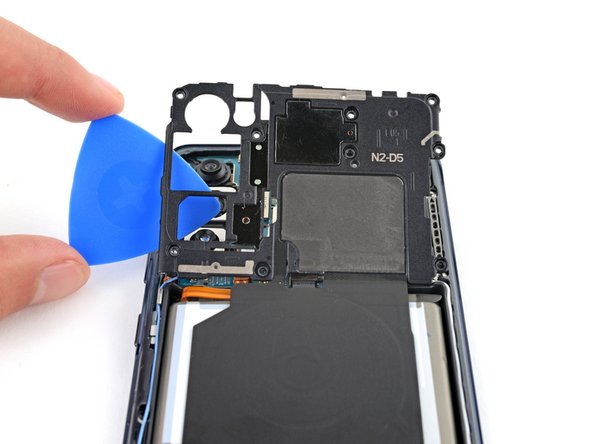
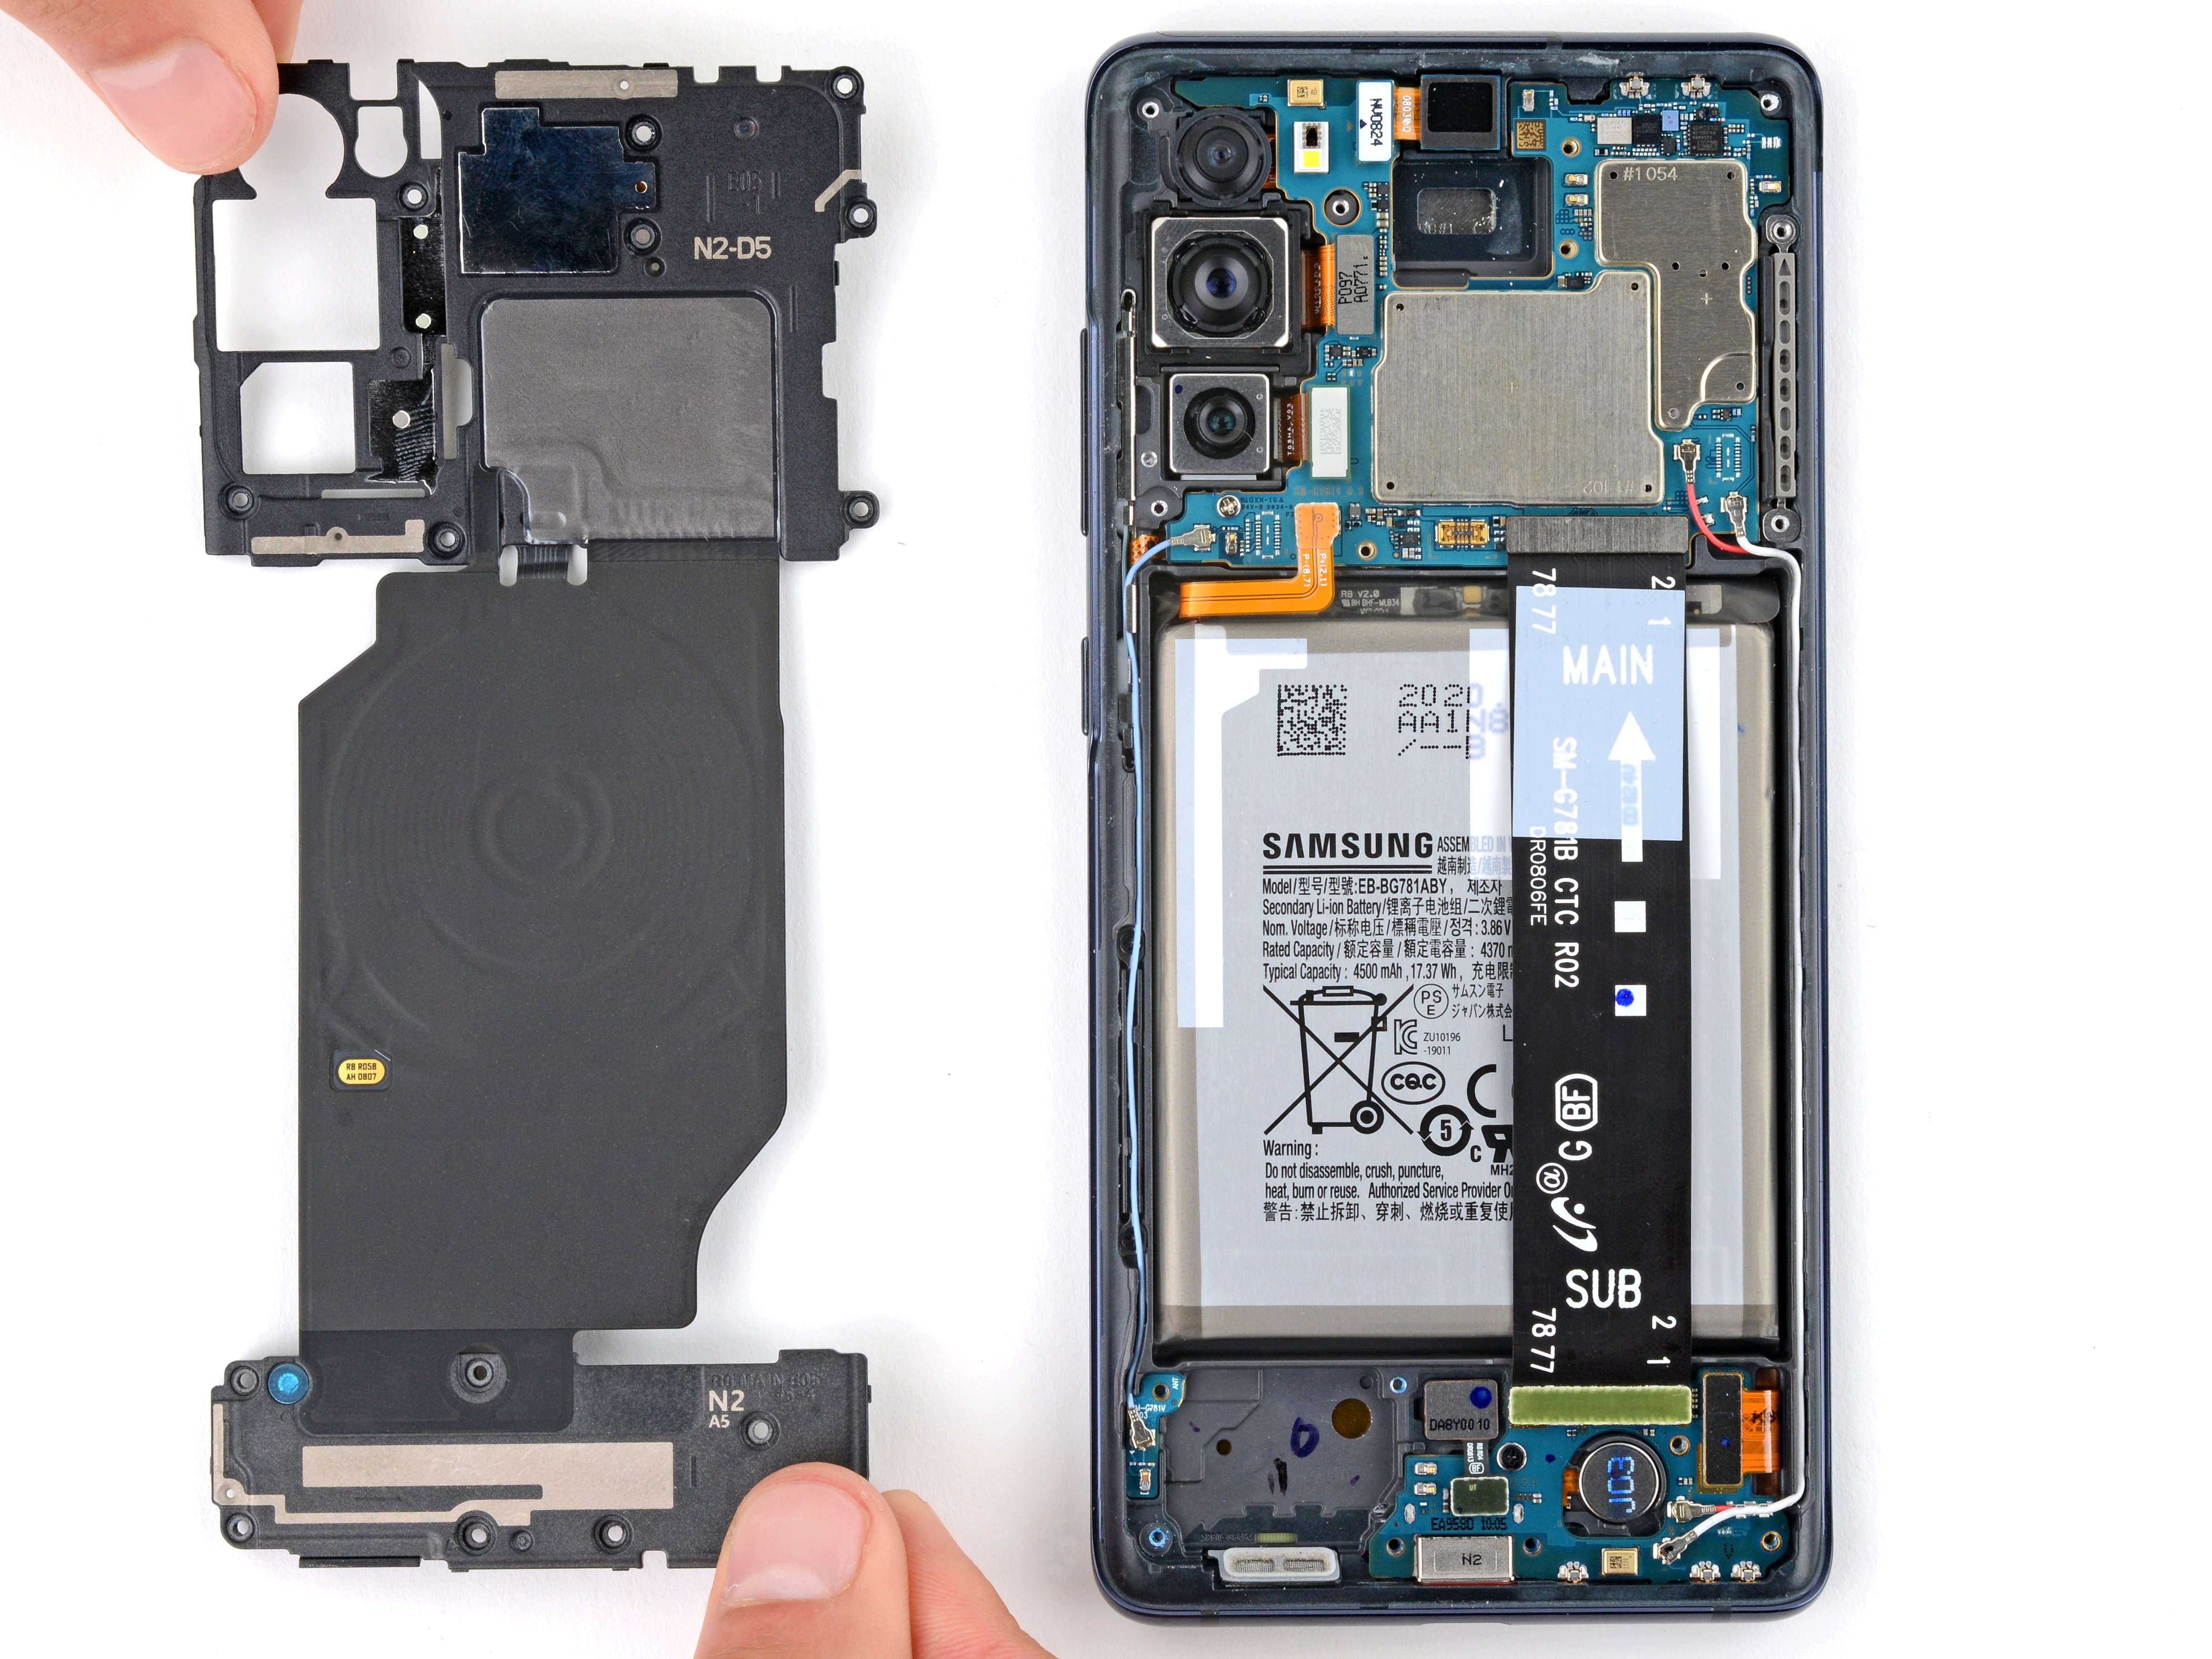
– Slide a pick under the bottom right edge of the motherboard cover – it’s like giving it a little nudge!
– Give that pick a twist to pop off the clips holding the cover tight. You got this!
– Now, slide in and twist the opening pick at the bottom left edge of the cover to free the last of those clips. Almost there!
– When putting everything back together, press down firmly around the edge of the motherboard cover to snap the clips into place. Nice and snug!
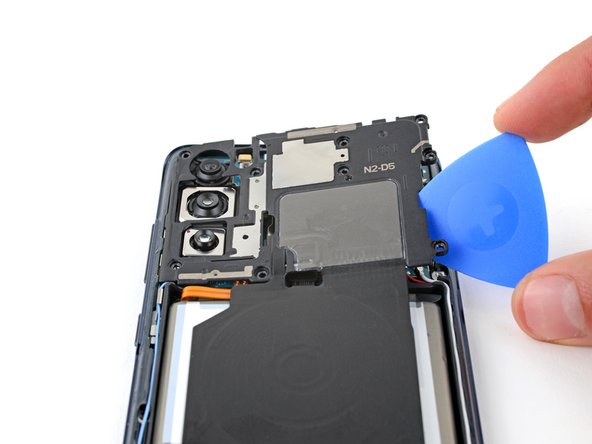
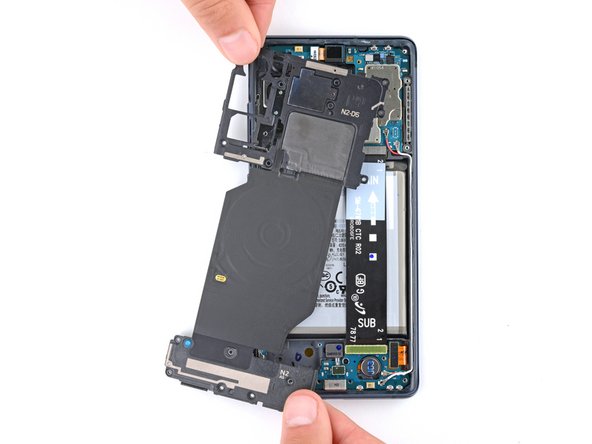
Step 16

– Shift that motherboard cover out of the way so you can easily get to the battery and those sneaky wireless charging press connectors at the bottom edge of the motherboard. You’ve got this!
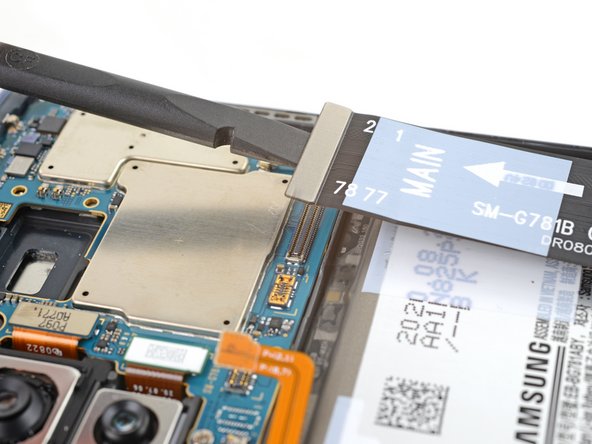
Step 17

To reconnect those little connectors, start by lining them up just right. Gently push down on one side until you hear that satisfying click, and then do the same on the other side. Avoid pressing in the middle! If things get misaligned, the pins might bend and that could lead to some serious trouble.
– Grab that trusty spudger and use its flat end to gently lift up and disconnect the battery and wireless charging press connectors from the motherboard. You’ve got this!
Tools Used

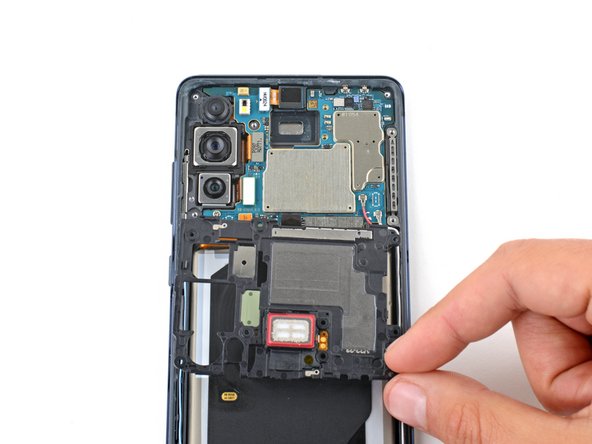
Step 18

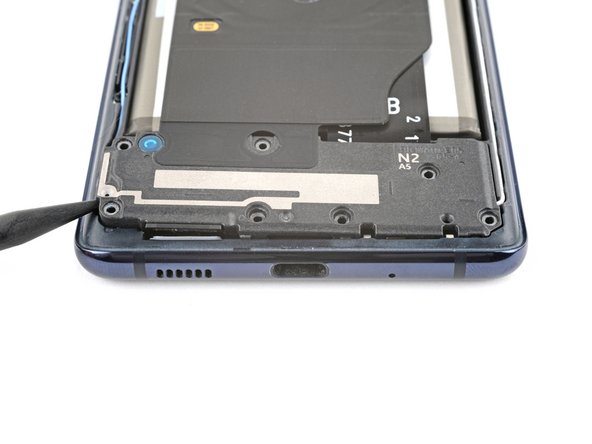
– Get your spudger ready and slide it in between the bottom left corner of the loudspeaker and the frame.
– Gently pry upwards to free the clips that are holding down the left side of the loudspeaker.
– Move over to the bottom right corner of the loudspeaker and give it a little nudge to release the remaining clips.
– When putting things back together, make sure to press firmly all around the edges of the loudspeaker to lock those clips back in place.
Tools Used
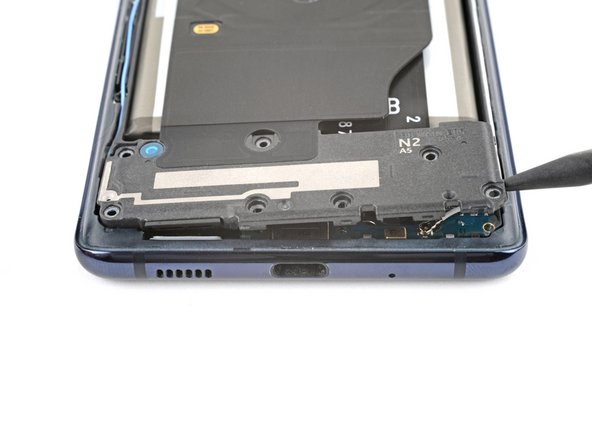
Step 19

– Let’s jazz things up and say bye-bye to the wireless charging assembly!
Step 20

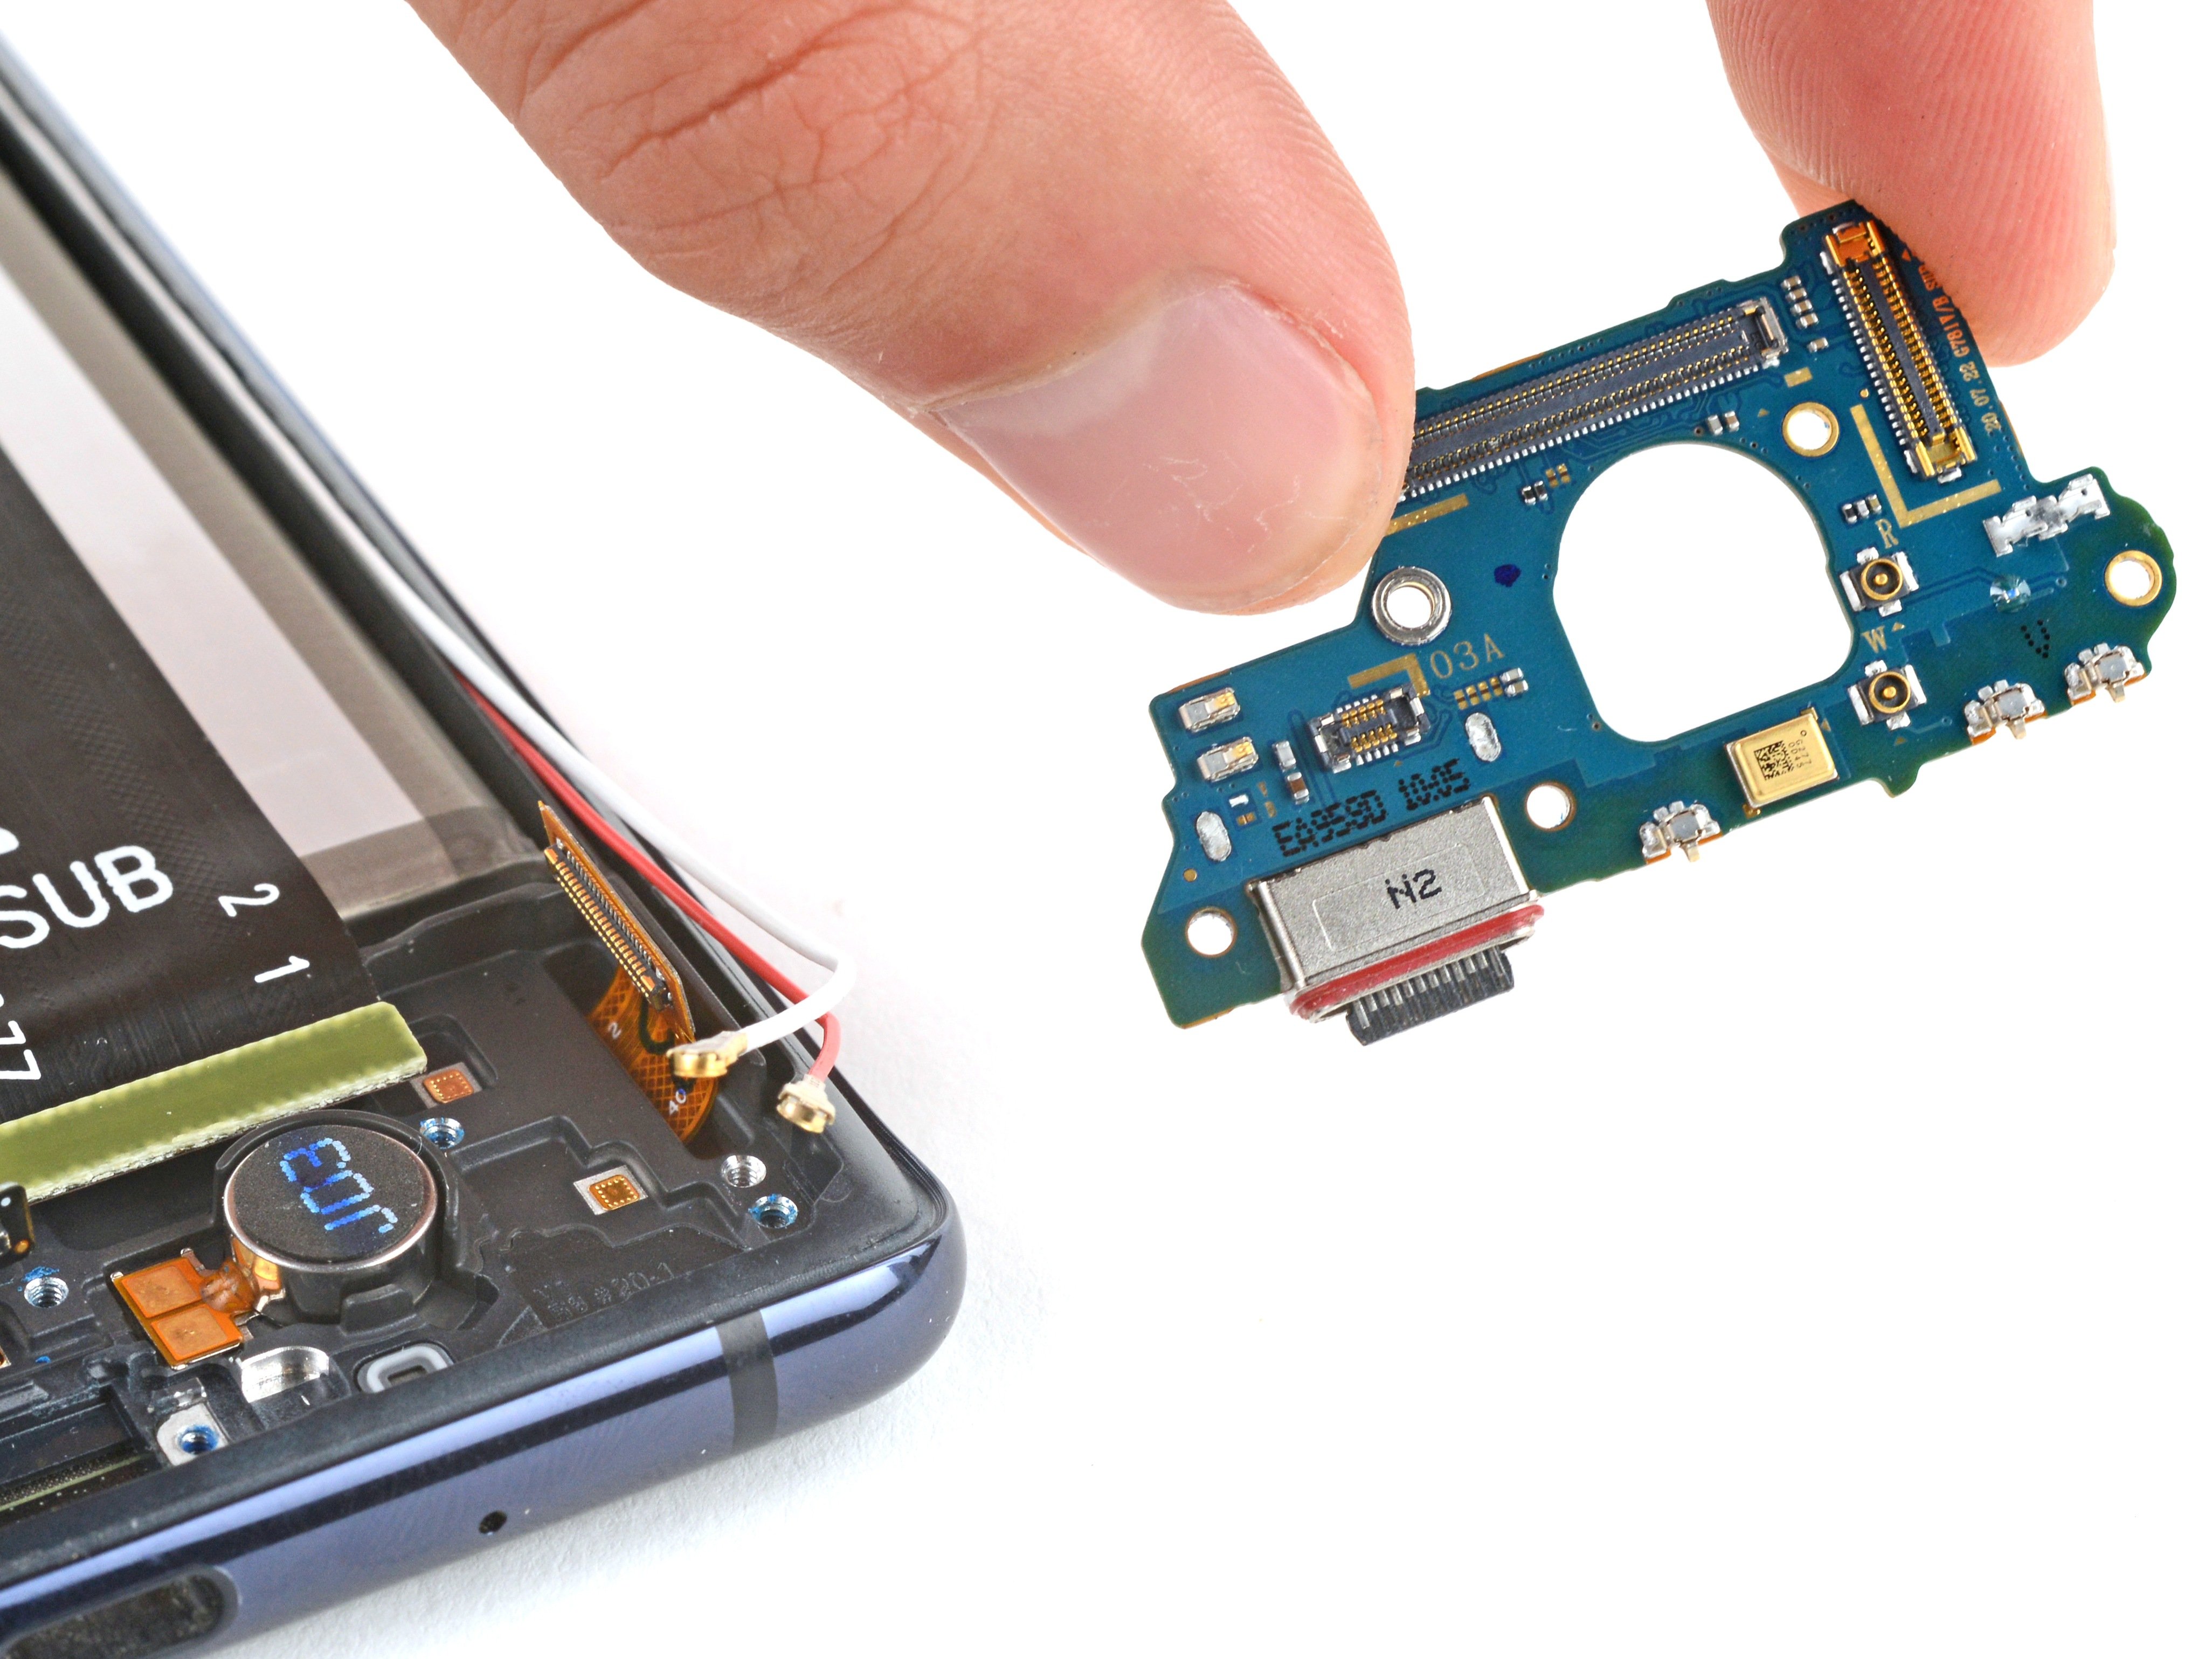
– Grab the flat end of your trusty spudger and gently wiggle it to lift away the interconnect cable press connector from the motherboard. You’ve got this!
Tools Used
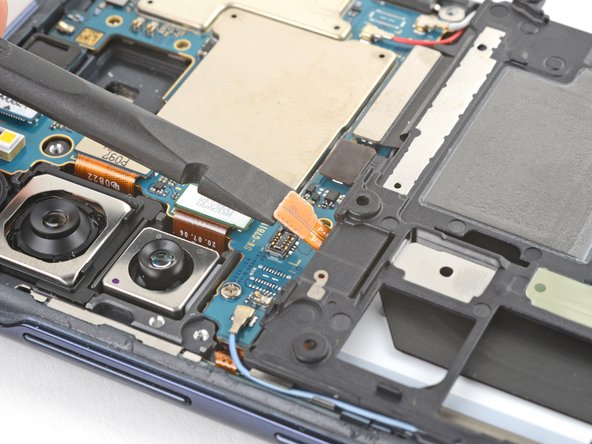
Step 21
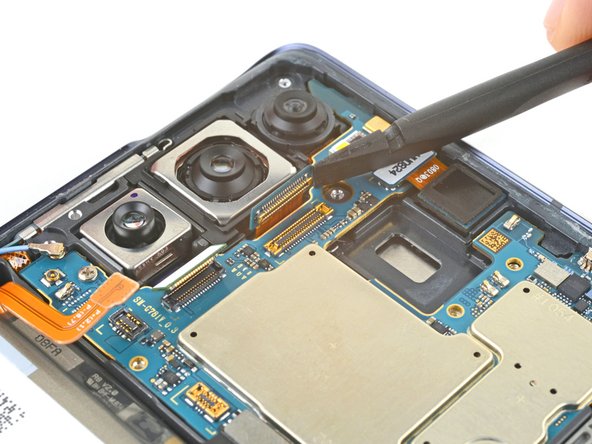

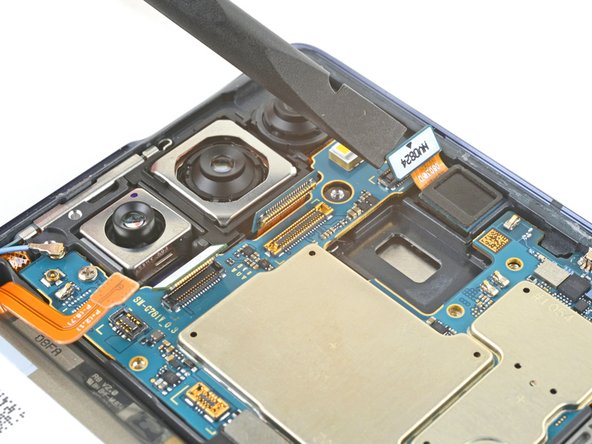
– Grab your trusty spudger and use its flat end to gently disconnect those three camera press connectors. You’ve got this!
Tools Used
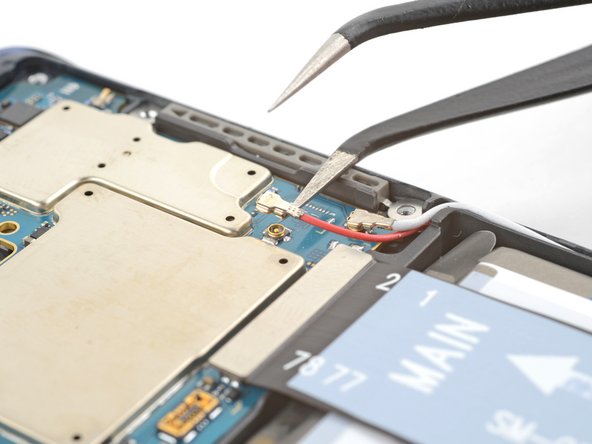

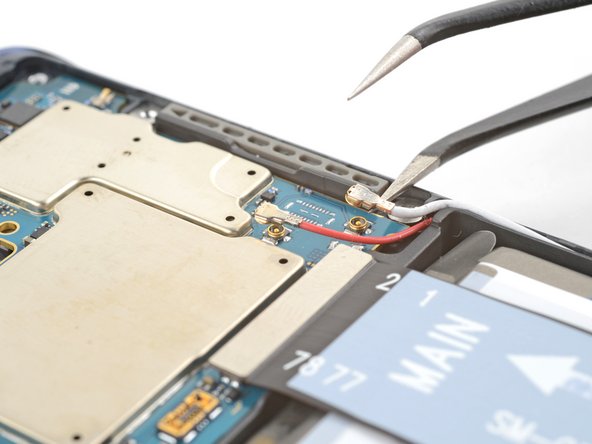

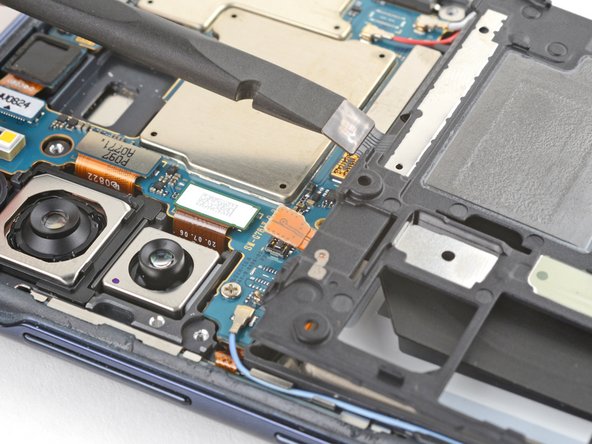
Step 23

– Go ahead and repeat that last step to gently disconnect the blue antenna cable from the bottom left corner of the motherboard. You’ve got this!
– Now, as we head into reassembly mode:
Step 24
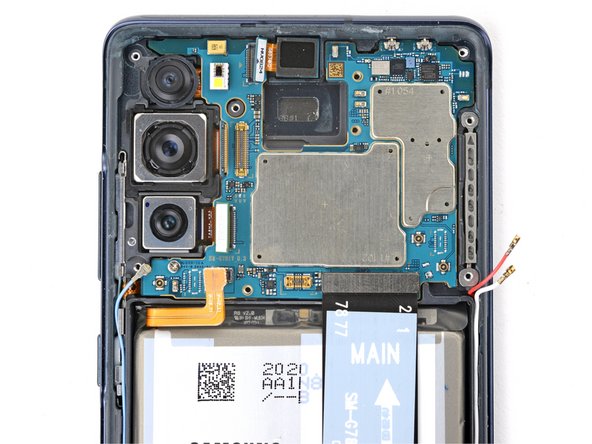

– Pop the top off a bottle of bubbles and let the excitement of this repair guide open up a whole new world of geekery! Use a spiffy Phillips screwdriver to loosen the hold of that 4 mm screw, and watch as the motherboard wiggles free. Shazam!
Step 25

Make sure to give the SIM tray a proper farewell before you dive into removing the motherboard!
– Give the flat end of a spudger a high five as you lift the top edge of the motherboard until it’s ready for a grip like a champ!
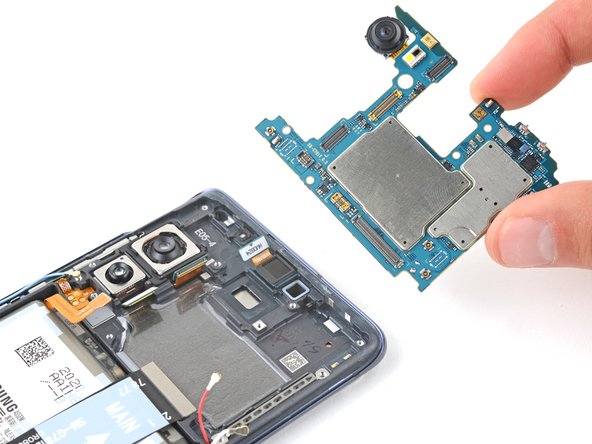
– Give that motherboard the star treatment and escort it out.
– When putting everything back together, remember:
Tools Used
Step 26

– Turn the motherboard over and gently place it on a clean, soft cloth to keep it safe and sound. You’ve got this!
Step 27

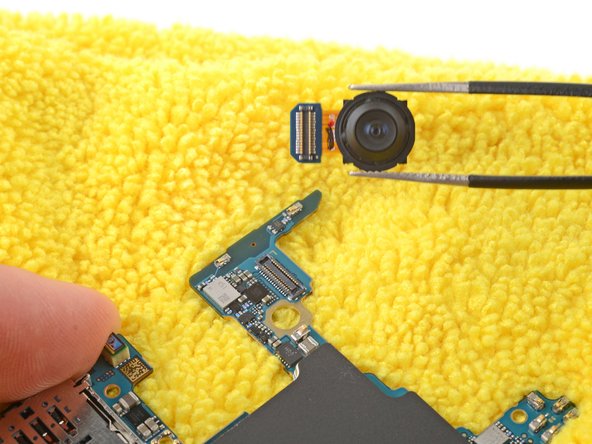
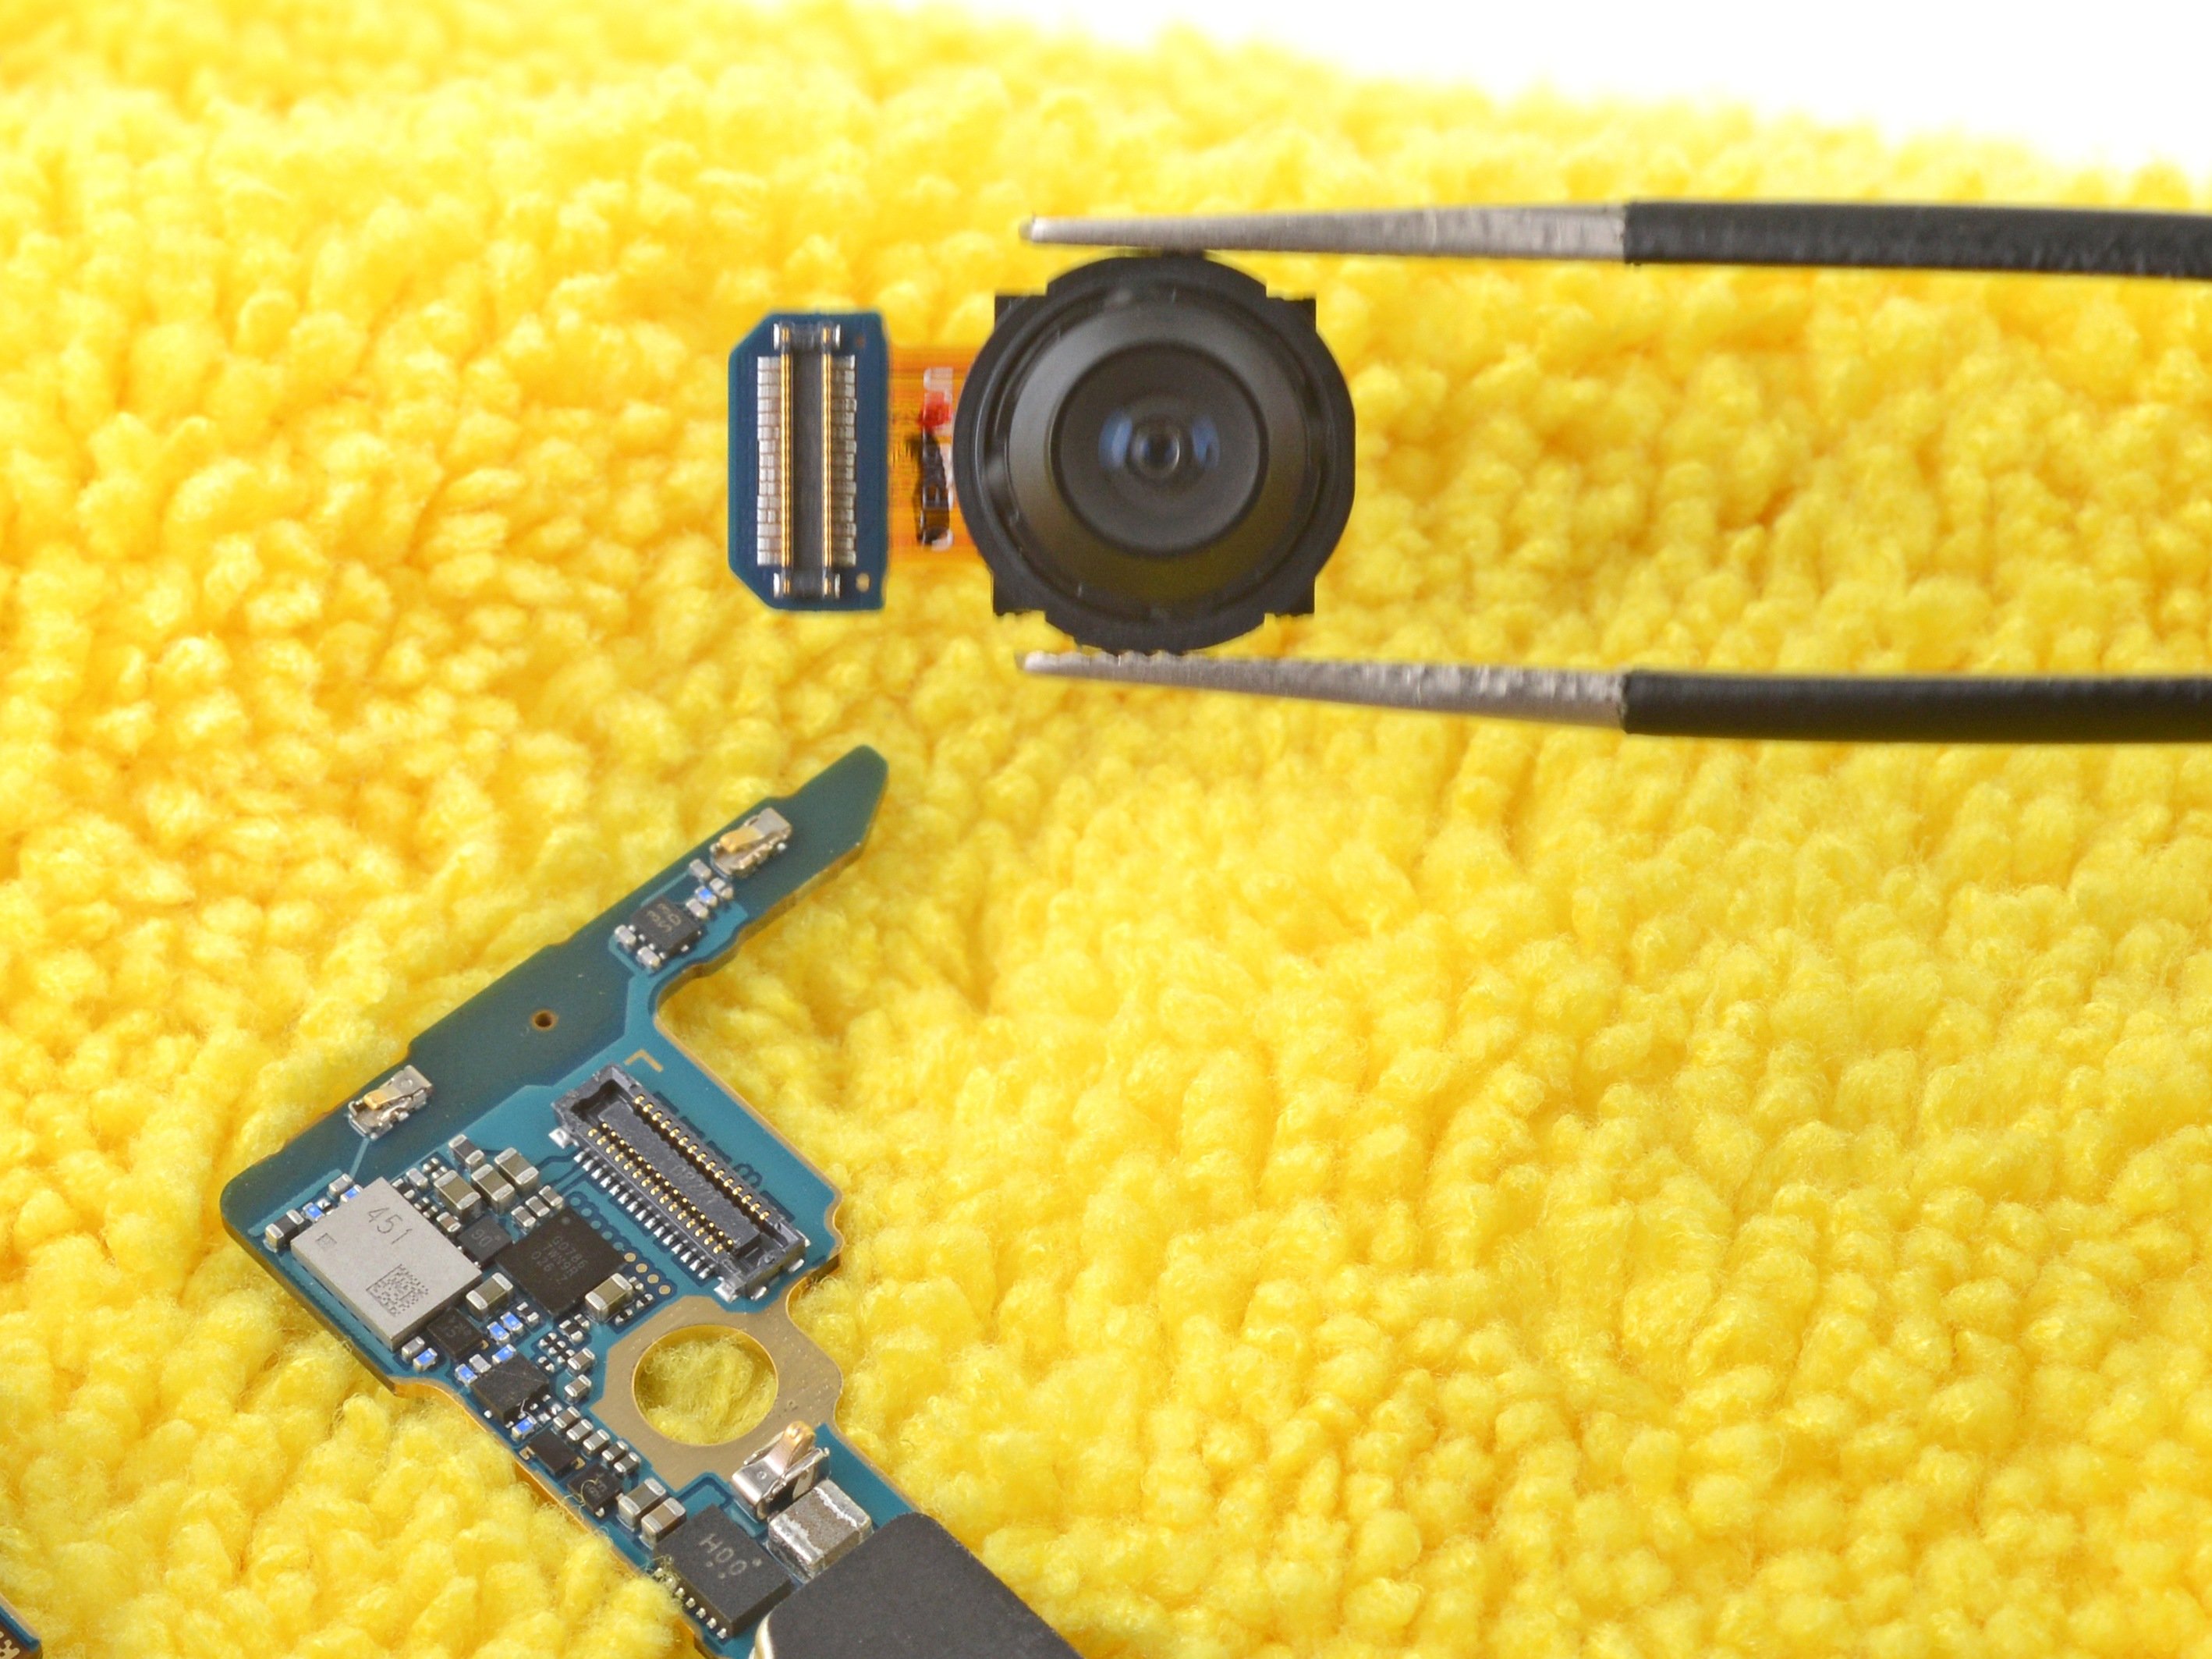
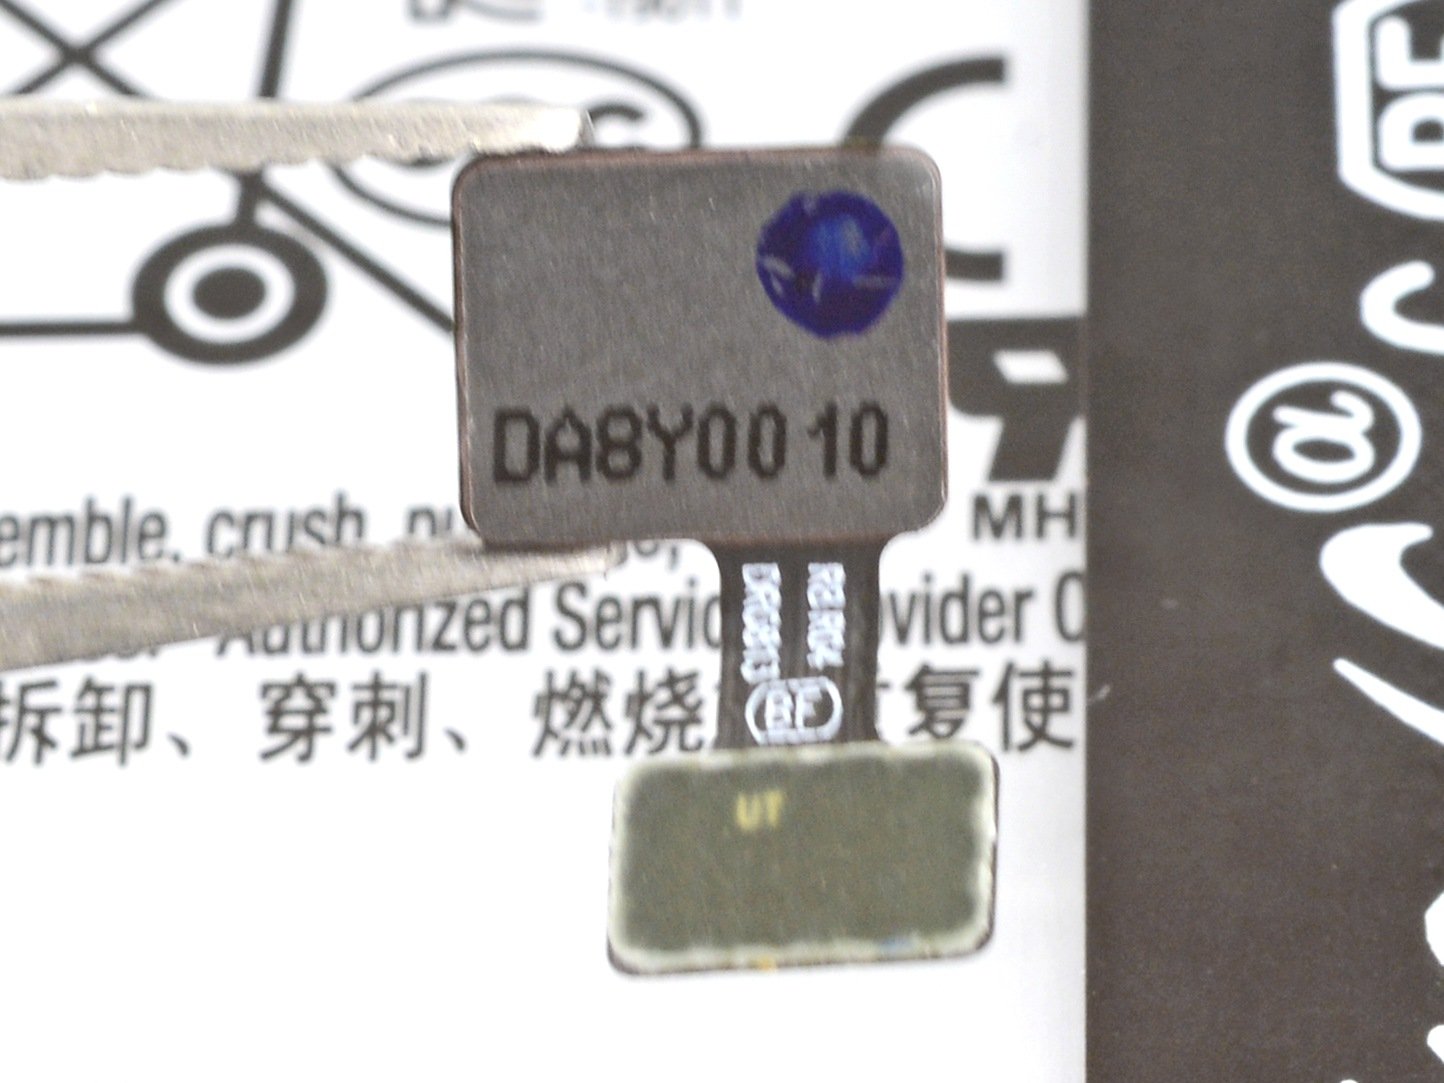
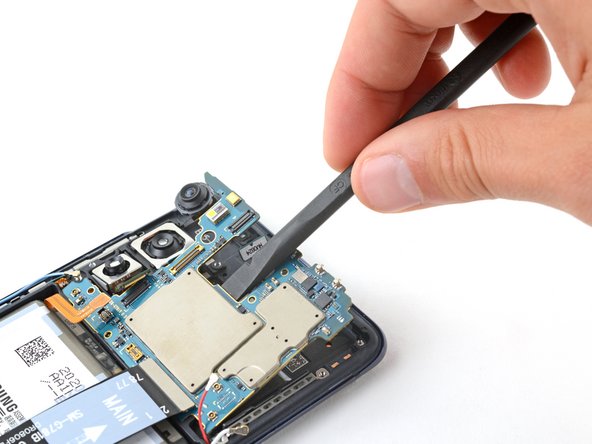
Watch out for the ultra wide camera when you’re disconnecting it; it has a sneaky habit of popping out when you least expect it!
– Get ready to work some magic with the flat end of a spudger as you gently disconnect the ultra wide camera.
– Send that camera off on a little vacation from your device.
Tools Used