How to Replace Samsung Galaxy S20 Plus Screen Tutorial
Duration: 45 minutes
Steps: 36 Steps
Heads up!
There’s a good chance that the delicate, unreinforced display panel might not survive this adventure. Handle with care!
Ready to give your Samsung Galaxy S20 Plus a screen makeover? This guide will walk you through replacing the screen assembly, which includes the display glass, OLED panel, and digitizer—all in one go! Just a heads up: some replacement screens come cozy in a brand new frame (or chassis), meaning you’ll need to transfer all your phone’s insides and pop in a fresh battery. Double-check you have the right part before diving in! Be cautious, as the delicate display panel can be a bit of a drama queen during the process. If you’re planning to reuse the screen assembly, make sure to apply ample heat and handle with care during the prying phase. Oh, and don’t forget the replacement adhesive to wrap things up nicely. If you need help, you can always schedule a repair.
Step 1

Make sure to unplug and turn off your phone before diving in!
– Warm up the iOpener and press it gently against the lower edge of the back cover for a couple of minutes.
Tools Used

Step 2


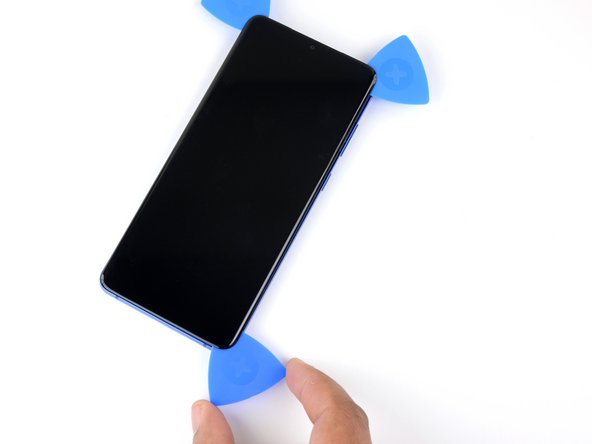
– Grab a suction cup and stick it right on the back of your phone, aiming for the center of the bottom edge like a pro.
– Give that suction cup a solid pull! We’re looking to create a nice little gap between the back cover and the frame.
– Now, slide the tip of an opening pick into that gap you’ve just made. You’re doing great!
Step 3


– Gently glide the pick back and forth along the bottom edge to cut through that stubborn adhesive.
– Keep your trusty opening pick in the seam to stop the adhesive from sealing back up.
Step 4

– Give that left edge of the back cover a warm hug with a heated iOpener for two minutes.
Tools Used
Step 5


Because of those snug fit situations, you might need to give it a few tries. But don’t sweat it, you’ve got this!
– Grab a trusty suction cup and place it right on the back of the phone, aiming for the sweet spot near the center of the left edge.
– With a strong and steady pull, use that suction cup to create a little wiggle room between the back cover and the frame.
– Now, slide the pointy end of an opening pick into the gap you’ve just made. You’re doing great!
Step 6


– Once you’ve slipped the pick under the edge of the glass, give it a little tilt and slide it in deeper to completely break free the adhesive holding that back cover in place.
Step 7


– Gently glide the pick along the left edge of your phone to break free that back cover’s sticky embrace.
– Keep your pick tucked under the left edge of the glass to stop that adhesive from making a comeback!
Step 8

– Get cozy with a warmed-up iOpener on the right side of the back cover for a cool two minutes.
Tools Used
Step 9


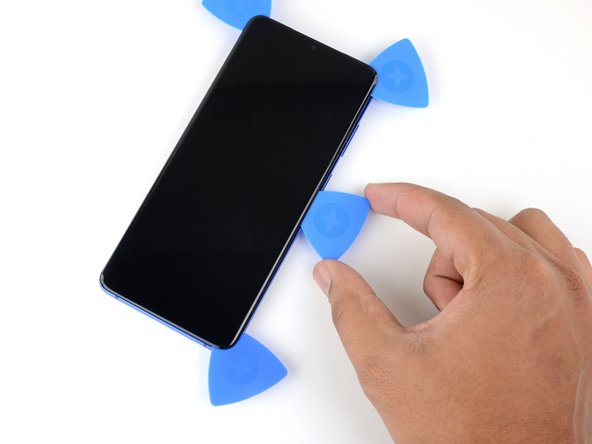
– Grab your trusty suction cup and place it on the back of the phone, aiming for the sweet spot near the center of the right edge.
– Now, give that suction cup a good, steady pull to open up a little gap between the back cover and the frame. You’ve got this!
– Next, slide the tip of an opening pick into that gap and let’s keep going!
Step 10


– Gently glide your pick along the right edge of the phone to loosen that sticky back cover adhesive.
– Keep your pick tucked under the right edge of the glass near the top to stop that pesky adhesive from sealing back up.
Step 11

– Warm up that back cover by holding a heated iOpener against the top edge for a cozy two minutes.
Tools Used
Step 12


The glass at the corners of the back cover is a bit curvy and can crack if you’re not careful. Take it easy during this step to keep your back cover safe and sound!
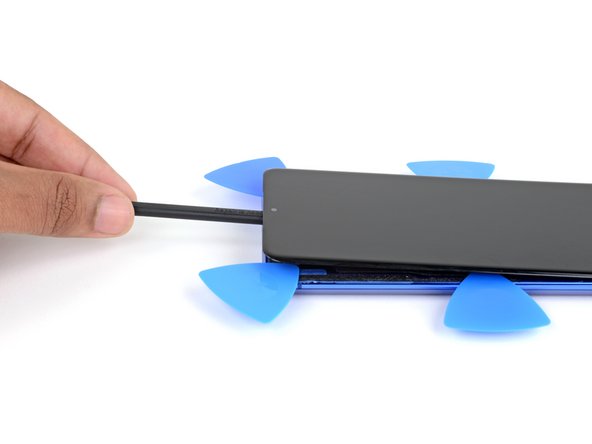
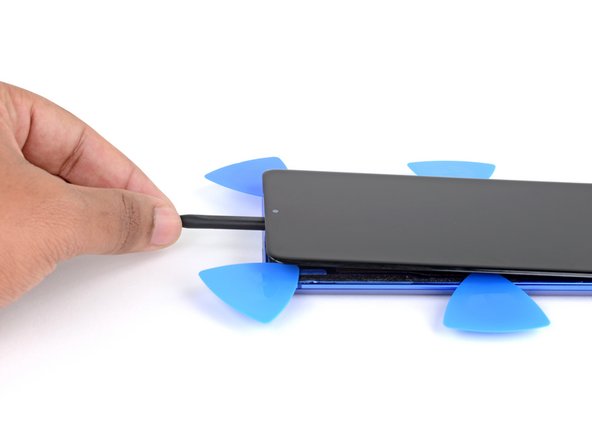
– Gently ease the pick into the right edge of your device and glide it around the top right corner.
– Keep on slicing along the top edge all the way to the left edge until the back cover adhesive is completely released.
Step 13


– Gently lift off the back cover, taking your time. Use those handy opening picks to slice through any leftover adhesive like a pro.
– Carefully remove the back cover.
– As you put everything back together:
Step 14

– Grab your trusty Phillips #00 screwdriver and let’s tackle those six 4 mm-long screws holding the motherboard bracket in place. You’ve got this!
Tools Used

Step 15


– Grab your trusty tweezers and give the motherboard bracket a gentle tug to unclip it from the plastic midframe. You’ve got this!
Tools Used

Step 16


– Let’s give that motherboard bracket a little upward nudge so we can easily access that orange battery connector. Don’t forget, if you need help, you can always schedule a repair!


Step 18


– Grab a spudger and gently wiggle it to lift up and disconnect the wireless charging coil connector. You’ve got this!
Tools Used
Step 19


– Get your hands on a trusty pair of tweezers and delicately detach the wireless charging coil from the device.
– Bid farewell to the wireless charging coil.
– When putting things back together, start by reuniting the charging coil and battery connectors, then secure the motherboard bracket screws to ensure everything lines up perfectly. Finally, give that coil pad a good press to make sure it sticks like glue!
Tools Used
Step 20

– Grab a trusty Phillips #00 screwdriver and get ready to bid farewell to those five pesky 4 mm-long screws holding down the loudspeaker and lower midframe.
Tools Used
Step 21


– Alrighty, let’s have some fun! 🛠️ Pry open that little notch with a pointy tool, and see those clips go places? It’ll be a breeze! Now, let’s free that loudspeaker and midframe like they’re goin’ to a party! And you thought repairs were dull… 😉 If you need help, you can always schedule a repair!


Step 23

In the upcoming steps, you’ll be warming up and gently peeling away the black adhesive that hugs the edges of your device. Let’s get that separation going!
– When it comes to the adhesive around the long edges of your device, it’s as thin as a wafer! Just slide your pick in 5 mm to start the separation. Pretty slick, huh?
– Hey, up top by the phone’s edge, the adhesive goes the extra mile. You’ll need to dig a bit deeper here to really bust it loose. You got this!

Step 25


– Grab your trusty suction cup and place it on the display glass, aiming for the center of the top edge like a pro.
– Give that suction cup a good, firm pull to create a little gap between the display glass and the frame—let’s get this party started!
– Carefully slide the tip of an opening pick into the gap at the center of the earpiece speaker notch, and work it down under the display like a smooth operator.
– Once you’ve got that pick in there, leave it be! It’s doing the important job of keeping the adhesive from making a comeback.
Step 26


– Pop in a second pick into that same gap and slide it up to the top left corner of the display to cut through that adhesive like a boss.
– Keep your opening pick snug in the seam to stop that adhesive from sealing back up. You’re doing great!


Step 28


– Gently push the center pick deeper into the top edge of the device to cleverly cut through the adhesive that holds the earpiece and front-facing camera in place. You’ve got this!
– Time to set that center pick aside.


Step 32


– Slide a pick into the little gap at the top left corner of your display. Let’s get that party started!
– Now, gently glide that pick down to the bottom left corner to cut through the adhesive like a pro.
– Pop another pick right under the center of the screen’s left edge to keep the adhesive from trying to seal itself back up. You’re doing great!
Step 33


– Pour some high concentration isopropyl alcohol (over 90%) behind the display, getting as close to that clear adhesive (you’ll see it marked in red) as you can.
– Give your device a little tilt while applying the alcohol; this will help it sneak under the adhesive at the bottom of the display.
– Once you’ve applied the alcohol, keep the bottom of the phone tilted down for about two to three minutes. This will let the alcohol work its magic and penetrate even deeper.
Tools Used


Step 35


– Start by carefully removing the display from the frame—easy peasy!
– When it’s time to put everything back together, make sure to guide that display cable through the frame’s hole before snugly pressing the display into its cozy spot. Just a heads-up: hold off on inserting the display cable until after you’ve slathered on that new screen adhesive.
Step 36


– Grab those tweezers and give that frame a little love by pulling off any leftover adhesive—it’s time to say goodbye to the sticky stuff!
– Next up, let’s make that frame shine! Use some isopropyl alcohol along with a lint-free cloth to give the surface a good scrub. Remember to wipe in one direction to keep things neat and tidy!
– When it’s time to put everything back together, just follow this guide to install those custom-cut adhesives perfectly sized for your device. You’ve got this!
Tools Used


