How to Replace Samsung Galaxy S4 Mini Home Button Flex Cable Assembly Guide
Duration: 45 minutes
Steps: 7 Steps
Hey there, just a heads-up! Make sure you have all the right tools ready to rock this repair. If you need a hand, feel free to give us a shout and schedule a repair.
This fab guide will show you how to jazz up your Samsung Galaxy S4 mini by replacing the home button assembly. Let’s make that button click like new again!
Step 1


– Kick things off by popping off the back case, yanking out the battery, sliding out the sim card, and ejecting the sd card.
Step 2


– Alright, with the back housing out of the way, let’s spot those flex cable connections hanging out on the logic board!
Step 3

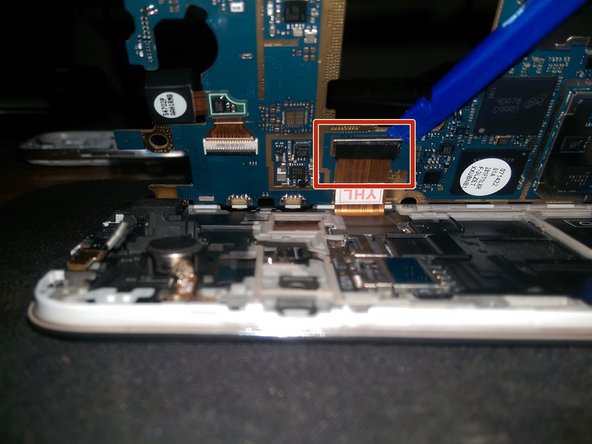
– Grab a plastic pry tool and carefully pop those flex cable connections off the logic board. If you need help, you can always schedule a repair
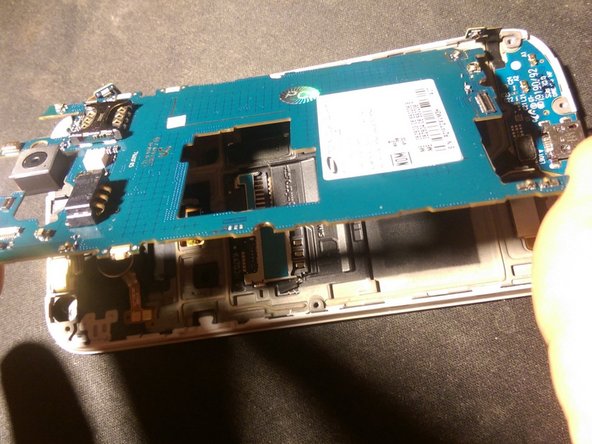
Step 4


– If you haven’t already, go ahead and unplug that flex cable from the USB board. You’ve got this!
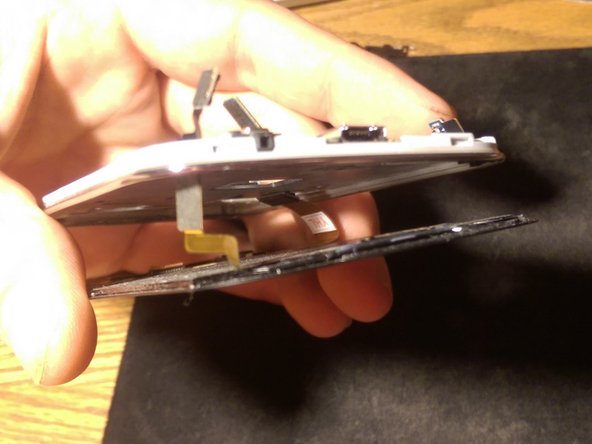
Step 5


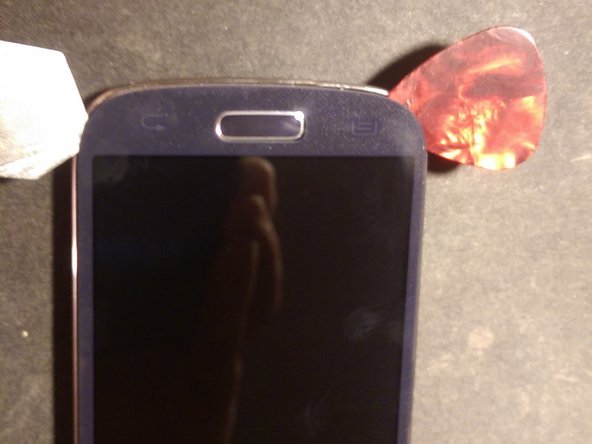
– Alright, it’s time to whip out the display! This will help us sneak a peek at the home button flex cable assembly.
Step 6


– Gently begin prying up the screen from the top, easing that adhesive apart like you’re opening a treasure chest. Don’t forget to wiggle the display’s ribbon cable through its cozy slot in the housing.
– As you reach the display’s lower end, remember to also guide the flex cable through its own little home in the housing. It’s like threading a needle—steady hands win the race!
Step 7


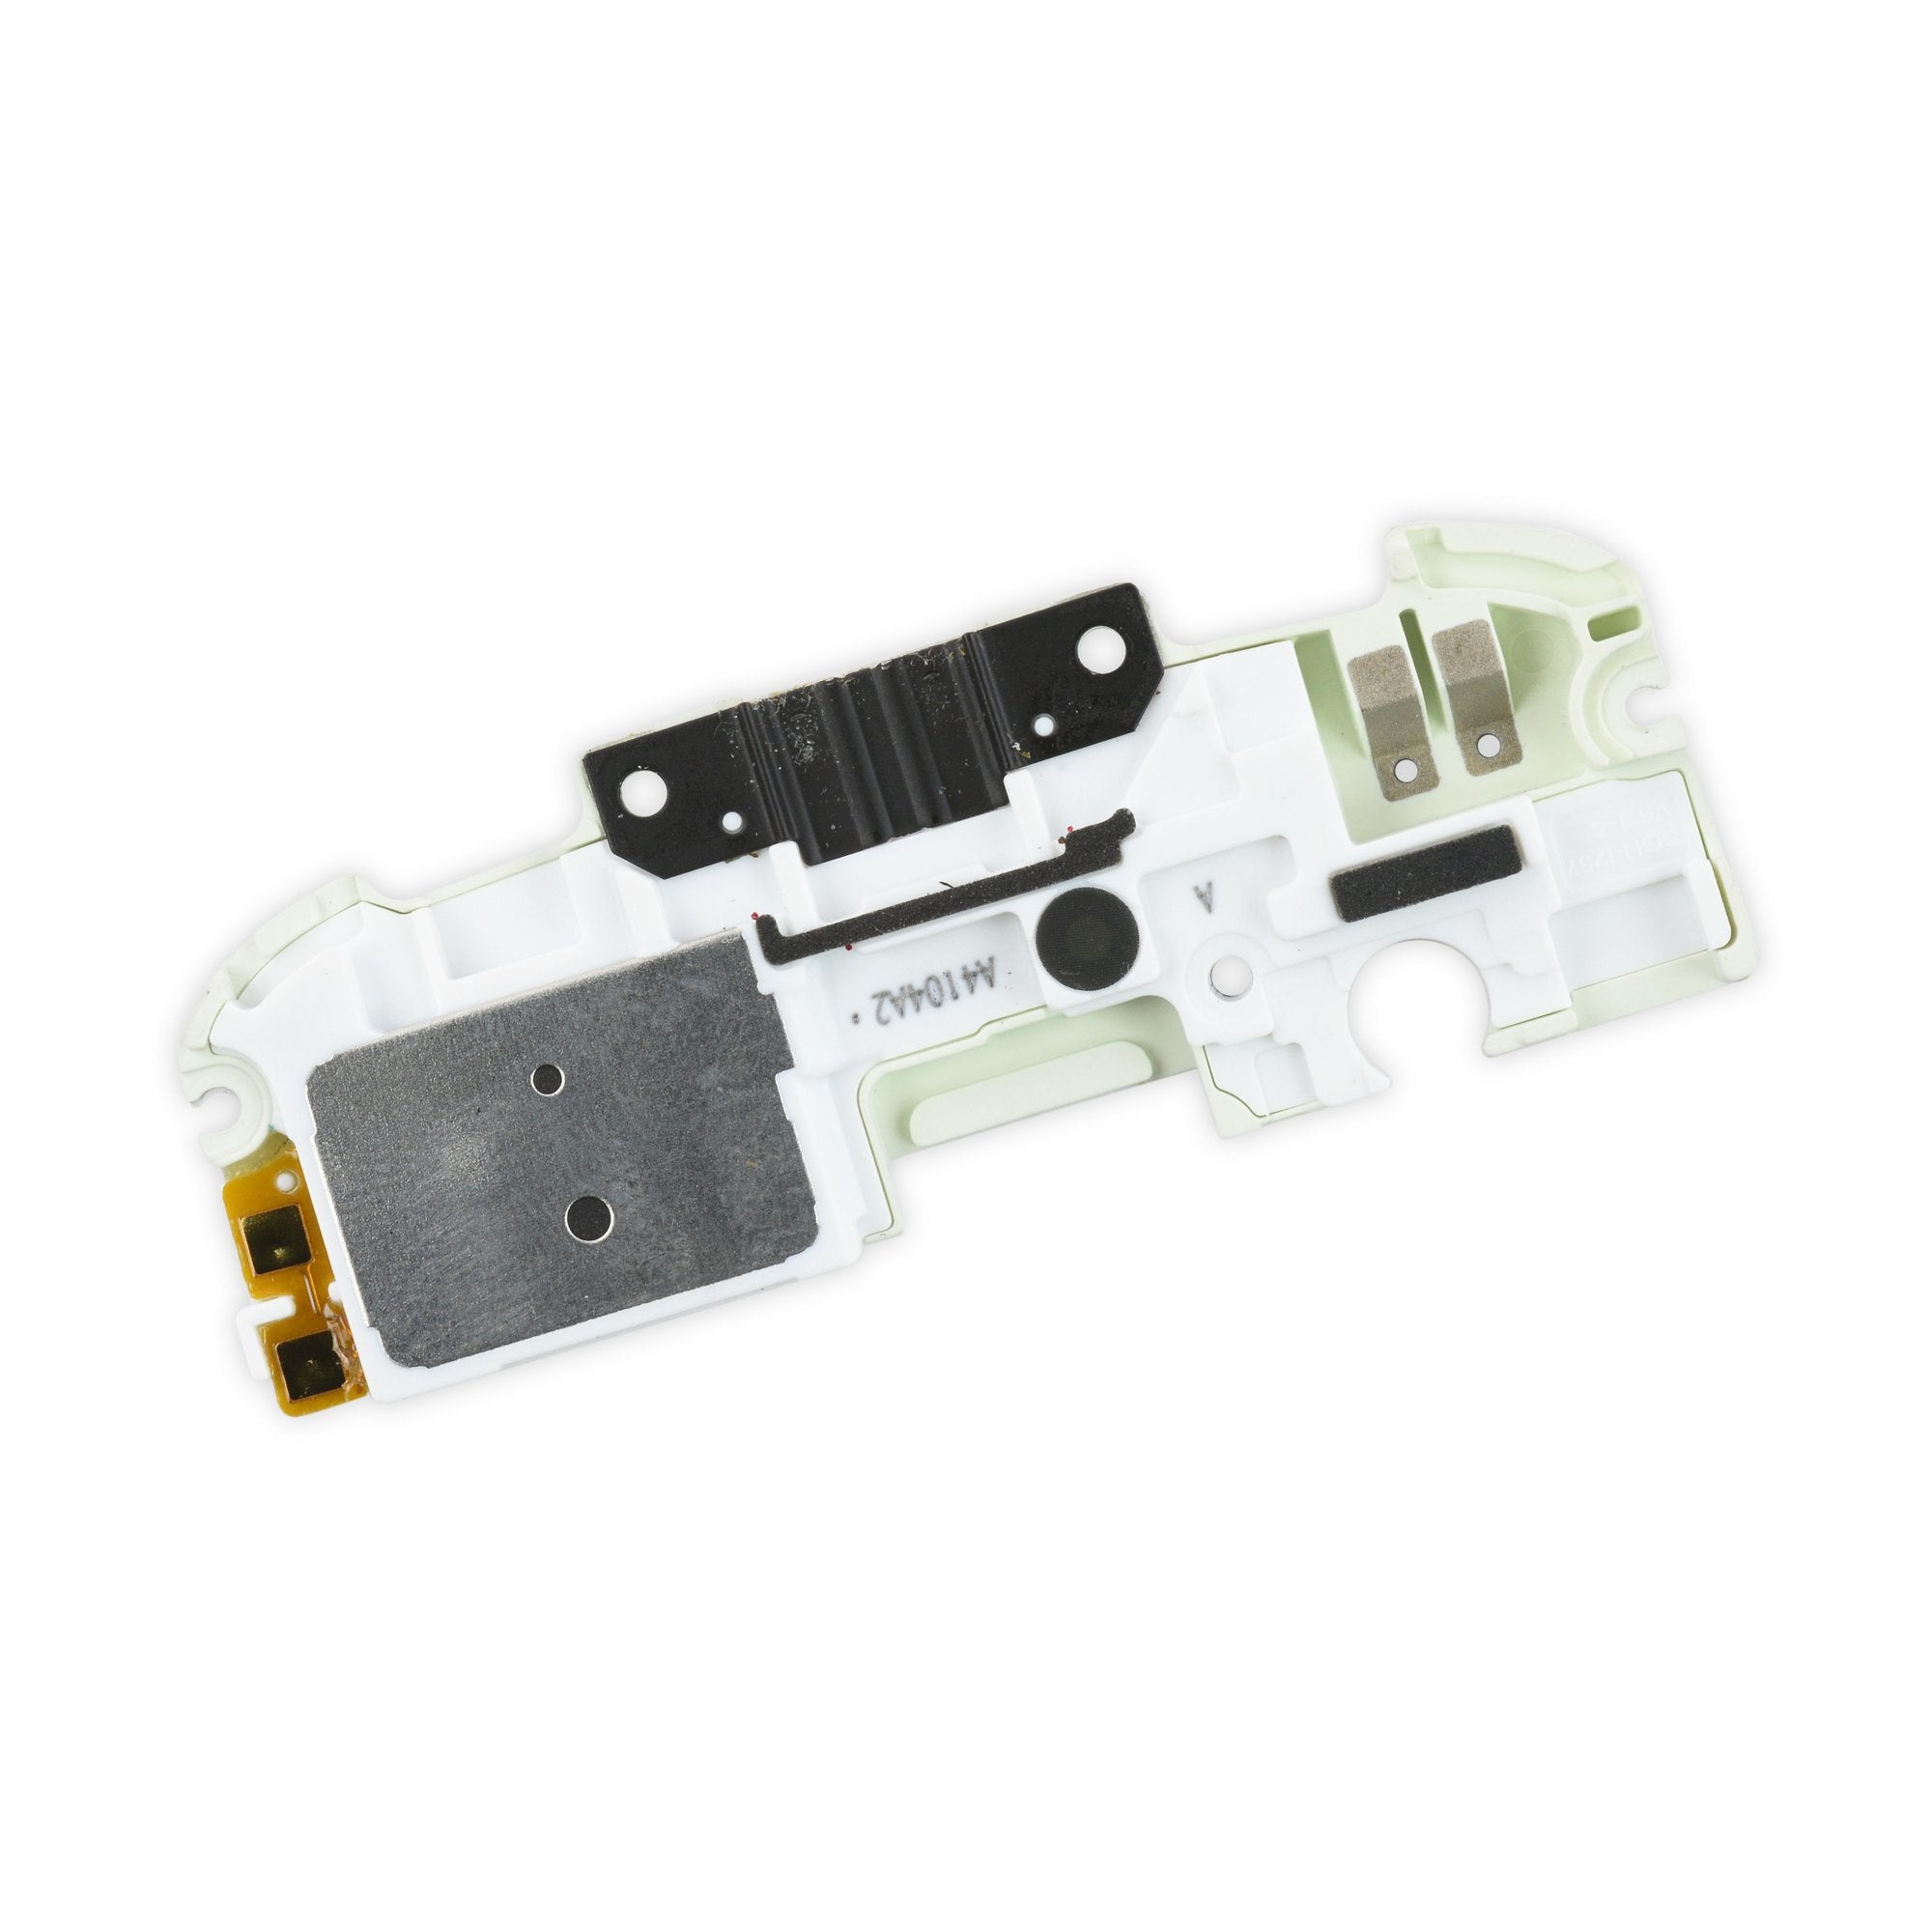
– Now that we’ve successfully bid farewell to the display, let’s move on to gracefully removing the home button flex cable assembly.