How to Replace Samsung Galaxy S4 Mini Screen and Digitizer – DIY Tutorial
Duration: 45 minutes
Steps: 20 Steps
Heads up! If you run into any trouble, just remember, help is just a click away. If you need help, you can always schedule a repair.
Ready to fix that cracked or damaged AMOLED screen and digitizer assembly on your Samsung Galaxy S4 Mini? We’ve got you covered. If you need help, you can always schedule a repair.
Step 1

– Hold down the END key until the phone powers off. Keep it cool, you’re doing great!
Step 2

– Pop off the back cover of your phone with a plastic opening tool. Let’s make this phone fabulous again!


Step 6

– Whip out that #00 Phillips screwdriver and remove the 10 4.0 mm Phillips screws on the back of the phone.
– Tweezers aren’t a must, but they can be super handy for plucking those tiny screws from their holes. If you need help, you can always schedule a repair.
Tools Used
Step 7

– Begin at the USB port and gently slide a plastic tool around the edge of the phone, making your way between the rear housing and the frame. As you smoothly navigate along the perimeter, you’ll feel those pesky clips letting go one by one.
Step 8

– Gently pry apart the rear housing from the mid-frame to uncover the cool tech inside your phone.
Step 9

– Unhook those two sneaky flex cables tethered to the USB board. A pair of tweezers will be your best buddy for this task!
Tools Used
Step 10

– Carefully slide your plastic opening tool under the charging port to peel it away from the sneaky double-sided tape holding it down. Like a ninja, be smooth and stealthy!
Step 11

– After you’ve freed it, give the main board a gentle lift and slide out the USB board with the charging port. You’re doing great!
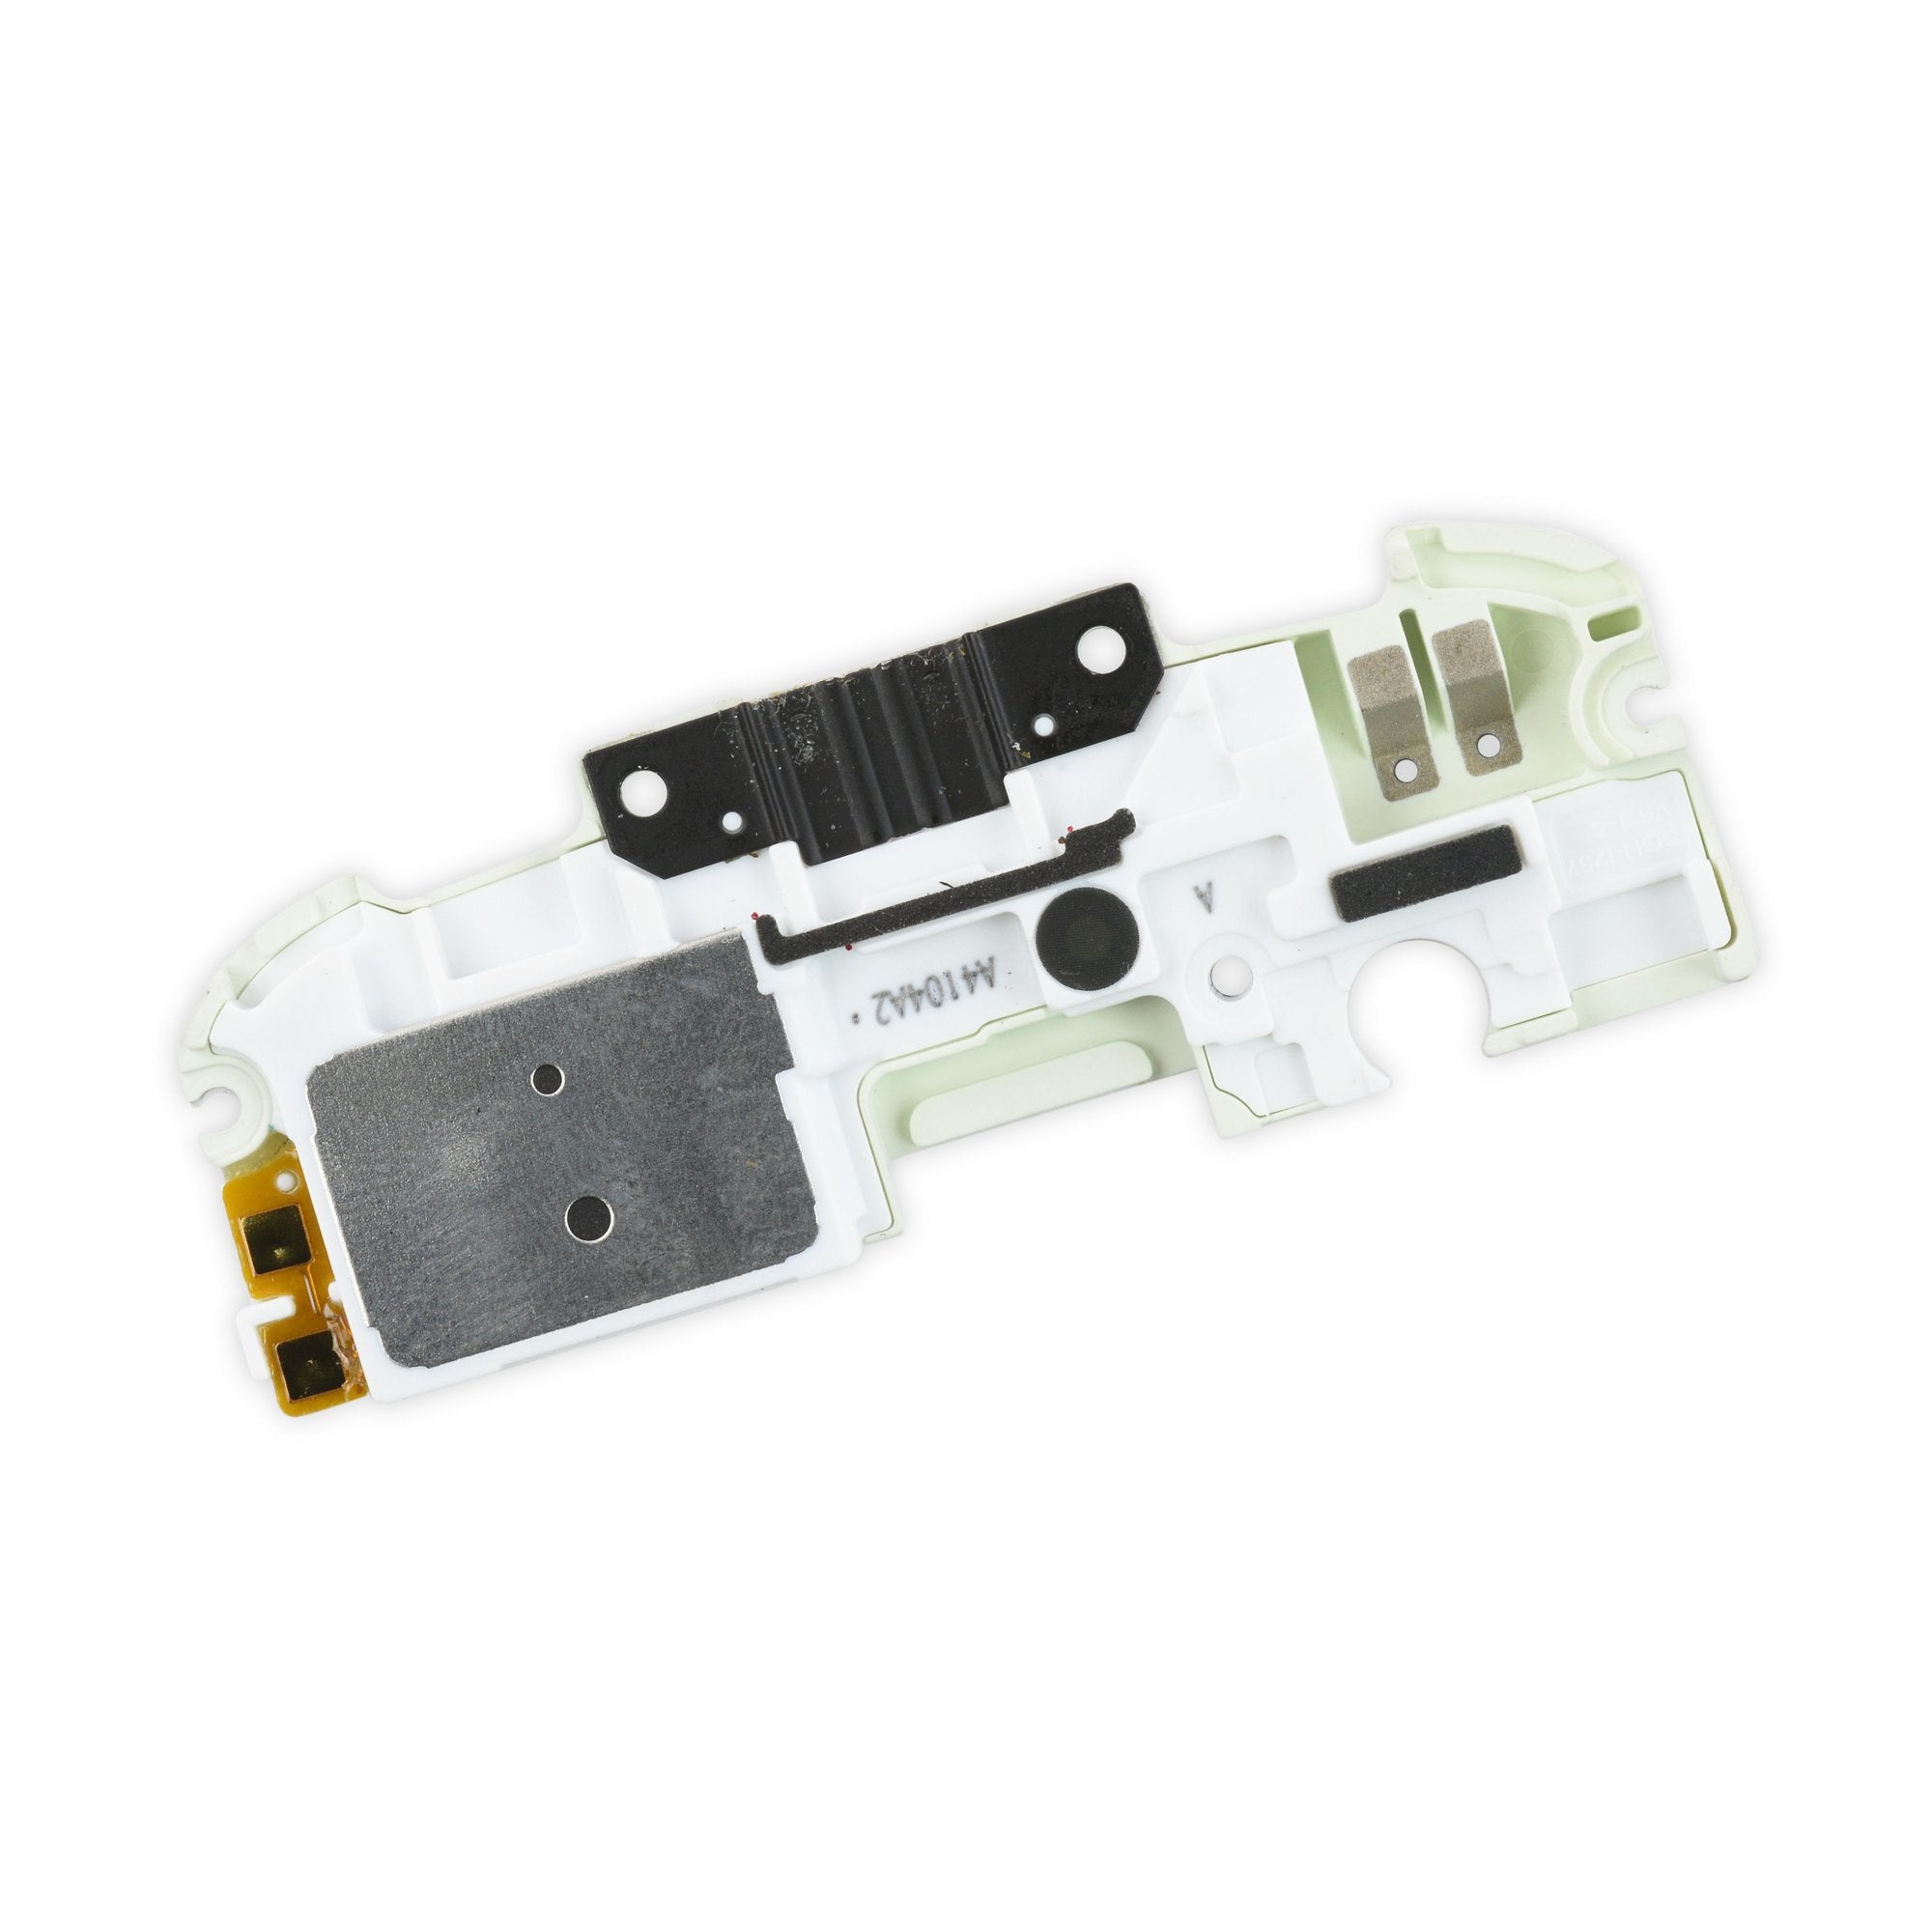
Step 12


– Grab the flat end of your trusty nylon spudger and give the headphone jack’s press-fit connector a gentle nudge upwards to free that ribbon cable. You’ve got this!
Tools Used
Step 13

– Grab your nylon spudger and use the flat end to gently lift the infrared sensor’s press-fit connector. This will free the ribbon cable like a charm!
Tools Used
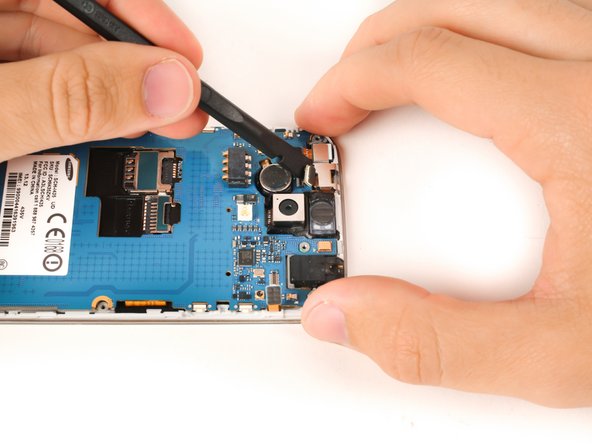
Step 14

– Hey there, let’s give that front-facing camera connector a little party pop to release the ribbon cable using the flat end of a nylon spudger!
Tools Used
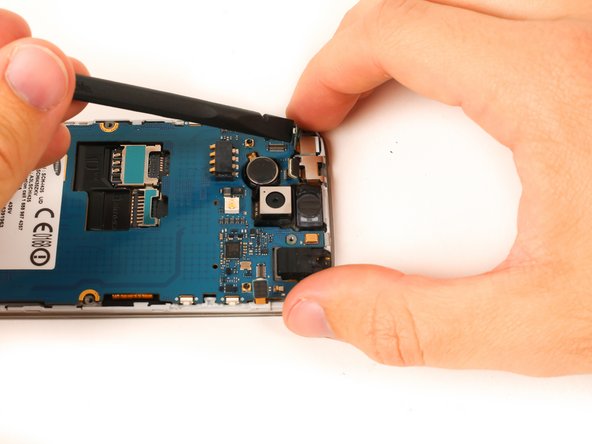
Step 15
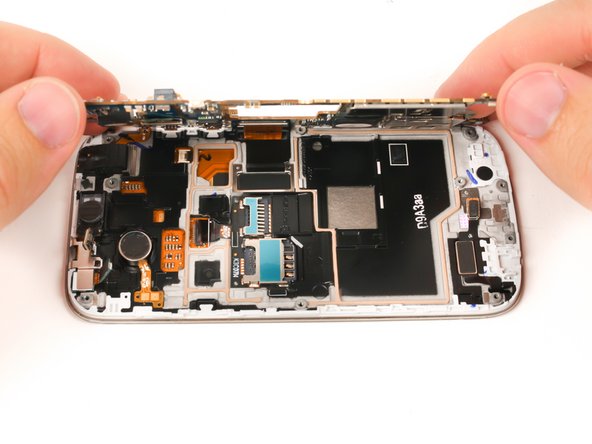

Heads up, tech whiz! The digitizer ribbon cable is still chillin’ under the motherboard. Don’t forget to detach it!
– Carefully hoist the motherboard up and nudge it slightly away from the device. You’re doing great!
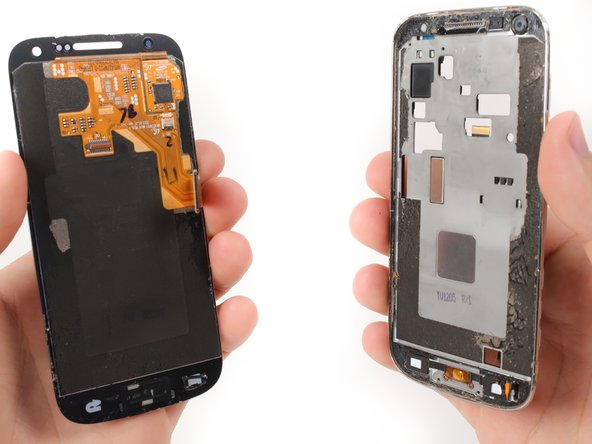
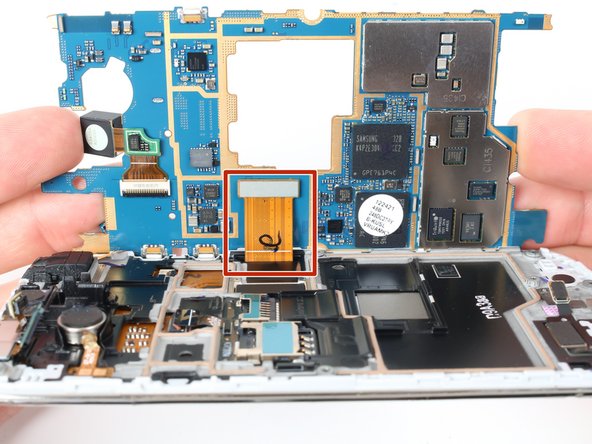
Step 16
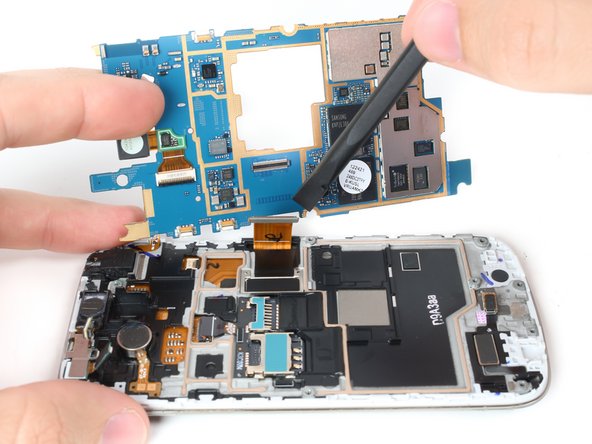

– Slide the flat end of a nylon spudger under the lip of the digitizer press-fit connector and give it a gentle lift to pop that connector open and set the motherboard free.
Tools Used


Step 18

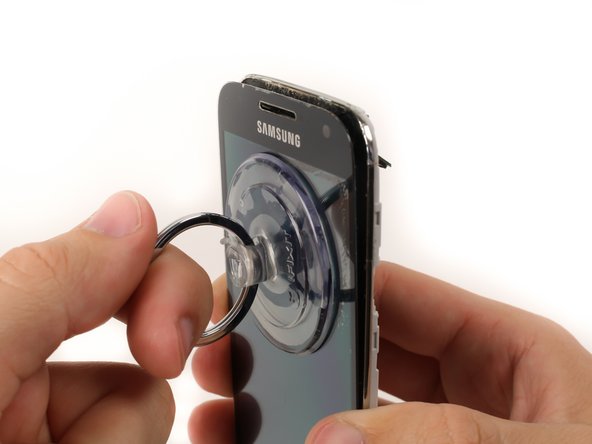
No need to muscle through this! If it feels too tough, just warm up that sticky adhesive a bit more and keep things groovy!
– Grab a suction cup and give the screen a gentle pull to create a small opening. It’s like opening a jar of your favorite cookies—just a little nudge to get started!
Step 19


– Wedge a plastic opening pick into the crevice between the screen and the plastic casing.
– Whoosh the plastic opening pick around the edge of the screen to loosen it from its sticky bond.