How to Replace Samsung Galaxy S6 Camera Lens Glass Tutorial
Duration: 45 minutes
Steps: 8 Steps
Alright, tech wizard, let’s get your gadget back in action! Follow these steps carefully and remember, if you need help, you can always schedule a repair.
Step 1

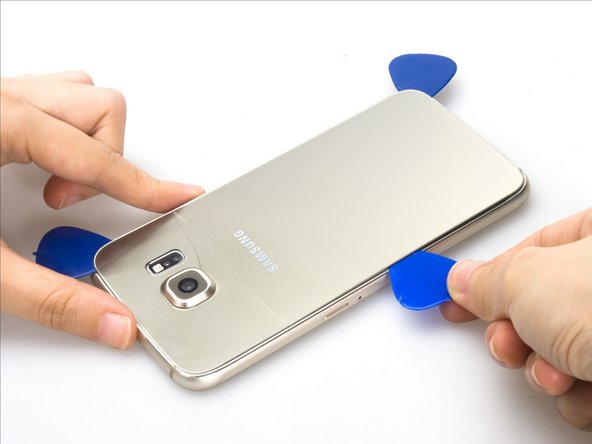

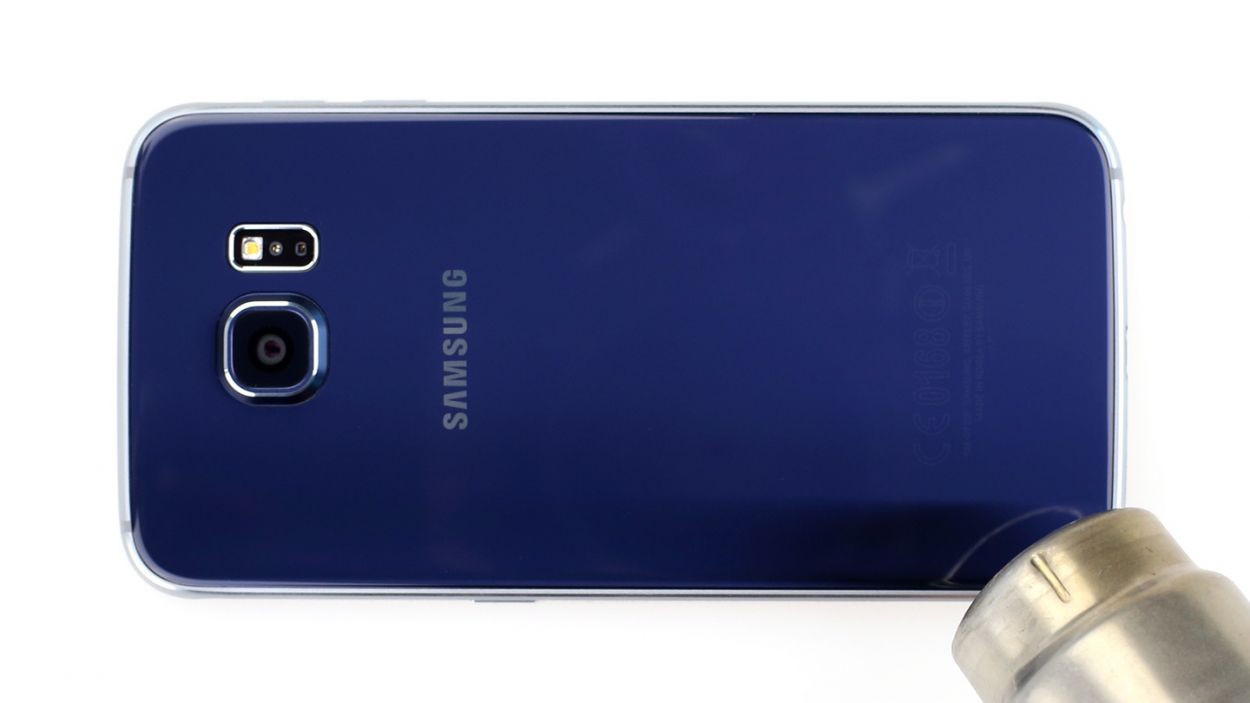
– First things first—remove that back cover. Unfortunately, we only have an S6 with a broken back cover to demonstrate the camera lens glass replacement. If you need help, you can always schedule a repair.

Step 3

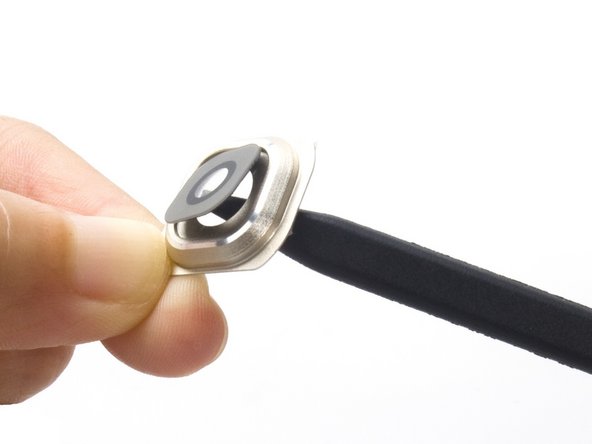

– Start by gently lifting the camera lens ring from the bottom right corner using a pry tool. Watch out for the sticky adhesive underneath and try not to scratch the sleek metal ring with those pesky sharp tweezers.
– Finally, give the camera lens glass a nudge with your finger or a spudger and lift it away. Voilà! It’s removed!
Tools Used

Step 4


– Alright, let’s get that new camera lens in place! First, peel off the top film, then carefully set the glass along with the ring. You’re doing great!
Step 5


– Alright, time to peel off that bottom film and get ready to stick on the new camera lens assembly.
– Keep in mind, a little tip for you: grab a new back cover sticker because the old one might not do the trick anymore.
– That’s the lowdown on replacing the S6 camera glass and camera ring in one shot!
Step 6

– If your S6 camera lens has seen better days, go ahead and gently remove it. Take care not to harm the camera or nick the metal ring.
Step 7


– First, pop that sticker on the camera ring.
Step 8


– Now, it’s time to pop on that shiny new camera glass and wrap up the replacement like a pro!
– And there you have it, that’s your guide for swapping out the camera glass on the S6—easy peasy!