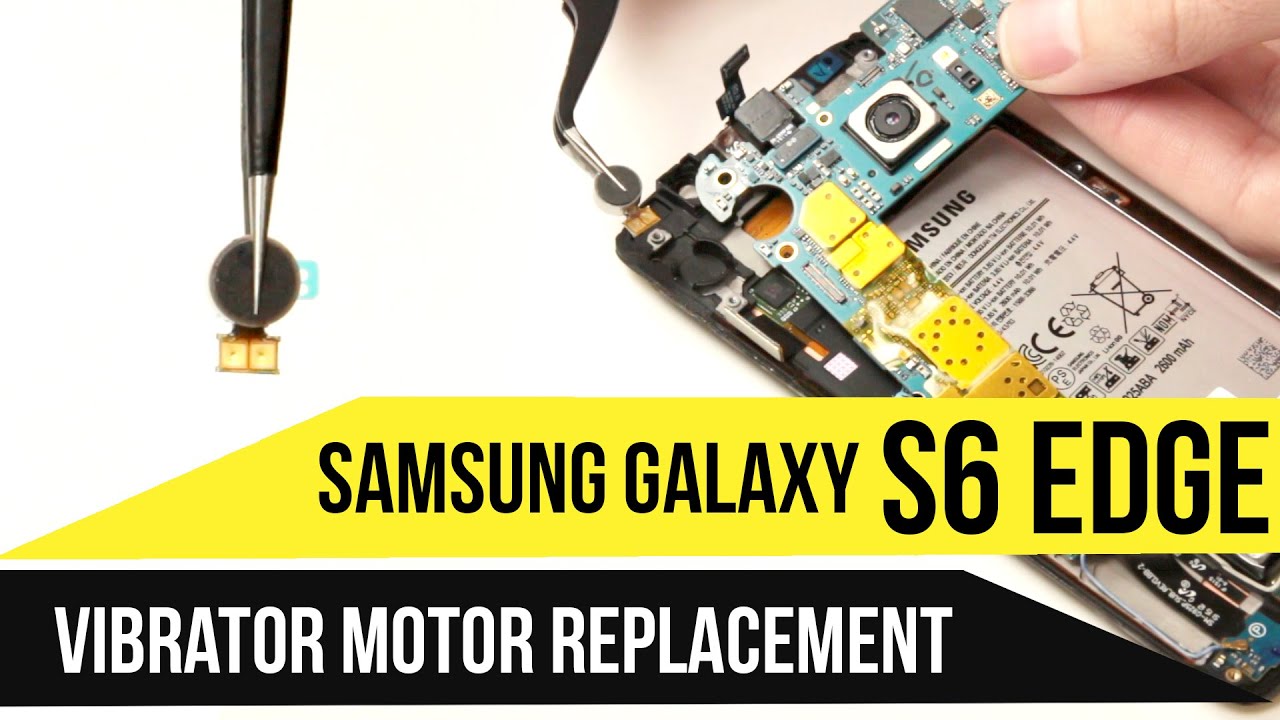
How to Replace Samsung Galaxy S6 Edge vibration motor Motor Guide
Duration: 45 minutes
Steps: 22 Steps
Hey there! Just a friendly reminder to take your time and double-check your work. If you run into any bumps along the way, don’t hesitate to reach out for help. You can always schedule a repair if you need a hand!
Is your Samsung Galaxy S6 Edge feeling a bit quiet? It might just be time to give that vibration motor motor a new lease on life! Don’t worry, we’ve got your back. If you need help, you can always schedule a repair.
Step 1
Keep that tool away from the microphone hole, or you might end up causing some unwanted damage. Instead, focus on finding the outline of the SIM tray.
– Grab a paper clip or that handy SIM eject tool and gently insert it into the tiny hole in the SIM card slot at the top of your phone.
– Give it a little press to pop out the SIM card tray.
– Carefully pull the SIM card tray out of your phone and set it aside.
Step 2
Carousel microwaves: Keep that plate spinning! If your iOpener gets stuck, it might overheat and burn. If you need help, you can always schedule a repair
Before proceeding, make sure to give your microwave a nice cleanup. We don’t want any unexpected surprises from leftover food hiding on the bottom to mess with our iOpener!
– Pop the iOpener in the microwave, right in the center.
Tools Used
Step 3
Careful now – don’t let the iOpener get too hot during the repair! Too much heat might make it burst. Keep it below 100˚C (212˚F).
Never touch the iOpener if it looks puffy.
If the middle of the iOpener is still too hot to handle, keep using it and let it cool down a bit before heating again. A well-heated iOpener should stay warm for up to 10 minutes.
Depending on the wattage of your microwave, your timing might vary. The iOpener’s ready for action when it’s just a smidge too hot to handle. If you’re feeling hesitant or unsure, you can always schedule a repair to get some expert help!
– Give that iOpener a warm-up in the microwave for about thirty seconds.
– As you tackle the repair, keep an eye on the iOpener. If it cools down, pop it back in the microwave for another thirty seconds to keep the good times rolling.
Tools Used
Step 4
Caution: The iOpener gets super hot, so be careful when you handle it! If it feels too toasty, grab an oven mitt to keep your cool.
– Grab the iOpener with confidence, making sure to hold it by one of the two flat ends to steer clear of the warm center.
Tools Used
Step 5
The iOpener gets super toasty, so make sure to grab it by the end tabs only. Stay safe and keep those fingers happy!
No microwave? No problem! Just heat up your iOpener in boiling water instead. If you need help, you can always schedule a repair.
– Grab a pot or pan and fill it up with enough water to give your iOpener a nice, cozy bath.
– Bring that water to a rolling boil, then turn off the heat—let’s not get carried away here!
– Now, gently drop your iOpener into the steamy water and let it soak for 2-3 minutes. Make sure it’s fully submerged to soak up all the heat.
– Using tongs (safety first!), carefully lift the warmed iOpener out of the pot.
– Give the iOpener a good towel dry—nobody likes a soggy tool!
– And voilà! Your iOpener is all set and ready to roll! If it needs a little reheating, just repeat the water boiling dance for another 2-3 minutes.
Tools Used
Step 6
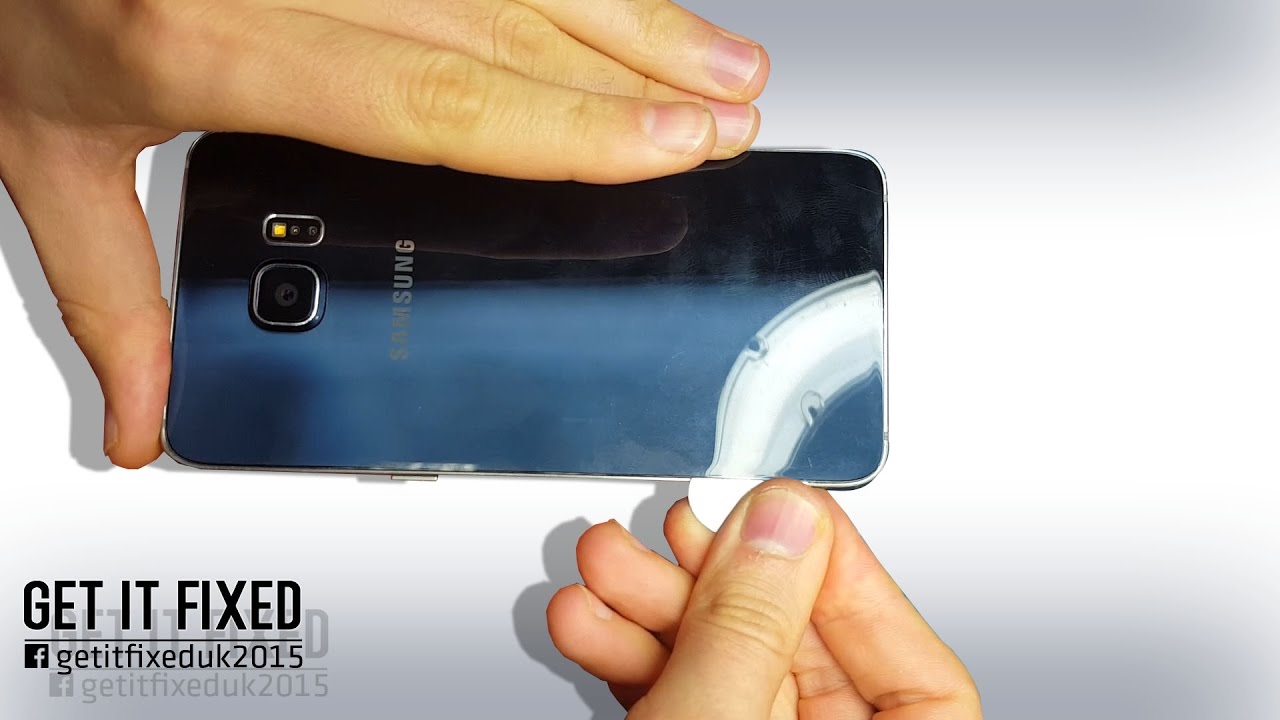
– Pop that heated iOpener on the rear panel for a couple of minutes to loosen up the adhesive around the edge of the glass.
– Now, slide that iOpener over to warm up the rest of the panel for another two minutes.
You can also use a hair dryer, heat gun, or hot plate, just make sure not to go overboard with the heat—the OLED display and internal battery are not big fans of overheating, you know. If you’re unsure, don’t hesitate to schedule a repair for some expert help!
Opening your phone can affect its waterproof protection. Be prepared with new adhesive or be careful with liquids if you don’t put it back together perfectly. If your screen’s broken, a little tape can save the day! It might take a few goes to warm up your iOpener, but don’t let it get too hot – check our repair schedule if you need help!
Tools Used
Step 7
Once the pick is in, feel free to add a few drops of isopropyl alcohol to the gap. It’ll help loosen the adhesive for the next steps. If you need help, you can always schedule a repair.
– Once the rear glass is feeling warm and cozy, grab a suction cup and place it near the bottom edge of the glass.
– Gently pull on the suction cup to create a little gap beneath the rear glass, then slide an opening pick into that gap.
Step 8
To keep things smooth sailing, consider leaving the pick in place while you grab a second one for the next step. This little trick can help stop that pesky glue from sticking back together.
Don’t forget to give the rear glass a little heat boost as needed to keep the glue from cooling off and getting all hard on you.
– Gently glide the pick along the bottom edge of the phone to carefully cut through the adhesive holding the rear glass in place.
Step 9
– Now, let’s keep the momentum going! Just like before, heat things up and slice away at the other three sides of your phone.
– To keep things nice and open, slide an opening pick under each edge. This will help stop that pesky adhesive from sticking back together.
Step 10
– Grab your trusty opening pick and gently slice through any stubborn adhesive that’s still hanging on.
– Carefully lift off the rear glass and set it aside.
Step 11
– How to get new rear glass on your device:
– If you’re reusing the old rear glass, or working with rear glass without pre-installed adhesive, follow this guide .
– Grab your tweezers and remove any leftover adhesive from the phone’s chassis.
– Clean the adhesion spots with high concentration isopropyl alcohol (at least 90%) and a lint-free cloth. Swipe in one direction only, no back and forth. This preps the surface for new adhesive.
– Peel the backing off the new rear glass adhesive, align one edge of the glass with the phone chassis, and press the glass onto the phone firmly.
Tools Used
Step 12
– Time to get to work! Carefully unscrew the thirteen 3.3 mm Phillips #00 screws holding the midframe in place. You’ve got this!
Step 13
– Give that battery a gentle press down, then with a little finesse, lift up the edges of the midframe to detach it from the rest of your phone. You’ve got this!
Step 14
– Grab that trusty spudger and gently pry away the battery ribbon cable from the motherboard. You’ve got this!
Tools Used
Step 15
– Pop off that home button ribbon cable from the motherboard. If you need help, you can always schedule a repair.
Step 16
– Time to show those antenna interconnect cables who’s boss – gently disconnect them from the motherboard using the pointed end of a trusty spudger.
Tools Used
Step 17
– Gently unplug the display ribbon cable from the motherboard using the flat end of your trusty spudger. You’ve got this!
Tools Used
Step 18
– Unplug the earpiece ribbon cable from the motherboard. If you need help, you can always schedule a repair.
Step 19
Hey there repair rockstar! Remember, the motherboard is as sensitive as a fluffy kitten, so handle it with care. We suggest busting out that anti-static bracelet superhero style to protect this delicate component from any shocking surprises!
Just a friendly reminder: resist the urge to yank the motherboard out completely at this point. First, show some love to the ribbon cable underneath by disconnecting it gently. Teamwork makes the dream work!
– With a gentle grip, hold the motherboard securely by its edges at the top of the device.
– Carefully lift the motherboard up and away from the display, being mindful not to stress the daughterboard ribbon cable too much.
Step 22
– Gently lift the vibration motor up and out of its socket.


