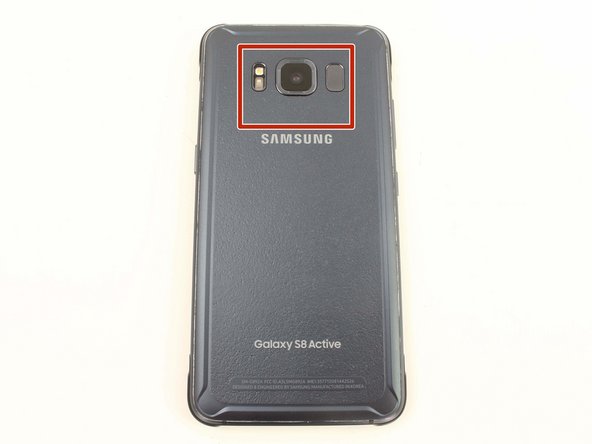
How to Replace Samsung Galaxy S8 Active Display Step-by-Step Guide
Duration: 45 minutes
Steps: 14 Steps
Hey there! Just a friendly reminder: proceed with caution. Repairing your device can be a bit tricky, but don’t sweat it! You’re already on the right track. If you run into any hiccups along the way, remember, you can always schedule a repair and get some expert help. You’ve got this!
Ready to give your Samsung Galaxy S8 Active a little TLC? This guide will walk you through the process of swapping out or removing the display. Just a heads up, you’ll need to pop off the back cover, so make sure you’ve got some replacement adhesive handy to seal it back up when you’re done. And before you dive in, check that your battery is below 25% charged—better safe than sorry! A battery that’s too full can be a bit of a drama queen if it gets damaged. For your peace of mind, follow the iOpener Heating guide to learn how to use your trusty iOpener.
Step 1


– Grab your trusty SIM card ejector tool (or a trusty unfolded paperclip) and gently slide it into the tiny hole on the left side of your phone’s top edge.
– Give it a gentle press to pop that SIM tray right out.
– Carefully pull the SIM card tray out of your device.
– When you’re ready to put the SIM card tray back, make sure the gold contacts are facing up and the notch is on the bottom right. Then just press the card gently into the SIM tray slot to secure it.
Step 2


Popping off the back cover of the S8 Active will mess with its waterproof mojo. Keep some replacement adhesive handy before you get started, or avoid splashes if you don’t replace the adhesive when you put it all back together. If you need help, you can always schedule a repair.
– Gently coax out the four sneaky 3mm screws from the outside edges of your device that are keeping the rubber bumpers snug using the fancy TR6 Torx Security Screwdriver.
– Give those rubber bumpers a little shimmy-shake and gently peel them off the top and bottom edges of your device.
Tools Used

Step 3

Whoa there! Just a friendly reminder that using heat is a must for this step. It’ll make the device all warm and fuzzy, but don’t forget to be cool and keep it at safe temps, or those fancy OLED display and battery buddies could get sad. Have a blast and let it heat up for a minute or so until the adhesive starts to loosen up!
You can warm up those edges with an iFixit iOpener, a hair dryer, or even a hot plate!
– Grab a heat gun and gently warm up the edges of the back cover to loosen the adhesive holding it to the frame. If you need help, you can always schedule a repair.


Step 4


– Slide the Jimmy tool underneath the edge of the back cover like a secret agent sneaking into an exclusive party.
– Once the Jimmy tool is comfortably nestled in, slip an opening pick into the seam to keep it wide open and prevent any accidental closing if the Jimmy tool decides to take a break.
– Gently glide around the top section of your device, taking care to dodge those delicate cables for the fingerprint sensor and camera. Remember, prying too deep could mean trouble for that fingerprint sensor, so keep it light and easy.
– Now, slide the Jimmy tool down the sides, working to separate the adhesive like a pro. You’ve got this!
Tools Used

Step 5

The fingerprint sensor cable connects towards the top of the phone near the front-facing camera. Be careful not to rip the cable; gently lift the back cover off. If you need help, you can always schedule a repair.
– Grab your trusty opening pick and gently slide it through any stubborn adhesive that’s still hanging on. We’re almost there!
– Carefully lift the back cover just enough so you can spot the fingerprint sensor flex cable connector peeking out. You’re doing great!
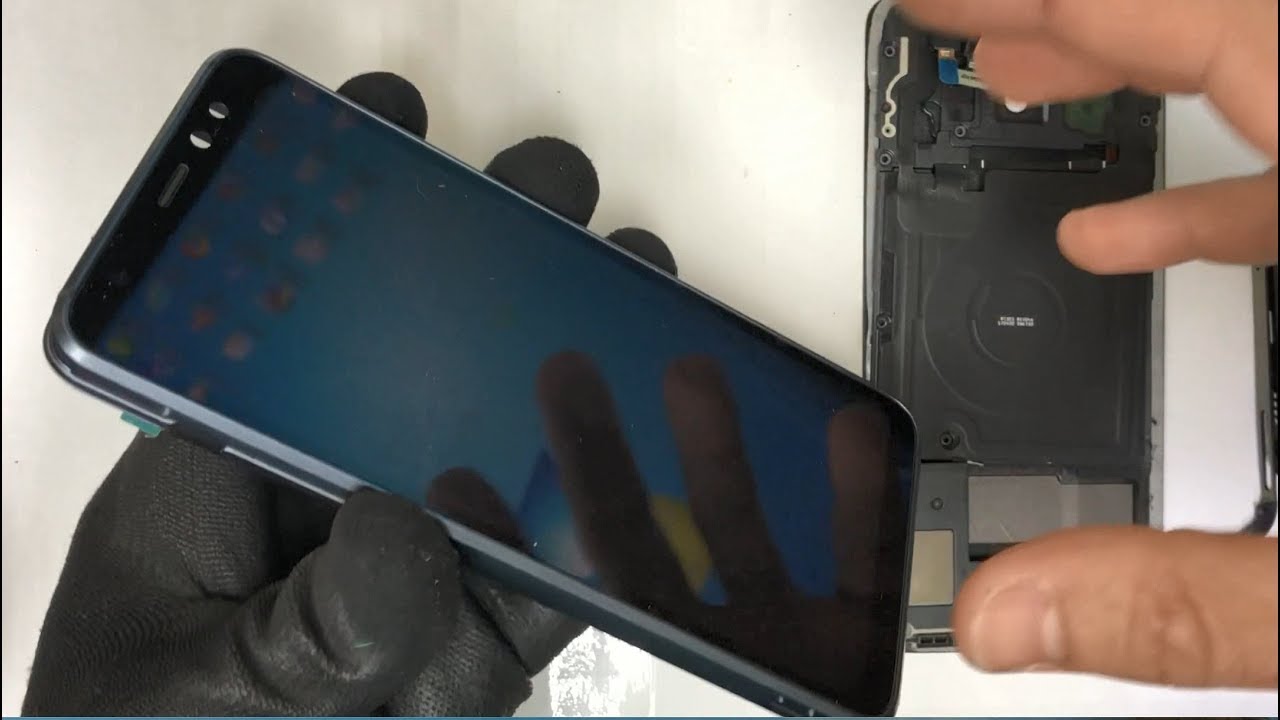
Step 6


– Gently flip the cover over and place it on top of the device like a champ.
– Use the flat end of a spudger to disconnect the fingerprint flex cable; it’s easier than it sounds!
– Take off the back cover—you got this!
– When you’re putting the fingerprint sensor cable back together, tilt the back cover just right so the flex cable aligns with its socket. Then, use the flat end of that trusty spudger to snap the cable in place with a gentle push. You’re doing great!
Tools Used

Step 7


– Take out eleven 3.5 mm screws with your trusty Phillips #00 Screwdriver.
– Then, remove two 2mm screws using that same Phillips #00 Screwdriver. If you need help, you can always schedule a repair.
Tools Used

Step 8


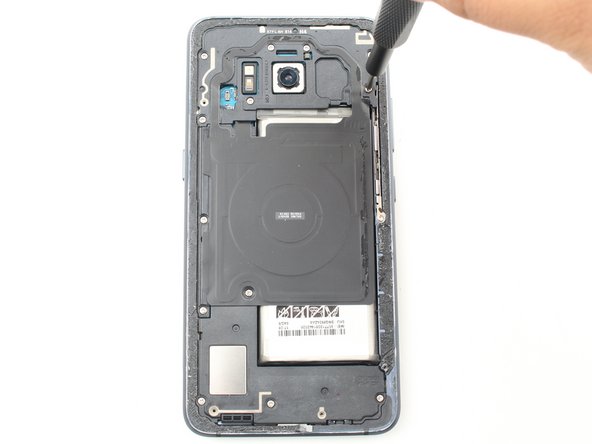
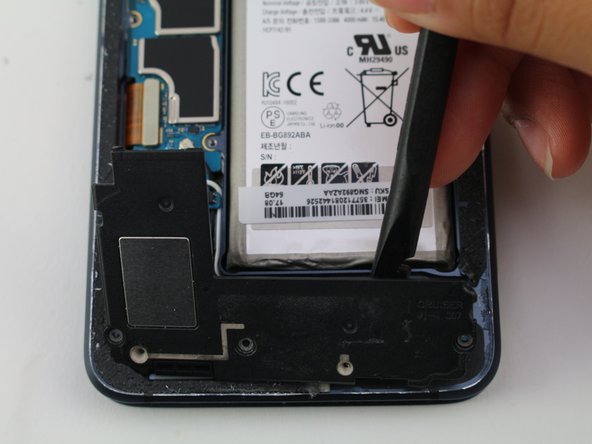
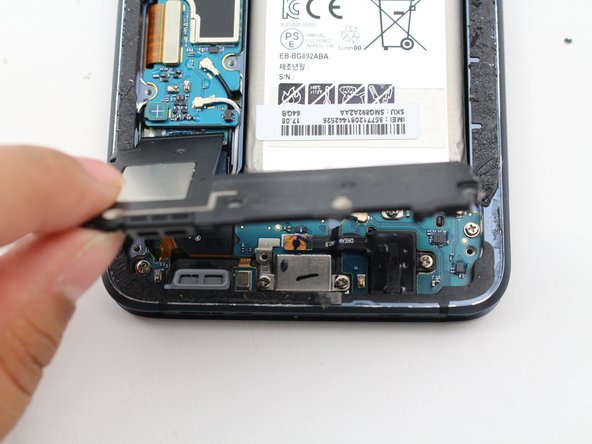
– Gently lift out the NFC antenna and charging coil assembly with the flat end of a spudger. You’ve got this!
Tools Used

Step 10

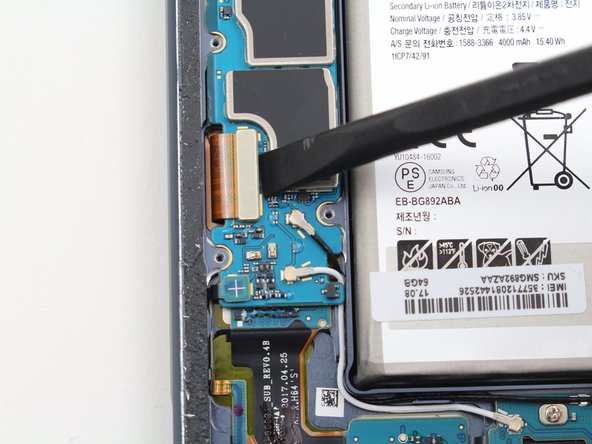
– Alrighty, let’s unplug that display flex cable from the motherboard using a fun little tool called a spudger. It’s like a mini spatula for your phone! If you need help, you can always schedule a repair.
Tools Used
Step 11


Don’t sweat it! If you’re feeling sticky, grab a hair dryer or heat gun to loosen up that adhesive. Just remember, things might heat up a notch, so handle with care.
Step 12

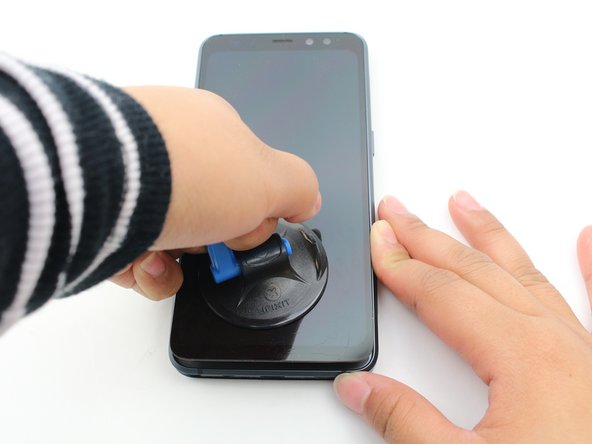
Even with a cracked display, the suction cup is still your trusty sidekick, ready to lift the screen in one smooth move.
– Pop a suction handle right in the center of the bottom half of the display.
– Give that suction cup a pull until there’s a small gap between the display and the frame.
Tools Used

Step 13

– Gently slide an opening pick into the tiny gap between the display and the frame that you created by lifting up on the suction cup. You’re doing great!
Step 14

– Grab that opening pick and keep slicing through that adhesive around the phone’s edge like a boss.
– When all the adhesive is free, lift the display by pulling up on the suction handle. If you need help, you can always schedule a repair.
Tools Used