How to Replace Samsung Galaxy Tab 3 7.0 Headphone Jack – DIY Guide
Duration: 45 minutes
Steps: 7 Steps
Step 1


– Take a plastic opening tool and carefully wedge it between the glass digitizer and the silver frame at the front of the device. Be gentle, we don’t want any cracks, do we?
Step 2


– Take it slow and steady as you work your way around the device’s face. Those tiny plastic clips should pop free, but if they’re being stubborn, just give a gentle outward nudge until you hear them let go.
Step 3


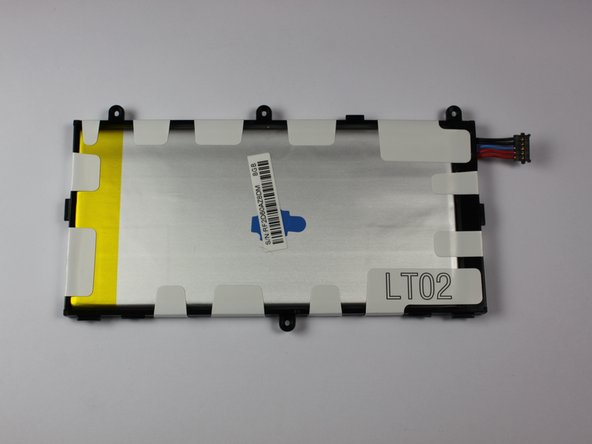
– Alright, let’s dive into the fun stuff! First up, grab your screwdriver and unscrew the four marked screws holding the battery in place. Easy-peasy, right?
– With those screws out of the way, use the tip of your screwdriver or a trusty pair of tweezers to pop up the battery connector. Just pull straight up—it should come loose with a satisfying little pop!
– Once you’ve got the battery out, it should look just like it does in the third picture. Mission accomplished!
Step 4

– Wrap it up by popping in your new battery right where the old one sat. Check the pic for guidance!
Step 5


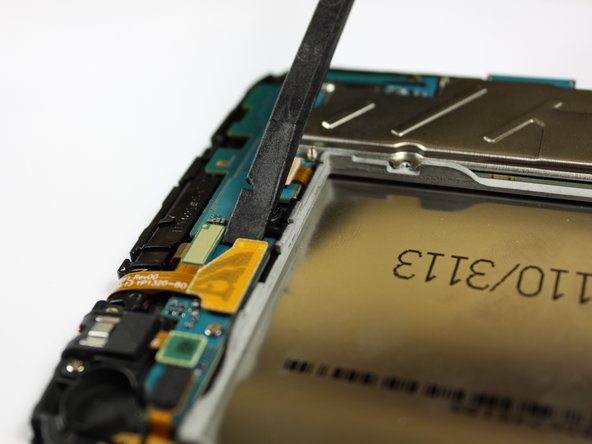
– Let’s kick off the motherboard replacement! Start by carefully detaching all those connections keeping the motherboard snugly in place, just like you see in the first picture.
– Grab your trusty spudger, tweezers, or a plastic opening tool, and gently lift those connections from their ports like you’re freeing them from a not-so-fun jail.
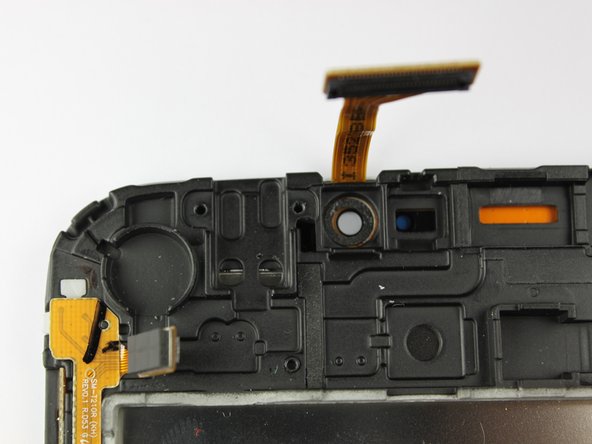
– After you’ve worked your magic and separated all the connections, take a look at the back of your device—it should resemble what you see in the third picture. You’re doing great!
Tools Used

Step 6


– With all connections skillfully detached, let’s get those screws outta there! Check out the first two pics for a visual guide.
– After liberating all the screws, you can now gently lift out the motherboard and swap in a shiny new one. If you need help, you can always schedule a repair
Step 7


– To put your device back together, just follow these steps in reverse!
– Cancel: I didn’t finish this guide.
– If you need help, you can always schedule a repair
Success!