How to Replace Samsung Galaxy Tab A 8.0 Camera: DIY Guide
Duration: 45 minutes
Steps: 5 Steps
Oh no! The camera on your phone can take a real beating if your device takes a tumble and lands right on it. Don’t worry, though—this guide walks you through how to pop off the back cover of your tablet so you can reach the camera and swap it out. Let’s get started and bring that camera back to life!
Step 1
Turn off your device before you dive into taking it apart. Safety first!
The nifty little metal spudger is your go-to tool for gently prying apart the back cover from the rest of your device. Just a heads up, it’s not meant for yanking off the back cover itself!
– Grab your trusty small metal spudger and shimmy it up to the top part of the memory card slot. Carefully wedge it in there to nudge the back cover apart from the rest of the device. Easy does it!
Tools Used
Step 2
– Grab that intermediate metal spudger—it’s time to make it shine! Use it instead of the smaller one to ease off the back cover. Glide it smoothly around the device’s edges, starting at the top where the memory card slot lives. Take it slow; you’ve got this!
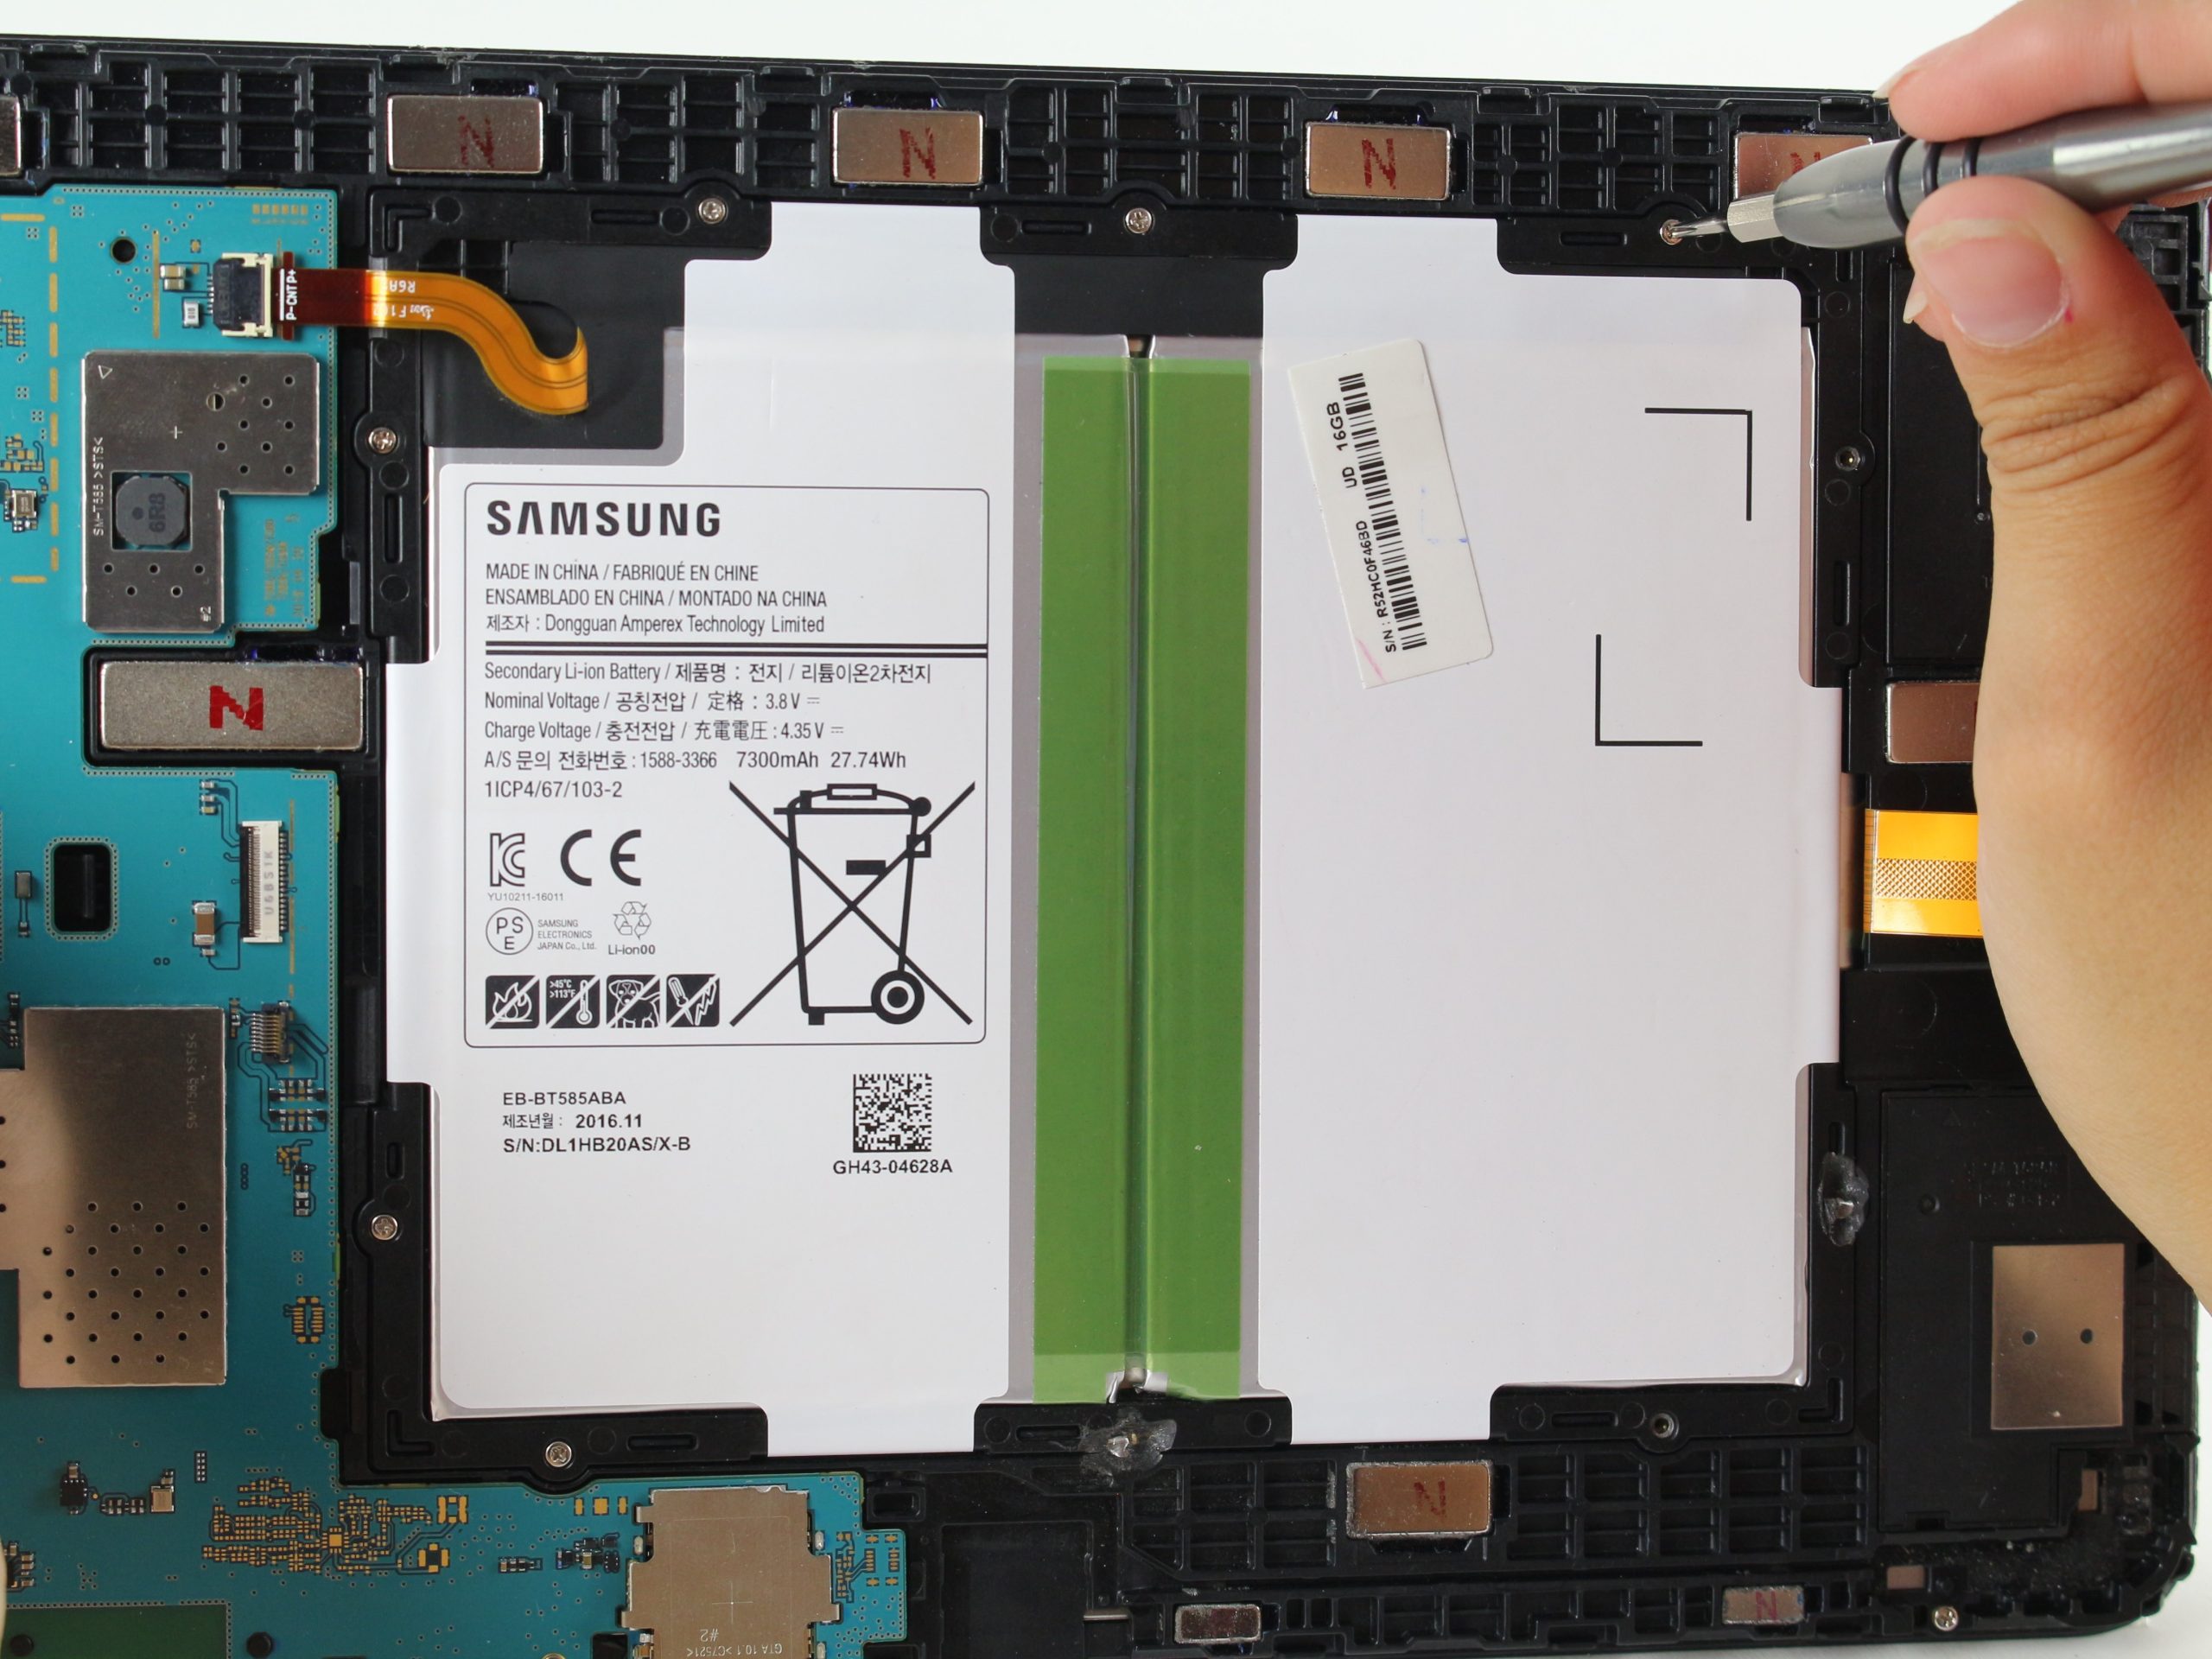
– Check out the second picture! It’s your sneak peek into the internal workings of the device after the back cover is off. Pretty cool, right?
Tools Used
Step 3
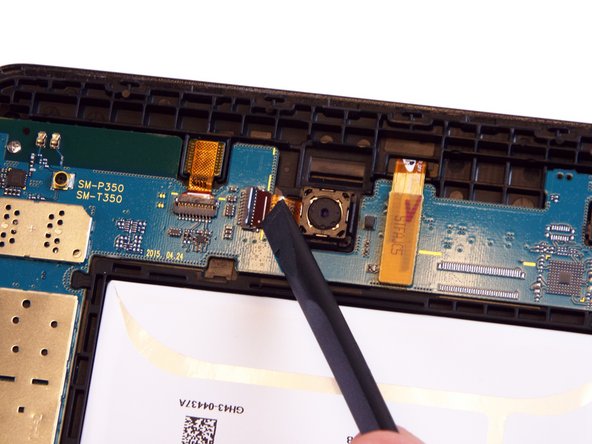
Now, let’s focus on that cheerful yellow rubber part of the camera. Give it some attention!
– Grab your trusty spudger and gently pop the camera connector off the motherboard—easy peasy, right?
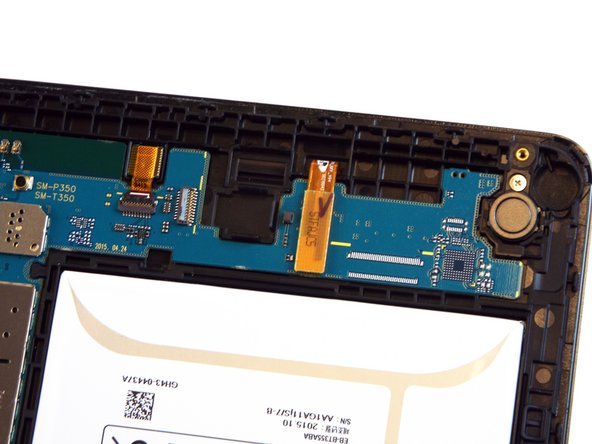
– Check out the photos! The first one shows the camera all snug and connected, and the second one? Boom, it’s free and ready for action.
Tools Used
Step 5
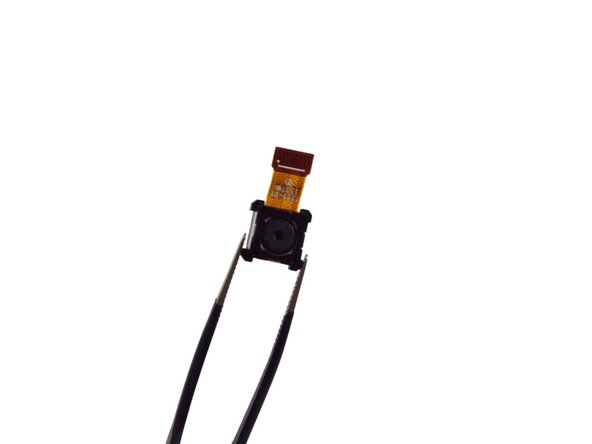
– Grab those trusty tweezers and carefully lift the camera out from the device. Gently pull it away from where it was connected to the motherboard in Step 3—it should pop out smoothly.
– Check out the second picture to see exactly what your device should look like with the camera fully removed. Nice work!
Tools Used
Success!


