How to Replace Samsung Galaxy Tab A Digitizer: Step-by-Step Guide
Duration: 45 minutes
Steps: 5 Steps
A busted touchscreen can really throw a wrench in your plans, turning your device into a fancy paperweight. Follow this step-by-step guide to remove the back cover and front cover of your tablet so you can get to the touchscreen and swap it out.
Step 1
Before you dive into the disassembly adventure, make sure your device is powered down and ready for action!
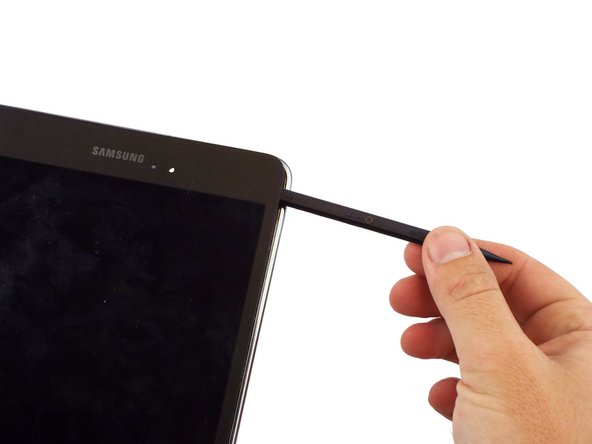
The trusty little metal spudger is just here to help you sneak a gap between the back cover and the rest of the device—it’s not meant to pop the whole back cover off.
– At the top of the memory card slot, grab that small metal spudger and work your magic to pop the back cover off from the rest of the device.
Tools Used
Step 2
– Grab your trusty intermediate metal spudger—it’s time to swap out the small one! Gently slide it along the edges of the device, starting at the top of the memory card slot. It’s like drawing an outline, but cooler.
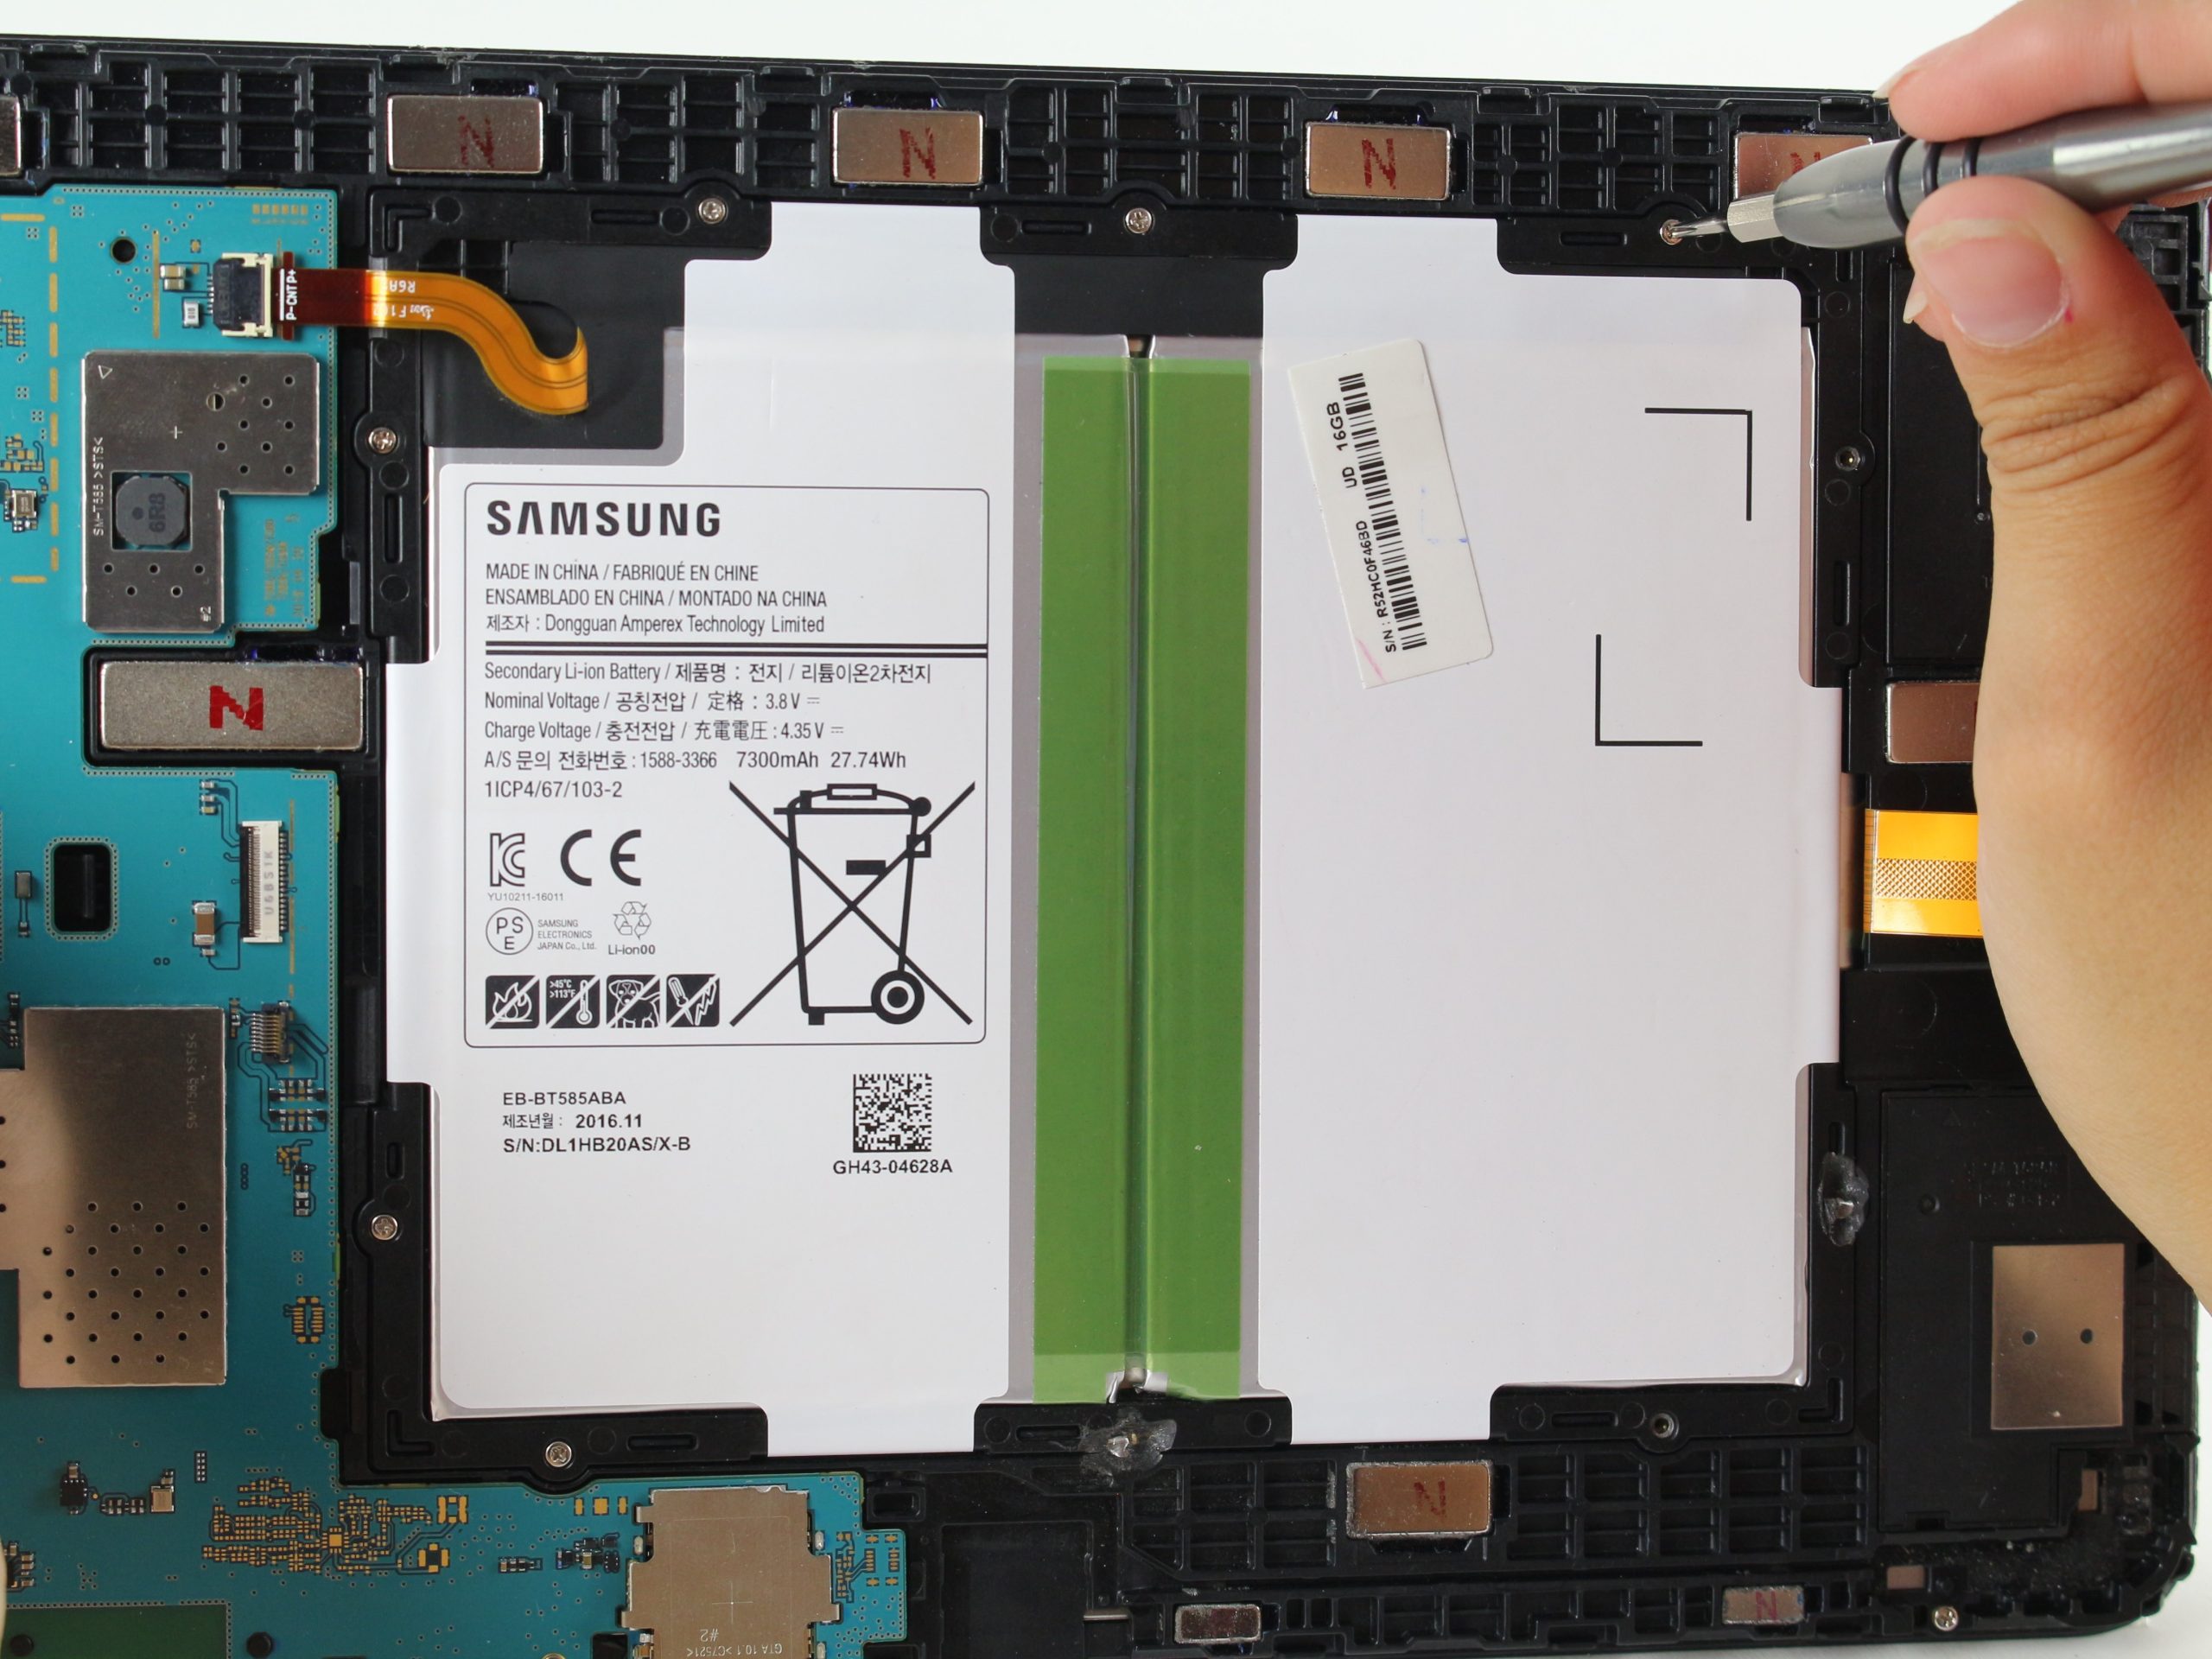
– Once you’ve popped off the back cover, take a peek at the second picture to get a glimpse of the device’s inner workings. You’re doing great!
Tools Used
Step 3
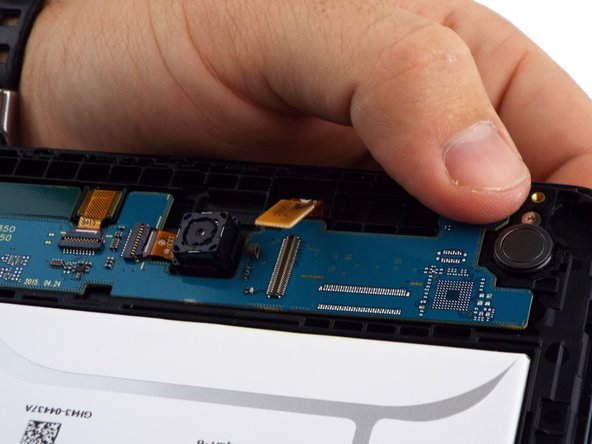
– Grab your spudger and gently work your way to disconnect the touchscreen from the motherboard. You’ll find the two are linked at the top half of the motherboard, right where that yellow rubber part of the touchscreen sits.
– Check out the first and second pictures – the first one shows the touchscreen connected, and the second shows it all disconnected. Easy, right?
Tools Used
Step 4
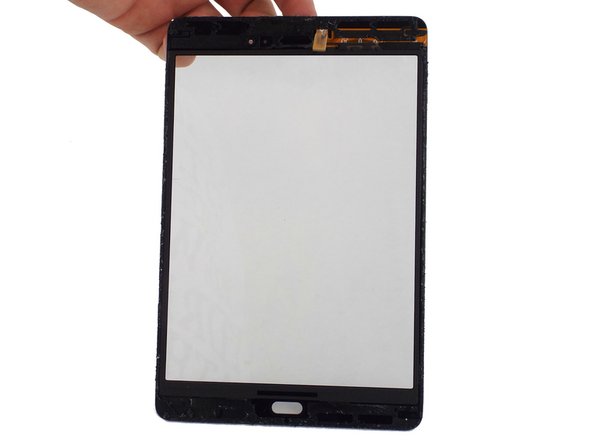
Time to get a little aggressive with that front cover! The touch screen is glued on tight, so be prepared to use some elbow grease and patience to get it off.
The top and bottom parts of the touch screen have some extra glue holding them in place, so don’t be afraid to apply a bit more force to get them to budge.
To make things easier, try using your spudger to gently pry the top and bottom sections away from the front cover, working from the sides. It’s like a little puzzle, and with a bit of finesse, you’ll be able to get everything separated in no time!
– Grab your trusty spudger and gently work it around the edges to separate the touch screen from the device’s front cover. Take your time, and remember: no rush! If you need help, you can always schedule a repair.
Tools Used
Step 5
Don’t yank the touchscreen off too quickly—it can mess up or even break the screen. Plus, you might end up damaging the touchscreen connector in the back of your device.
– Now, let’s put your device back together by retracing your steps in reverse! You’ve got this!
– If you hit a snag, remember, you can always schedule a repair.
– You’re almost there!
Success!


