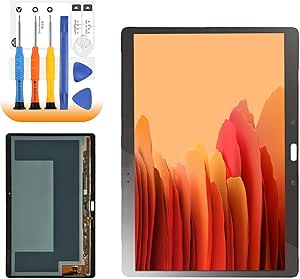
How to Replace Samsung Galaxy Tab S 10.5 Camera: Step-by-Step Guide
Duration: 45 minutes
Steps: 4 Steps
Ready to bring your Samsung Galaxy Tab S 10.5 camera back to life? This step-by-step guide will walk you through removing and replacing the camera with ease. Let’s get started!
Step 1


– Slide your plastic opening tool into the SD card slot or charging port like a pro.
– Gently nudge it upward until you spot a little gap between the tablet and its back cover. You’re doing great!
Step 2

If this is your first rodeo, getting that back cover off the tablet might feel a bit tricky. No worries, you’ve got this!
The clips are spaced about 5 cm apart. As you work your way around the device, listen for the satisfying pop when they disconnect—it’s like music to your ears!
– Glide the plastic opening tool along the edge of the device, working your way around the entire thing.
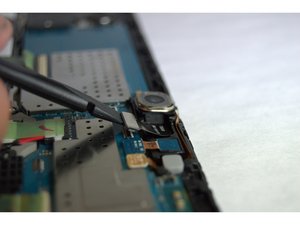
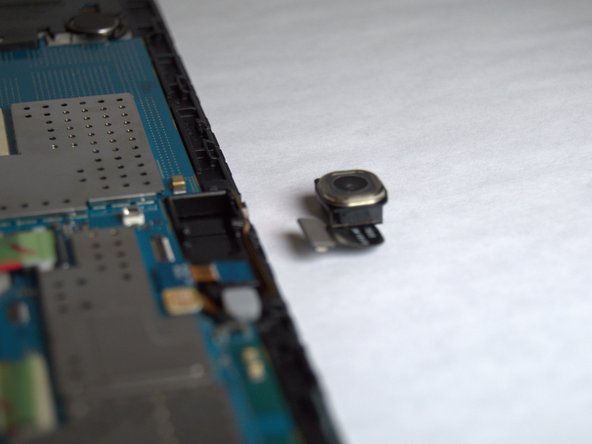
Step 3

Handle the internal components of the tablet with care, like they’re precious gems!
– Let’s get started! Remove the back cover once you’ve detached all the links – you’re making great progress!
Step 4


– To put your device back together, just follow these steps in reverse.
– Cancel: I didn’t finish this guide.
– Need help? You can always schedule a repair.
Tools Used

Success!