How to Replace Samsung Galaxy Tab S2 9.7 (2015) Verizon Port
Duration: 45 minutes
Steps: 9 Steps
Ready to rock out again? Follow this guide to revive your headphones by swapping out the auxiliary port.
Step 2
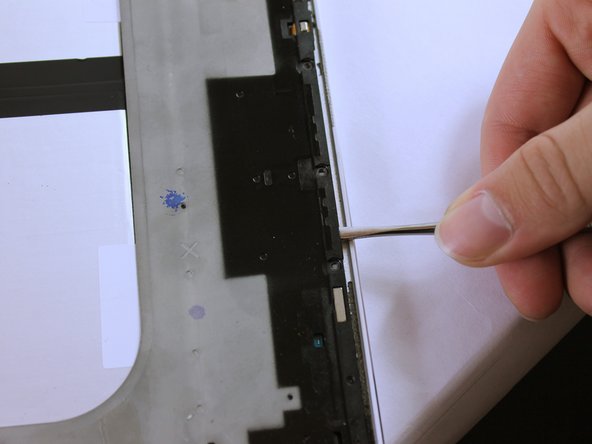
Keep that metal spudger away from those buttons! Going too far might just give your device a little surprise that it won’t like.
– Alright, the glue is all melted and ready for action! Grab that metal spudger and gently pry open the tablet all around the edges. You’ve got this!
– When you’re working near the home and touch screen buttons, go ahead and use a suction cup for a little extra grip. It’s like giving your tablet a friendly hug while you work!
Step 3
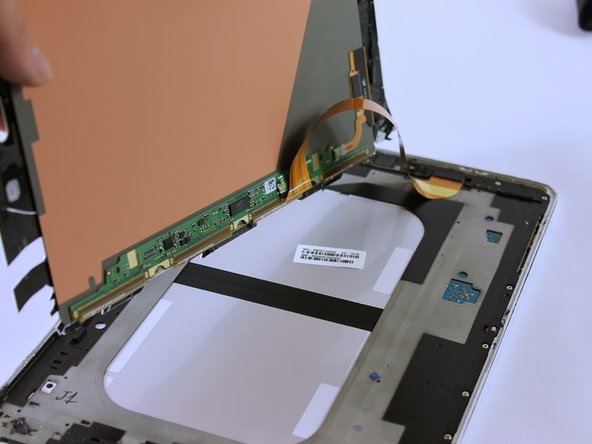
Be careful! There’s a ribbon cable in play here. If you try to lift the screen too fast, you might just end up giving that cable a bad day!
– Gently raise the screen with care.
Step 4
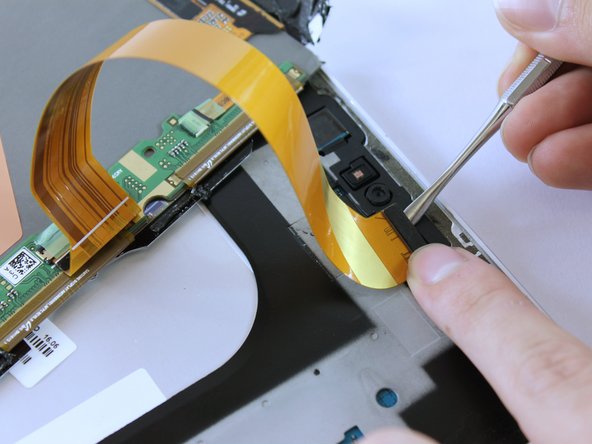
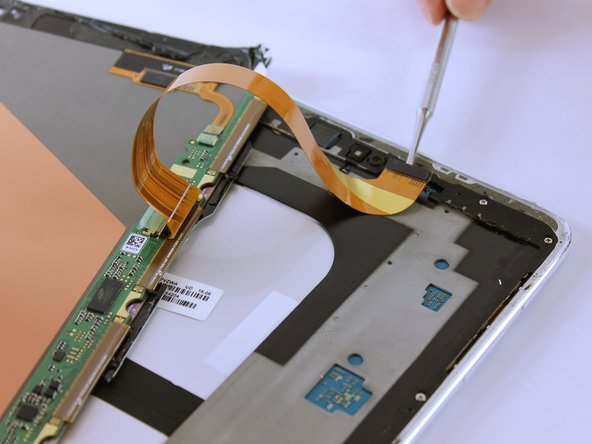
The ribbon might be taped to the grey frame underneath. Carefully peel it back to free it—no rush, take it slow!
– Gently pry up the ribbon cable with the Metal Spudger. Take it slow and steady!
Step 5
– Get ready to unscrew those seventeen 3 mm screws with a PH000 Phillips screwdriver. You got this!
Step 6
In the third picture, you’ll spot the Sim Card component hanging out with the frame and back cover. When you lift the frame, it’ll pop off—totally cool, that’s just how it rolls!
– Gently pop the black frame using the two Metal Spudgers as shown.
Step 7
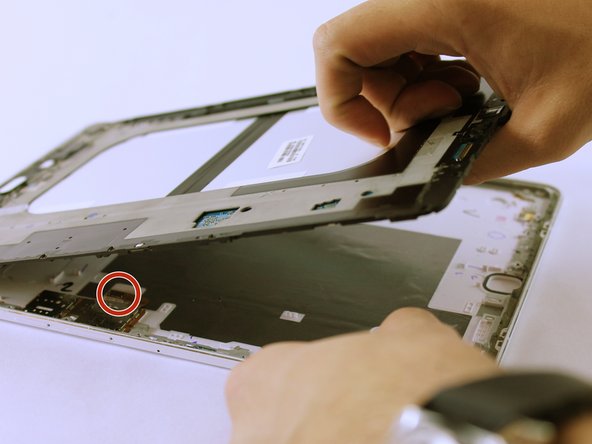
– Once you’ve got it lifted, give that grey frame a little flip!
– This little gem is your connection to the sim card.
– Don’t forget to snap this component back into place when you’re putting the tablet back together!
Step 8
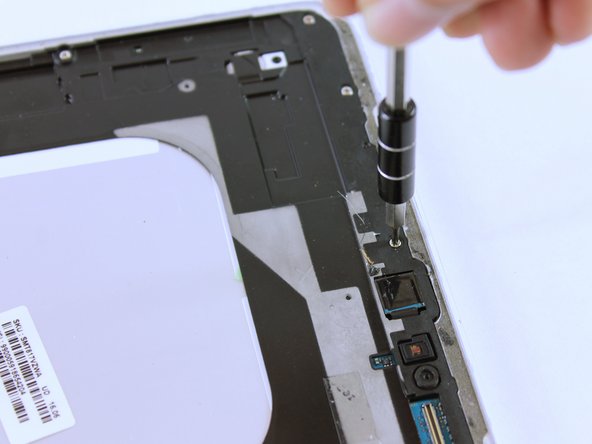
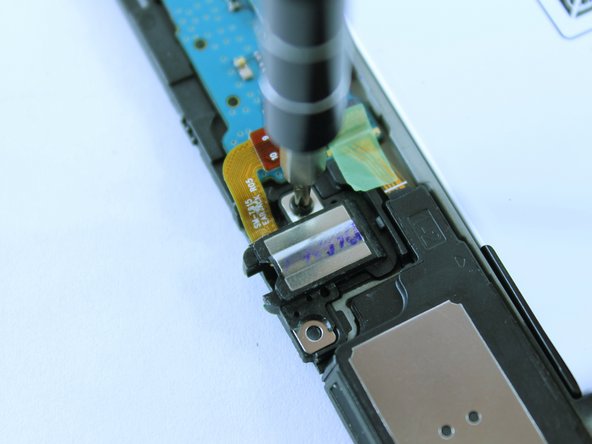
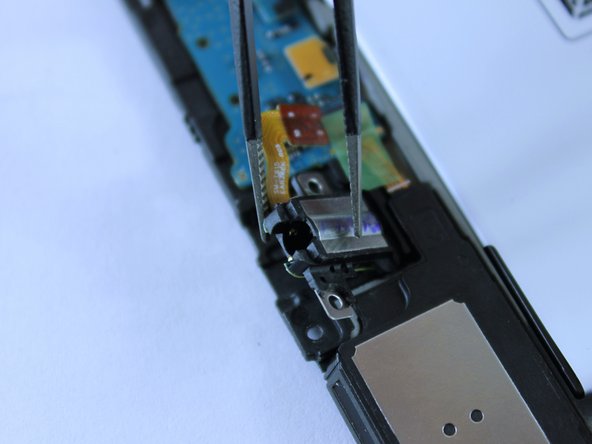
– Alright, here’s the scoop: this is where the auxiliary port hangs out.
– Grab your trusty PH000 Phillips screwdriver and unscrew that sneaky little black 3mm screw. You got this!
Step 9
– Put everything back together by reversing these steps and your device will be as good as new!
– Cancel: I didn’t finish this guide.
– If you need help, you can always schedule a repair
Success!


