How to Replace Samsung Galaxy TabPro S Camera: Step-by-Step Guide
Duration: 45 minutes
Steps: 8 Steps
Is your tablet refusing to snap photos, capture videos, or adjust its screen brightness on its own? It might be time for a camera upgrade! This guide is here to walk you through the process of replacing your tablet’s camera, step by step. Let’s get your tablet back in action!
Step 1

– Flip the device over so it’s face down on a flat work surface.
Step 2


– Pop that iOpener in the microwave for 30 seconds to get it nice and toasty! Then, give each side of your device a warm hug for 20 seconds to help loosen up that pesky adhesive seal. You’re doing great!
Tools Used

Step 3
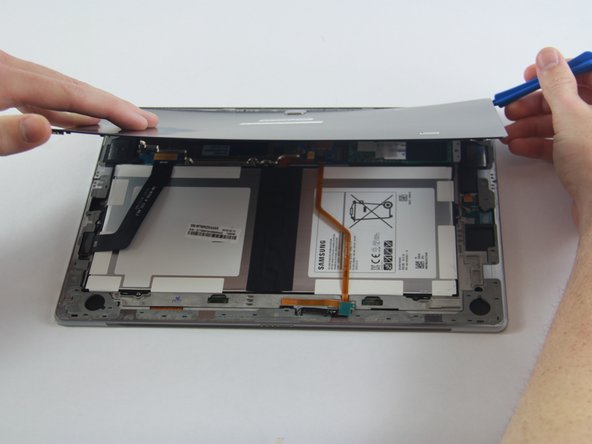
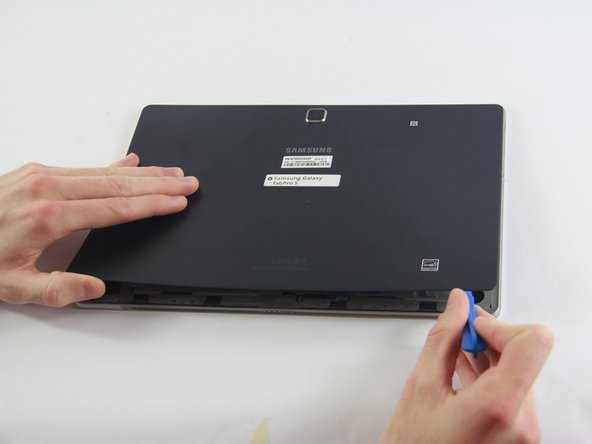

– Grab your trusty plastic spudger and carefully pry open the back of the device.
Tools Used

Step 4

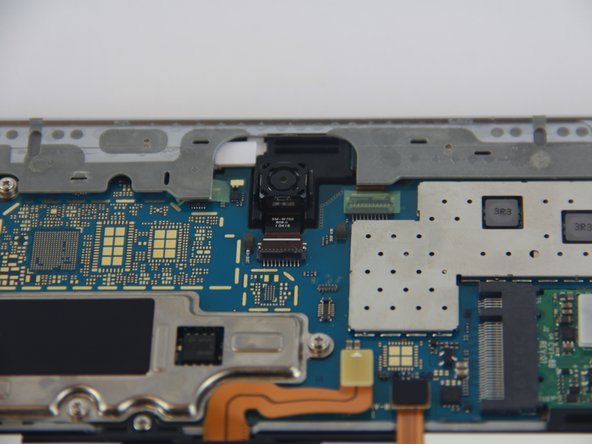
– Find the camera and the port it’s hanging out with.
Step 5

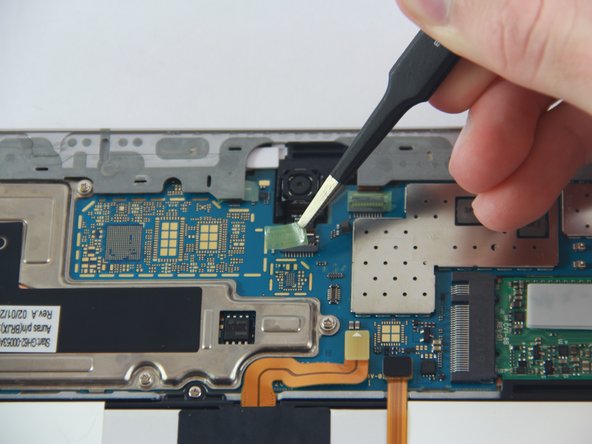
– With a steady hand, gently use your tweezers to lift off that sticker like a pro!
Tools Used

Step 6

– Grab your trusty black nylon spudger and gently nudge the top half of the connecting port down until you hear that satisfying click!
Tools Used
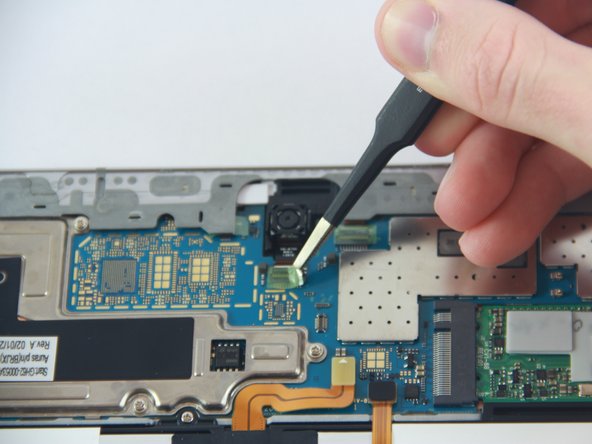
Step 7

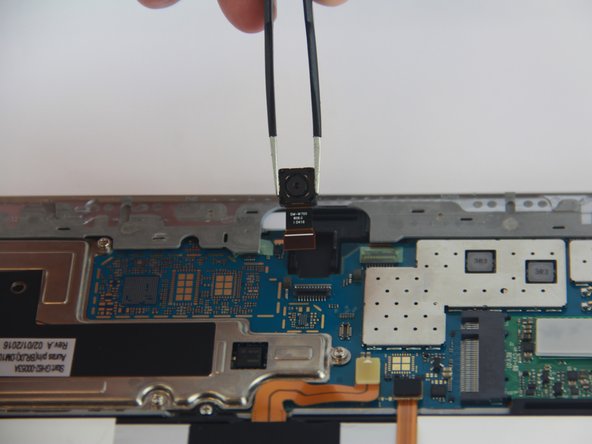
– Gently lift the camera from its cozy spot, ready to take on the world again!
Step 8

– You did it! To put everything back together, just follow these steps in reverse. Easy peasy!
– If you need help or didn’t quite get it, don’t worry – you can always schedule a repair.
– You’re all set! Take a deep breath and admire your handiwork.
Success!

