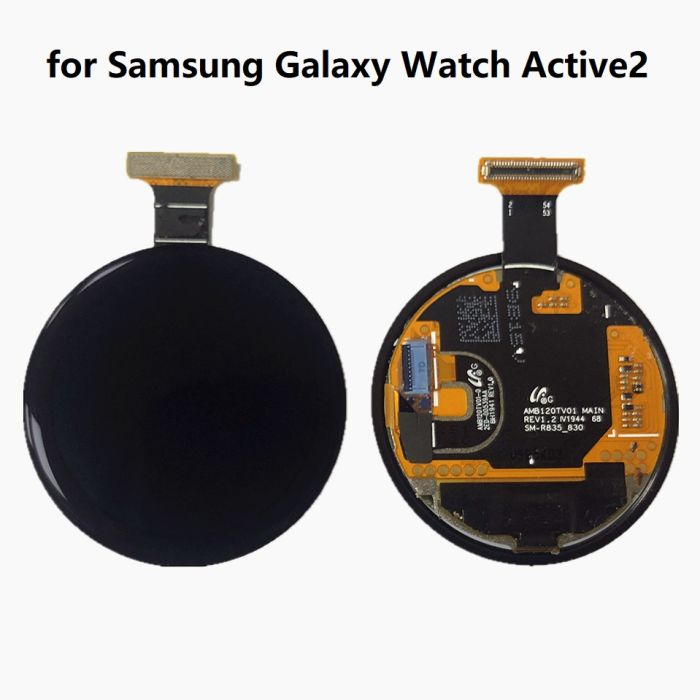
How to Replace Samsung Galaxy Watch Active Sensor: DIY Guide
Duration: 45 minutes
Steps: 7 Steps
Ready to swap out a wonky or broken sensor array on your Samsung Galaxy Watch Active? This guide will walk you through the steps to get things back in working order. Let’s roll up our sleeves and get started!
Step 1


– First, let’s get started by turning off your Galaxy Watch Active. Press and hold the bottom button for about 3 seconds – you’ll feel a quick vibration to let you know it’s working.
– Next, tap the center of the screen when the ‘Power off’ symbol appears. You’ll feel a slightly longer vibration to confirm it’s shutting down. Easy peasy!
Step 2

– Grab your Tri-point Y00 screwdriver and carefully unscrew the four 4 mm screws holding the back of the watch in place. Take your time—precision is key here!
Tools Used

Step 3


Hold up! Don’t yank the back cover off just yet—there’s a sneaky little cable still connecting it to the motherboard.
– Grab your trusty opening tool and slide it between the plastic back cover and the metal housing, right by the buttons.
– Gently nudge the tip of the opening tool into the gap to help separate the back cover from the housing.
Step 4


– Gently pop open the back cover about 2 cm to reveal the sensor array connector chilling by the two buttons.
– Grab your trusty spudger and carefully unplug the sensor array from the motherboard. Easy does it!
Tools Used


Step 6

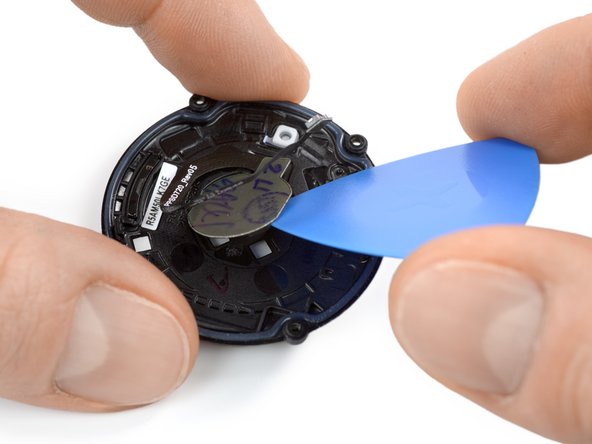
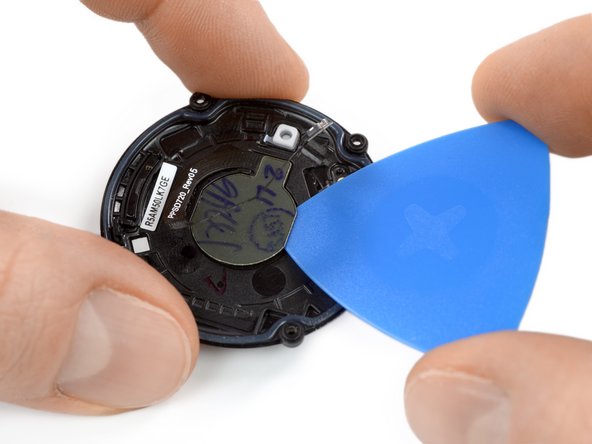
– Grab your trusty opening pick and slide it under the sensor array – it’s just a tad glued down, so give it a gentle nudge.
– With a careful twist of the pick, pop that sensor array free from the back cover like a pro!
Step 7

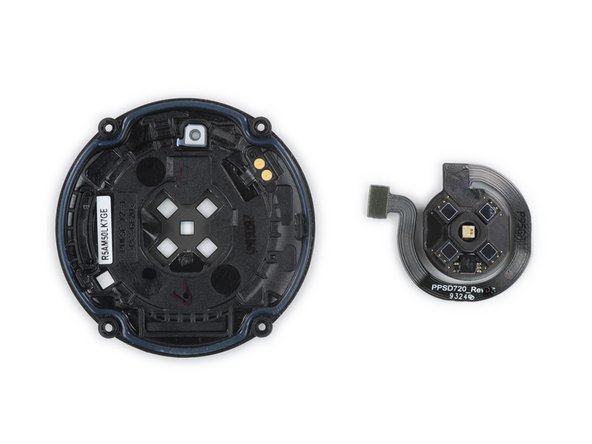
– Ready to put your device back together? Just reverse these steps and you’re good to go!
– Got old tech? Drop it off with an R2 or e-Stewards certified recycler to keep it green.
– Hit a snag? No sweat! Try some basic troubleshooting or swing by our Answers community for tips.
– Changed your mind? No worries! Just hit cancel if you didn’t finish this guide.
– Need help? You can always schedule a repair for expert assistance.
Success!