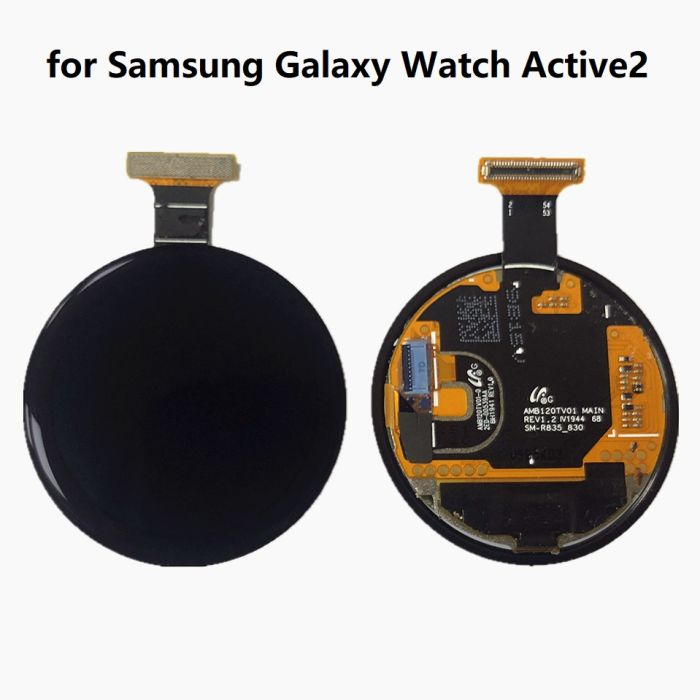
How to Replace Samsung Galaxy Watch4 Classic Battery
Duration: 45 minutes
Steps: 12 Steps
Keep it cool—run your battery down to below 25% before diving in!
Ready to give your Galaxy Watch4 Classic a new lease on life with a fresh battery? Let’s do this! If your battery’s puffed up like a balloon, handle it with care, okay? And for safety’s sake, make sure the battery charge is under 25% before diving in. This lowers the chances of any scary surprises if the battery accidentally gets dinged during the process. Let’s get that watch ticking like new!
Step 1

– Before you get started, make sure to take your watch off the charger and shut it down completely. Safety first, right?
– Pop off the watch band—time to give your watch some space for the magic to happen!
Step 2

– Grab your Tri-point Y00 screwdriver and unscrew those four 4.0 mm-long screws holding the back cover in place. Let’s get this done!
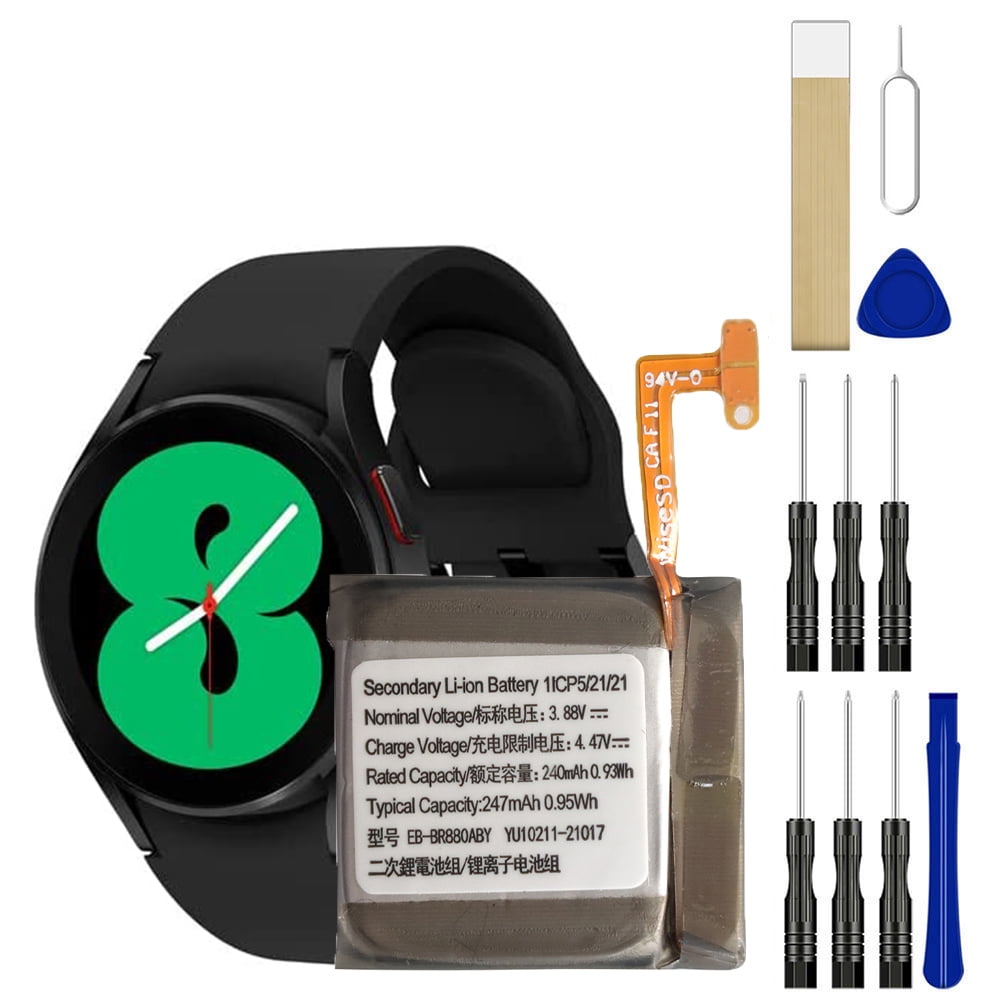
Tools Used

Step 3

Hold your horses! Don’t yank off that back cover just yet. The sensor flex cable is still giving a warm hug to the motherboard.
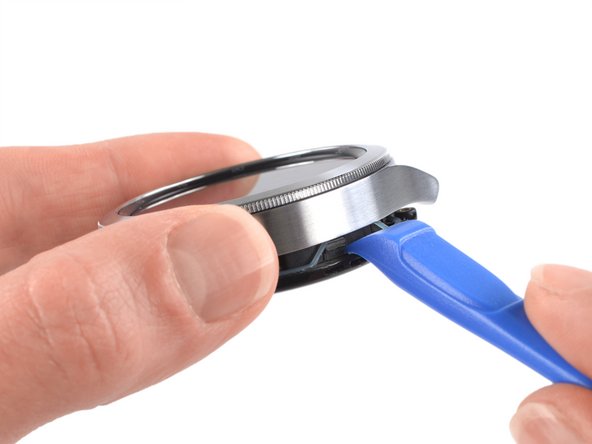
– Gently slide an opening tool into the crack between the back cover and the metal frame.
– Give the opening tool a little twist to create a nice gap.
Step 4

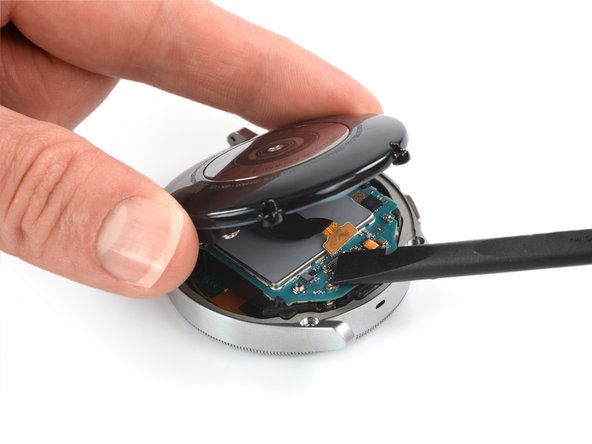
– Flip the watch over so the face is looking down—it’s like giving it a little nap!
– Gently pop open the back cover by folding it back through the gap you just created. Take it slow—no rush!
– Grab a flat spudger (your trusty sidekick!) and carefully lift and disconnect the sensor flex cable from the motherboard. You’ve got this!
Tools Used

Step 5

– Pop off that back cover like a pro!
– Check out the rubber gasket—it’s your phone’s little superhero for water resistance. If it’s looking tired or damaged, swap it out for a fresh one during reassembly to keep everything sealed tight.
Step 6
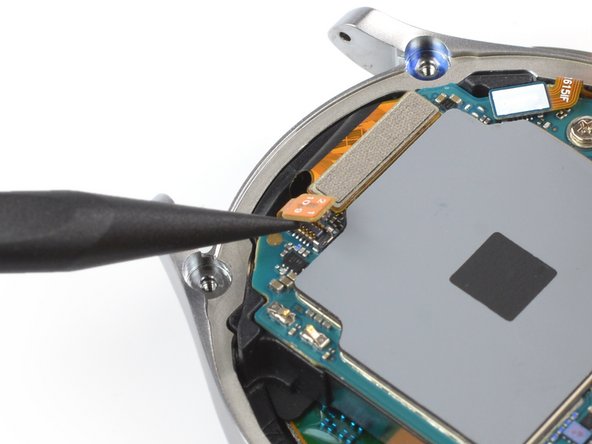

– Grab the pointy end of your trusty spudger and gently pop off the hall sensor flex cable like a pro.
Tools Used
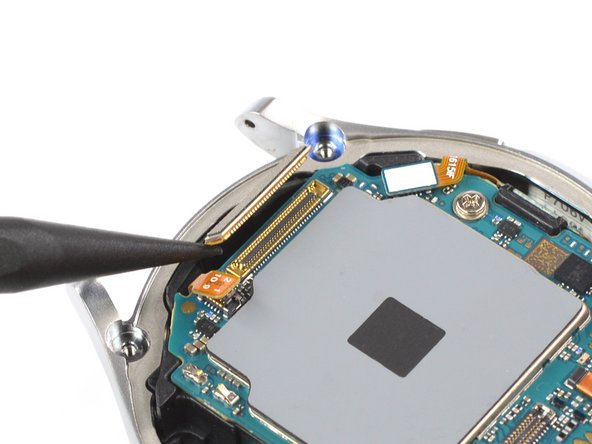

Step 8


– Grab your trusty spudger and gently disconnect that crown button flex cable. It’s an easy step, just take your time and be gentle with it!
Tools Used
Step 9

– Grab your trusty Phillips screwdriver and gently unscrew the 4.4 mm-long screw that’s holding the motherboard in place. You’ve got this!
Step 10
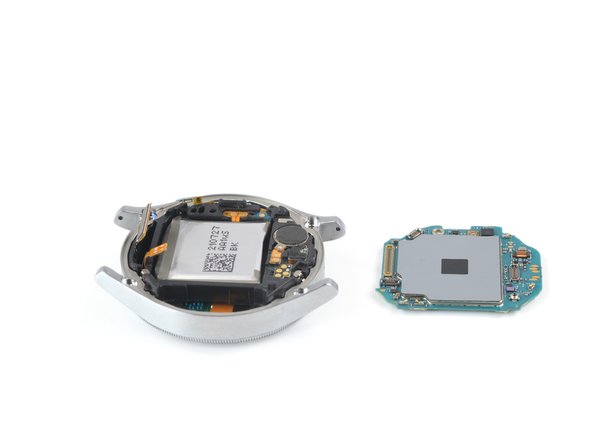

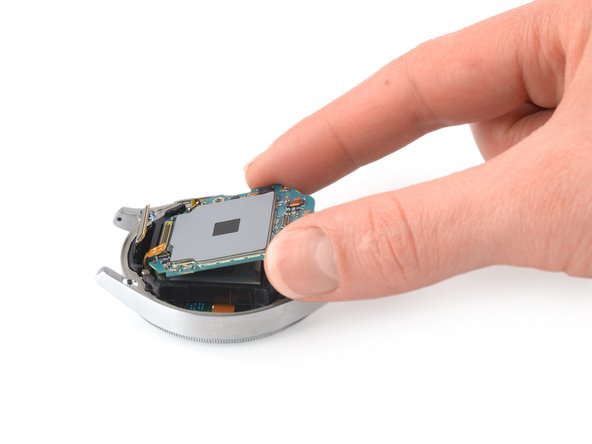
– Gently pry the motherboard out of the watch assembly, working from the bottom of the watch. Take your time and be patient – it’s a delicate process!
– When putting everything back together, make sure to keep those pesky flex cables from getting stuck under the motherboard. You got this!
Step 11
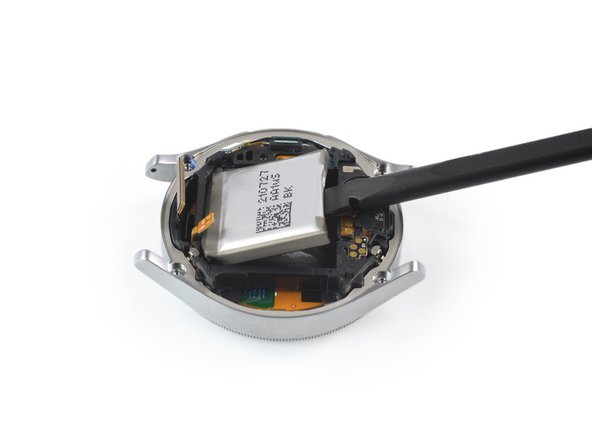

Hold your horses! Don’t yank that battery out just yet; it’s still cozy with the core assembly through its connector.
Be super careful not to poke or bend that battery with your tool—doing so could lead to some seriously messy leaks or even a thermal surprise!
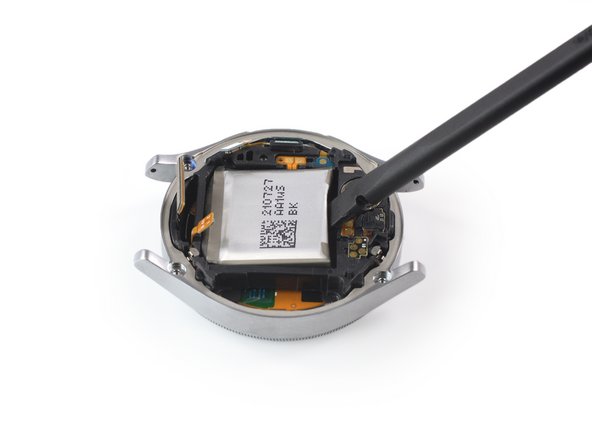
– Slide the flat end of a spudger into the small gap between the plastic frame and the battery, right across from the display cable.
– Gently pry the battery up and out of its snug little spot. Take your time—slow and steady wins the race!
Tools Used
Step 12


– Gently lift the battery just a smidge to get to its connector cable that’s stuck down with some light adhesive.
– Grab a pair of blunt tweezers and carefully lift the battery connector, which is held with a touch of sticky goodness.
– Take the battery out—it’s time for a switch-up!
– You can probably reuse the adhesive to secure the new battery in place. If it’s not sticking like it should, just swap it out with some double-sided or pre-cut adhesive tape.
Success!