How to Replace Samsung Galaxy Watch5 Screen Assembly
Duration: 45 minutes
Steps: 11 Steps
Step 1

– First things first, take that watch off the charger and give it a little break by powering it down. It’s time for some quality downtime!
– Next up, let’s get that watch band off. It’s like giving your watch a little spa day!
Step 2

– Unscrew those pesky back cover screws using a trusty Tri-point Y00 screwdriver – check those screws are the 4.1 mm-long ones we’re after to avoid any confusion, and remember there are four to get through.
Tools Used

Step 3

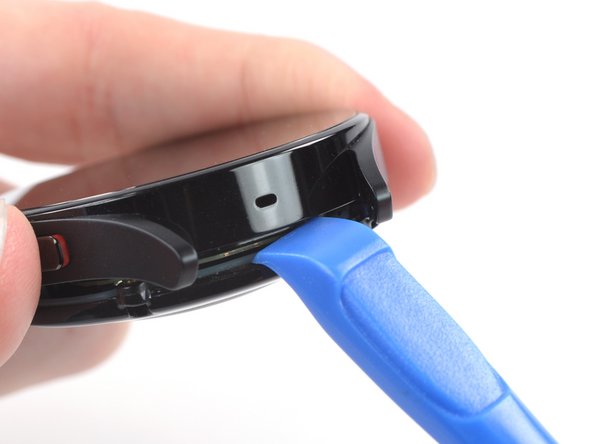
Hold your horses! Don’t go yanking off that back cover just yet. The sensor flex cable is still hanging out with the motherboard.
– Pop that opening tool into the seam between the back cover and the metal frame.
– Give it a twist to break the seal and open a gap.
Step 4


– Flip the watch over so it’s lounging screen-side down.
– Gently swing open the back cover using the gap you just made—it’s like opening a tiny treasure chest!
– Grab your trusty spudger and carefully pop the sensor flex cable off the motherboard by lifting the press connector straight up from its cozy little socket.
– When putting it all back together, take a moment to power up your device and make sure everything’s working perfectly before sealing it up again. If things get tricky, you can always schedule a repair.
Tools Used

Step 5


– Time to get started! Remove the back cover to begin the repair process.
– When you’re putting everything back together, don’t forget:
– Make sure that rubber gasket (marked in red) is in great shape. If it’s damaged, swap it out with a new one to keep your device water-resistant. If you’re not sure, or if you need help, you can always schedule a repair
Step 6
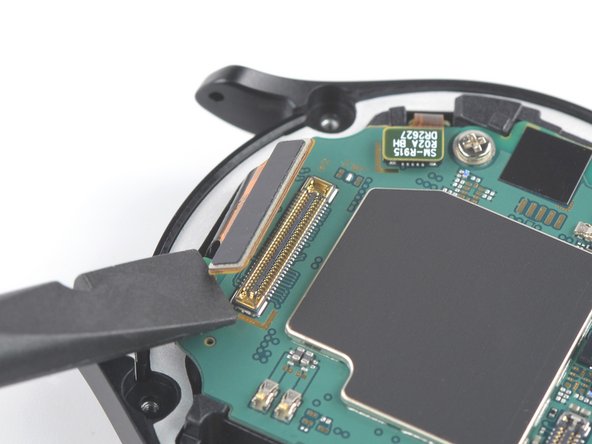

– Time to get started! Use a spudger to carefully disconnect the display flex cable by gently prying the connector straight up from its socket. Remember to take your time and be patient – we’ve got you covered!
Tools Used
Step 7

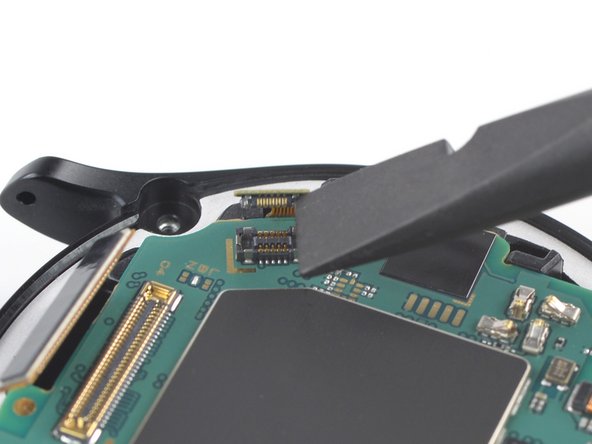
– Grab your trusty spudger and gently pry that button flex cable up from its socket like a pro! It’s all about disconnecting it with a smooth, straight motion. You’ve got this!
Tools Used
Step 8

– Let’s get started! Use a Phillips screwdriver to carefully remove the single 4.4mm-long screw that’s holding the motherboard in place. Take your time and make sure it’s fully removed before moving on to the next step.
Step 9

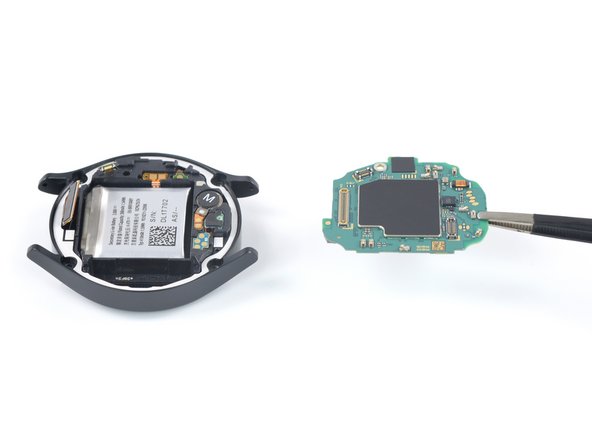
– Grab a trusty pair of tweezers or just your fingers, and gently lift the motherboard out of the watch, making sure to clear those two flex cables along the way. You’ve got this!
Step 10
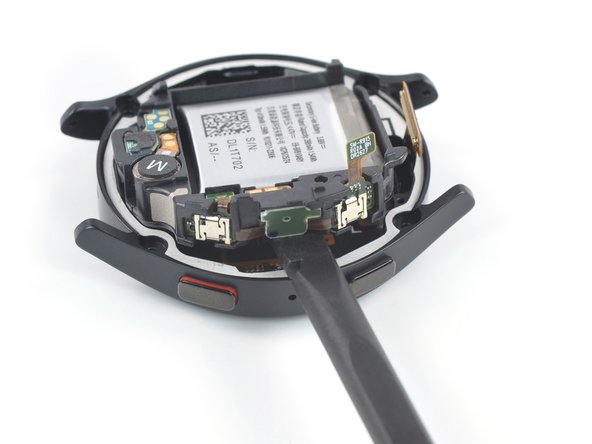

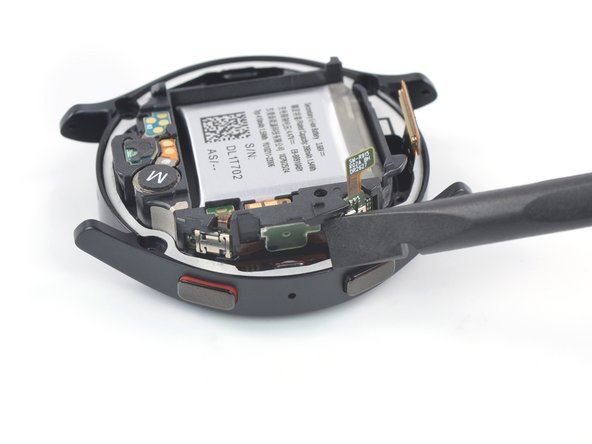
– Wedge one corner of the flat end of a spudger between the core assembly and the button-side of the frame. Take your time—you’ve got this!
– Give the spudger a little twist to gently nudge the core assembly out of the metal housing. It’s like opening a stubborn jar, but way cooler.
– When you’ve got a good gap, slide the spudger underneath the core assembly and carefully lift it up. Smooth and steady wins the day!
Tools Used
Step 11

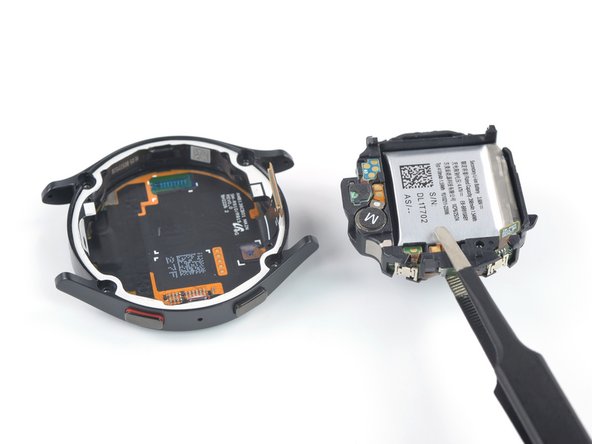
Success!